Introduction
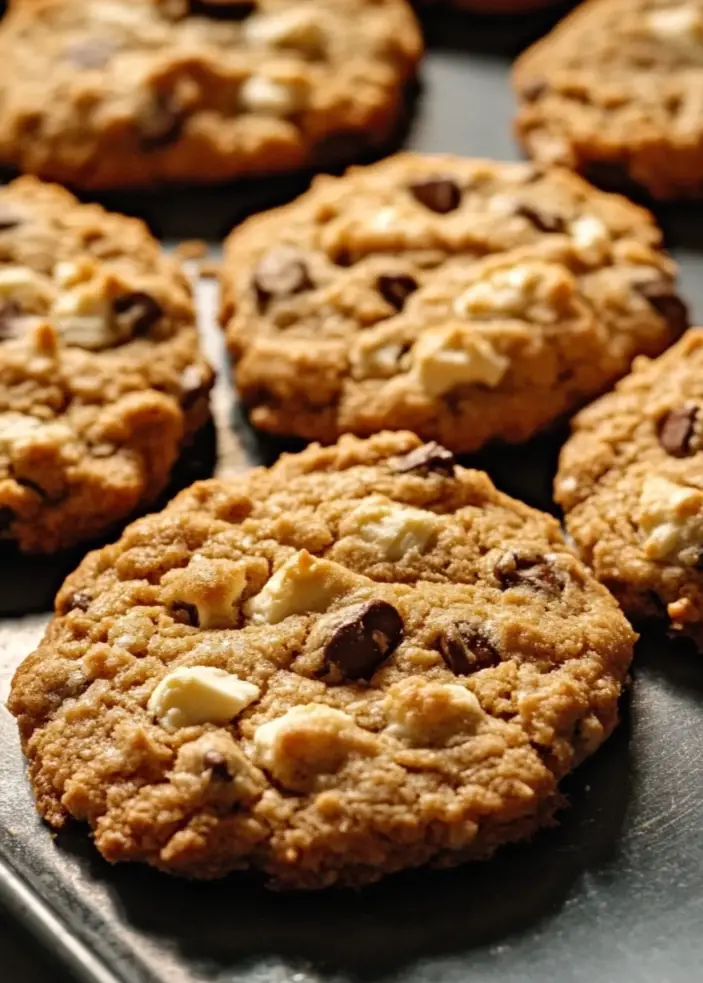
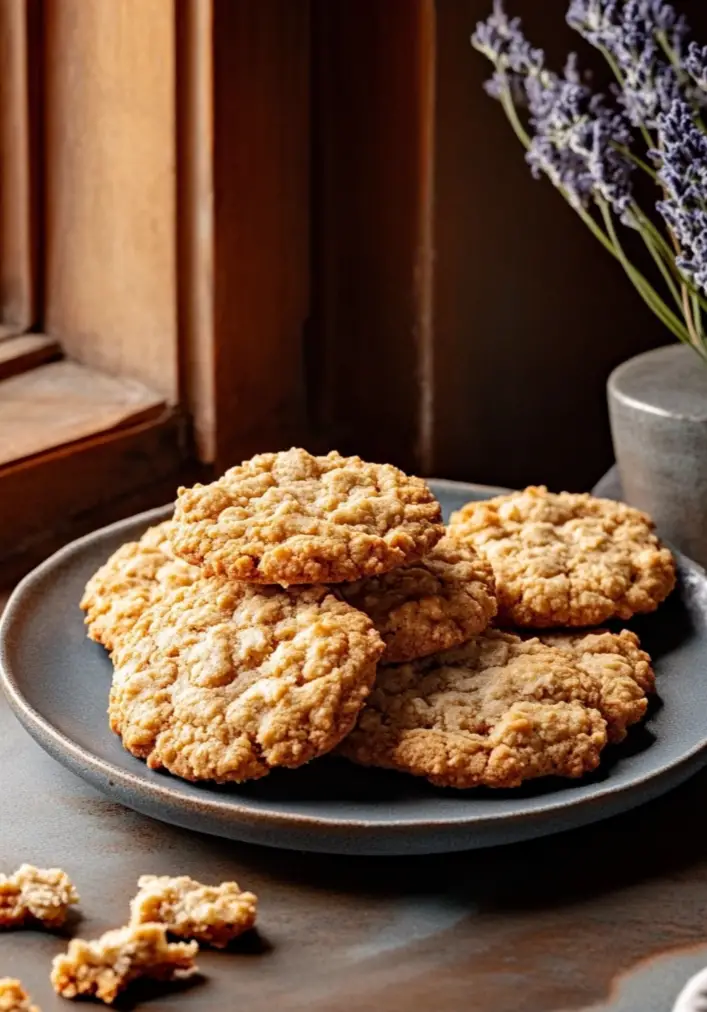
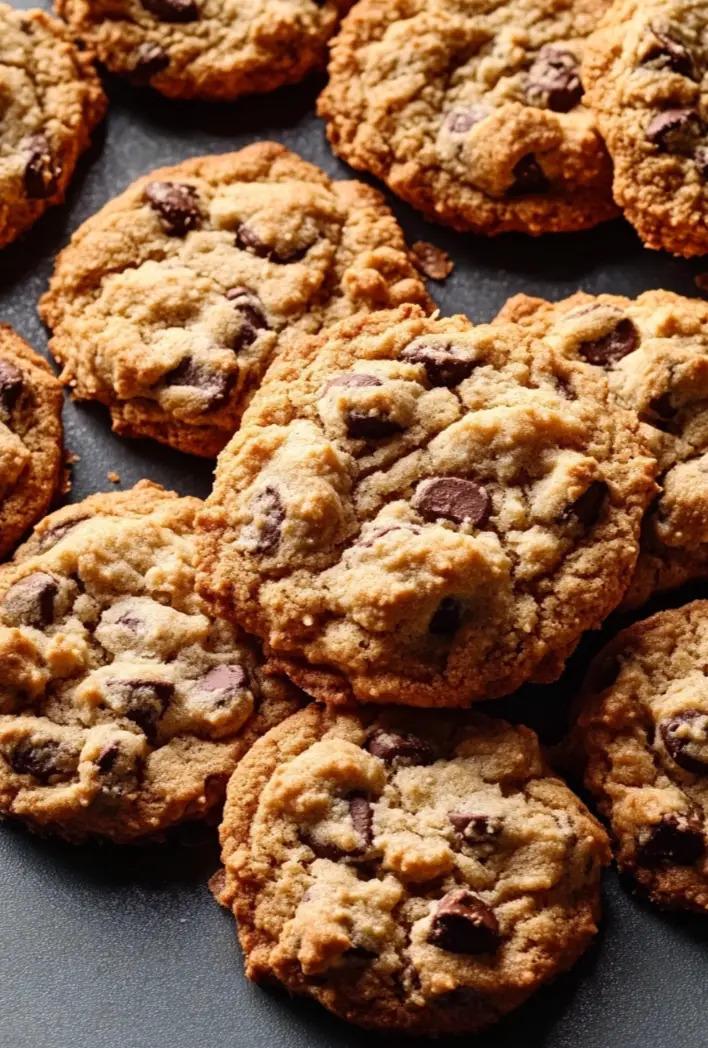
Get ready to indulge in a delightful treat! Laura Bush’s Cowboy Cookies are a delicious blend of flavors that will satisfy any sweet tooth. These cookies are not just ordinary; they boast a wonderful combination of textures and tastes, thanks to the addition of chocolate chips, oats, and nuts. Originally inspired by the famous cowboy culture, these cookies have gained popularity for their hearty nature and rich flavor profile. Perfect for gatherings, these cookies are sure to be a hit with family and friends.
Laura Bush herself is known for her love of cooking and baking, and these cookies reflect her ability to bring comfort food to the forefront. Whether you’re hosting a family gathering, a holiday party, or just want to treat yourself, Cowboy Cookies are an excellent choice. Their appealing appearance and mouth-watering taste will have everyone coming back for seconds!
The beauty of these cookies lies in their versatility. You can easily customize the recipe to suit your taste preferences or dietary needs. Want to make them gluten-free? No problem! Prefer dark chocolate over semisweet? Go for it! These cookies adapt beautifully to various flavors and textures, allowing you to create a unique treat every time.
As you embark on this baking adventure, you’ll find that the process is not only enjoyable but also rewarding. The aroma that fills your kitchen while they bake is nothing short of heavenly, drawing everyone in with anticipation. So, gather your ingredients and prepare to create a scrumptious treat that will steal the show at any gathering! With simple instructions and readily available ingredients, you’ll be whipping up a batch of these cookies in no time. Let’s dive into the world of Cowboy Cookies, where each bite promises a journey through chocolatey goodness and a hint of nostalgia.

Basic Recipe
Ingredients:
- 3 cups all-purpose flour
- 1 tablespoon baking powder
- 1 tablespoon baking soda
- 1 tablespoon ground cinnamon
- 1 teaspoon salt
- 1 1/2 cups (3 sticks) butter, room temperature
- 1 1/2 cups sugar
- 1 cup packed brown sugar
- 2 large eggs
- 2 teaspoons vanilla extract
- 2 cups semisweet chocolate chips
- 1 cup chopped nuts (optional)
- 1 cup rolled oats
Directions:
- Preheat the Oven: Begin by preheating your oven to 350°F (175°C). This step ensures that your cookies bake evenly and achieve that perfect golden color.
- Mix Dry Ingredients: In a mixing bowl, whisk together the flour, baking powder, baking soda, ground cinnamon, and salt. This combination is essential as it will help the cookies rise and develop flavor. Set this mixture aside for now.
- Cream Butter and Sugars: In a large mixing bowl, cream together the room temperature butter, granulated sugar, and brown sugar until the mixture is light and fluffy. This step is crucial for achieving that perfect texture, as it incorporates air into the dough. Use an electric mixer on medium speed for about 3-5 minutes, scraping down the sides as needed to ensure an even mix.
- Add Eggs and Vanilla: Next, add the eggs and vanilla extract to the butter mixture, mixing well after each addition. This will enrich the batter and enhance the overall flavor of your cookies. The eggs act as a binding agent, bringing all the ingredients together.
- Combine Dry and Wet Ingredients: Gradually fold in the dry flour mixture into the wet ingredients, mixing until just combined. It’s important not to over-mix at this stage; overworking the dough can lead to tough cookies. Use a spatula or wooden spoon to gently combine the ingredients until no visible flour remains.
- Incorporate Chocolate Chips and Oats: Stir in the chocolate chips, and if you’re feeling adventurous, add those chopped nuts and rolled oats until everything is evenly distributed. The oats add a lovely chewiness, while the nuts provide a satisfying crunch. Feel free to experiment with different types of chocolate chips, such as dark or white chocolate, to create a unique flavor profile.
- Form the Cookies: Drop rounded tablespoons of dough onto ungreased baking sheets. Ensure to give them room to spread; otherwise, they might stick together. You can use a cookie scoop or two spoons to help with portioning.
- Bake the Cookies: Bake those beauties in the oven for 10-12 minutes, or until the edges are golden and the centers are just set. Keep an eye on them, as baking times may vary depending on your oven. The smell in your kitchen will be heavenly, and your mouth will water in anticipation!
- Cool the Cookies: Once baked, remove them from the oven and let them cool on the baking sheets for a few minutes before transferring them to wire racks to cool completely. This step is crucial as it allows the cookies to set and makes them easier to handle. Enjoy every bite of these tasty Cowboy Cookies that’ll steal the show at any gathering!
Tips for Success:
- Room Temperature Ingredients: Make sure your butter and eggs are at room temperature. This helps create a smooth batter and ensures even mixing.
- Use Fresh Ingredients: Check the expiration dates on your baking powder, baking soda, and flour to ensure your cookies rise properly.
- Don’t Skip the Oats: The oats not only add flavor but also contribute to the overall texture of the cookies. They help make the cookies hearty and satisfying.
- Test for Doneness: If you’re unsure if the cookies are done, take one out and let it cool for a minute. It should be slightly soft in the center but firm around the edges.
Advanced Techniques
To elevate your Cowboy Cookies to the next level, consider incorporating some advanced baking techniques:
- Chilling the Dough: For an even better texture, chill the cookie dough for at least 30 minutes before baking. This helps to prevent spreading and creates a thicker cookie. Chilling allows the butter to solidify, which leads to cookies that hold their shape during baking.
- Experimenting with Flavors: Feel free to experiment with different mix-ins! You can add dried fruits like cranberries or apricots, or substitute the chocolate chips for white chocolate or butterscotch chips for a unique flavor twist. Additionally, try incorporating spices such as nutmeg or ginger for added warmth and complexity.
- Using Quality Ingredients: Invest in high-quality butter and chocolate. The flavor difference will be noticeable and will enhance the overall taste of your cookies. Look for premium chocolate chips or even chop up a bar of chocolate for larger chunks.
- Baking in Batches: If you’re baking a large quantity, consider using multiple baking sheets and rotating them halfway through baking to ensure even browning. It’s also helpful to keep one tray of dough in the fridge while baking another to maintain the dough’s temperature.
- Storing and Freezing: If you have leftover cookies, store them in an airtight container. For longer storage, freeze the unbaked dough in balls, and you can bake them fresh whenever the craving strikes! Simply place the frozen dough balls on a baking sheet and bake from frozen, adding a couple of extra minutes to the baking time.
- Making Mini Cookies: For bite-sized treats, you can make mini versions of these cookies. Just reduce the baking time to about 8-10 minutes. These mini cookies are perfect for sharing or for a cookie platter!
- Decorating the Cookies: Get creative with your Cowboy Cookies by drizzling melted chocolate or icing on top after they’ve cooled. You can also sprinkle sea salt for a sweet and salty combination that takes these cookies to another level.

Maintenance Tips
Maintaining the freshness and quality of your Cowboy Cookies is essential for the best taste experience. Here are some tips:
- Storage: Store your baked cookies in an airtight container at room temperature to keep them soft and chewy. Adding a slice of bread to the container can help maintain moisture. If you prefer crispy cookies, leave the lid slightly ajar.
- Freezing: You can freeze baked cookies for up to three months. Place them in a single layer in a freezer bag or container. Thaw them at room temperature when you’re ready to enjoy them again. For best results, reheat them in the oven for a few minutes to restore their fresh-baked texture.
- Dough Storage: If you’ve made more dough than you can bake at once, wrap it tightly in plastic wrap and store it in the refrigerator for up to a week, or freeze it for later use. You can scoop the dough into balls before freezing for quick access to freshly baked cookies.
- Reheating: If you want to enjoy your cookies warm again, simply pop them in the microwave for 10-15 seconds or warm them in a preheated oven at 350°F (175°C) for a few minutes. This will rejuvenate the cookies, making them taste freshly baked.
- Avoiding Stale Cookies: To prevent cookies from going stale, consider vacuum sealing them if you plan to store them for an extended period. This method removes air and helps maintain freshness.
Dietary Adaptations
Cowboy Cookies can be easily adapted to suit various dietary preferences and restrictions:
- Gluten-Free Version: Substitute all-purpose flour with a gluten-free flour blend. Ensure that other ingredients, such as oats and baking powder, are also gluten-free. There are many high-quality gluten-free flour blends available that mimic the texture of regular flour quite well.
- Dairy-Free Option: Replace butter with a plant-based alternative, such as coconut oil or vegan butter. Use dairy-free chocolate chips to maintain the chocolatey goodness. This way, everyone can enjoy these delightful cookies regardless of their dietary restrictions.
- Lower Sugar Alternatives: For a healthier option, consider using less sugar or substitute with natural sweeteners like maple syrup or coconut sugar. Keep in mind that this may alter the texture slightly; using maple syrup will make the cookies more chewy.
- Nut-Free Version: Simply omit the nuts or replace them with seeds such as sunflower or pumpkin seeds for added texture without allergens. This is particularly important for those with nut allergies, as it allows them to enjoy the cookie experience without worry.
- Low-Calorie Adaptation: Use applesauce or mashed bananas in place of some butter to reduce calories while still achieving moisture and flavor. You can also experiment with using Greek yogurt for a protein boost.
- Vegan Version: To make these cookies vegan, use flax eggs (1 tablespoon of ground flaxseed mixed with 2.5 tablespoons of water per egg) instead of regular eggs and follow the dairy-free suggestions above. This will keep the cookies moist and flavorful.

FAQs
Q1: Can I use different types of chocolate chips?
Yes! Feel free to use dark, milk, or even white chocolate chips, or mix them for a fun flavor combination. You can also try flavored chips, such as peanut butter or mint chocolate, to change things up.
Q2: How can I make my cookies chewy?
Avoid over-mixing the dough and ensure not to bake them too long. Taking them out when they are slightly underbaked will keep them chewy. The residual heat will continue to cook the cookies while they cool.
Q3: What can I do if my dough is too sticky?
If your dough is too sticky to handle, try chilling it for 20-30 minutes. This will make it easier to scoop and form into cookies. Alternatively, you can add a bit more flour, but be cautious not to add too much, as it may affect the cookie’s texture.
Q4: How do I know when my cookies are done?
Look for edges that are golden brown and a center that is set but still soft. The cookies will continue to firm up as they cool. If you’re unsure, use the “toothpick test”: insert a toothpick into the center of a cookie; it should come out with a few moist crumbs.
Q5: Can I make these cookies ahead of time?
Absolutely! You can prepare the dough and refrigerate it for up to a week or freeze it for up to three months. Just bake them fresh when you’re ready to enjoy!
Q6: Can I add more ingredients to this recipe?
Yes! Feel free to add shredded coconut, dried fruit, or different types of nuts to customize your cookies. Just be mindful of the proportions to maintain the right cookie texture.
Q7: What’s the best way to transport these cookies?
To transport your cookies without damaging them, stack them carefully in a container lined with parchment paper. Make sure they’re completely cool before placing them in the container to prevent moisture buildup.
Q8: Are these cookies suitable for freezing?
Yes! Both the baked cookies and the raw dough can be frozen. Just ensure they’re well-wrapped to prevent freezer burn, and label them with the date for reference.

