Introduction
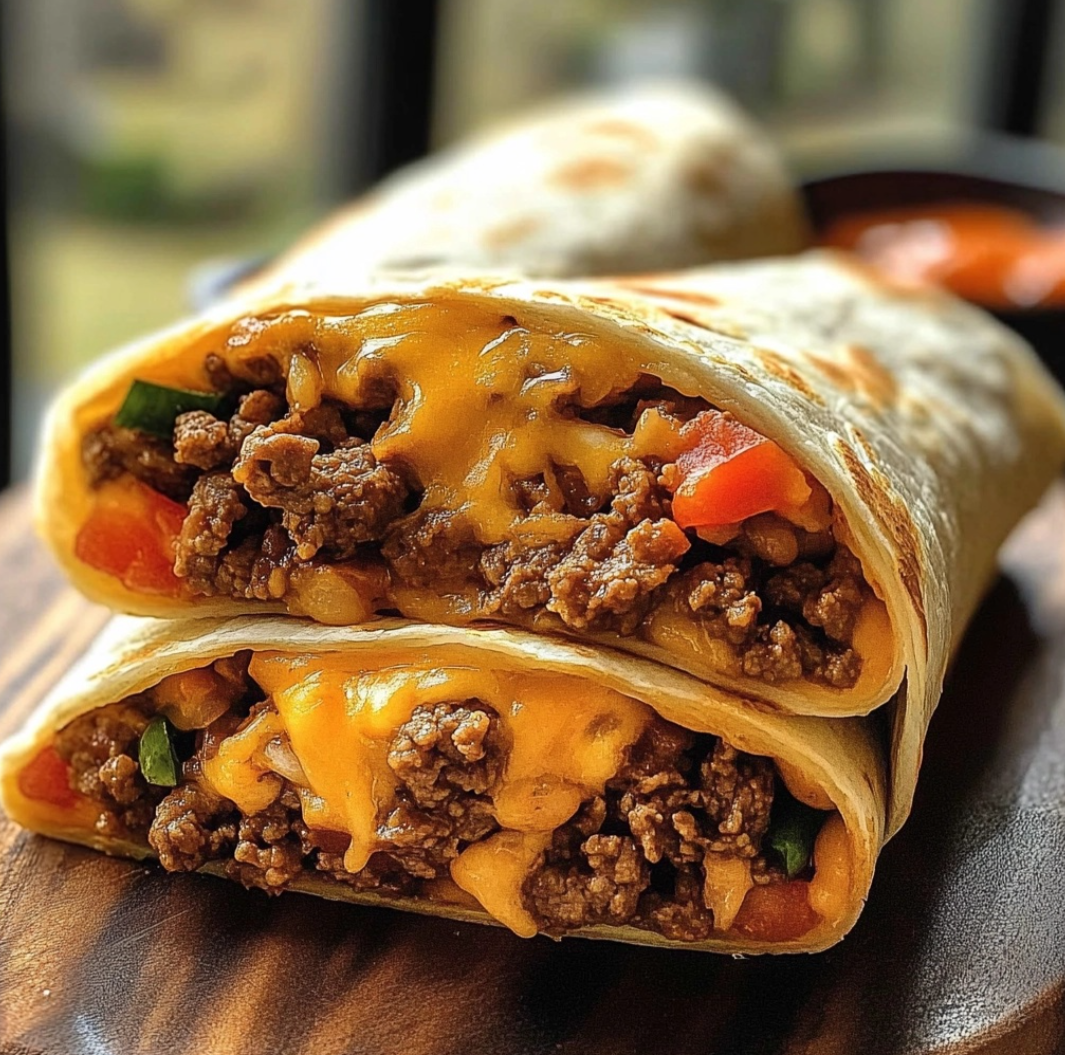
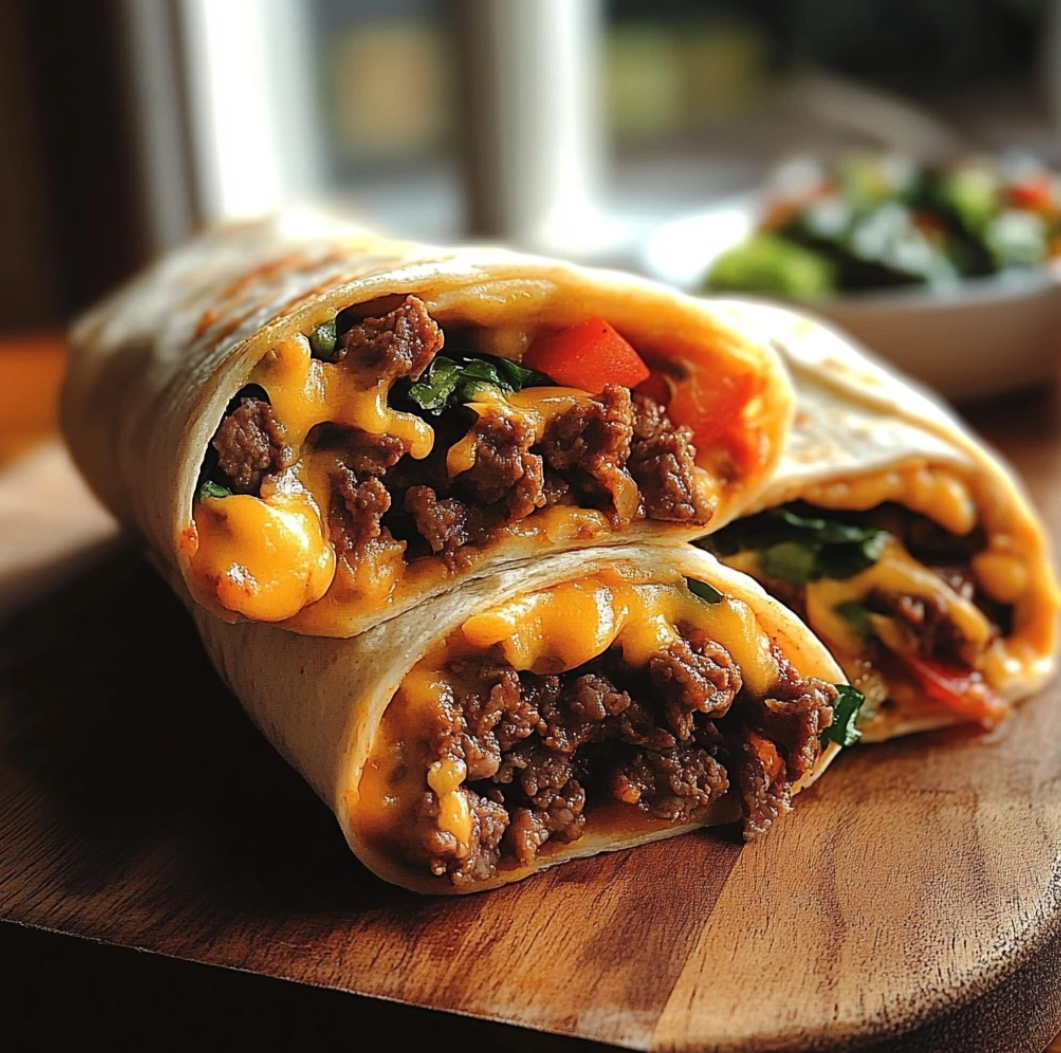
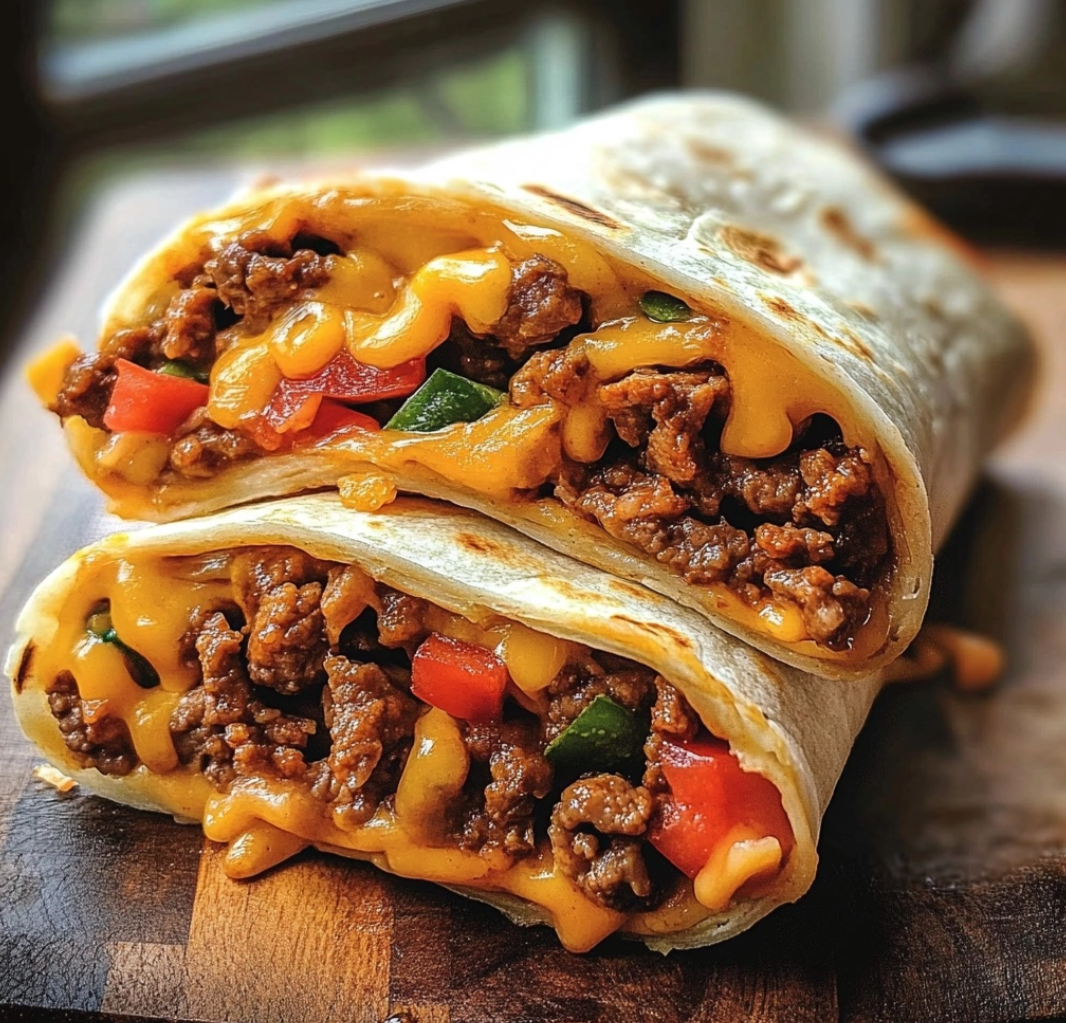
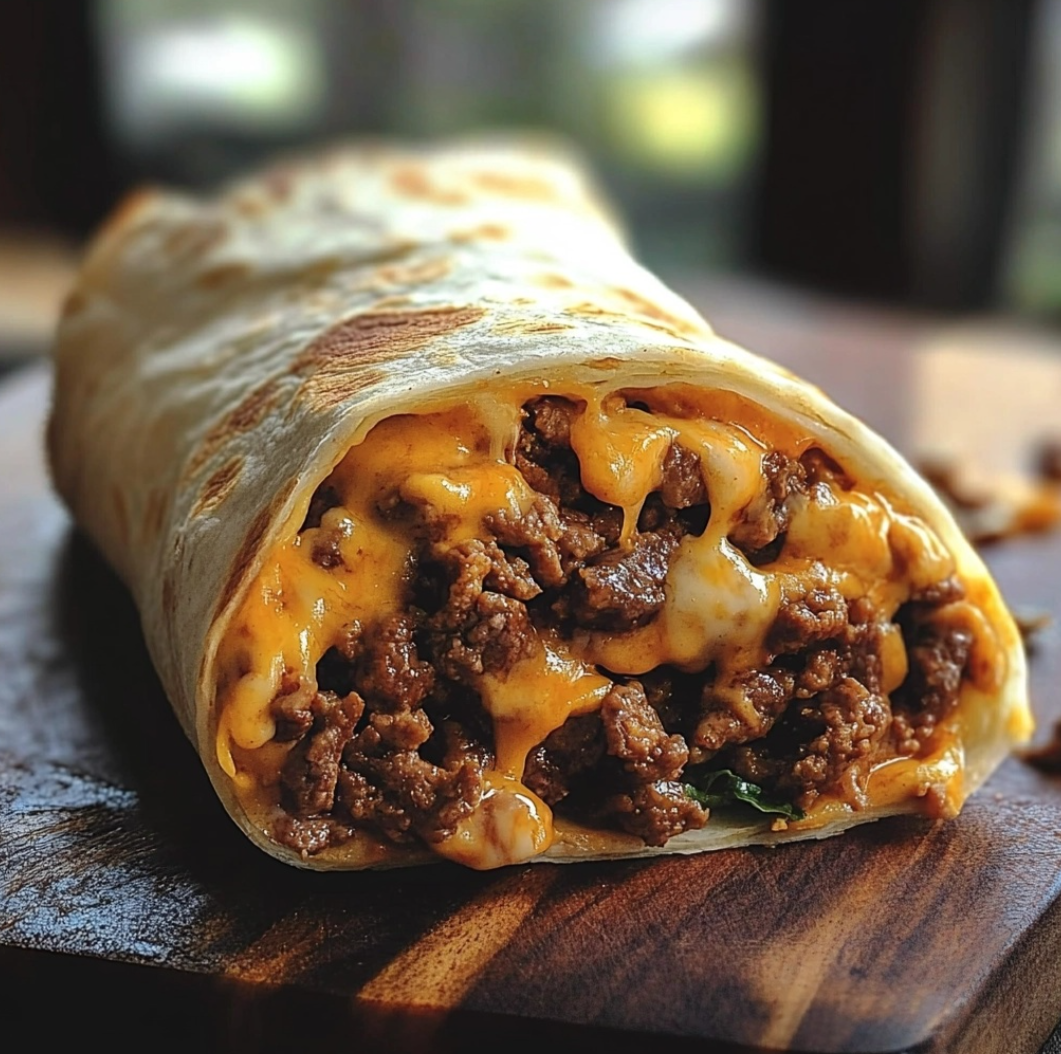
Are you ready to take your taste buds on a delightful journey? Look no further than our scrumptious Nacho Cheese Beef Wraps! This recipe is not only packed with flavor but is also incredibly easy to prepare, making it the perfect choice for busy weeknights or a fun fiesta with friends. The combination of lean ground beef, creamy nacho cheese, and fresh veggies wrapped in a warm tortilla creates a satisfying meal that everyone will love.
What sets these wraps apart is their versatility. You can easily adapt them to suit your preferences, whether you’re in the mood for something spicy, want to add more veggies, or need a vegetarian option. Plus, they’re ideal for meal prepping—make a batch in advance and enjoy them throughout the week. With just a handful of ingredients and simple cooking techniques, you’ll be whipping up these mouthwatering wraps in no time!
In this article, we’ll explore the ins and outs of making Nacho Cheese Beef Wraps. From the basic recipe and advanced cooking techniques to maintenance tips and dietary adaptations, we’ve got you covered. Let’s dive into the delicious world of nacho cheese wraps and discover how to elevate your cooking game!

Basic Recipe
Ingredients
- 1 pound ground beef, lean
- 1 cup Nacho Cheese Sauce
- 1/2 cup Sour Cream
- 1 can Rotel, green chilis with diced tomatoes
- 1/2 cup chopped green peppers
- 1/2 cup diced onion
- 4 large flour tortillas
- Salt and pepper to taste
Directions
- Brown the Beef: Start by heating a skillet over medium heat. Add the lean ground beef, breaking it apart with a spatula. Cook until it’s nicely browned, about 5-7 minutes. Season with a pinch of salt and pepper to enhance the flavors.
- Sauté the Veggies: Toss in the diced onion and chopped green peppers into the skillet. Sauté them together for about 3-4 minutes until they soften and become translucent.
- Add the Rotel: Next, stir in the can of Rotel, including the juices. Allow it to simmer gently for a few moments, letting all those flavors meld together.
- Incorporate the Cheese Sauce: Pour in the creamy nacho cheese sauce, stirring everything together until well combined and heated through. The aroma will be irresistible!
- Assemble the Wraps: Lay a large flour tortilla flat on a clean surface. Spoon a generous amount of the beef and cheese mixture into the center. Add a dollop of sour cream for an extra creamy texture.
- Roll It Up: Fold in the sides of the tortilla, then roll it up from the bottom, securing all that delicious filling inside.
- Grill for Extra Crunch: For a delightful crunch, heat a grill or skillet over medium heat. Grill the wraps for about 2-3 minutes on each side until they’re golden brown and crispy.
- Serve and Enjoy: Slice the wraps in half, serve warm, and enjoy every cheesy, beefy bite!
These Nacho Cheese Beef Wraps are perfect for taco night or any casual gathering, and they’re sure to become a family favorite!
Advanced Techniques
To elevate your Nacho Cheese Beef Wraps, consider incorporating some advanced cooking techniques that will enhance both flavor and presentation. Here are a few tips to take your wraps to the next level:
1. Infuse More Flavor
- Marinate the Beef: Before cooking, marinate the ground beef with your favorite spices (like cumin, chili powder, and garlic powder) for at least 30 minutes. This will add depth to the flavor.
2. Use Fresh Ingredients
- Sauté the Veggies with Garlic: Add minced garlic to the onion and green peppers while sautéing. This will infuse the dish with an aromatic flavor that pairs beautifully with the beef.
3. Enhance the Cheese Sauce
- Make Your Own Cheese Sauce: Instead of store-bought nacho cheese sauce, try making a homemade version using cheddar cheese, cream, and spices. Melt the cheese with heavy cream in a saucepan over low heat, stirring until smooth.
4. Add Layers of Texture
- Incorporate Crunchy Ingredients: For added texture, consider adding crushed tortilla chips or diced jalapeños to the beef mixture before wrapping. This will give each bite a satisfying crunch.
5. Grilling Techniques
- Use a Panini Press: If you have a panini press, use it to grill your wraps for a perfectly crispy exterior. This method ensures even cooking and creates beautiful grill marks.
6. Presentation Matters
- Garnish with Fresh Herbs: Once plated, sprinkle chopped cilantro or green onions over the wraps for a pop of color and freshness. Serve with additional sour cream or salsa on the side for dipping.
By incorporating these advanced techniques, your Nacho Cheese Beef Wraps will not only taste amazing but also look visually appealing, making them a hit at any gathering!

Maintenance Tips
To ensure your Nacho Cheese Beef Wraps remain delicious and enjoyable, proper maintenance is key. Here are some helpful tips for storing, reheating, and making the most out of your wraps:
1. Storing Leftovers
- Refrigerate Promptly: If you have any leftovers, let them cool to room temperature before placing them in an airtight container. Refrigerate them within two hours to prevent bacterial growth.
- Use within 3-4 Days: For the best quality, consume your leftovers within 3-4 days.
2. Freezing Options
- Freeze Before Grilling: If you want to make wraps in advance, consider freezing them before grilling. Wrap each one tightly in plastic wrap and place them in a freezer-safe bag. They can be stored for up to 3 months.
- Reheating Frozen Wraps: When ready to enjoy, thaw the wraps overnight in the refrigerator. Then, grill them as directed in the recipe for a fresh-tasting meal.
3. Reheating Techniques
- Microwave: If you’re in a hurry, you can reheat the wraps in the microwave. Place them on a microwave-safe plate and cover with a damp paper towel to prevent drying out. Heat in 30-second intervals until warmed through.
- Skillet Method: For a crispier texture, reheat the wraps in a skillet over medium heat. This will help retain the crunchiness while warming the filling.
4. Fresh Ingredients
- Add Fresh Toppings: When serving reheated wraps, add fresh toppings like lettuce, diced tomatoes, or avocado for a refreshing touch that brightens the flavors.
With these maintenance tips, you can keep your Nacho Cheese Beef Wraps fresh and delicious, ensuring that every bite is just as satisfying as the first!
Dietary Adaptations
One of the best aspects of Nacho Cheese Beef Wraps is their adaptability to fit various dietary preferences and restrictions. Here are some ideas for making these wraps suitable for different dietary needs:
1. Gluten-Free Version
- Use Gluten-Free Tortillas: Substitute regular flour tortillas with gluten-free varieties made from rice or corn. This allows those with gluten sensitivities to enjoy the wraps without worry.
2. Vegetarian Option
- Replace Beef with Beans: For a vegetarian twist, replace the ground beef with canned black beans or pinto beans. Rinse and drain the beans before mixing them with the cheese sauce and veggies.
3. Vegan Adaptation
- Make It Vegan: To create a vegan version, use plant-based ground meat or lentils instead of beef, and swap the nacho cheese sauce for a homemade vegan cheese made from cashews or nutritional yeast.
4. Dairy-Free Adjustments
- Choose Dairy-Free Alternatives: For a dairy-free option, use almond or coconut-based sour cream and a dairy-free cheese sauce. There are plenty of tasty alternatives available on the market today.
5. Low-Carb/Keto-Friendly
- Lettuce Wraps: For those following a low-carb or keto diet, skip the tortillas altogether and use large lettuce leaves (like romaine or butter lettuce) as wraps. This will cut down on carbs while still delivering all the delicious flavors.
6. Spicy Variations
- Add Heat: If you enjoy spicy food, consider adding diced jalapeños or a splash of hot sauce to the beef mixture for an extra kick. You can also use spicy cheese sauce or pepper jack cheese for added heat.
These dietary adaptations ensure that everyone can enjoy Nacho Cheese Beef Wraps, making them a versatile and inclusive meal option for gatherings or family dinners.

FAQs
1. Can I make these wraps ahead of time?
Yes! You can prepare the beef and cheese mixture ahead of time. Store it in the refrigerator and assemble the wraps just before serving. You can also freeze the assembled wraps before grilling.
2. What can I serve with these wraps?
These wraps pair wonderfully with sides like tortilla chips and salsa, a fresh salad, or guacamole. You can also serve them with a side of Mexican rice for a complete meal.
3. Can I customize the fillings?
Absolutely! Feel free to add any of your favorite ingredients, such as corn, diced bell peppers, or different types of cheese. The possibilities are endless!
4. Are these wraps suitable for kids?
Yes, these wraps are a hit with kids! You can adjust the spice levels to make them milder for younger palates and let kids choose their toppings for a fun, interactive meal.
5. How do I make the wraps spicier?
To add heat, include diced jalapeños in the filling or use a spicier cheese sauce. You can also serve the wraps with hot sauce on the side for those who enjoy a fiery kick.
6. What’s the best way to reheat leftovers?
For the best results, reheat the wraps in a skillet over medium heat to maintain their crunch. Alternatively, you can use a microwave, but be sure to cover them with a damp paper towel to prevent drying out.
With these FAQs, you’ll be well-prepared to tackle any questions about Nacho Cheese Beef Wraps and impress your friends and family with your cooking knowledge!

