Introduction
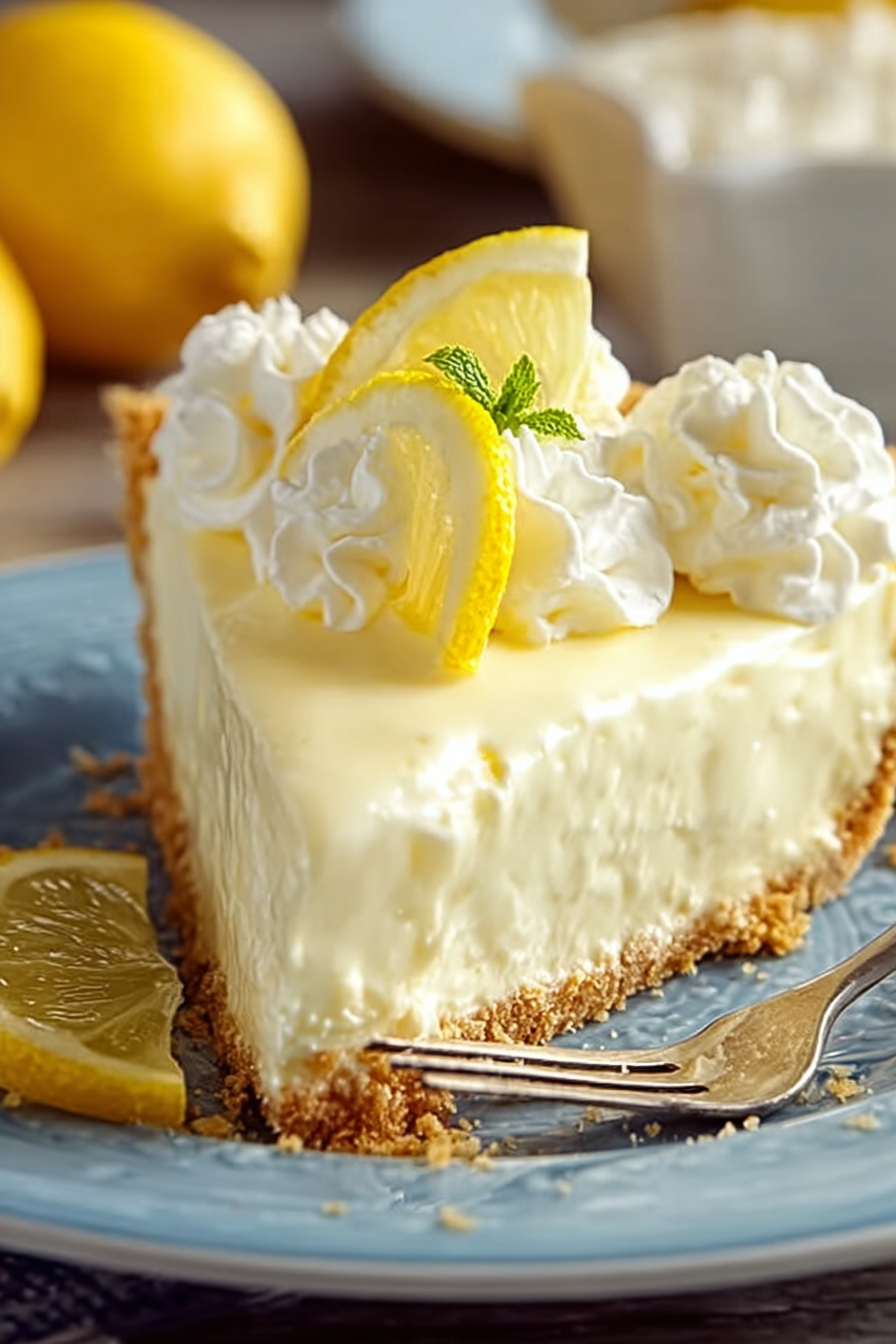
No-bake desserts are lifesavers when you want something delicious without turning on the oven. This No-Bake Cream Cheese Lemonade Pie is the perfect example. With its velvety cream cheese filling, zesty lemonade flavor, and buttery graham cracker crust, it delivers the best of both worlds—refreshing and indulgent. Whether you’re preparing it for a backyard barbecue, family gathering, or simply to treat yourself on a hot day, this pie is quick, simple, and always a crowd favorite.
The beauty of this recipe lies in its simplicity. You’ll only need a handful of pantry staples and a few minutes of prep time before letting the fridge do the rest of the work. The end result is a pie that looks and tastes like it came straight from a bakery. Let’s dive into how you can recreate this delightful dessert in your own kitchen.
My recipe story
I first stumbled upon this pie during a summer potluck where a friend brought a version of it in a simple disposable pie tin. At first glance, it didn’t seem like much, but the moment I took a bite, I was blown away by the refreshing lemony tang balanced with creamy sweetness. It was love at first taste.
That experience inspired me to recreate it at home, but with a few tweaks to perfect the flavor and texture. I experimented with different crusts, adjusted the cream cheese-to-lemonade ratio, and played with toppings like whipped cream and fresh berries. The version I’m sharing today is the one that’s been requested most often by family and friends—it’s light, dreamy, and oh-so-satisfying. It’s now one of my go-to summer desserts because it always brings smiles and empty plates!
💡 Why You’ll Love This Recipe
- No baking required—perfect for hot days when you want dessert without the oven.
- Just a handful of simple, affordable ingredients you likely already have.
- Refreshing lemon flavor pairs beautifully with creamy cheesecake-like texture.
- Can be prepared ahead of time, making it great for entertaining.
- Easily customizable with different crusts, toppings, or mix-ins.
Ingredient breakdown
The ingredients for this No-Bake Cream Cheese Lemonade Pie are few but powerful. Each one plays a crucial role in achieving the luscious texture and bright flavor that makes this dessert shine.
Cream Cheese: This is the star of the filling, providing a smooth and creamy base with just the right tang. Be sure to use full-fat cream cheese for the richest flavor and best texture. Softening the cream cheese beforehand ensures it blends seamlessly with the other ingredients.
Frozen Lemonade Concentrate: This ingredient gives the pie its signature citrus zing. The concentrate is both sweet and tart, creating the perfect contrast against the creaminess of the filling. Make sure it’s thawed before using so it blends evenly.
Evaporated Milk: This adds richness and helps the filling set nicely. Its slightly caramelized flavor deepens the overall taste of the pie without overpowering the lemon. Don’t substitute with regular milk, as it won’t give the same consistency.
Graham Cracker Crust: A buttery graham cracker crust complements the creamy filling with just the right amount of crunch and sweetness. You can either make your own or save time with a pre-made version. Both work wonderfully!
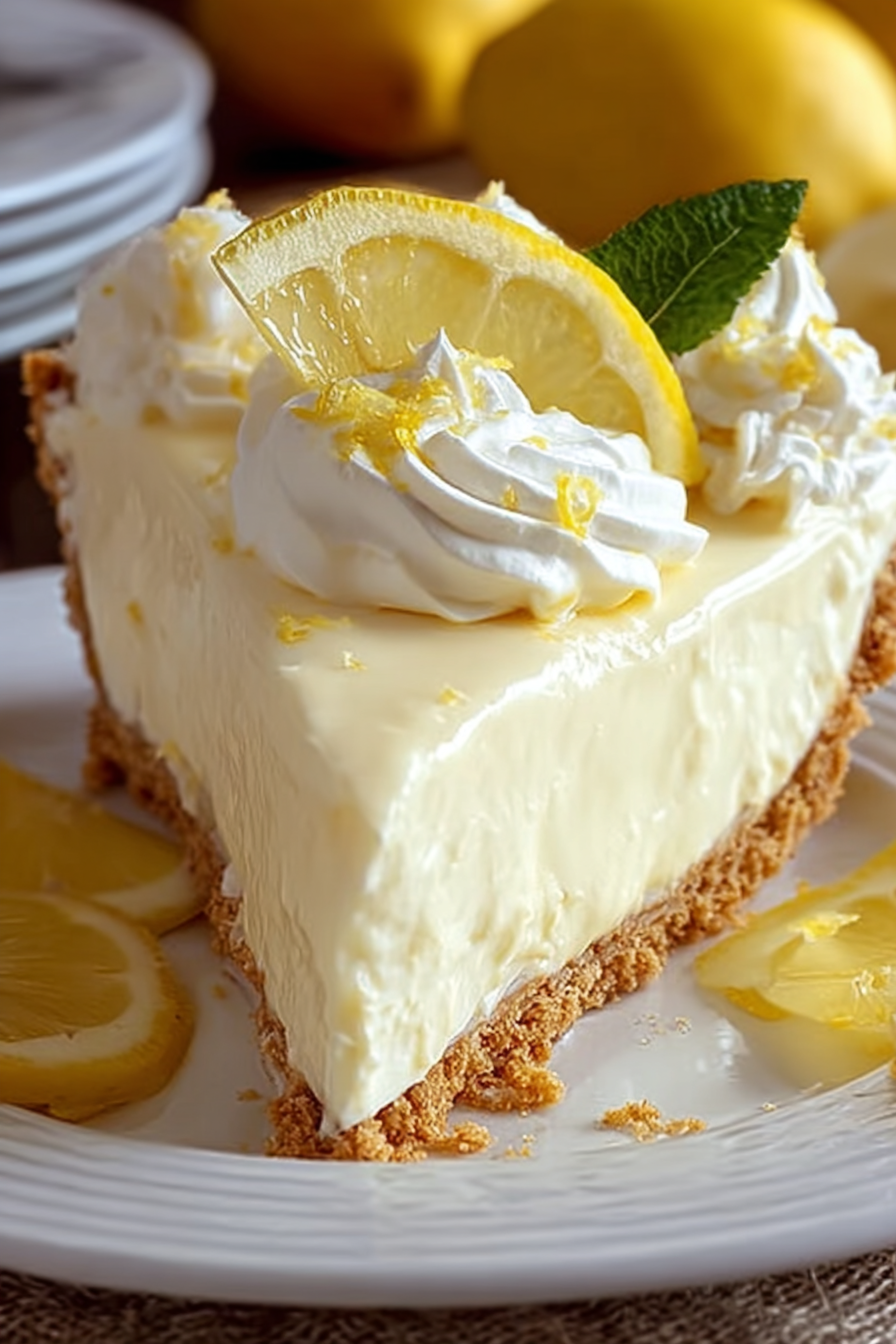
Whipped Topping: Light and airy, whipped topping folds into the filling to give it that cloud-like texture. It also serves as a lovely garnish once the pie is chilled and ready to serve.
Equipment you’ll need
- Mixing bowls (medium and large)
- Hand mixer or stand mixer
- Rubber spatula
- Measuring cups and spoons
- 9-inch pie dish (or store-bought crust pan)
- Refrigerator space for chilling
Step-by-step directions
Step 1: Prepare the crust. If you’re making a homemade graham cracker crust, crush the graham crackers into fine crumbs, mix with melted butter and sugar, and press firmly into a pie dish. If using store-bought, simply set it aside and move to the filling.
Step 2: Beat the cream cheese. In a large mixing bowl, beat the softened cream cheese until smooth and creamy. This step ensures there are no lumps in your pie filling, giving you a velvety consistency.
Step 3: Add the evaporated milk. Gradually mix in the evaporated milk while beating, blending until fully incorporated. The milk helps loosen the cream cheese and adds richness to the filling.
Step 4: Mix in lemonade concentrate. Stir in the thawed lemonade concentrate. This is where the magic happens—the zesty citrus flavor transforms the base into a refreshing dessert mixture.
Step 5: Fold in whipped topping. Using a spatula, gently fold in the whipped topping until no streaks remain. This step lightens the filling, giving it that fluffy, mousse-like quality.
Step 6: Assemble the pie. Pour the filling into the prepared graham cracker crust and smooth the top with your spatula. Cover loosely with plastic wrap or foil.
Step 7: Chill. Refrigerate the pie for at least 4 hours or overnight until fully set. The waiting is the hardest part, but the chilled pie will slice beautifully and hold its shape.
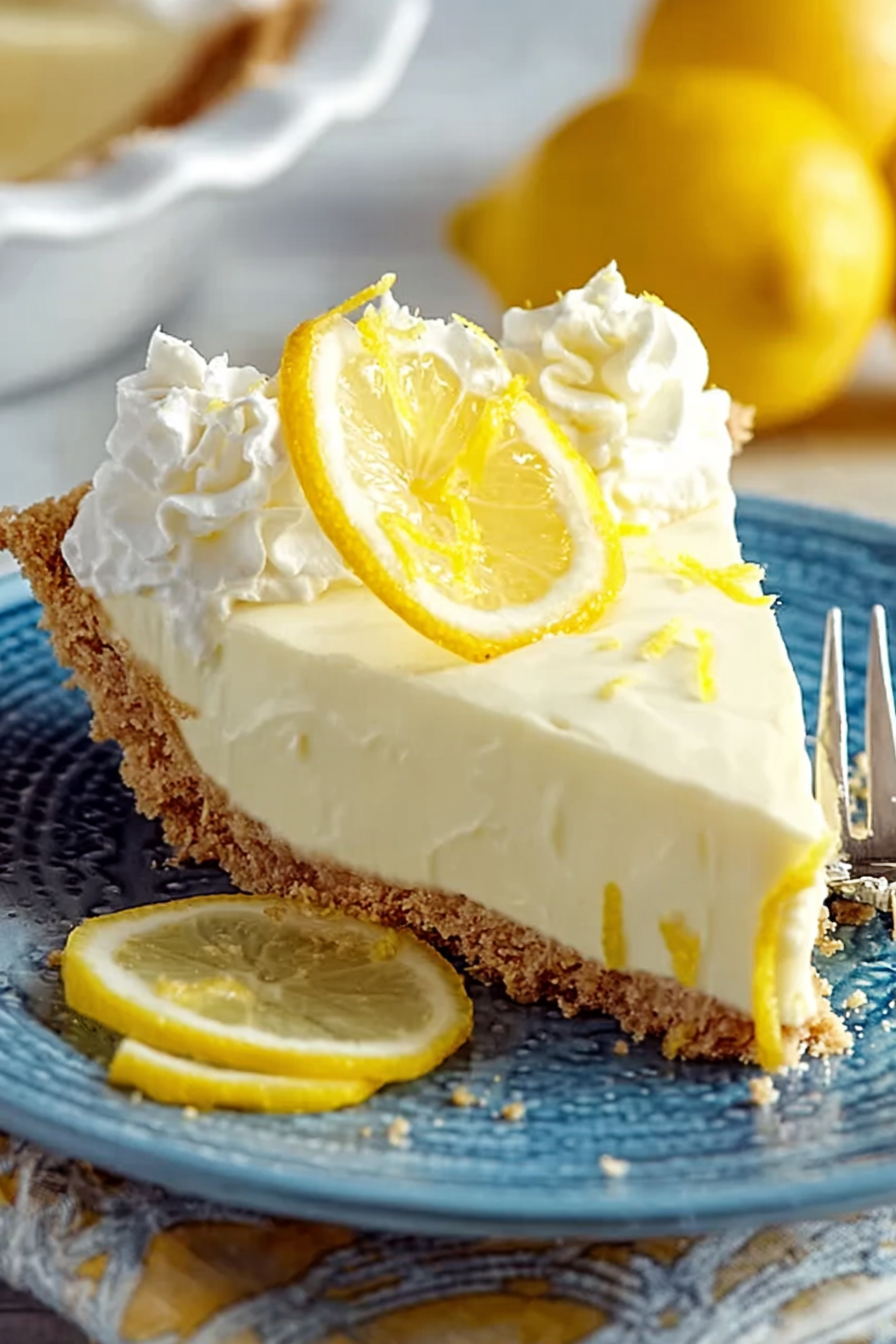
Step 8: Garnish and serve. Before serving, top with extra whipped cream, fresh lemon slices, or zest for a decorative finish. Slice, serve, and enjoy!
Variations & substitutions
One of the best things about this recipe is how flexible it is. You can tweak the ingredients to match your preferences or what you have on hand.
- Crust options: Swap graham crackers for vanilla wafers, gingersnaps, or even Oreos for a unique twist.
- Lemonade concentrate alternatives: Try pink lemonade concentrate for a colorful spin or limeade concentrate for a tangier flavor.
- Dairy-free version: Use vegan cream cheese and whipped topping for a dairy-free option.
- Toppings: Fresh berries, shredded coconut, or white chocolate shavings make fun garnishes.
💡 Expert Tips & Troubleshooting
- Soften cream cheese at room temperature for at least 30 minutes to avoid lumps in the filling.
- Do not overmix once the whipped topping is added—gentle folding keeps the texture light and airy.
- If the filling seems too soft, chill the pie longer or overnight for the best results.
- For a neater slice, dip your knife in hot water before cutting each piece.
- Always thaw frozen lemonade concentrate completely before mixing—it ensures even flavor distribution.
Storage, freezing & make-ahead
This pie is an excellent make-ahead dessert. Once assembled, it can be refrigerated for up to 3 days. Just cover it tightly with plastic wrap or foil to prevent it from absorbing other fridge odors.
If you’d like to freeze it, wrap the entire pie well in plastic wrap followed by a layer of foil. It can be frozen for up to 1 month. To serve, thaw it in the refrigerator overnight. Note that the texture may be slightly softer after freezing, but still delicious.
For parties or holidays, you can make the pie the night before and garnish it just before serving. This ensures the topping looks fresh and the flavors are fully developed.
Serving ideas & pairings
This pie is wonderfully versatile and can be served in different ways depending on the occasion:
- Pair slices with a glass of iced tea or lemonade for a refreshing summer combo.
- Serve with fresh berries like blueberries, raspberries, or strawberries for added color and flavor.
- Add a drizzle of raspberry or strawberry sauce for an extra layer of sweetness.
- Transform the pie into parfaits by layering the filling and crust crumbs in small glasses for individual servings.
FAQ
Can I use fresh lemon juice instead of lemonade concentrate?
Fresh lemon juice doesn’t provide the same sweetness and intensity as concentrate, so the pie may turn out more tart and less balanced. Stick with concentrate for best results.
Can I use homemade whipped cream instead of whipped topping?
Yes! Homemade whipped cream works beautifully, but be sure it’s stabilized so the pie holds its structure after chilling.
How long does this pie need to chill before serving?
At least 4 hours, though overnight chilling is best for clean slices and a firmer set.
Can I make this pie in mini tart shells instead?
Absolutely! Mini versions are adorable for parties and portion control. Just reduce the chilling time slightly.
My filling is too runny. What happened?
The most common原因 is not chilling long enough or adding the whipped topping too roughly. Be patient and allow the pie enough time in the refrigerator to firm up.
Final thoughts
This No-Bake Cream Cheese Lemonade Pie is everything you could want in a dessert—easy, refreshing, creamy, and downright irresistible. It’s the kind of recipe that quickly becomes a family tradition, cherished at summer picnics, holiday gatherings, or even just weeknight cravings. With its bright citrus flavor and dreamy texture, it proves that sometimes the simplest recipes are the most memorable. Make it once, and you’ll find yourself returning to it again and again.
Print
No-Bake Cream Cheese Lemonade Pie
- Total Time: 4 hours 15 minutes (includes chilling)
- Yield: 8 servings 1x
- Diet: Vegetarian
Description
A refreshingly sweet and tangy no-bake pie with a creamy lemonade filling in a buttery graham cracker crust. Perfect for summer gatherings or easy make-ahead desserts.
Ingredients
-
1 (9-inch) graham cracker crust (store-bought or homemade)
-
1 (8 oz) package cream cheese, softened
-
1 (5 oz) can evaporated milk
-
1 (6 oz) can frozen lemonade concentrate, thawed
-
1 (8 oz) container whipped topping, thawed
-
Optional garnish: lemon slices, zest, or whipped cream
Instructions
- If making a homemade crust, prepare it first by combining graham cracker crumbs, melted butter, and sugar, then press into a 9-inch pie dish.
- In a large bowl, beat the softened cream cheese until smooth and creamy.
- Gradually add the evaporated milk while mixing until fully incorporated.
- Stir in the thawed lemonade concentrate until evenly blended.
- Gently fold in the whipped topping with a spatula until no streaks remain.
- Pour the mixture into the prepared crust, smoothing the top.
- Cover and refrigerate for at least 4 hours or overnight until firm.
- Garnish with lemon slices, zest, or extra whipped cream before serving.
Notes
For neat slices, dip a sharp knife in warm water before cutting. This pie can be refrigerated for up to 3 days or frozen for up to 1 month.
- Prep Time: 15 minutes
- Cook Time: 0 minutes
- Category: Dessert
- Method: No-Bake
- Cuisine: American