Introduction
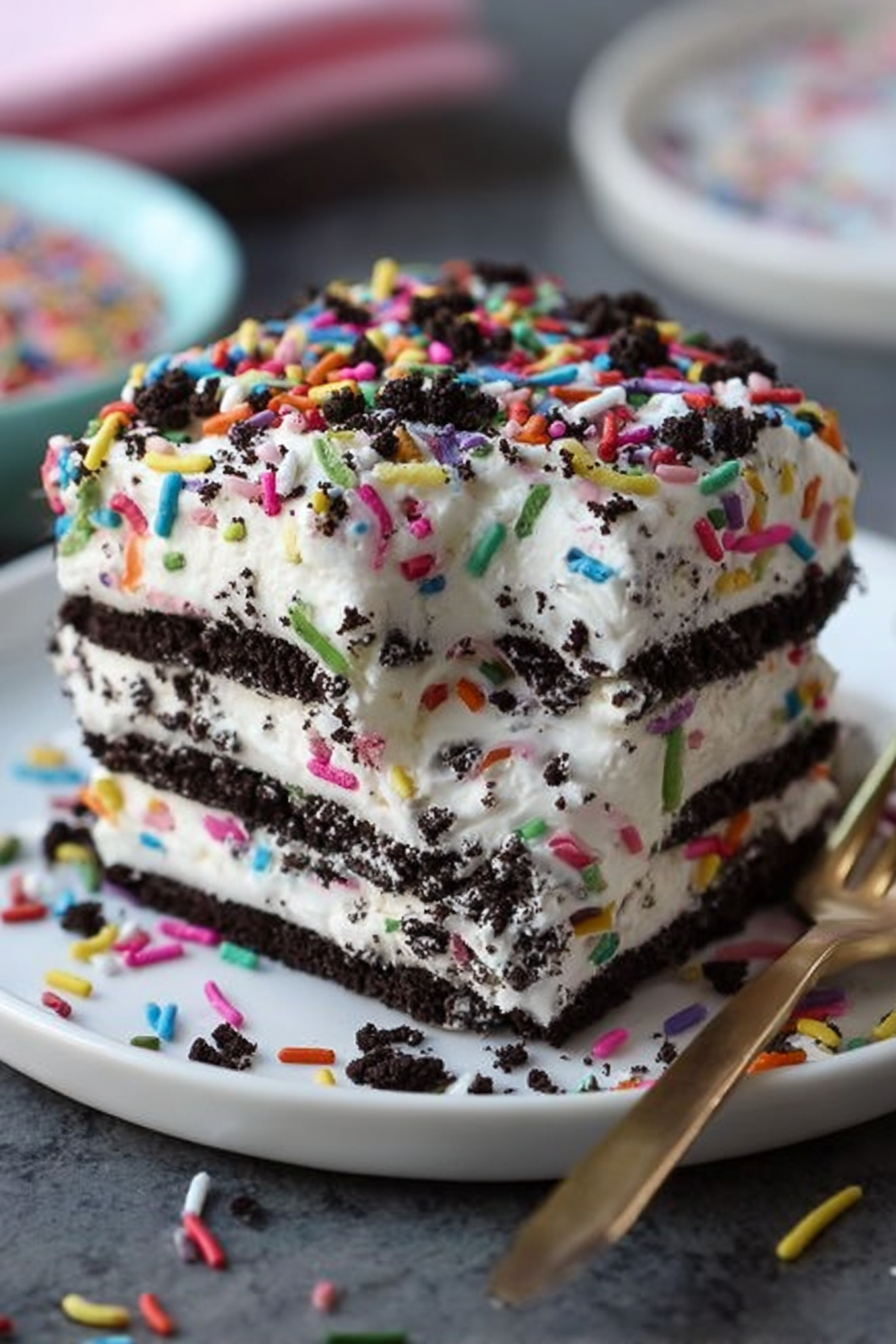
If you’re looking for a dessert that combines playful colors, rich creaminess, and effortless preparation, this No-Bake Funfetti Oreo Icebox Cake is a recipe you’ll want to keep on repeat. This fun dessert layers classic Oreo cookies with a fluffy homemade whipped cream, topped off with colorful sprinkles that instantly brighten any occasion. Since it requires no oven time, it’s the perfect treat for summer, last-minute gatherings, or whenever you crave something sweet without the fuss of baking.
My recipe story
Growing up, icebox cakes were a staple at family get-togethers. My grandmother used to make the classic version with graham crackers and cream, letting the fridge do all the magic overnight. When I started experimenting in my own kitchen, I wanted to recreate that same nostalgic experience but with a fun, modern twist. That’s when I thought of combining Oreos with the joyful touch of funfetti sprinkles. The first time I served it at a birthday party, it became an instant hit, and now it’s one of my go-to recipes whenever I need a crowd-pleasing dessert that looks as good as it tastes.
💡 Why You’ll Love This Recipe
- No-bake convenience—no oven required, just layer and chill.
- Kid-friendly and festive with colorful sprinkles.
- Uses simple ingredients you probably already have in your pantry.
- Make-ahead friendly, so it’s ready to go when you need it.
- Creamy, crunchy, and indulgent in every bite.
Ingredient breakdown
The beauty of this dessert lies in its simplicity. With just a handful of ingredients, you can create a dessert that looks bakery-worthy but is effortless to make at home. Let’s take a closer look at each component and why it works so well in this recipe.
Oreo cookies: These cookies are the backbone of the cake, replacing traditional wafers or graham crackers. As the cake chills, the Oreos soften into a cake-like texture while maintaining just enough crunch to provide contrast.
Heavy whipping cream: Whipping your own cream gives the dessert an ultra-luxurious texture. It’s light, fluffy, and far superior to store-bought whipped toppings. Sweetened just enough, it balances the chocolatey Oreo flavor perfectly.
Powdered sugar and vanilla extract: These simple additions enhance the flavor of the whipped cream without making it too heavy. Powdered sugar blends seamlessly without leaving any grainy texture, while vanilla brings warmth and depth.
Funfetti sprinkles: Though optional, these little pops of color make the dessert festive and joyful. They’re especially perfect for birthdays, holidays, or any celebration where you want to bring smiles to the table.
Equipment you’ll need
- Electric mixer or stand mixer (for whipping cream)
- Mixing bowls
- Spatula for folding and spreading cream
- 9×9-inch baking dish or similar
- Plastic wrap or foil for covering
- Refrigerator space for chilling
Step-by-step directions
Step 1: Prepare the whipped cream. In a large mixing bowl, pour in the heavy whipping cream. Using an electric mixer on medium speed, whip the cream until soft peaks form. Add the powdered sugar and vanilla extract, then continue whipping until stiff peaks hold. Be careful not to overwhip, as this can turn the cream grainy.
Step 2: Layer the Oreos. Arrange a single layer of Oreo cookies at the bottom of your baking dish. Depending on the size of your dish, you may need to break a few cookies to fit them snugly. This first layer will form the base of your cake.
Step 3: Spread the cream layer. Spoon a generous amount of whipped cream over the Oreos and use a spatula to spread it evenly. Aim for a thick, even layer that fully covers the cookies to ensure each bite is balanced.
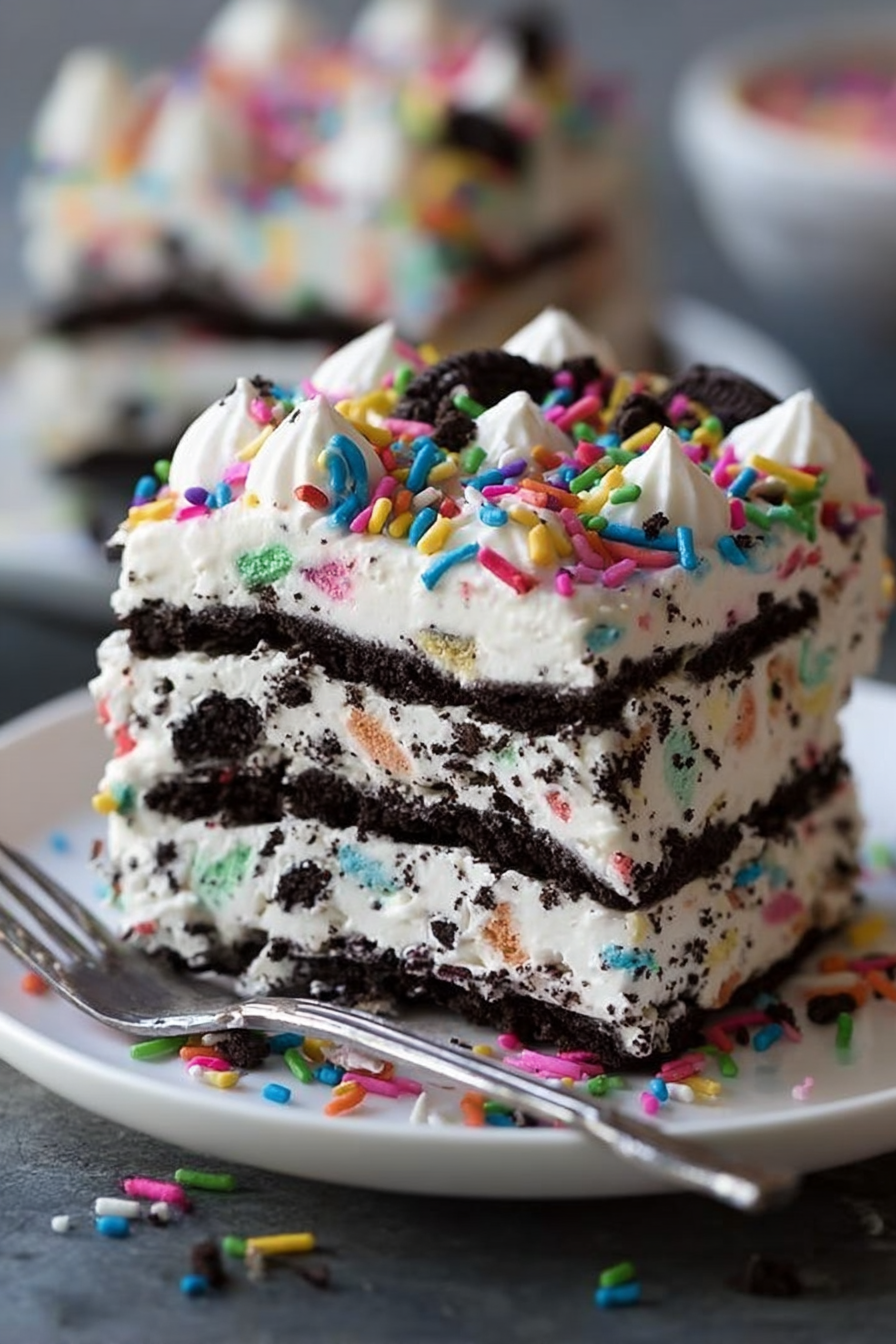
Step 4: Repeat the layers. Continue alternating layers of Oreos and whipped cream until you’ve used all the ingredients. Make sure to finish with a final layer of whipped cream on top, which will serve as the “frosting” for your cake.
Step 5: Add the funfetti touch. Sprinkle a generous handful of colorful funfetti sprinkles over the top layer of cream. This not only adds a festive pop of color but also gives the cake its signature look.
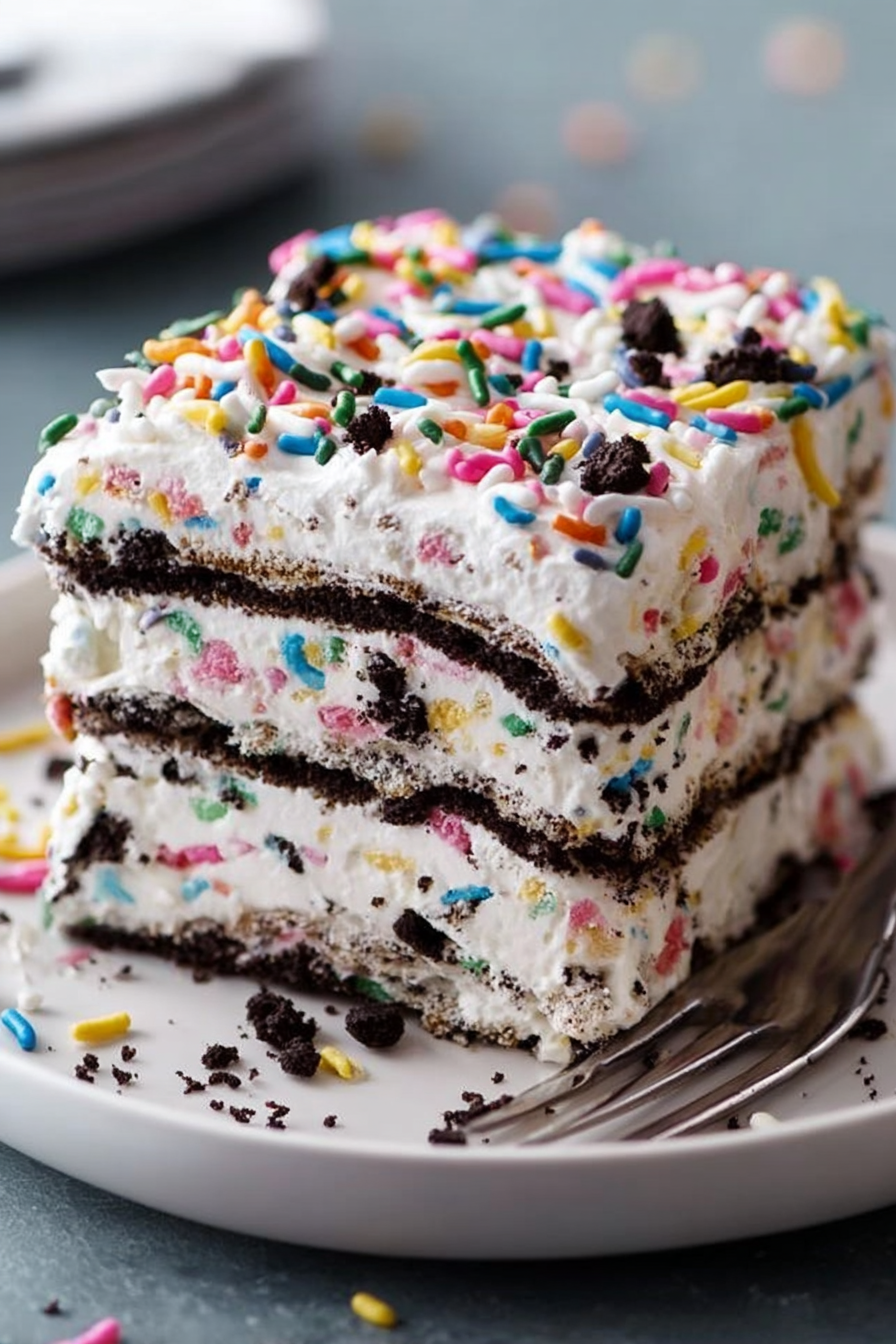
Step 6: Chill and set. Cover the dish with plastic wrap or foil and refrigerate for at least 4–6 hours, preferably overnight. This resting time allows the cookies to soften and meld beautifully with the cream, creating that classic icebox cake texture.
Step 7: Slice and serve. Once fully chilled, remove the cake from the fridge, slice into squares, and serve chilled. The layers will be soft, creamy, and picture-perfect with pops of funfetti joy.
Variations & substitutions
One of the best things about icebox cakes is their versatility. You can swap, substitute, or add flavors to suit your taste or occasion. Try using flavored Oreos like Golden Oreos, Birthday Cake Oreos, or even Mint Oreos for a unique twist. If you prefer a lighter version, you can substitute half the heavy cream with Greek yogurt or whipped coconut cream. For an extra indulgent layer, add a drizzle of chocolate or caramel sauce between the cookie and cream layers. Seasonal sprinkles also work beautifully—think red and green for Christmas, pastel for Easter, or orange and black for Halloween.
💡 Expert Tips & Troubleshooting
- Chill overnight for the best texture—patience makes the cookies soft and cake-like.
- Don’t overwhip the cream—stop as soon as stiff peaks form to avoid graininess.
- If your Oreos don’t soften enough, dip them quickly in milk before layering.
- Use a sharp knife for clean slices, wiping it between cuts for neat presentation.
- Store in a covered dish to prevent the cream from absorbing fridge odors.
Storage, freezing & make-ahead
This cake is best enjoyed within 2–3 days, as the whipped cream holds its texture and the cookies remain perfectly softened. Store leftovers in the refrigerator in an airtight container or tightly covered with plastic wrap. For longer storage, you can freeze the cake for up to 2 weeks. To serve, let it thaw in the fridge overnight before slicing. Since this recipe is make-ahead friendly, it’s perfect for preparing the night before a party or event, giving you one less thing to worry about on the day itself.
Serving ideas & pairings
This cake is delightful all on its own, but you can easily elevate it with creative pairings. Serve slices with a drizzle of hot fudge or caramel sauce for extra indulgence. Pair it with a scoop of vanilla or birthday cake ice cream for a dessert duo that’s party-perfect. A glass of cold milk is the classic companion, but for adults, try serving it with coffee or a sweet dessert wine. For celebrations, garnish each slice with an extra dollop of whipped cream and a candle for a fun presentation.
FAQ
Can I use Cool Whip instead of homemade whipped cream?
Yes, you can substitute Cool Whip for convenience, but homemade whipped cream provides a fresher, richer flavor and texture.
Do I need to soften the Oreos before layering?
No, the chilling process naturally softens them. If you want faster results, dip each cookie briefly in milk before layering.
Can I make this gluten-free?
Absolutely! Use gluten-free sandwich cookies in place of Oreos, and you’ll have a delicious gluten-free version.
How long does the cake need to chill?
A minimum of 4–6 hours works, but overnight chilling gives the best results with perfectly softened layers.
Can I add other mix-ins?
Yes! Mini chocolate chips, crushed candy bars, or even fruit like strawberries make wonderful additions to the cream layers.
Final thoughts
No-Bake Funfetti Oreo Icebox Cake is more than just a dessert—it’s a celebration in every bite. With its effortless preparation, vibrant sprinkles, and rich layers, it’s the perfect recipe to bring joy to birthdays, holidays, or even casual family dinners. Whether you’re an experienced home baker or a beginner looking for a foolproof sweet treat, this recipe delivers on all fronts: flavor, presentation, and ease. Keep it in your recipe box, because once you try it, you’ll find yourself making it again and again.
Print
No-Bake Funfetti Oreo Icebox Cake
- Total Time: 6 hours 20 minutes (including chill time)
- Yield: 9 servings
- Diet: Vegetarian
Description
A fun, colorful no-bake dessert layered with Oreos, whipped cream, and sprinkles. Perfect for birthdays and celebrations.
Ingredients
- 24 Oreo cookies
- 2 cups heavy whipping cream
- 1/4 cup powdered sugar
- 1 teaspoon vanilla extract
- 1/4 cup rainbow sprinkles (plus more for garnish)
Instructions
- In a large bowl, whip the heavy cream until soft peaks form. Add powdered sugar and vanilla, then continue whipping until stiff peaks hold.
- Place a layer of Oreos in the bottom of a 9×9-inch dish, breaking some to fit as needed.
- Spread a thick layer of whipped cream evenly over the Oreos.
- Repeat the layering process with Oreos and whipped cream until all are used, finishing with a cream layer on top.
- Sprinkle rainbow sprinkles generously over the top layer of whipped cream.
- Cover with plastic wrap and refrigerate for at least 4–6 hours, or overnight for best results.
- Slice into squares and serve chilled.
Notes
For an extra-soft texture, briefly dip Oreos in milk before layering. This cake keeps well in the fridge for 2–3 days and can also be frozen for up to 2 weeks.
- Prep Time: 20 minutes
- Cook Time: 0 minutes
- Category: Dessert
- Method: No-Bake
- Cuisine: American