1. Introduction to the Recipe
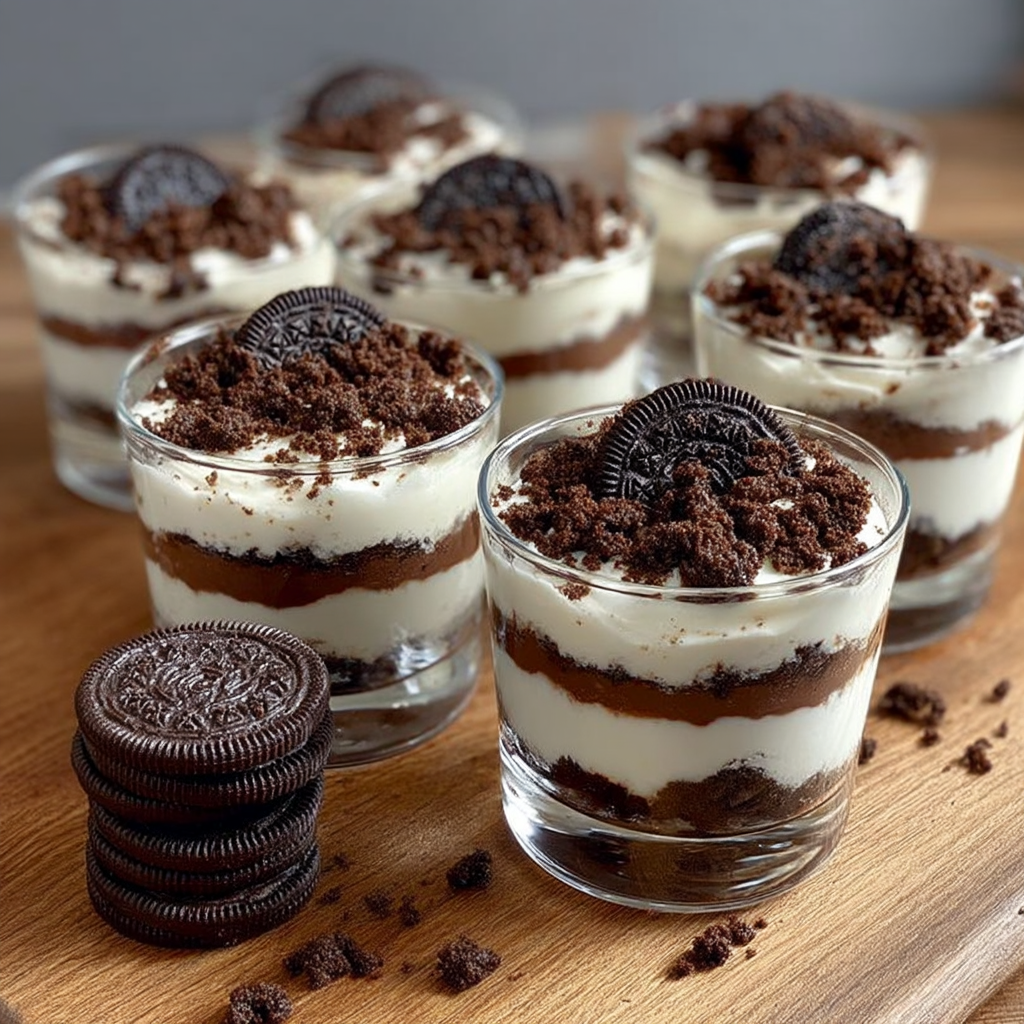
Looking for a quick and irresistible dessert that doesn’t require turning on the oven? These No Bake OREO Cheesecake Cups are the perfect solution. Whether you’re short on time or just want a no-fuss dessert, this recipe combines the nostalgic crunch of OREO cookies with a rich, creamy cheesecake filling—delivered in a cup for easy serving and portion control. With only a few ingredients and minimal prep, it’s an ideal treat for weeknights, parties, potlucks, or simply to satisfy your sweet tooth.
This easy dessert calls for just five simple components: a family-size package of classic OREO cookies, cream cheese, powdered sugar, whipped topping, and extra whipped cream for garnish. It’s a crowd-pleasing dessert that requires no baking skills—just mix, layer, and chill. You can even prepare them ahead of time for maximum convenience.
One of the best parts of this recipe is its versatility. Want to switch up the flavor? Try different types of OREO cookies like Golden, Mint, or Peanut Butter. You can even make it into a full-sized no-bake cheesecake if you’d rather serve slices instead of cups. If you’re curious about other no-bake desserts, this no-bake dessert guide has great inspiration. And for tips on using cream cheese in desserts, check out this cream cheese baking article.
With its creamy texture and crunchy cookie base, the No Bake OREO Cheesecake Cups are the ideal combo of decadent and easy. Whether you’re making them for a party or just craving a solo indulgence, this recipe is a guaranteed hit.
2. Basic Recipe: Ingredients and Instructions
Print
No Bake OREO Cheesecake Cups Recipe
Description
These No Bake OREO Cheesecake Cups are creamy, easy, and perfect for dessert lovers—made with just 5 ingredients and no oven!
Ingredients
- 1 ½ cups heavy whipped topping (such as Cool Whip)
- 8 ounces cream cheese, softened
- ½ cup powdered sugar
- 1 package Family Size OREO cookies (about 45–50 cookies)
- Whipped cream (for topping)
Instructions
- Crush the OREOs
Set aside 6–8 whole OREO cookies for garnish. Use a food processor or a zip-top bag with a rolling pin to crush the remaining cookies into fine crumbs. Reserve about ½ cup of crumbs for layering or topping. - Make the cheesecake filling
In a large mixing bowl, beat the softened cream cheese until smooth and creamy. Add the powdered sugar and beat again until fully combined. Gently fold in the whipped topping using a spatula until the mixture is light and fluffy. - Assemble the cheesecake cups
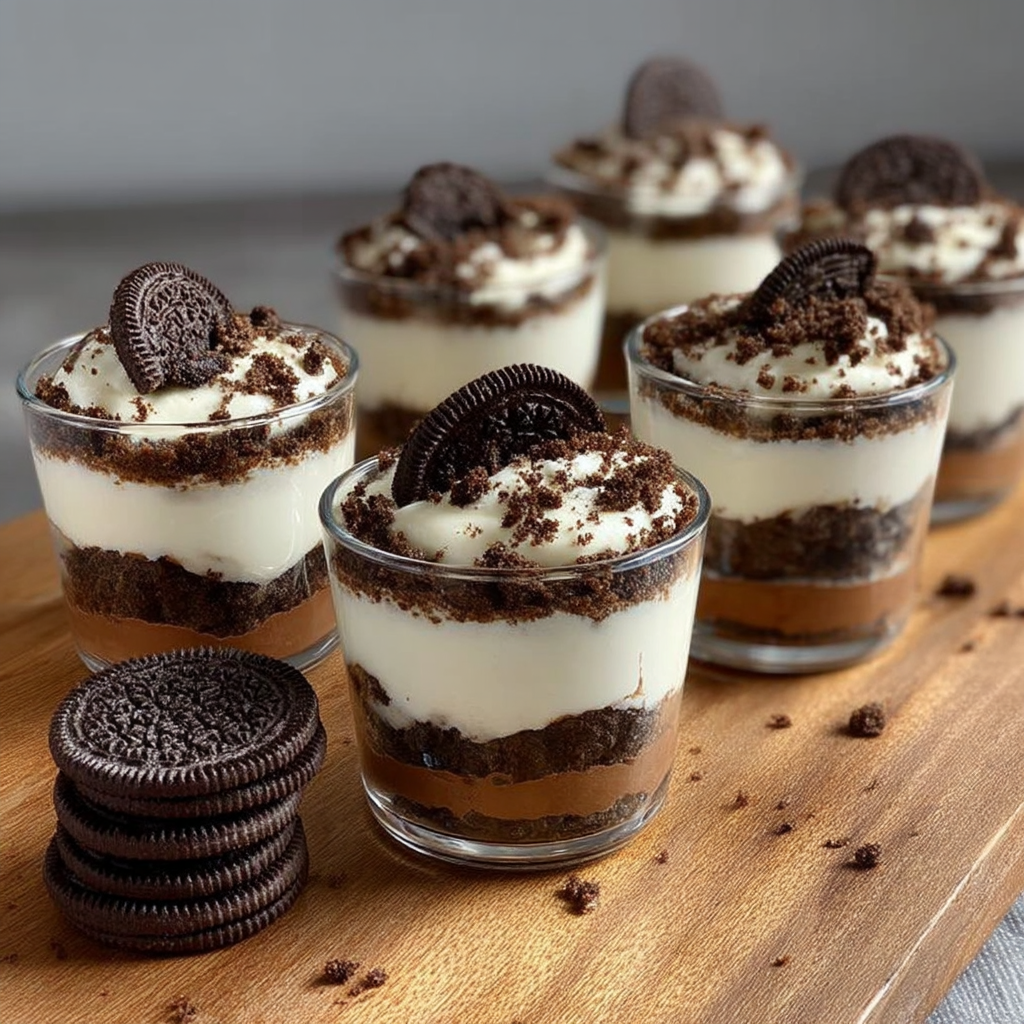
In small dessert cups or jars, layer the crushed OREO crumbs at the bottom. Add a few spoonfuls of the cheesecake mixture on top. Repeat the layers as desired. Finish with a sprinkle of reserved OREO crumbs on top. - Chill before serving
Place the assembled cups in the refrigerator for at least 1 hour (or overnight) to allow the flavors to blend and the texture to firm up. - Top and serve
Just before serving, add a dollop of whipped cream on each cup and garnish with a halved or crushed OREO cookie.
Notes
Soften your cream cheese fully at room temperature to avoid lumps in the filling.
For a lighter option, use low-fat cream cheese and light whipped topping.
Add a splash of vanilla extract for extra flavor.
This recipe can be doubled easily for large gatherings.
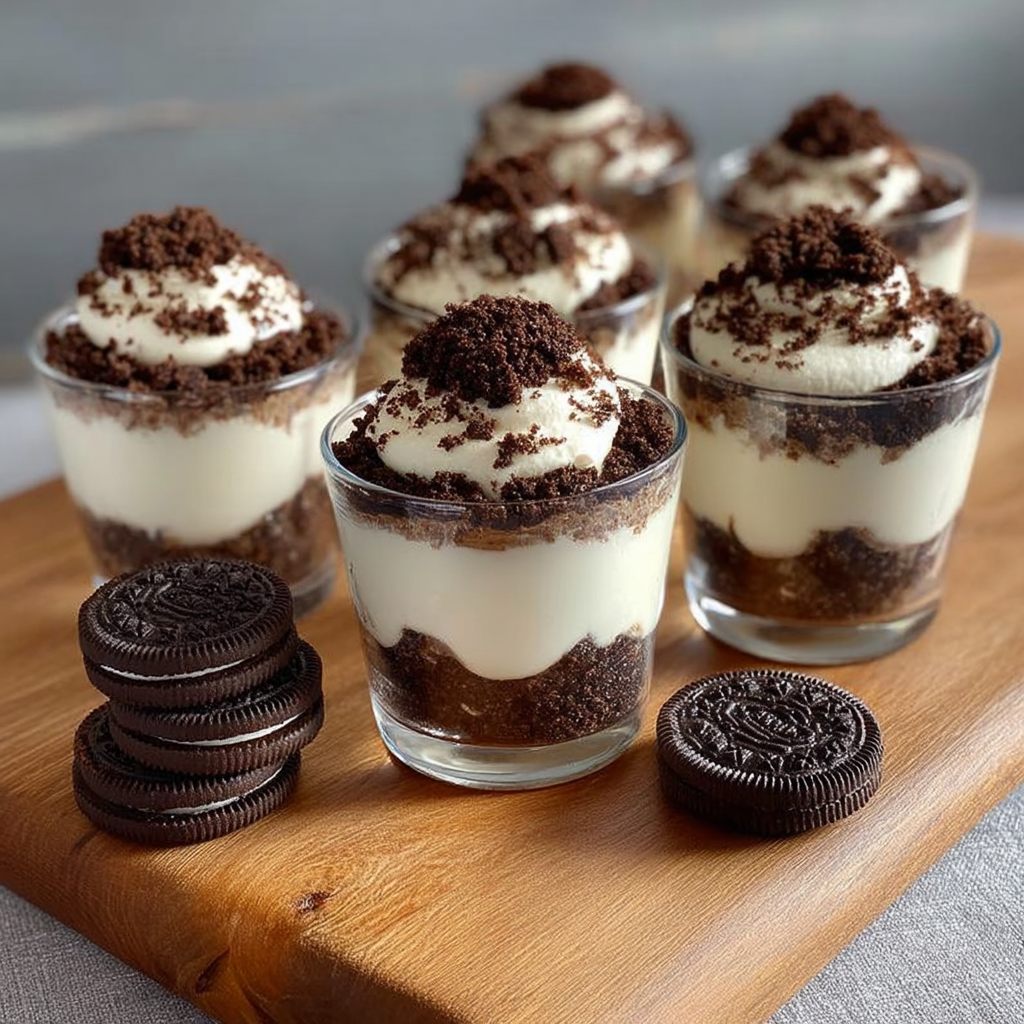
Try serving in mason jars, wine glasses, or mini dessert shot cups for an elegant presentation.
Keywords: No Bake OREO Cheesecake Cups
3. Advanced Techniques
**1. Infused Cheesecake Filling with Flavor Variations
To elevate your cheesecake filling, consider flavoring it with a teaspoon of vanilla extract, almond extract, or even peppermint extract for a twist. You can also add citrus zest like lemon or orange to cut through the sweetness and add brightness. If you enjoy more depth, a small spoonful of espresso powder can bring out the chocolate notes of the OREOs. Be careful not to add too much liquid or the consistency may loosen—flavoring oils or pastes are more concentrated and won’t water down the mix.
**2. Use a Piping Bag for a Professional Finish
For a neater, bakery-style presentation, spoon the cheesecake mixture into a piping bag fitted with a large round or star tip. Pipe the filling into the cups rather than spooning it in. This not only makes your dessert look more professional but also makes layering quicker and more precise—especially useful when making these in bulk or for parties.
**3. Frozen Cheesecake Cup Variation
Turn these into a refreshing summer dessert by freezing the assembled cups for 2–3 hours. They’ll take on a firmer, ice-cream-like texture that’s incredibly satisfying on hot days. Before serving, let them sit at room temperature for about 5–10 minutes to slightly soften. This variation works especially well when layered into popsicle molds or silicone muffin trays.
**4. Custom Crust Layer Options
While crushed OREOs are the classic choice, you can customize the base layer with other cookies—like graham crackers, Biscoff cookies, or even brownie bits. Mix the crumbs with a little melted butter (about 2 tablespoons) for a firmer crust at the bottom of each cup. Press it down gently with the back of a spoon to create a stable, flavorful foundation.
**5. Mini Cheesecake Bites Using Muffin Tins
Rather than assembling in cups, spoon the mixture into lined muffin tins with a cookie crust at the bottom. Freeze or refrigerate until firm, then remove the liners for adorable cheesecake bites. These are perfect for portion control and easy serving at parties or bake sales. Top with a dollop of whipped cream and a mini OREO for an eye-catching finish.
See more advanced recipes at cookingwhite.com
4. Storage, Shelf Life, and Maintenance Tips
**1. Refrigeration Guidelines
These cheesecake cups should always be stored in the fridge. Once assembled, they last up to 4–5 days when kept in an airtight container. For best texture and taste, consume within 48 hours. Keep them tightly covered to prevent absorbing fridge odors or drying out the topping.
**2. Freezer Storage for Make-Ahead Convenience
You can freeze these cheesecake cups if you need to prep far in advance. Just avoid topping them with whipped cream until serving time. Freeze them uncovered on a tray until solid, then wrap each cup in plastic wrap or place in a freezer-safe container. They can last up to 1 month. Thaw in the fridge overnight before serving.
**3. Avoiding Soggy Crumbs
To prevent the bottom layer of crushed OREOs from becoming soggy, try brushing it lightly with melted chocolate before adding the filling. The chocolate creates a barrier that keeps the crumbs crunchy, especially when stored for more than 24 hours. Alternatively, use whole OREO halves as a base for each cup to hold their texture better.
**4. How to Maintain Whipped Topping Texture
Whipped topping can deflate if overmixed or exposed to warm temperatures too long. Always fold it gently into the cream cheese mixture, and keep the entire dessert cold. If using homemade whipped cream instead of store-bought, stabilize it with a tablespoon of powdered sugar or cornstarch to maintain firmness.
**5. Best Containers for Storage
Use small jars, ramekins, or dessert cups with lids for ideal storage. If you’re making a large batch for an event, disposable dessert cups with snap-on lids are great for transport. Avoid using plastic wrap directly on top of the whipped cream—it may stick and ruin the finish. Use domed lids or a loose cover instead.
5. Dietary Adaptations and Substitutions
**1. Gluten-Free Adaptation
Use gluten-free OREO cookies (now widely available) and double-check that your whipped topping and cream cheese are certified gluten-free. These substitutions won’t significantly alter the taste or texture, making it an easy swap for guests with gluten sensitivities.
**2. Vegan Variation
For a fully vegan version, use plant-based cream cheese, a dairy-free whipped topping (like coconut or almond-based), and certified vegan OREO-style cookies. Some whipped toppings come stabilized and ready to use—just check the label. You’ll get a similar creamy result with a clean conscience.
**3. Low-Sugar Option
Use sugar-free or reduced-sugar cookies and substitute powdered erythritol or monk fruit sweetener for the powdered sugar. Opt for a light whipped topping and consider reducing the quantity of cookie crumbs. This version still offers a rich flavor with significantly less sugar content.
**4. Nut-Free Friendly
This recipe is naturally nut-free, but always double-check labels on cookies, cream cheese, and whipped toppings to ensure there’s no cross-contamination. If preparing for a nut-allergy-sensitive crowd, avoid using cookie brands manufactured
in facilities that process nuts.
**5. Dairy-Free Option
Swap regular cream cheese for a dairy-free alternative (such as cashew or coconut cream cheese) and use coconut whipped topping. These swaps keep the dessert creamy without the lactose. Be sure your OREO-style cookies are also dairy-free—many are, but always confirm.
6. FAQs About the Recipe
Q1: Can I make these OREO cheesecake cups ahead of time?
Absolutely. These are ideal make-ahead desserts. Assemble them up to 24 hours in advance and refrigerate. If you’re serving them for a party, wait to add the whipped cream topping and cookie garnish until just before serving for the best texture and presentation.
Q2: Can I use homemade whipped cream instead of store-bought topping?
Yes, homemade whipped cream can be used and may even taste better! Just make sure to stabilize it with a bit of powdered sugar or gelatin so it holds up. Store-bought whipped toppings are more stable, which is why they’re often used for no-bake recipes.
Q3: Can I make this into a full-size no-bake cheesecake?
Definitely! Instead of cups, press the OREO crumbs into a springform pan to make a crust. Add the filling and refrigerate for 4–6 hours or until firm. Slice and serve with whipped cream and crushed OREOs. It’s the same delicious flavor in cake form!
Q4: How many servings does this recipe make?
Depending on your serving size and cup type, this recipe makes about 6–8 medium dessert cups. If using mini cups for parties or tastings, you can easily stretch it to 10–12 smaller portions. You can scale the ingredients up or down based on your needs.
Q5: What’s the best way to crush OREOs without a food processor?
If you don’t have a food processor, place the cookies in a zip-top bag and use a rolling pin or heavy pan to crush them. Make sure to crush them as finely or coarsely as you like. You can also use a mortar and pestle for small batches.
7. Conclusion & Final Thoughts
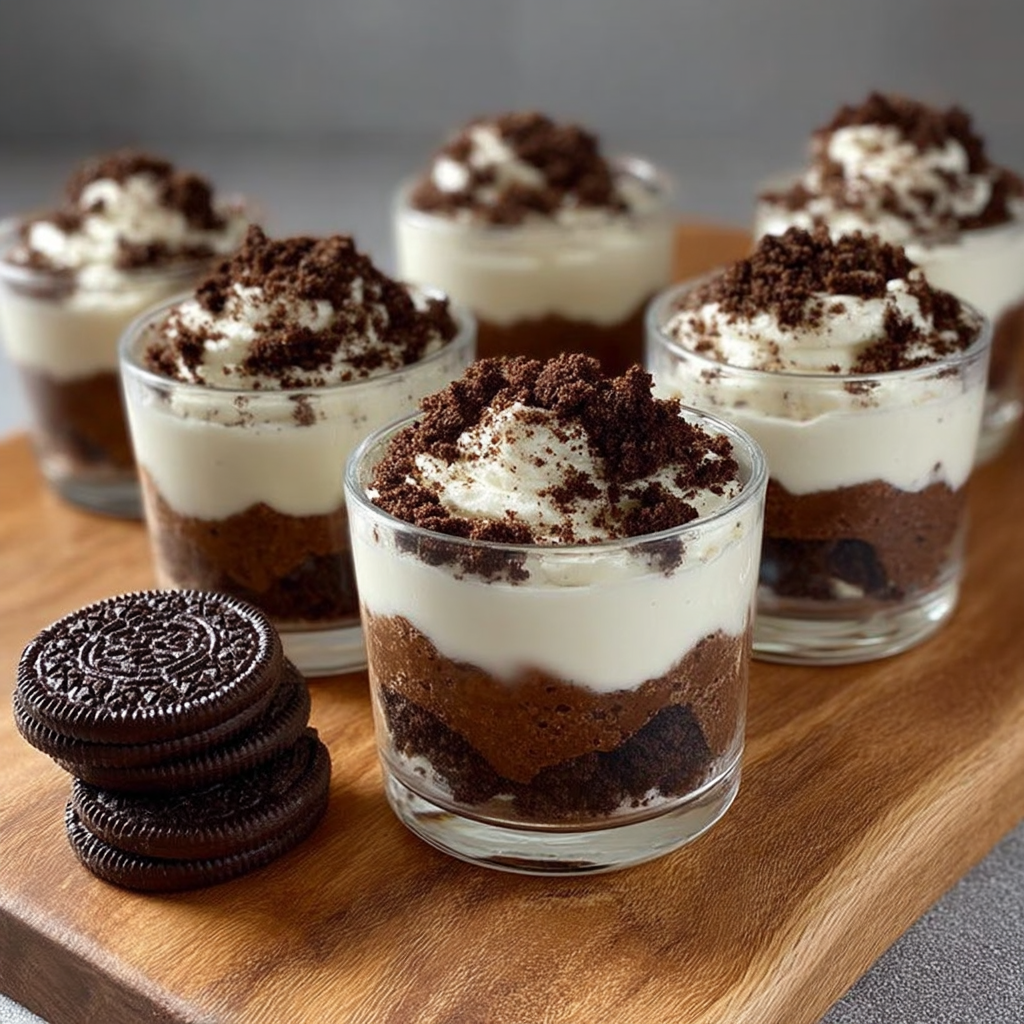
Few desserts check all the boxes like No Bake OREO Cheesecake Cups. They’re creamy, crunchy, sweet, and chocolatey—yet take minimal effort to prepare. In under 20 minutes (plus chill time), you can have an elegant and satisfying treat ready to go, perfect for all kinds of occasions: family dinners, holiday gatherings, birthday parties, or simply a self-care night on the couch.
What really makes this recipe shine is its versatility. You can go classic or get creative with different OREO flavors, filling additions (like peanut butter, Nutella, or berries), or various toppings like chocolate drizzle or crushed candy. The no-bake factor also makes this a perfect recipe for summer or for those without access to a full kitchen—no oven needed, just a fridge.
It’s also a great recipe to make with kids or beginners, thanks to its simplicity and room for creativity. With the right layering and presentation, these cups can even rival desserts you’d find at upscale bakeries.
So whether you’re craving comfort food or need an easy dessert for guests, give these No Bake OREO Cheesecake Cups a try. They’re decadent, fuss-free, and guaranteed to impress with every spoonful.