
Introduction to No-Bake Pumpkin Pie
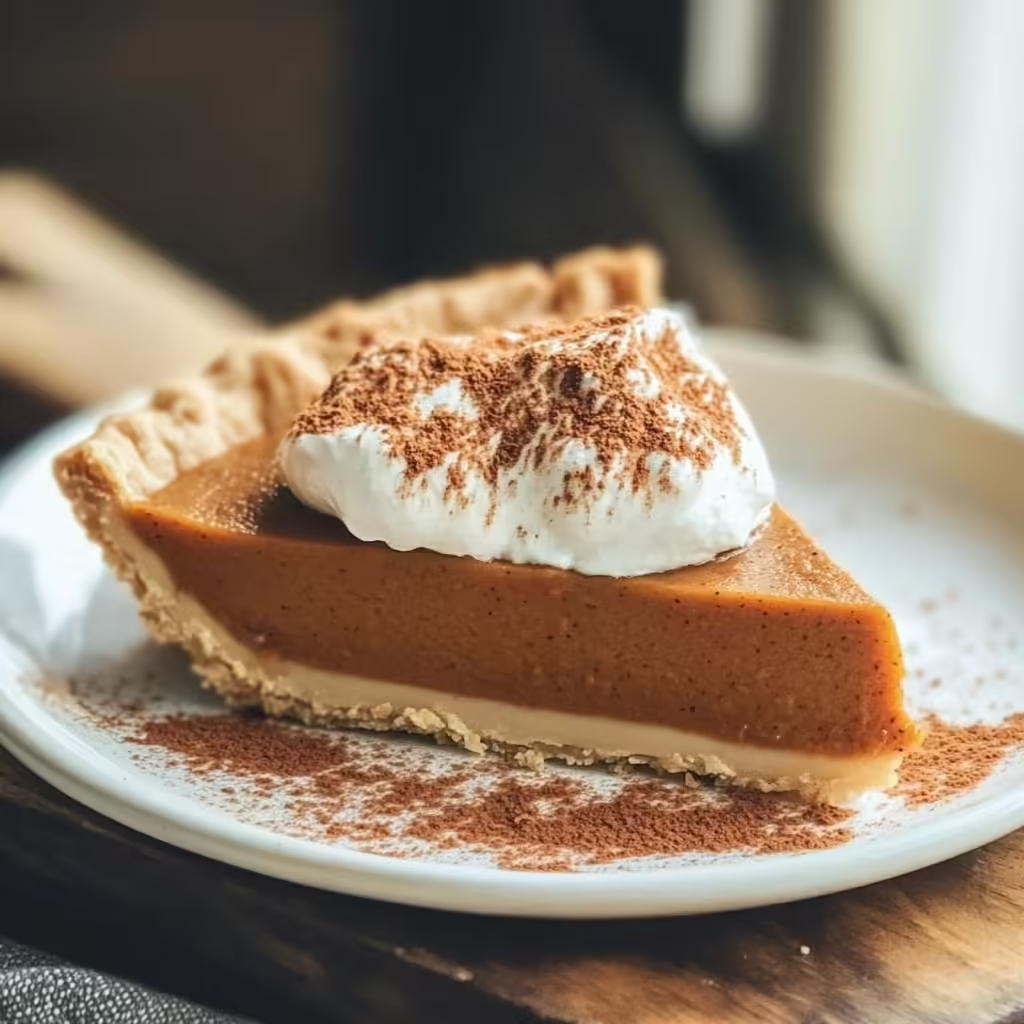
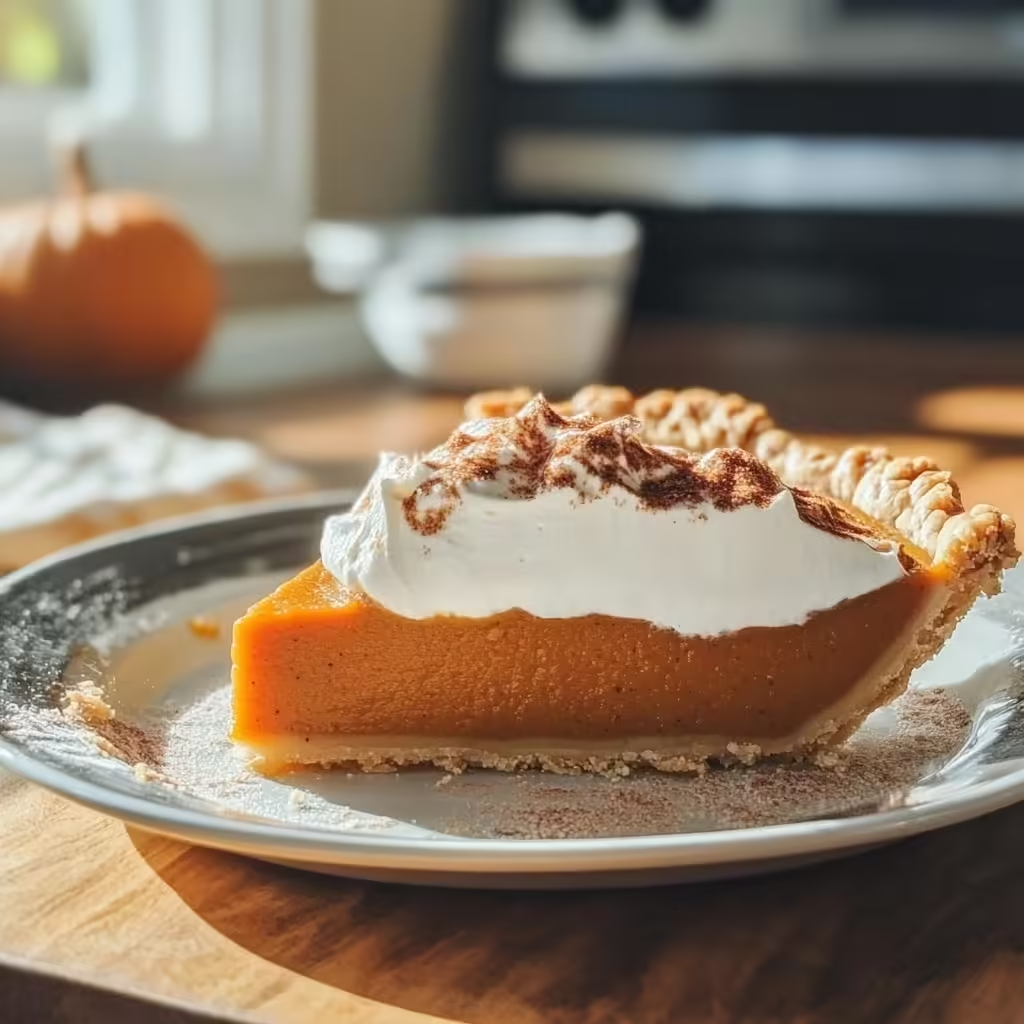
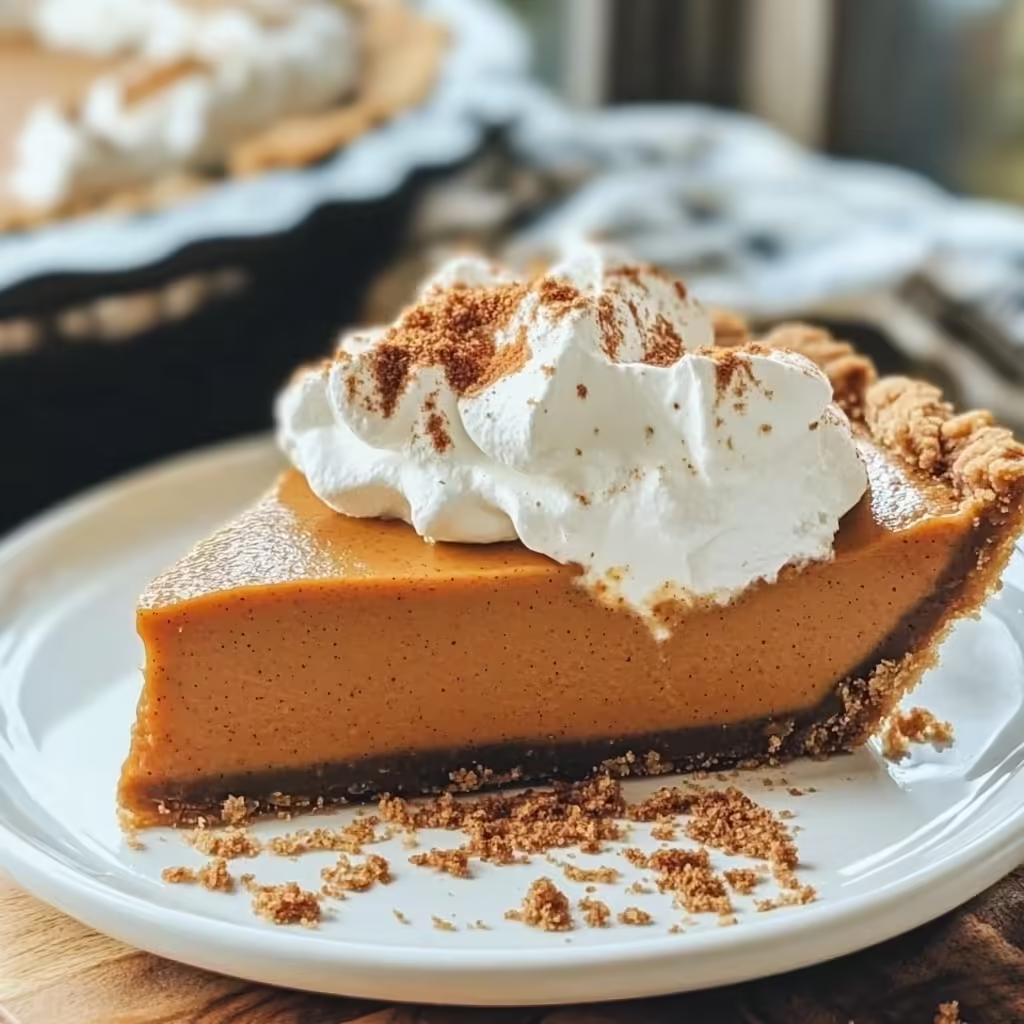
No-Bake Pumpkin Pie is a wonderfully simple yet delicious dessert that’s perfect for the fall season. It offers all the flavors of traditional pumpkin pie, but without the need for baking. This recipe comes together quickly, making it ideal for those who want a festive dessert without spending too much time in the kitchen. Creamy layers of spiced pumpkin filling, smooth cream cheese, and whipped topping sit atop a crunchy graham cracker crust, creating a dessert that’s rich, flavorful, and crowd-pleasing. This no-bake pie is great for family gatherings, potlucks, or even as a special treat for yourself — plus, the recipe makes two pies, so there’s plenty to share!
Basic Recipe for No-Bake Pumpkin Pie
Ingredients:
- 2 cups canned pumpkin
- 1/2 cup sugar
- 8 ounces cream cheese, softened
- 2 (8-ounce) containers of Cool Whip or other whipped cream
- 1 tablespoon cinnamon
- 2 teaspoons pumpkin pie spice
- 1 teaspoon nutmeg
- 1 (3.4-ounce) box instant vanilla pudding
- 1 cup milk
- 2 pre-made 9-inch graham cracker crusts
Instructions:
1. Prepare the Graham Cracker Crusts:
- Set out your two pre-made graham cracker crusts so they’re ready for the filling.
2. Make the Cream Cheese Layer:
- In a medium-sized bowl, combine the softened cream cheese, sugar, and one 8-ounce tub of Cool Whip. Use a hand mixer to blend the ingredients until smooth and creamy.
- Evenly distribute this cream cheese mixture between the two graham cracker crusts, creating the first layer for your pies. Use a spatula to smooth the layer evenly across the bottom of each crust.
3. Create the Pumpkin Layer:
- In a separate bowl, whisk together the instant vanilla pudding and milk until thickened, which should take about 2-3 minutes.
- Stir in the canned pumpkin, pumpkin pie spice, nutmeg, and cinnamon, mixing until fully combined.
- Once blended, spoon this pumpkin mixture on top of the cream cheese layer in each pie, making sure it is evenly spread.
4. Add the Whipped Topping:
- For the final layer, use the second 8-ounce container of Cool Whip to top each pie. Spread it smoothly over the pumpkin layer, creating a light and fluffy topping.
- For an extra decorative touch, sprinkle a little pumpkin pie spice on top of the Cool Whip.
5. Chill and Serve:
- Refrigerate the pies for at least 2 hours to allow them to set properly before serving.
- Once set, slice and enjoy this creamy, spiced no-bake pumpkin pie. This recipe makes two pies, perfect for serving a crowd or saving one for later!
Advanced Techniques for Perfect No-Bake Pumpkin Pie
1. Achieving Smooth Layers:
- To ensure the cream cheese layer is perfectly smooth and lump-free, make sure the cream cheese is fully softened before mixing. Cold cream cheese can cause lumps in the mixture, so let it sit at room temperature for about 30 minutes before blending. You can also use a stand mixer with a paddle attachment to get an extra creamy consistency.
2. Thickening the Pudding Layer:
- When preparing the pumpkin pudding layer, make sure the instant vanilla pudding is fully thickened before adding the pumpkin and spices. This ensures that the layer will hold its shape and won’t become too runny when layered onto the pie. If the mixture is too loose, let it sit for a few minutes longer to firm up before adding the pumpkin.
3. Enhancing the Spice Profile:
- While this recipe already includes pumpkin pie spice, cinnamon, and nutmeg, you can boost the flavor by adding a pinch of ground ginger, cloves, or allspice for a deeper, spicier kick. Adjust the spices to your taste preferences to create a more customized flavor.
4. Creating a Deep-Dish Pie:
- If you prefer a thicker, more substantial pie, you can use a single springform pan instead of two standard graham cracker crusts. Simply press the graham cracker crumbs into the bottom of the pan, layer the fillings as instructed, and chill the pie in the refrigerator. A springform pan allows for easy removal, and it creates a more impressive, deep-dish style dessert.
5. Homemade Whipped Cream Option:
- For a more homemade touch, you can make your own whipped cream instead of using store-bought Cool Whip. Simply whip 2 cups of heavy cream with 2 tablespoons of powdered sugar and 1 teaspoon of vanilla extract until stiff peaks form. Use this freshly whipped cream to layer between and top the pies for a richer, fresher taste.
Maintenance Tips for Storing and Serving
1. Storing Leftovers:
- Store any leftover pie in the refrigerator, covered with plastic wrap or foil, for up to 3-4 days. The whipped topping may soften over time, but the pie will remain delicious and creamy. Be sure to keep it chilled to maintain the proper texture.
2. Freezing the Pie:
- If you’d like to make this pie in advance or save some for later, it freezes well. To freeze, wrap the pie tightly in plastic wrap and then in aluminum foil to prevent freezer burn. Freeze for up to 1 month. To serve, thaw the pie in the refrigerator overnight. The texture will remain creamy and smooth after freezing.
3. Serving Suggestions:
- For an added touch of elegance, serve the pie with a drizzle of caramel sauce or a sprinkle of crushed graham crackers on top. You can also add a dollop of whipped cream to each slice for an extra creamy finish. A warm cup of coffee or hot cider pairs beautifully with the spiced flavors of the pie.
4. Make-Ahead Tips:
- This no-bake pumpkin pie is perfect for making ahead of time, which is especially useful during busy holiday seasons. Prepare the pie up to two days in advance and keep it refrigerated until ready to serve. The flavors will deepen as it chills, making it even more delicious the next day.
Dietary Adaptations for No-Bake Pumpkin Pie
1. Gluten-Free Adaptation:
- To make this recipe gluten-free, simply substitute the pre-made graham cracker crusts with gluten-free graham cracker crusts. Many stores carry gluten-free options, or you can make your own crust by crushing gluten-free graham crackers and mixing them with melted butter to form the base.
2. Dairy-Free Version:
- For a dairy-free adaptation, replace the cream cheese with a dairy-free cream cheese substitute, and use a dairy-free whipped topping such as coconut-based Cool Whip. Additionally, check that your graham cracker crust is dairy-free, or make your own crust using dairy-free graham crackers and coconut oil instead of butter.
3. Low-Sugar Option:
- To reduce the sugar content, use a sugar substitute like stevia or erythritol in place of the granulated sugar. Opt for a sugar-free whipped topping and pudding mix, both of which are available in most grocery stores. This will lower the overall sweetness while still maintaining the delicious flavor and texture of the pie.
4. Vegan Adaptation:
- To make this recipe vegan, use a plant-based cream cheese, dairy-free whipped topping, and a vegan graham cracker crust. Ensure that all the other ingredients, such as the pudding mix and canned pumpkin, are free from animal products. The result will be a creamy, spiced vegan dessert that everyone can enjoy.
5. Keto-Friendly Version:
- For a keto-friendly version of this pie, swap out the graham cracker crust for a low-carb crust made from almond flour and butter. Use a sugar-free pumpkin pie spice mix, sugar-free pudding, and a keto-friendly sweetener like monk fruit or erythritol. Replace the whipped topping with a sugar-free, keto-friendly alternative.
Frequently Asked Questions (FAQs)
Q: Can I use fresh pumpkin instead of canned pumpkin?
- Yes, you can use fresh pumpkin puree in place of canned pumpkin. To do this, roast or steam fresh pumpkin until tender, then puree it in a blender or food processor until smooth. Be sure to drain any excess moisture from the puree before using it in the recipe to prevent the pie from becoming too watery.
Q: Can I make this pie in one large crust instead of two?
- Absolutely! If you prefer to make a single, deeper pie, you can use a 9-inch springform pan or a deep-dish graham cracker crust. Follow the same steps for layering the cream cheese and pumpkin mixtures, and chill the pie as directed. This will create a more substantial dessert with thicker layers.
Q: How can I prevent the whipped topping from melting or deflating?
- To ensure the whipped topping remains fluffy, store the pie in the refrigerator until just before serving. If you’re using homemade whipped cream, make sure to whip it to stiff peaks and refrigerate the pie for at least two hours to allow the layers to set properly. Avoid leaving the pie out at room temperature for extended periods, as the topping may soften.
Q: Can I add other toppings to the pie?
- Yes! You can get creative with your toppings by adding crushed graham crackers, chopped nuts (such as pecans or walnuts), or a drizzle of caramel or chocolate sauce over the whipped topping. These additional toppings add texture and flavor, enhancing the overall presentation of the pie.
Q: Can I use a different flavor of pudding mix?
- While vanilla pudding is recommended for this recipe, you can experiment with other pudding flavors such as butterscotch or cheesecake-flavored pudding to add a unique twist. Just make sure the flavor complements the pumpkin and spices.
Q: How long should I chill the pie before serving?
- It’s best to chill the pie for at least 2 hours before serving, but overnight is even better for allowing the flavors to meld and the pie to fully set. The longer chill time ensures that the layers hold together well and makes slicing the pie easier.
Conclusion
No-Bake Pumpkin Pie is the perfect fall dessert for those who love the flavors of traditional pumpkin pie but want an easier, quicker option. With its creamy layers of spiced pumpkin, smooth cream cheese, and whipped topping, this pie is sure to be a hit at any gathering. Whether you’re making it for a holiday feast, a casual dinner, or just to satisfy your pumpkin cravings, this no-bake recipe is simple, versatile, and delicious. Plus, with dietary adaptations available for gluten-free, dairy-free, vegan, and keto-friendly diets, everyone can enjoy a slice of this delightful treat!