1. Introduction to the Recipe
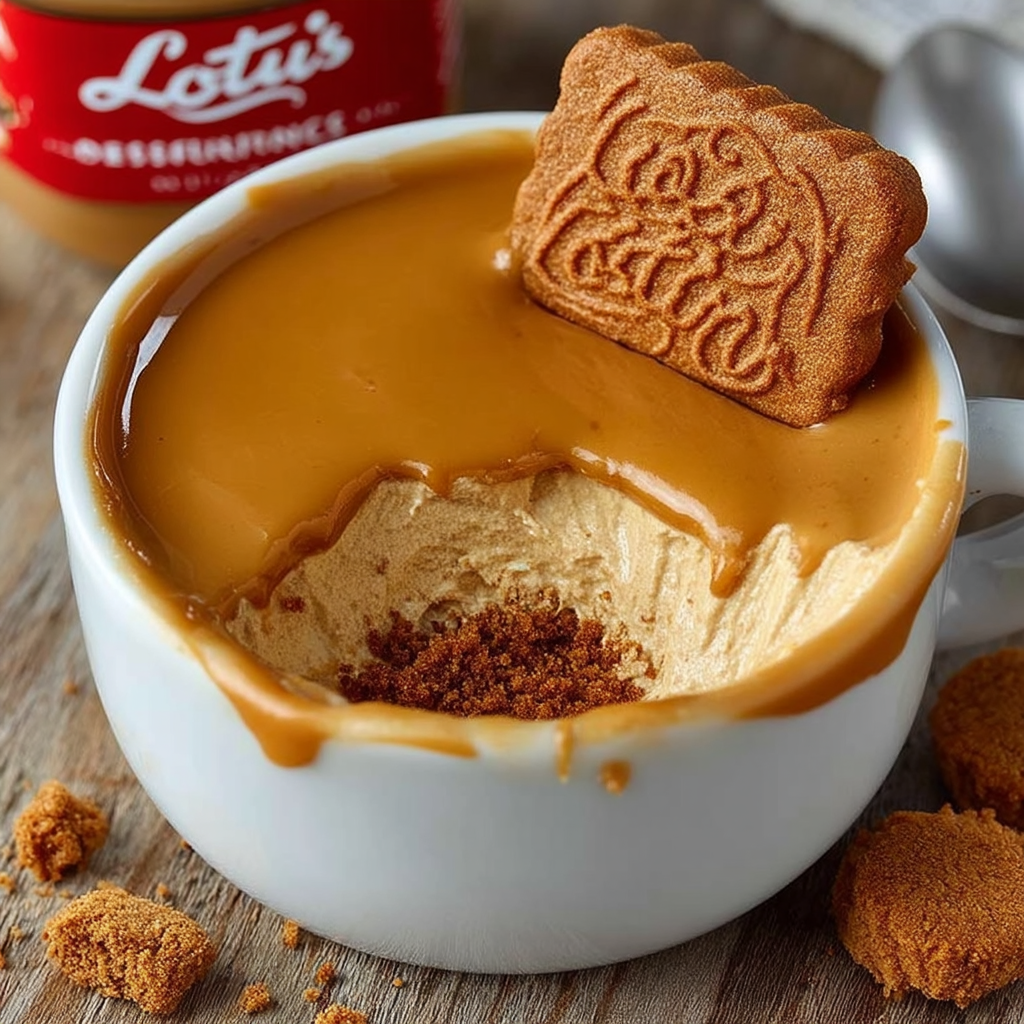
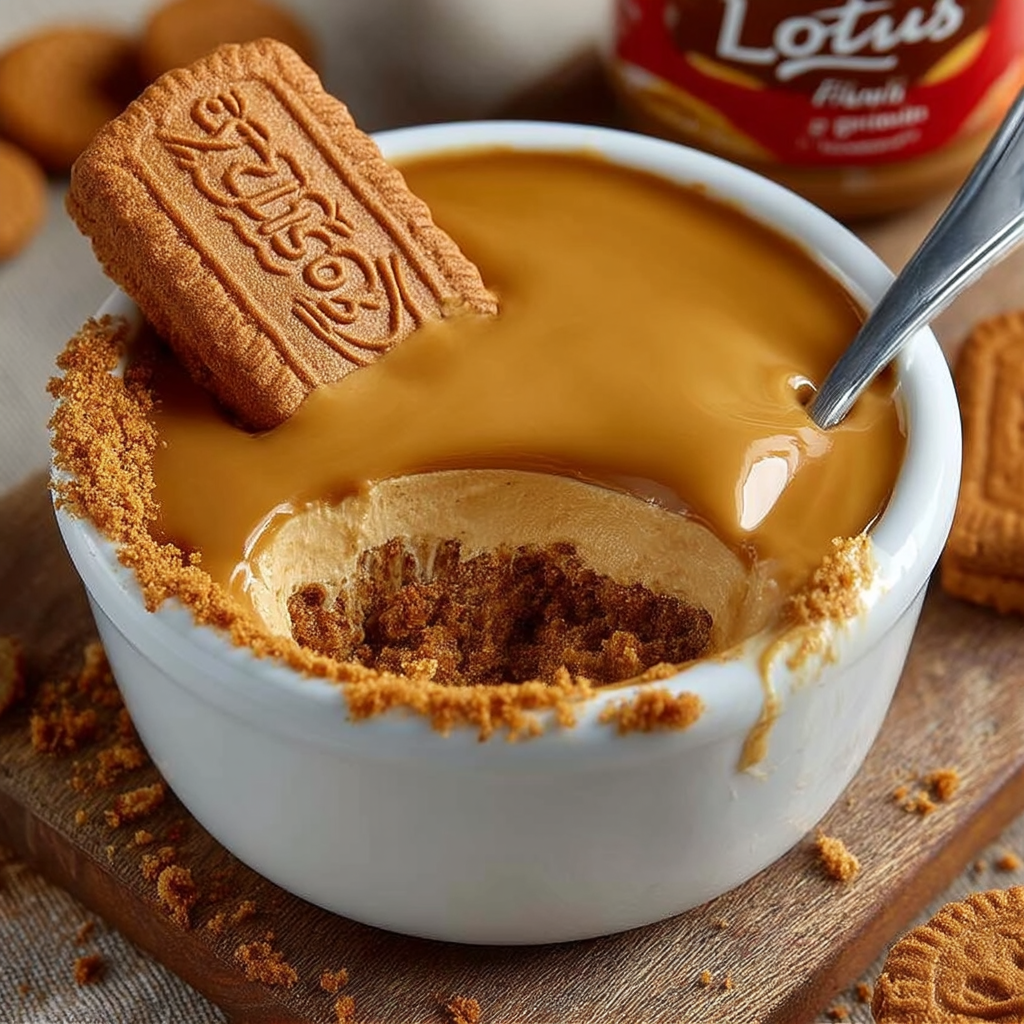
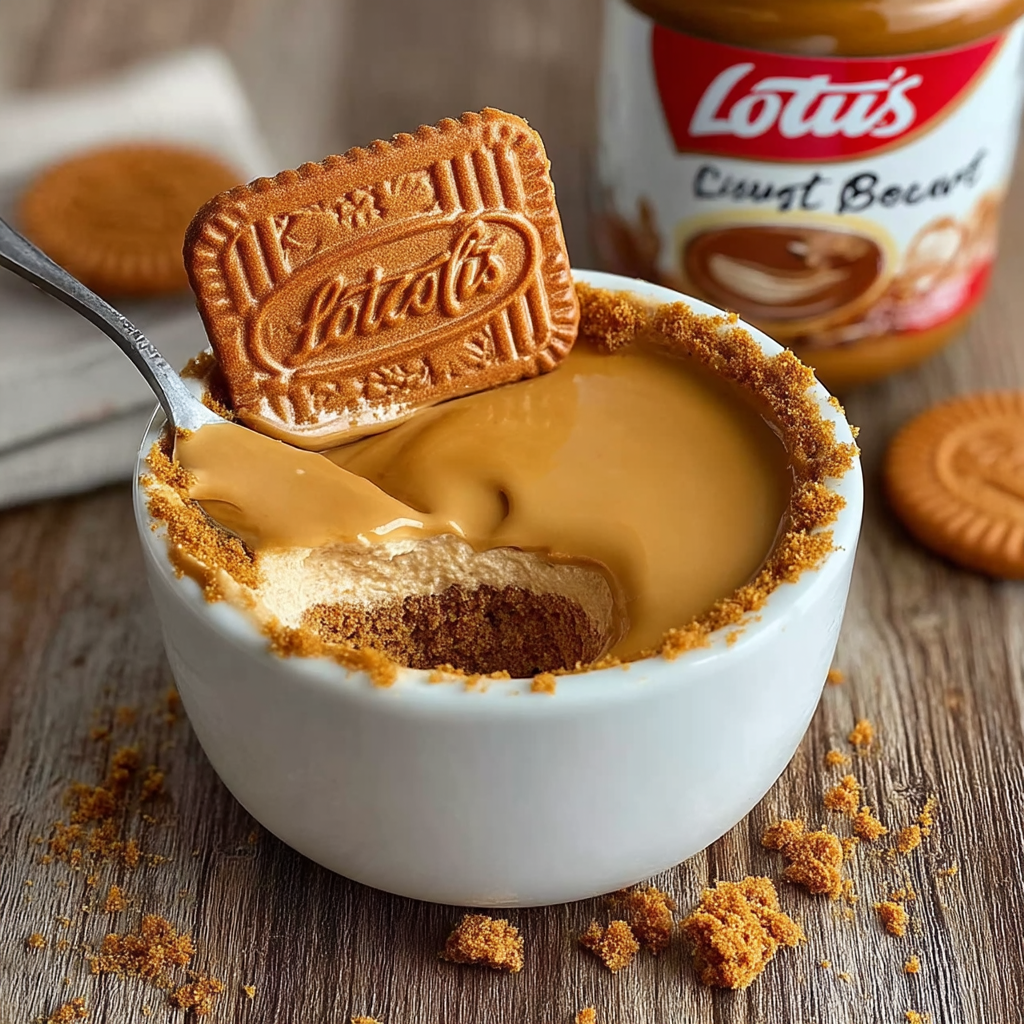
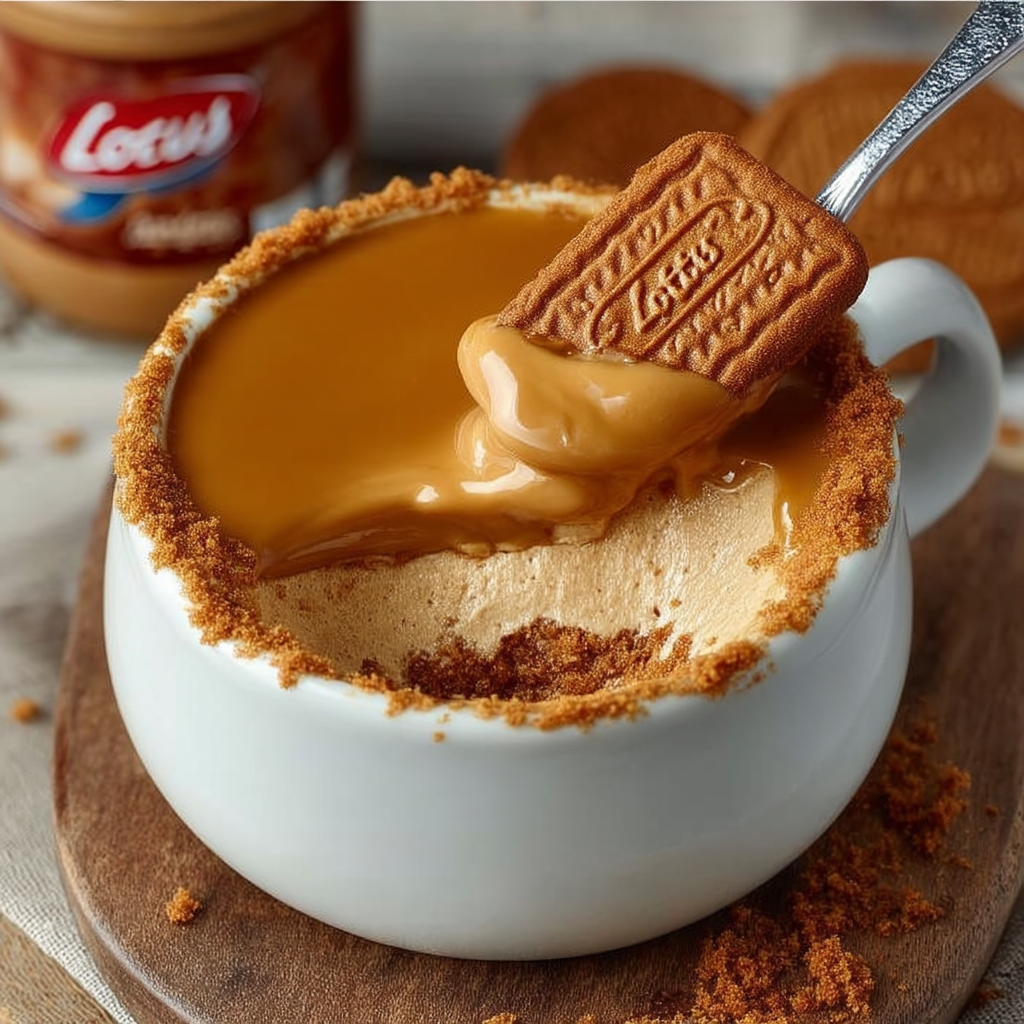
If you’re short on time but still want a dessert that feels luxurious, One Pot Biscoff Cheesecake is about to be your go-to recipe. This single-serve no-bake cheesecake is rich, creamy, and packed with the deep caramel flavor of Lotus Biscoff biscuits and spread. Best of all? It comes together in one ramekin or dessert dish—no baking, no fuss, and minimal cleanup. Whether you’re looking for a quick weeknight indulgence, an impressive dessert for one, or just a reason to dive into your Biscoff jar, this recipe delivers.
What makes this recipe even more appealing is its simplicity. With just a few pantry staples—cream cheese, butter, icing sugar, and of course, Biscoff—you can whip up a dessert that looks and tastes like something out of a fancy patisserie. The crushed biscuit base gives it crunch, while the cheesecake layer is smooth and tangy, with a sweet swirl of Biscoff spread on top for an extra punch of flavor. It’s indulgent without being over-the-top.
You can also double or triple the recipe easily if you’re making dessert for a small gathering. If you enjoy Biscoff desserts, this Biscoff blondie recipe from Jane’s Patisserie is another must-try. And if you’re new to no-bake cheesecakes, this guide from BBC Good Food offers tips and ideas to explore.
With bold flavor, creamy texture, and minimal prep, this One Pot Biscoff Cheesecake is proof that dessert doesn’t have to be complicated to be spectacular.
2. Basic Recipe: Ingredients and Instructions
Print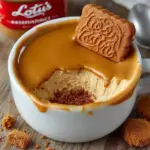
One Pot Biscoff Cheesecake (No Bake, Single Serve)
Description
This One Pot Biscoff Cheesecake is a creamy, single-serve no-bake dessert packed with Biscoff flavor—easy, rich, and utterly delicious.
Ingredients
Base:
- 3 Lotus Biscoff biscuits, crushed (about 30g / 1 oz)
- 10g unsalted or salted butter, melted (2 tsp)
Cheesecake Filling:
- 115g full-fat cream cheese, room temperature (4 oz)
- 1 tbsp icing sugar, sifted (8g)
- 20g Biscoff spread (1 tbsp)
Topping:
- 10g Biscoff spread, melted (2 tsp)
- ½ Lotus Biscoff biscuit (optional, for decoration)
Instructions
- Make the Biscuit Base
Crush the Biscoff biscuits using a food processor or place them in a zip-top bag and crush with a rolling pin. Transfer the crumbs to a ramekin or dessert dish. Add the melted butter and mix thoroughly until all crumbs are evenly coated. Press the mixture down firmly to form the cheesecake base. - Make the Cheesecake Filling
In a small mixing bowl, beat the cream cheese until smooth. Add in the sifted icing sugar and Biscoff spread. Mix until well combined and creamy. Spoon the mixture over the biscuit base and smooth the top with a spoon or spatula. - Add the Topping
Melt the Biscoff spread for the topping in the microwave for a few seconds until pourable. Drizzle it over the top of the cheesecake and swirl gently with a toothpick or spoon handle for a marbled effect. Garnish with half a Lotus biscuit if desired. - Chill and Serve
Place the ramekin in the refrigerator for at least 1 hour to firm up. Serve chilled for best texture and flavor.
Notes
Make sure the cream cheese is fully softened to avoid lumps.
You can adjust the sweetness by increasing or decreasing the icing sugar slightly.
For a firmer base, chill the biscuit layer for 15 minutes before adding the filling.
Use salted butter for extra contrast if you like a sweet-salty combo.
Microwave the Biscoff spread in short bursts to avoid overheating.
Keywords: One Pot Biscoff Cheesecake
3. Advanced Techniques
**1. Whipped Cheesecake for an Airier Texture
For a lighter filling, beat the cream cheese with an electric mixer for 2–3 minutes before adding the Biscoff and icing sugar. You can also fold in 1–2 tablespoons of whipped cream or whipped topping to give it a mousse-like texture. This makes the cheesecake fluffier and closer to a dessert you’d find in a café.
**2. Caramelized Biscoff Crust
If you want to take the crust up a notch, toast the Biscoff crumbs with butter in a pan for 3–4 minutes before pressing them into the ramekin. This enhances the caramel flavor and gives the crust a cookie-dough-like richness. Let it cool before adding the filling.
**3. Salted Biscoff Topping Swirl
Balance the sweetness by adding a pinch of sea salt flakes to the melted Biscoff topping. It intensifies the caramel notes and adds complexity to the final bite. A small swirl of salted caramel or dulce de leche also works beautifully.
**4. Layered Cheesecake Parfait Version
Turn this into a layered dessert in a glass: alternate spoonfuls of biscuit crumbs, cheesecake filling, and Biscoff drizzle in a clear glass or jar. Repeat the layers and top with whipped cream for a stunning single-serve parfait.
**5. Make It Vegan or Dairy-Free
Use dairy-free cream cheese and plant-based butter, and make sure your Biscoff spread is vegan (most are). The texture will remain creamy, and the taste just as indulgent—ideal for those avoiding dairy or animal products.
See more advanced recipes at cookingwhite.com
4. Storage, Shelf Life, and Maintenance Tips
**1. Short-Term Storage
Store the cheesecake in the fridge, covered with cling film or a lid. It’s best eaten within 2–3 days to maintain optimal freshness and texture. The biscuit base may soften slightly over time but will still taste delicious.
**2. Freezer Friendly Version
You can freeze this dessert for up to 1 month. Let it firm up in the fridge first, then wrap the ramekin tightly with plastic wrap and foil. Thaw overnight in the fridge before serving. Note: the topping may lose its shine after thawing, so reheat a little Biscoff spread to drizzle fresh.
**3. Portable Dessert Idea
Want to take it on the go? Assemble in a mini mason jar with a lid. It’s a perfect portable treat for picnics, road trips, or gifting. Add a spoon and a ribbon, and it becomes a charming homemade dessert gift.
**4. Preventing a Runny Texture
Make sure to use full-fat cream cheese and allow the dessert to chill fully before serving. Low-fat versions often contain more water, which can result in a looser set. Always beat until smooth and avoid overmixing once combined.
**5. Reviving a Soggy Base
If your biscuit base gets too soft, sprinkle a few extra dry crumbs over the top layer for added texture. You can also add a thin layer of melted chocolate under the filling next time to create a barrier between the crust and cheesecake.
5. Dietary Adaptations and Substitutions
**1. Vegan-Friendly Version
Use vegan cream cheese (such as those made from almond or soy), plant-based butter, and ensure your Biscoff spread and cookies are vegan (most are). This swap keeps the texture creamy and the taste on point.
**2. Gluten-Free Biscoff Cheesecake
Lotus Biscoff contains wheat, but you can substitute with gluten-free caramel or cinnamon cookies and use a gluten-free cookie butter. The result is just as flavorful and perfect for those with gluten intolerance.
**3. Sugar-Free Option
Replace icing sugar with powdered erythritol or another sugar-free sweetener that measures like sugar. Opt for a lower-sugar cookie spread or make your own using almond butter and cinnamon.
**4. Low-FODMAP or Sensitive Stomach Alternative
Use lactose-free cream cheese and a low-FODMAP friendly cookie for the base. Keep the portion size small, as even lactose-free cream cheese can be rich for some sensitive stomachs.
**5. Nut-Free and Allergen-Safe
Most Biscoff products are nut-free, but always double-check packaging if serving someone with allergies. If you’re substituting ingredients, avoid nut-based spreads and choose seed-based or cookie spreads made in nut-free facilities.
6. FAQs About the Recipe
Q1: Can I make this cheesecake without Biscoff?
Yes! You can substitute with peanut butter, Nutella, or any cookie butter alternative. The flavor will change, but the creamy texture and structure will stay the same. Just keep quantities similar for balance.
Q2: Do I need to bake this cheesecake?
No, this is a completely no-bake recipe. The butter in the base firms up in the fridge, and the cream cheese mixture sets without gelatin or baking. Just refrigerate for at least an hour to firm up before serving.
Q3: Can I scale this recipe up for more servings?
Absolutely. Double, triple, or quadruple the ingredients to make more individual servings or create a full cheesecake in a small springform pan. Just be sure to chill for longer if increasing the volume.
Q4: Why is my cheesecake filling too soft?
This usually happens if the cream cheese wasn’t full-fat, wasn’t chilled long enough, or too much liquid was added. Use full-fat cream cheese and allow at least 1 hour in the fridge. Avoid overmixing which can cause thinning.
Q5: Can I make this recipe keto-friendly?
Yes! Use keto-friendly cream cheese, a sugar-free cookie substitute (like almond flour crust), and a sugar-free Biscoff alternative if available. Swap icing sugar for powdered erythritol or allulose for a low-carb version.
7. Conclusion & Final Thoughts
This One Pot Biscoff Cheesecake is the ultimate solution for dessert cravings without the mess, the wait, or the oven. With its sweet-spiced flavor, creamy texture, and satisfying crunch, it hits all the right notes in just a few easy steps. Whether you’re making it for yourself or sharing a batch with friends, this dessert proves that indulgence doesn’t have to be complicated.
The one-pot approach keeps cleanup minimal, and the versatility means you can adapt it for different diets, flavors, and occasions. Serve it after dinner, gift it in jars, or save it for a rainy day comfort snack—it never disappoints.
So the next time you need a sweet fix in a flash, remember this recipe. It’s the kind of treat that feels fancy but comes together in under 15 minutes. One Pot Biscoff Cheesecake is proof that good things really do come in small (and easy-to-clean) packages.