Introduction to the Recipe
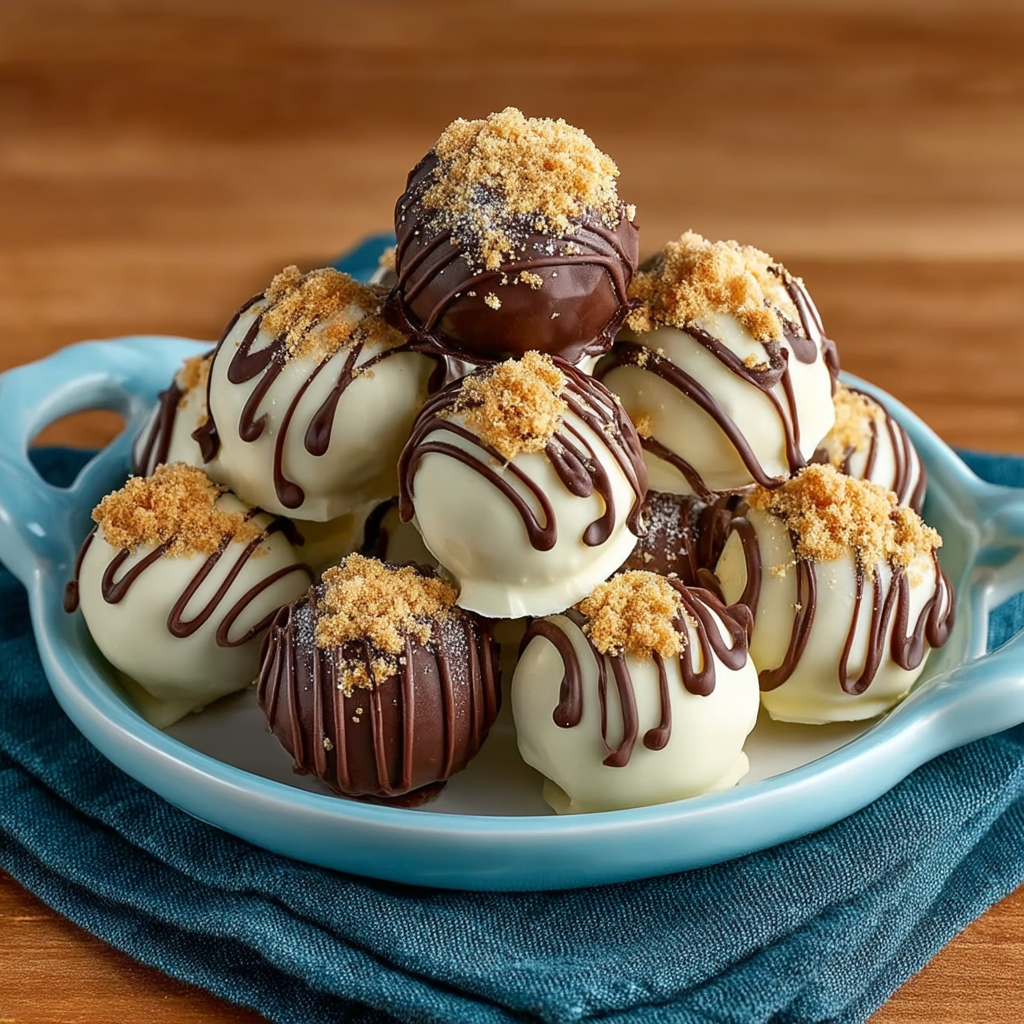
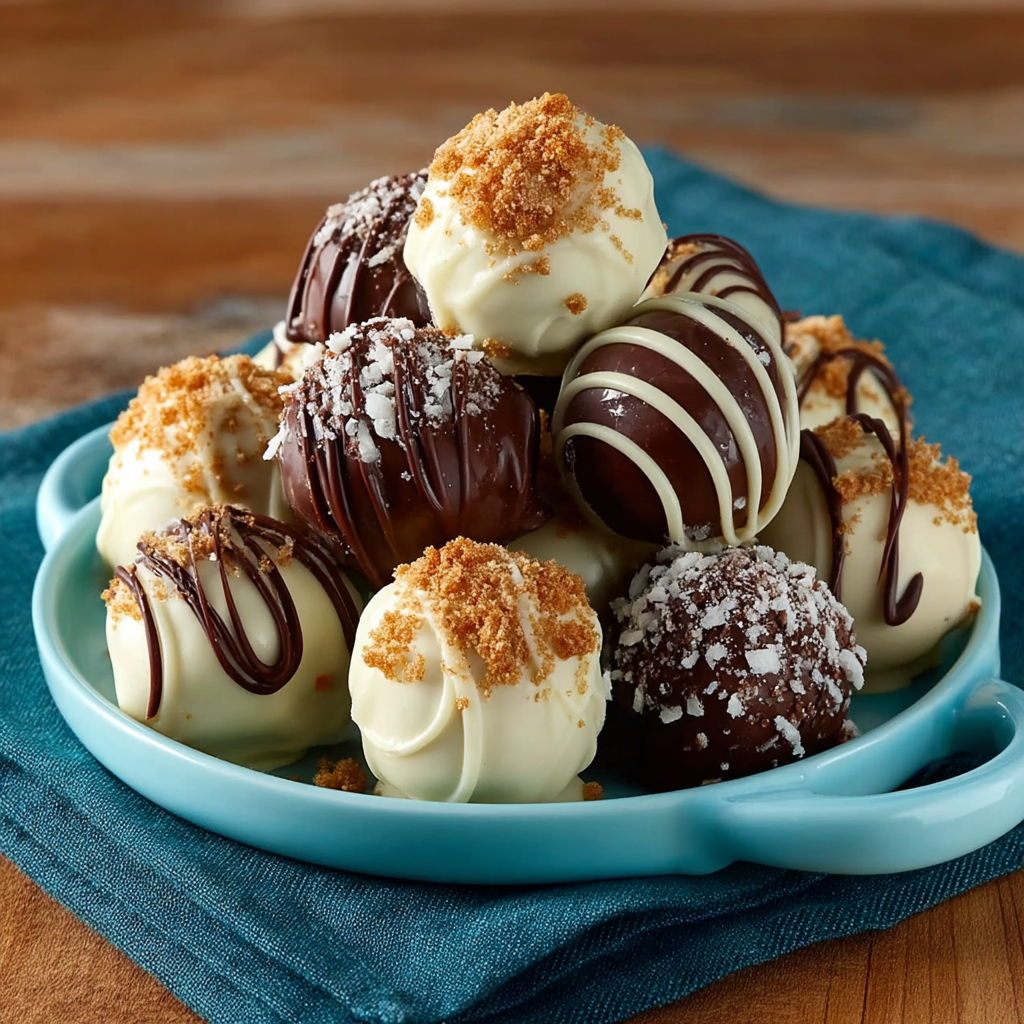
There’s something magically indulgent about combining two of life’s simplest pleasures—Oreos and cream cheese—into bite‑sized truffles so rich they practically melt in your mouth. This Oreo Balls Recipe captures that delight: crisp, fudgy, creamy, and decadently dipped in semisweet baking chocolate for a perfect finish. Whether you’re making dessert for a special occasion or simply craving a no‑bake treat, these Oreo balls offer a playful and crowd‑pleasing twist to classic cookie treats.
What makes this version stand out is its balance between the sweet cookie flavor and creamy richness, and its ease of preparation. Unlike layered cakes or elaborate pastries, the Oreo Balls come together with minimal hands‑on time, yet deliver maximum satisfaction. You only need a few staple ingredients—Oreos, cream cheese, and chocolate—which makes it ideal for an impromptu dessert project.
If you enjoy creative no‑bake treats, you may also like this no‑bake cheesecake bar recipe or this guide to tempering chocolate that helps turn your melted chocolate into a glossy, crisp shell. When you dip the balls into tempered semisweet chocolate, you’ll achieve a professional finish that snaps just right. In this Oreo Balls Recipe, we optimize ease, taste, and even presentation—all while keeping things accessible for home cooks.
Throughout this article you’ll find not only the basic ingredients and instructions, but advanced techniques, storage tips, dietary adaptations, and answers to common questions. Whether this is your first time making chocolate truffles or you’re seeking ways to perfect them, this layout will help guide you step by step through creating Oreo balls that impress. Let’s dive in and turn that cookie jar into a treasure trove of truffle delights.
Basic Recipe: Ingredients and Instructions
Print
Oreo Balls Recipe
Description
Delight in this Oreo Balls Recipe—creamy, chocolate‑dipped Oreo truffles perfect for parties or treats in minutes.
Ingredients
- 36 Oreo cookies, finely crushed (about 3 cups of crumbs)
- 1 (8‑ounce) package cream cheese, softened
- Waxed paper (for cooling)
- 16 ounces semisweet baking chocolate, melted (for dipping)
Instructions
- Prepare the Oreo crumbs.
Place the 36 Oreo cookies (filling and all) into a large food processor or blender. Pulse until they are finely crushed, resembling fine cookie dust.
Tip: Make sure there are no big chunks; the smoother the crumbs, the smoother your truffle center will be. - Mix with cream cheese.
In a mixing bowl, combine the Oreo crumbs with the softened cream cheese. Use a spatula or electric mixer on low speed. Stir until fully incorporated, forming a uniform, sticky dough-like mixture. - Chill the mixture slightly.
Cover the bowl with plastic wrap and chill in the refrigerator for about 15–20 minutes. This firms up the mixture just enough to make shaping easier. - Form into balls.
Line a baking sheet or tray with waxed paper. Using a melon baller, small cookie scoop, or your hands, shape the chilled mixture into 1-inch to 1.25-inch balls. Place each ball on the waxed paper. Continue until all the mixture is used (you should get roughly 40–45 balls, depending on size). - Freeze or chill before dipping.
Place the tray of formed balls into the freezer (or deep chill them in the fridge) for about 20–30 minutes. This helps the centers hold together when you dunk them. - Melt the chocolate.
Meanwhile, melt the 16 ounces of semisweet baking chocolate using a double boiler or microwave in short bursts (20–30 seconds), stirring until smooth and fully melted. Be careful not to overheat, which can cause the chocolate to seize. - Dip each ball.
Remove the chilled Oreo balls from the freezer. Using a fork or dipping tool, gently dip each ball into the melted chocolate, letting excess drip off. Return the dipped ball to the waxed paper on the tray. If desired, swirl or decorate with extra drizzle or sprinkles before the chocolate sets. - Let the chocolate set.
Let the dipped balls sit at room temperature until the chocolate shells harden (about 30–60 minutes). For faster setting, place the tray in the refrigerator for 10–15 minutes. - Serve and enjoy!
Once the chocolate is firm, arrange the Oreo balls on a serving platter. They’re ready to serve or store.
Notes
Ensure the cream cheese is truly softened (but not melted) for easier blending.
Use good‑quality semisweet chocolate—the flavor and texture of your shell depends greatly on it.
If the chocolate begins to thicken during dipping, gently reheat small additional portions (but avoid overheating).
Work quickly but carefully when dipping, so the centers don’t warm and soften.
If desired, before the chocolate fully sets, you can sprinkle a bit of crushed Oreo or sea salt on top for garnish.
Advanced Techniques
Here are five advanced techniques to elevate your Oreo Balls Recipe—enhancing texture, flavor, and appearance:
1. Tempering the Chocolate for a Crisp, Glossy Shell
Tempering is the process of carefully heating and cooling chocolate to stabilize its cocoa butter crystals, resulting in a shiny, firm shell that snaps clean. After melting your semisweet chocolate to roughly 45–50 °C (113–122 °F), cool it to about 28–29 °C (82–84 °F) by adding a small amount of unmelted chocolate or stirring over ice, then gently reheat to around 31–32 °C (88–90 °F). Use this tempered chocolate to dip your Oreo balls. While the process is delicate, the result is a professional finish, longer shelf life, and better texture compared to simply melting. The crisp shell helps protect the creamy center and prevents blooming (white film) over time.
2. Infusing Flavors into the Cream Cheese Mixture
To elevate the flavor complexity of your filling, you can infuse secondary flavors into the cream cheese–Oreo mixture. For instance, fold in a teaspoon of vanilla extract or a half‑teaspoon of espresso powder for a slight mocha note. You can also stir in a bit of orange zest or mint extract (¼ tsp) for themed flavors. When adding extracts or zest, do so sparingly to avoid overpowering the Oreo flavor. Mix thoroughly to distribute evenly. These flavor twists make your Oreo balls distinct and customizable for holidays or party themes.
3. Double-Dip or Drizzle Decoration for Visual Contrast
To add visual appeal and extra texture, you can double-dip your Oreo balls or add decorative drizzle. After your first coat of chocolate sets, you can dip them a second time in a contrast chocolate (e.g. white or dark). Alternatively, reserve some melted white chocolate or colored candy melts and drizzle over the semi-set surface using a fork or piping bag. This decorative layer adds elegance and interest. Be careful to let the first layer fully firm before applying the second so they remain distinct and don’t blend.
4. Controlling Center Firmness via Chilling Time
The firmness of the Oreo‑cream cheese center affects how cleanly the truffle holds together and how well it withstands dipping. If your balls are too soft, they may “explode” when dipped; too hard, and they’re dense and unyielding. You can calibrate by adjusting chilling time: if your mixture is soft, chill it 10–15 minutes longer before shaping; if it’s overly firm, remove from chill a few minutes before shaping so it’s workable. Also, once formed, freezing 20–30 minutes is generally ideal, but warmer kitchens may require more time. Test-dip one ball first and adjust accordingly.
5. Incorporating Mix-Ins or Textural Elements
For added texture and surprise, incorporate mix-ins into the Oreo‑cream cheese base or as toppings. You could gently fold in mini chocolate chips, crushed nuts, or toffee bits—just ¼ to ½ cup—to maintain structure. Alternatively, after dipping, while the shell is still soft, press in a small sprinkle of sea salt flakes or finely chopped dried fruit. This technique gives a contrasting crunch or burst of flavor, making your Oreo balls more dynamic. Be careful not to overload, so the mixture still holds together well.

Storage, Shelf Life, and Maintenance Tips
Below are essential tips to help you store, preserve, and serve your Oreo balls in optimal condition:
1. Room Temperature Serving and Storage
If you intend to consume the Oreo balls within a day or two, you can store them at cool room temperature (around 18–20 °C / 65–68 °F) in an airtight container. Place waxed or parchment paper between layers to prevent sticking. Avoid direct sunlight or warmth, which may soften the chocolate shell. Under these conditions, they remain firm and enjoyable for up to 48 hours.
2. Refrigeration for Medium-Term Storage
For storage up to one week, place your truffles in the refrigerator. Use an airtight container and layer with waxed paper. Keep them away from strong-smelling foods (e.g. onions or pickles) since chocolate and cream cheese can absorb odors. When ready to serve, let them rest at room temperature for 10–15 minutes before eating so the center softens slightly and reaches optimal texture.
3. Freezing for Long-Term Storage
If you want to make them well in advance or save leftovers, freezing is a great option. First, freeze the dipped, fully set Oreo balls on a tray until solid (about 1 hour). Then transfer them into a freezer-safe airtight container or zip-top bag, with parchment layers to prevent sticking. They can be stored for 2 to 3 months. To serve, transfer to the refrigerator for an hour, then bring to room temperature briefly before enjoying.
4. Preventing Chocolate Bloom and Moisture Issues
Chocolate “bloom”—a whitish film on the surface—occurs from temperature fluctuation or moisture. To minimize bloom, store your Oreo balls in a cool, stable environment, avoiding frequent transitions between cold and warm. Use tempered chocolate where possible (see technique above). Also, ensure any condensation from refrigeration or freezing is minimized: wrap containers well and avoid unnecessary opening.
5. Handling During Transport and Serving Events
If you’re transporting your Oreo balls to an event or picnic, use a cooler with ice packs to avoid heat softening them. Pack them in layered containers with waxed paper separators. During serving, avoid exposing them to direct sunlight or heat sources. If the ambient temperature is high, consider serving from a chilled tray or in small batches, replenishing from the cooler as needed.
Dietary Adaptations and Substitutions
Here are adaptations to suit various dietary preferences and restrictions:
1. Vegan Oreo Balls (Dairy‑Free & Egg‑Free)
To make your Oreo Balls Recipe vegan, substitute the cream cheese with a vegan cream cheese (such as cashew-based or coconut-based) and ensure your Oreo cookies are dairy-free (many standard Oreos are already free of animal‑derived ingredients, but check labeling). For the coating, use vegan dark chocolate or vegan melting wafers. The texture may be slightly softer—so firming the mixture through chilling becomes more critical.
2. Gluten-Free Variation
Use gluten-free chocolate sandwich cookies that replicate Oreos (many brands offer gluten-free versions). Substitute those in the same quantity. For best results, confirm the crumbs are very fine and proceed as usual. Everything else remains consistent, and the final product is safe for those avoiding gluten.
3. Low-Sugar or Sugar-Free Option
To reduce sugar, you can use sugar-free Oreos (or sugar-reduced sandwich cookies) and replace the semisweet baking chocolate with sugar-free or stevia-sweetened chocolate. Be cautious: these substitutes can differ in melting behavior and texture, so tempering and dipping may require adjustments. The sweetness balance may also need tweaking (e.g. adding a bit of erythritol or powdered sweetener to the cream cheese).
4. Nut-Free and Allergy‑Friendly Version
The standard recipe is already nut-free, but be cautious about cross-contamination in the kitchen. Make sure your ingredients—cream cheese, chocolate, and cookies—carry “nut-free” labeling if needed. Avoid using mix-ins like nuts unless allergy-safe alternatives are confirmed.
5. Lighter Variation (Reduced Fat or Calorie‑Conscious)
If you want to lighten the recipe, you might experiment by using reduced-fat cream cheese or Neufchâtel cheese (which has slightly less fat). Also, you could reduce the chocolate coating amount or use a thinner layer. Keep in mind that reducing fat too much may compromise texture and flavor, so test small batches. Alternatively, you can cut each ball in half or enjoy them smaller to reduce per-serving impact.

FAQs About the Recipe
1. Why did my Oreo balls crack or break when dipping?
If your Oreo balls crack during dipping, it usually means the centers were too cold or too firm, or that dipping was done too aggressively. To prevent this, ensure the balls are solid but not brittle—freeze or chill just enough, not to rock-hard. Use a gentle dipping motion, letting excess chocolate drip away before placing them back down. Also, avoid stirring or bumping the molten chocolate too vigorously, which could apply uneven force.
2. The chocolate shell turned grainy or seizing—what happened?
Chocolate can seize or turn grainy if moisture gets in or if it’s overheated. Always keep utensils, bowls, and tools dry before melting. Use short microwave bursts or gentle double-boiler heat. If a small amount of water got in, you might rescue by adding more melted chocolate or a small bit of vegetable oil—but prevention is best. Tempering properly also helps maintain smooth textures.
3. How can I make sure the centers remain soft and creamy?
To keep the inner texture soft, avoid over-chilling the filling before shaping. Use a balanced chilling plan: firm enough to handle, but not rock solid. After dipping, let the truffles rest at cool room temperature so the interior remains slightly yielding. Also, avoid excessive refrigeration before serving, which can harden the filling too much. Bringing them to room temperature for a few minutes before eating helps.
4. Can I skip chilling or freezing steps to speed things up?
While you can skip or shorten chilling steps, it’s not recommended for consistent success. The chilling steps stabilize the mixture so it holds its shape during dipping. Skipping them increases risk of misshapen, mushy, or melted centers. If you’re short on time, at least chill the shaped balls and lightly chill the dipped ones to help the chocolate set.
5. My coating is too thick or too thin—how do I adjust?
If the chocolate coating is too thick, it may overwhelm the center or feel clumsy. To thin it, slightly reheat the melted chocolate (carefully) or stir in a small amount of neutral oil (e.g. vegetable or shortening) to loosen consistency. If too thin (dripping too much), allow it to cool a bit before dipping again, or stir in a bit of additional unmelted chocolate to stiffen the mixture. Adjust the temperature and consistency before each dunk.
Conclusion & Final Thoughts
When you make this Oreo Balls Recipe, you’re not just creating a dessert—you’re crafting miniature indulgences that combine the nostalgia of a classic cookie with the elegance of a chocolate truffle. These bite-sized treats deliver creamy, rich centers coated in crisp chocolate, making them ideal for parties, holidays, or spontaneous cravings. The simple ingredient list—just Oreos, cream cheese, and chocolate—belies their depth of flavor and versatility.
One of the greatest appeals of this recipe is how approachable it is: no baking, minimal utensils, and flexible scaling to fit big or small batches. But under that simplicity lies room for artistry. You can tailor the flavor with infusions like mint or citrus, elevate the finish by tempering chocolate for a glossy snap, or decorate with drizzles and sprinkles to match the occasion. These tweaks help you transform a humble treat into a showstopper for gift boxes, bake sales, or festive gatherings.
And because we’ve also covered storage, dietary adaptations, advanced tips, and answers to common concerns, you’ve got a full toolkit to experiment confidently. Whether you want gluten-free or vegan versions, want to serve them weeks later via freezing, or want to improve texture control, there is guidance to support your creativity.
So go ahead—whip up a batch, let your creativity run wild with flavor combinations and decorative touches, and share the joys of Oreo Balls with friends and family. Once you taste that silky chocolate shell yielding to fudgy cream cheese–cookie center, you’ll realize just how perfect this recipe is for practically any occasion.