Introduction
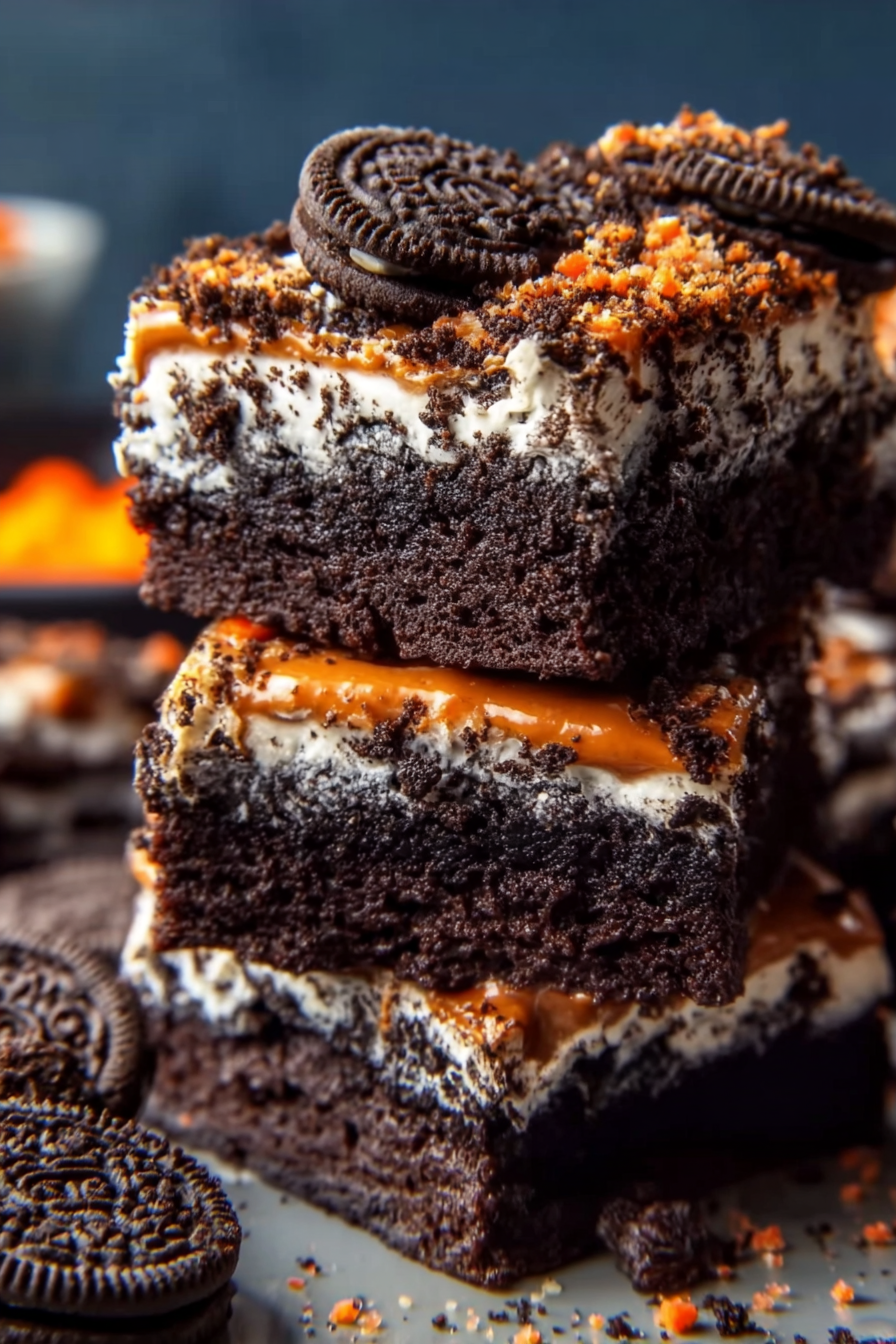
Halloween desserts should be as fun as they are delicious, and these Oreo Layered Halloween Brownies check every box. Imagine a fudgy brownie base layered with creamy frosting, crunchy Oreos, and festive candy toppings—it’s the kind of treat that makes kids light up and adults sneak back for seconds. Perfect for Halloween parties, bake sales, or just a cozy October movie night, these brownies combine classic flavors with a spooky seasonal twist. In this post, I’ll walk you through exactly how to make them, plus share plenty of tips, variations, and creative serving ideas to help you bake a Halloween hit.
My recipe story
I first created these Oreo Layered Halloween Brownies during a neighborhood Halloween block party. I wanted something that was festive but also easy to share—something kids could grab with their little decorated plates but that would still impress the adults. Instead of just making standard brownies, I decided to add layers of Oreos and frosting, topped with candy corn and sprinkles for that extra spooky factor. The platter was gone in minutes, and I’ve been making them every October since. They’ve become one of those recipes that friends and family actually request, and now I’m sharing the full step-by-step with you so you can start your own Halloween baking tradition.
💡 Why You’ll Love This Recipe
- Simple ingredients—you only need a boxed brownie mix, Oreos, and a few pantry staples.
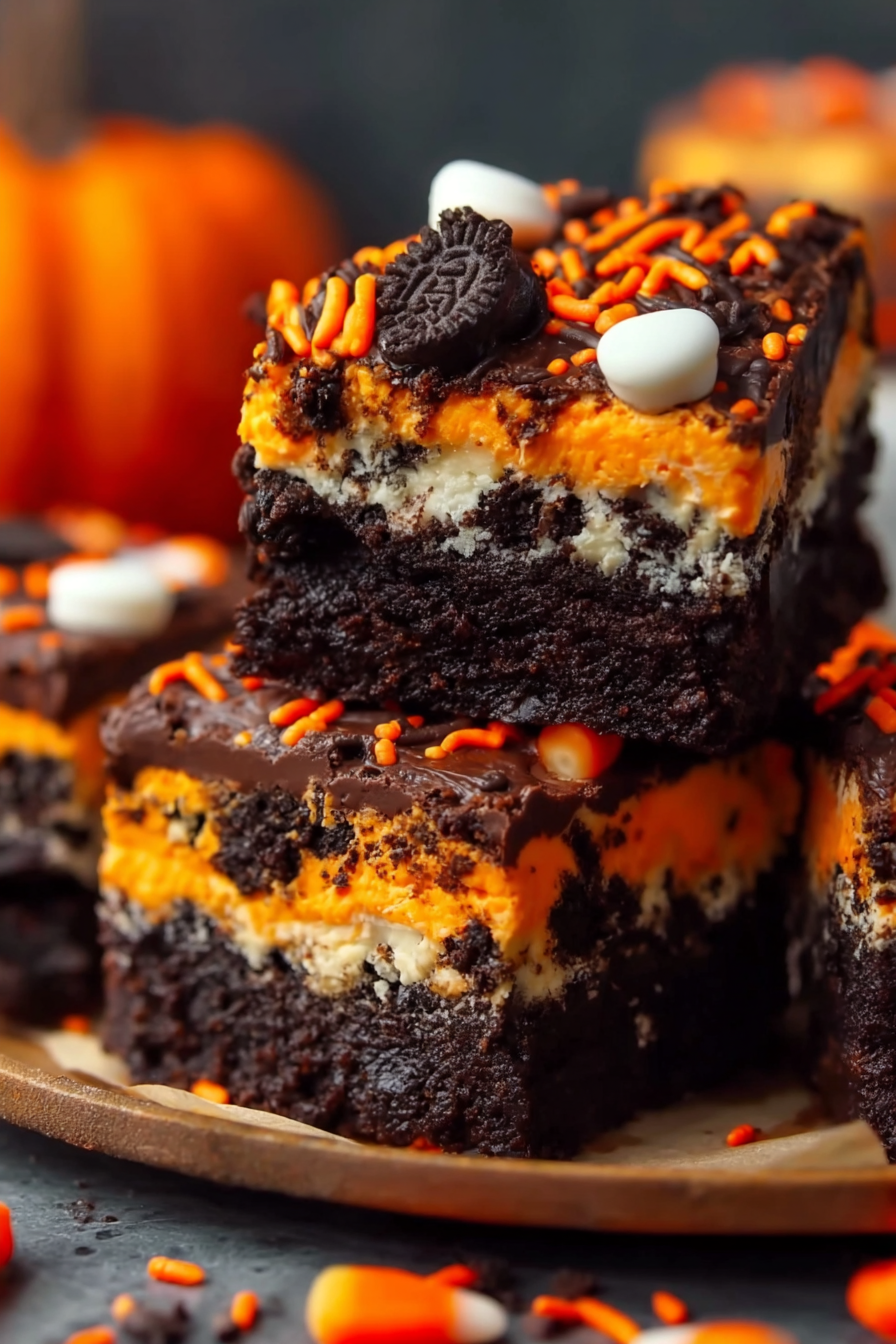
- Visually stunning with festive Halloween colors and layers that pop when sliced.
- Kid-friendly yet indulgent enough for adults who want a rich, fudgy dessert.
- Customizable—you can swap toppings, flavors, or candies to suit your theme.
- Perfect for parties, potlucks, or even edible Halloween gifts.
Ingredient breakdown
The beauty of this recipe is that it uses everyday ingredients while still delivering a dessert that looks bakery-worthy. At its base, you’ll need a simple boxed brownie mix. This keeps things quick, easy, and consistent—no worrying about mixing cocoa powder and flour in perfect ratios. Just add eggs and oil, and your base layer is ready.
Oreos provide the crunch and flavor contrast that makes these brownies extra exciting. The cream center melts slightly into the brownies as they bake, creating a surprise layer that kids absolutely love. To give them a festive touch, you can use Halloween-themed Oreos with orange filling, but classic Oreos also work beautifully. A thick frosting layer adds sweetness and makes the perfect canvas for candy decorations. Finish things off with Halloween sprinkles, candy corn, or even mini peanut butter cups to match your spooky theme.
Every ingredient works together to create different textures—fudgy, creamy, crunchy, and chewy—so every bite feels like a little Halloween party in your mouth.
Equipment you’ll need
- 9×13-inch baking pan (or similar size)
- Mixing bowl
- Whisk or hand mixer
- Measuring cups and spoons
- Rubber spatula
- Offset spatula (for spreading frosting)
- Parchment paper (optional, for easy removal)
- Knife (for clean slicing)
Step-by-step directions
- Prepare your baking pan. Line a 9×13-inch pan with parchment paper or lightly grease it with cooking spray. Parchment paper makes it easier to lift the brownies out later, ensuring neat slices for presentation.
- Mix the brownie batter. In a large mixing bowl, combine the brownie mix with 2 eggs and 1/3 cup oil (or as directed on your box). Whisk until smooth, making sure there are no streaks of dry mix. A slightly thick batter is perfect for fudgy brownies.
- Layer in the Oreos. Pour half of the brownie batter into the prepared pan and spread evenly. Arrange a layer of Oreos on top, gently pressing them into the batter. Cover with the remaining batter, smoothing it over to conceal the cookies.
- Bake the brownies. Bake according to the package instructions, typically 25–30 minutes at 350°F (175°C). Check for doneness by inserting a toothpick into the edge—if it comes out with a few moist crumbs, they’re ready.
- Cool completely. Allow the brownies to cool fully in the pan before adding any toppings. This prevents the frosting from melting and keeps the layers defined.
- Add the frosting layer. Spread a generous layer of vanilla or chocolate frosting over the cooled brownies. Use an offset spatula for an even, smooth finish that will hold your decorations.
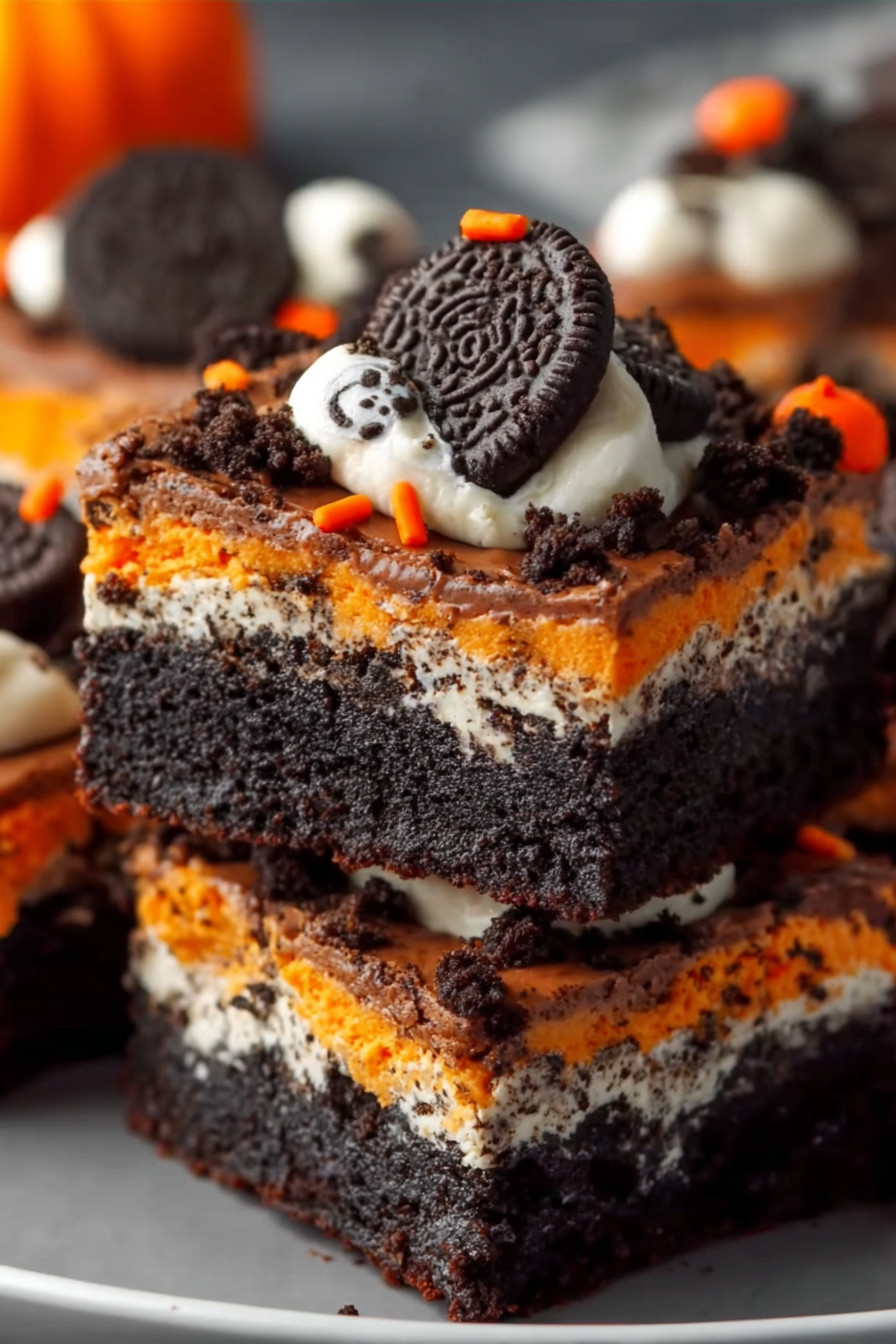
- Decorate with Halloween flair. Sprinkle crushed Oreos, candy corn, chocolate chips, or festive sprinkles on top. Press lightly so they adhere to the frosting but still look decorative.
- Slice and serve. For clean slices, use a sharp knife and wipe it between cuts. Serve on a Halloween-themed platter for maximum festive effect.
Variations & substitutions
One of the best things about this recipe is how easily you can make it your own. Swap the classic Oreos for golden Oreos or flavored varieties like pumpkin spice if you can find them. If you want extra richness, swirl some peanut butter or Nutella into the brownie batter before baking. For a more dramatic Halloween effect, tint your frosting orange, purple, or green with food coloring. You could also add crushed pretzels or candy eyeballs on top for an extra spooky touch. For a gluten-free version, use a gluten-free brownie mix and Oreo-style cookies.
💡 Expert Tips & Troubleshooting
- For extra fudgy brownies, slightly underbake them by a couple of minutes and let them finish setting as they cool.
- Make sure brownies are completely cooled before frosting to prevent melting and sliding.
- Chill the brownies in the fridge before slicing for sharper, bakery-style edges.
- If your frosting is too stiff to spread, microwave it for 5–10 seconds to soften.
Storage, freezing & make-ahead
These brownies store beautifully, making them a great make-ahead option for parties. Keep them covered at room temperature for up to 3 days, or refrigerate for up to 5 days for maximum freshness. If you’d like to freeze them, skip the frosting and decorations, and wrap the cooled brownies tightly in plastic wrap followed by foil. They’ll keep in the freezer for up to 2 months. When ready to serve, thaw at room temperature, then add frosting and decorations before slicing. This method keeps the toppings looking fresh and vibrant.
Serving ideas & pairings
These brownies are a party centerpiece on their own, but they also pair well with a few extras. Serve with a scoop of vanilla ice cream drizzled with caramel sauce for an indulgent dessert plate. Pair them with a pumpkin spice latte or hot chocolate for a cozy October evening. At parties, cut them into bite-sized squares and serve in mini cupcake liners for easy grab-and-go treats. You can even wrap them in cellophane bags with a festive ribbon to give out as edible party favors.
FAQ
Can I make these brownies ahead of time?
Yes! You can bake the brownies a day in advance and decorate them right before serving.
Do I need to use Halloween Oreos?
No, regular Oreos work just as well, but Halloween-themed ones add extra festive color.
What frosting works best?
Vanilla frosting gives the best contrast with toppings, but chocolate or cream cheese frosting also works well.
How do I get clean brownie slices?
Use a sharp knife, wipe it clean after each cut, and chill the brownies before slicing for neat edges.
Can I use homemade brownie batter?
Absolutely! If you prefer scratch brownies, just follow your favorite recipe and use it as the base.
Final thoughts
Oreo Layered Halloween Brownies are the perfect mix of spooky fun and rich, chocolatey goodness. They’re festive without being complicated, making them a go-to recipe for busy families and party hosts. Whether you’re whipping them up for a classroom celebration, a Halloween movie night, or a neighborhood gathering, these brownies guarantee smiles and second helpings. Don’t be surprised if they become a new October tradition in your home—because once you try them, you’ll want to bake them every year.
Print
Oreo Layered Halloween Brownies
- Total Time: 45 minutes
- Yield: 12–16 servings 1x
- Diet: Vegetarian
Description
Fudgy brownies layered with Oreos, frosting, and festive Halloween candy. A fun, easy, and crowd-pleasing treat for spooky season!
Ingredients
-
1 box brownie mix
-
2 large eggs
-
1/3 cup vegetable oil
-
20 Oreo cookies (Halloween or classic)
-
1 cup vanilla frosting
-
1/2 cup Halloween sprinkles or candy corn
-
1/4 cup crushed Oreos for topping
Instructions
-
Preheat oven to 350°F (175°C) and line a 9×13-inch pan with parchment paper or lightly grease.
-
In a large bowl, mix brownie mix, eggs, and oil until smooth. Spread half the batter into the prepared pan.
-
Arrange Oreo cookies in a single layer over the batter, then cover with the remaining batter and smooth the top.
-
Bake for 25–30 minutes or until a toothpick inserted near the edges comes out with moist crumbs.
-
Cool completely in the pan before spreading frosting evenly on top.
-
Decorate with sprinkles, candy corn, and crushed Oreos. Slice into squares and serve.
Notes
Chill brownies before slicing for clean edges. Store in an airtight container at room temperature for 3 days or refrigerate up to 5 days.
- Prep Time: 15 minutes
- Cook Time: 30 minutes
- Category: Dessert
- Method: Baking
- Cuisine: Cuisine: American