SEO Title: Decadent Oreo Red Velvet Cheesecake Drip Cake – The Ultimate Celebration Dessert
Focus Keyphrase: Oreo Red Velvet Cheesecake Drip Cake
Slug: oreo-red-velvet-cheesecake-drip-cake
Meta Description: Indulge in this Oreo Red Velvet Cheesecake Drip Cake—rich, layered, and beautifully decadent for the ultimate dessert centerpiece.
Oreo Red Velvet Cheesecake Drip Cake – A Dessert Masterpiece Worth Celebrating
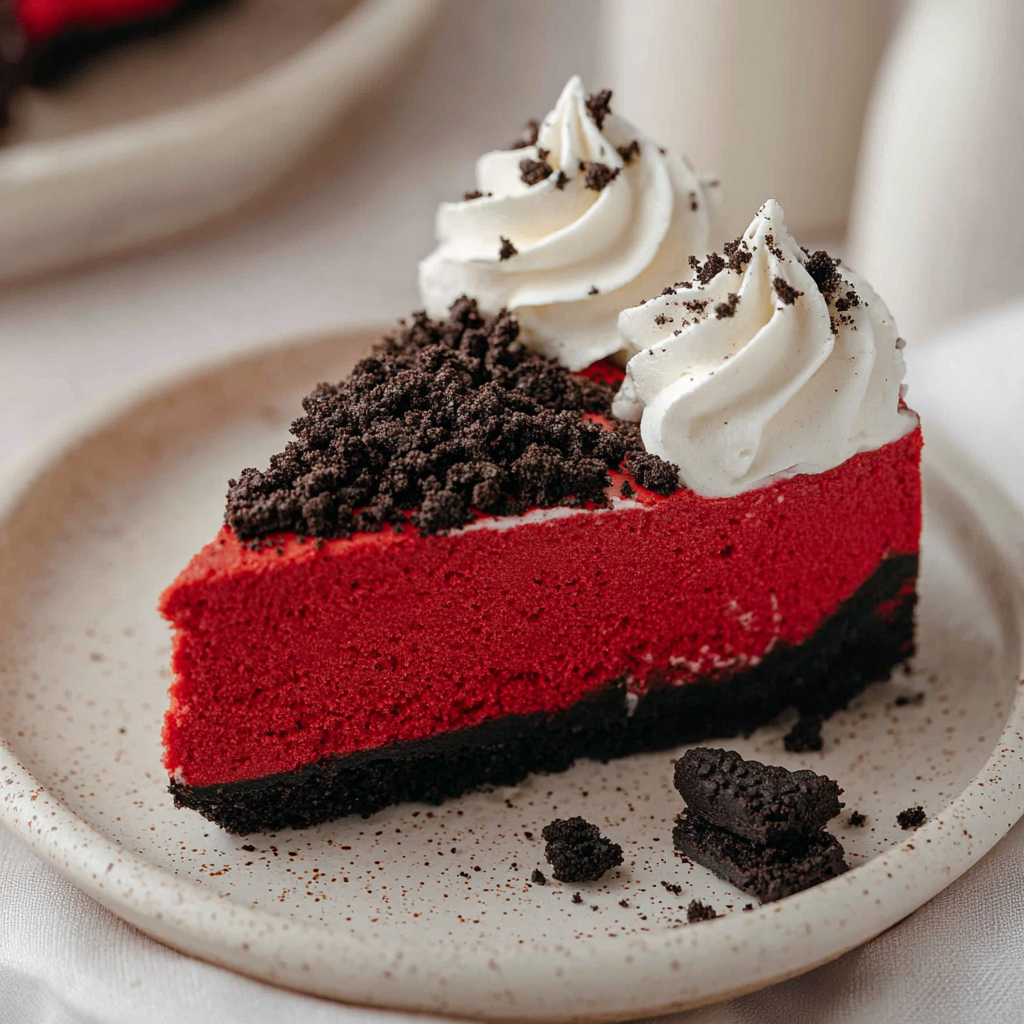
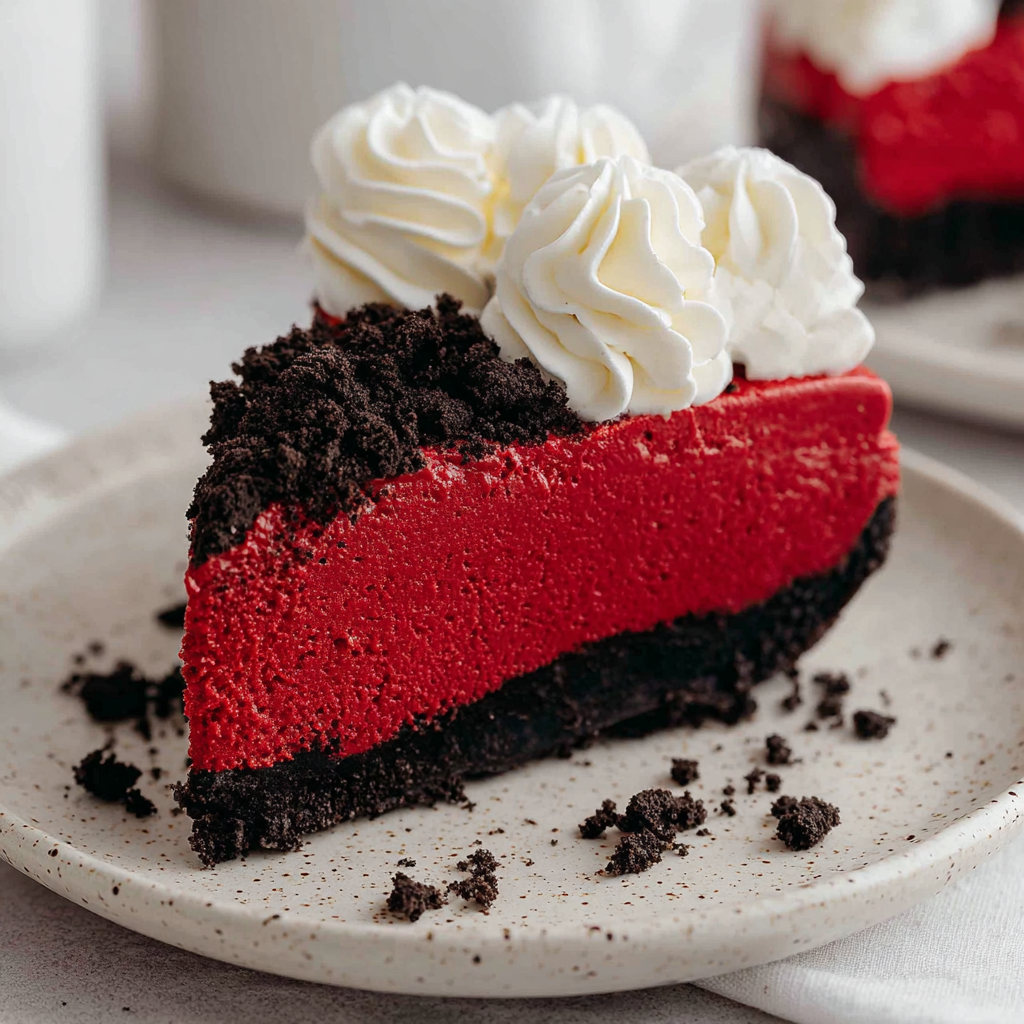
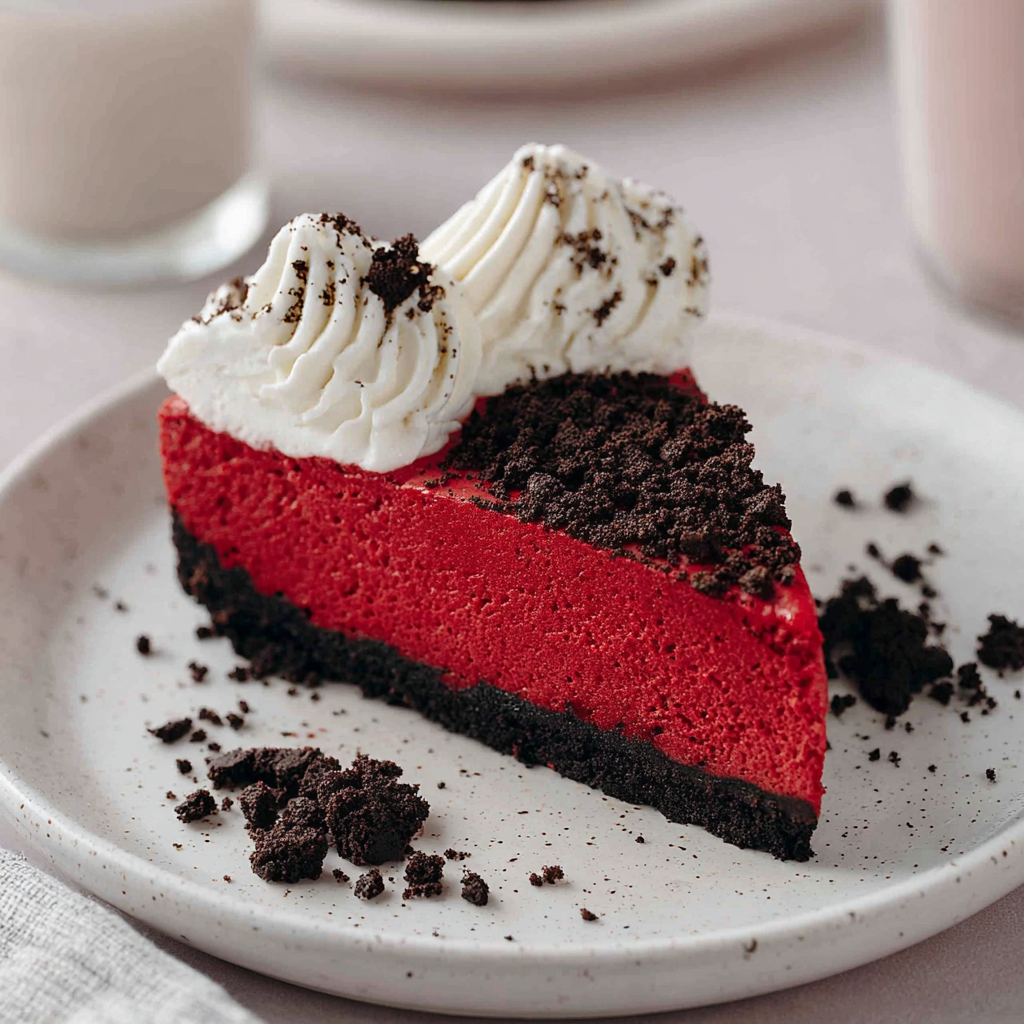
If ever there was a dessert made to steal the show, it’s this Oreo Red Velvet Cheesecake Drip Cake. Layers of moist red velvet cake, creamy vanilla cheesecake, and a crunchy Oreo cookie crust come together under a dreamy white chocolate drip. It’s rich, strikingly beautiful, and so indulgent that one slice feels like pure luxury.
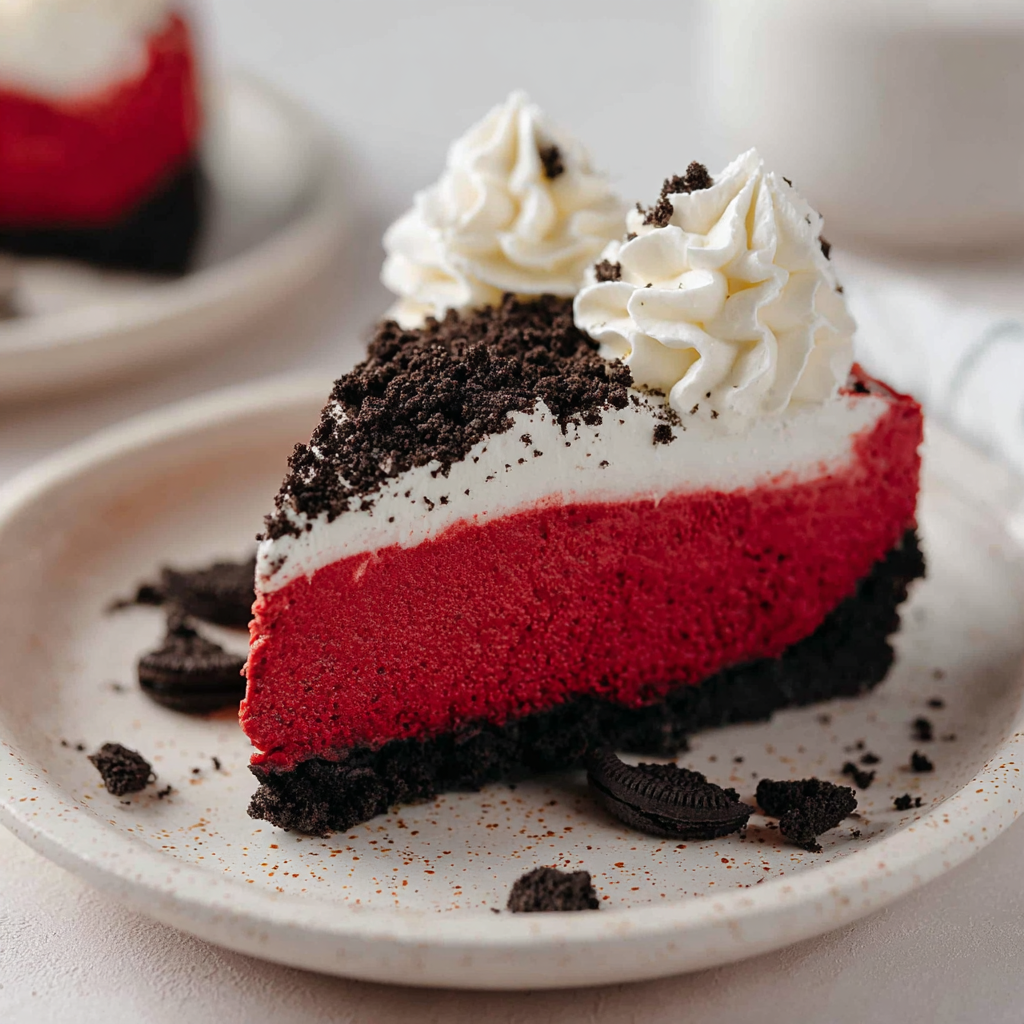
The combination of red velvet and cheesecake has always been a match made in dessert heaven — the tangy cream cheese balances the cocoa notes in the cake perfectly. Add in an Oreo crust and white chocolate drizzle, and you’ve got the ultimate showstopper dessert for holidays, birthdays, or Valentine’s Day. Every layer brings something different: crunchy, creamy, and soft textures that complement each other in every bite.
What I love most about this recipe is how achievable it is despite its elegant presentation. The Oreo crust is quick to make, the cheesecake layer bakes right on top, and the red velvet cake comes together effortlessly. Once cooled and stacked, the final touch — that glossy white chocolate drip — transforms it into a bakery-quality creation that looks as good as it tastes.
This is the kind of dessert that makes people stop mid-conversation, fork in hand, with a “Wow… you made this?” expression. Whether you’re celebrating something special or just want to flex your baking skills, this Oreo Red Velvet Cheesecake Drip Cake is guaranteed to impress.
For more inspiration on mastering drip cakes, visit Sugar Geek Show’s drip cake tutorial or explore more layered cheesecake desserts on Delish.
Recipe Card
Print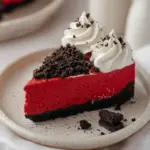
Decadent Oreo Red Velvet Cheesecake Drip Cake
Description
This Oreo Red Velvet Cheesecake Drip Cake combines a crunchy Oreo base, a smooth cheesecake center, and fluffy red velvet cake layers topped with a glossy white chocolate drip. It’s rich, festive, and perfect for any special occasion.
Ingredients
For the Oreo Crust:
- 2 cups Oreo cookie crumbs
- 5 tablespoons melted butter
For the Cheesecake Layer:
- 24 ounces cream cheese, softened
- 1 cup granulated sugar
- 2 teaspoons vanilla extract
- 3 large eggs
- 1/2 cup sour cream
For the Red Velvet Cake:
- 1 batch red velvet cake batter (homemade or from a mix)
For the Drip and Decoration:
- 1 cup white chocolate chips
- 1/2 teaspoon red gel food coloring (optional, for tinting the drip)
- 1 cup whipped topping or buttercream (for frosting)
- 8 whole Oreo cookies (for garnish)
Instructions
- Prepare the Oreo Crust:
Preheat oven to 325°F (160°C). Line the bottom of a 9-inch springform pan with parchment paper. Mix Oreo crumbs and melted butter until well combined, then press firmly into the bottom of the pan. Bake for 8 minutes and let cool. - Make the Cheesecake Layer:
In a large bowl, beat cream cheese and sugar until smooth and creamy. Add vanilla extract and sour cream. Beat in eggs one at a time, mixing just until incorporated. Pour the cheesecake batter over the baked Oreo crust. - Bake the Cheesecake:
Place the pan in a larger roasting pan and add hot water halfway up the sides to create a water bath. Bake for 45–50 minutes, until the center is slightly jiggly but set. Turn off the oven, crack the door, and let cool gradually for 1 hour. Refrigerate for at least 3 hours or until firm. - Bake the Red Velvet Cake Layers:
While the cheesecake chills, prepare and bake your red velvet cake batter in two 9-inch round pans according to your recipe or package instructions. Let cakes cool completely on wire racks. - Assemble the Cake:
Place one red velvet cake layer on a serving plate. Carefully unmold the chilled cheesecake layer and place it on top of the cake. Add the second red velvet layer over the cheesecake. Use a long serrated knife to trim edges if needed for evenness. - Frost the Cake:
Spread whipped topping or buttercream evenly over the entire cake. Smooth the top and sides for a clean base before adding the drip. - Prepare the White Chocolate Drip:
In a microwave-safe bowl, melt the white chocolate chips in 30-second increments, stirring between each, until smooth. Add a few drops of red gel food coloring if desired for a soft blush hue. Let the chocolate cool slightly so it thickens just enough to create a slow drip effect. - Add the Drip:
Using a spoon or piping bag, gently drip the white chocolate along the edges of the cake. Pour the remaining chocolate over the top and spread evenly. - Decorate and Serve:
Top with whole Oreos, crushed cookie crumbs, or red velvet crumbs. Chill for 30 minutes to set the drip before slicing.
Notes
Always chill the cheesecake thoroughly before stacking to prevent slippage.
If your red velvet cake layers dome, trim them flat before assembly.
To achieve clean slices, dip your knife in hot water and wipe between cuts.
Advanced Techniques
Mastering the Perfect Cheesecake Texture
To avoid cracks in your cheesecake, make sure all ingredients are at room temperature before mixing. Don’t overbeat the eggs — air bubbles can cause surface cracks. Baking in a water bath creates gentle, even heat that gives you a smooth, creamy texture worthy of a professional bakery.
Building a Stable Three-Layer Cake
Stacking a cheesecake between two cake layers might sound tricky, but the key is temperature control. Both the cheesecake and red velvet layers should be fully cooled or chilled. You can even freeze the cheesecake slightly for easier handling. Once stacked, a crumb coat of frosting seals everything together perfectly.
Perfecting the White Chocolate Drip
The ideal drip consistency is achieved when the chocolate is melted and cooled to about 90°F (32°C) — warm enough to flow, but thick enough to hold its shape. Test a small drip on the side of the bowl; if it runs too quickly, wait another minute before applying.
Infusing Extra Oreo Flavor
If you want a stronger Oreo punch, fold crushed cookies directly into the cheesecake batter or the frosting. It adds delightful texture and specks of chocolate throughout every bite, giving the cake that cookies-and-cream feel.
Creating Bakery-Level Presentation
To achieve that picture-perfect look, use an offset spatula for frosting and place your cake on a rotating stand. Chill the frosted cake before adding the drip — the temperature difference helps control the flow and makes the drip symmetrical and glossy.
Storage, Shelf Life, and Maintenance Tips
Refrigerating for Freshness
This cake is best stored covered in the refrigerator for up to 5 days. Because of the cheesecake layer, it must be kept chilled. Before serving, let it sit at room temperature for 10–15 minutes for ideal texture.
Freezing for Later
You can freeze individual slices or the entire cake (without the drip) for up to 2 months. Wrap tightly in plastic wrap and foil. Thaw overnight in the refrigerator, then add the drip and decorations fresh before serving.
Keeping the Drip Shiny
White chocolate drips can dull over time in the fridge. To refresh the shine, gently brush the drip with a little melted cocoa butter or neutral oil before serving — it gives the glaze that just-poured look.
Transporting with Stability
Because this cake is heavy, chill it completely before transport. Place it on a firm cake board and secure it in a tall box. A non-slip mat under the cake box during travel helps prevent shifting.
Refreshing Leftovers
If you want to revive the creaminess after refrigeration, slice and let individual pieces sit at room temperature for 15 minutes before eating. The flavors bloom beautifully once slightly warmed.
Dietary Adaptations and Substitutions
Making It Gluten-Free
Use gluten-free Oreos for the crust and crumbs, and prepare the red velvet cake with a gluten-free flour blend. The rest of the ingredients are naturally gluten-free, making this easy to adapt.
Reducing Sugar Without Sacrificing Flavor
You can replace part of the sugar in the cheesecake with monk fruit sweetener or erythritol. White chocolate chips can also be swapped for sugar-free baking chips without compromising the texture.
Creating a Lighter Version
For a slightly lighter cake, use reduced-fat cream cheese and Greek yogurt instead of sour cream. Whipped coconut cream can replace the frosting for a naturally sweet, airy finish.
Vegan-Friendly Adjustments
To make this dessert vegan, use dairy-free cream cheese (like Kite Hill), plant-based butter, and a vegan red velvet cake recipe. Coconut-based whipped topping and vegan white chocolate work beautifully for the drip.
Adding a Flavor Twist
Try adding a teaspoon of espresso powder to the red velvet batter for extra depth, or fold raspberry preserves between layers for a chocolate-berry surprise. These small tweaks take the flavor from classic to unforgettable.
FAQs About the Recipe
Can I Use Store-Bought Red Velvet Cake Mix?
Absolutely! A boxed mix saves time and works perfectly here. Just make sure to bake it in two even layers and let them cool completely before stacking.
Do I Need a Springform Pan for the Cheesecake?
It’s highly recommended for easy removal and clean edges. If you don’t have one, line a regular cake pan with parchment and gently lift the cheesecake out once chilled.
Can I Use Dark or Milk Chocolate for the Drip Instead?
Yes! Dark chocolate gives a rich, dramatic finish, while milk chocolate adds extra sweetness. Just adjust the cream amount slightly — darker chocolates may need a touch more cream to stay pourable.
Why Is My Drip Sliding Down the Cake?
This happens when the chocolate is too warm or the cake isn’t chilled enough. Always let your melted chocolate cool slightly and chill the cake before dripping for a controlled flow.
Can I Make It a Day Ahead?
Definitely! This cake actually tastes better the next day as the flavors meld. Make it the day before, keep it refrigerated, and add the drip and Oreos fresh before serving.
Conclusion & Final Thoughts
The Oreo Red Velvet Cheesecake Drip Cake isn’t just dessert — it’s an experience. Every layer tells its own delicious story: the deep cocoa notes of red velvet, the creamy tang of cheesecake, the crunch of Oreo crust, and the sweet silkiness of white chocolate drizzle. It’s rich, dramatic, and absolutely unforgettable.
This cake is perfect for holidays, birthdays, or any occasion that deserves a little extra wow factor. While it looks extravagant, it’s surprisingly straightforward to make with simple techniques and everyday ingredients. The key is patience — chilling, layering, and decorating thoughtfully to let each texture shine.
Serve this cake as the grand finale to a festive meal, and watch as every forkful disappears amid delighted sighs. Whether you’re baking for loved ones or simply treating yourself to a little masterpiece, this Oreo Red Velvet Cheesecake Drip Cake is guaranteed to impress, delight, and become a new favorite in your celebration lineup.