Introduction
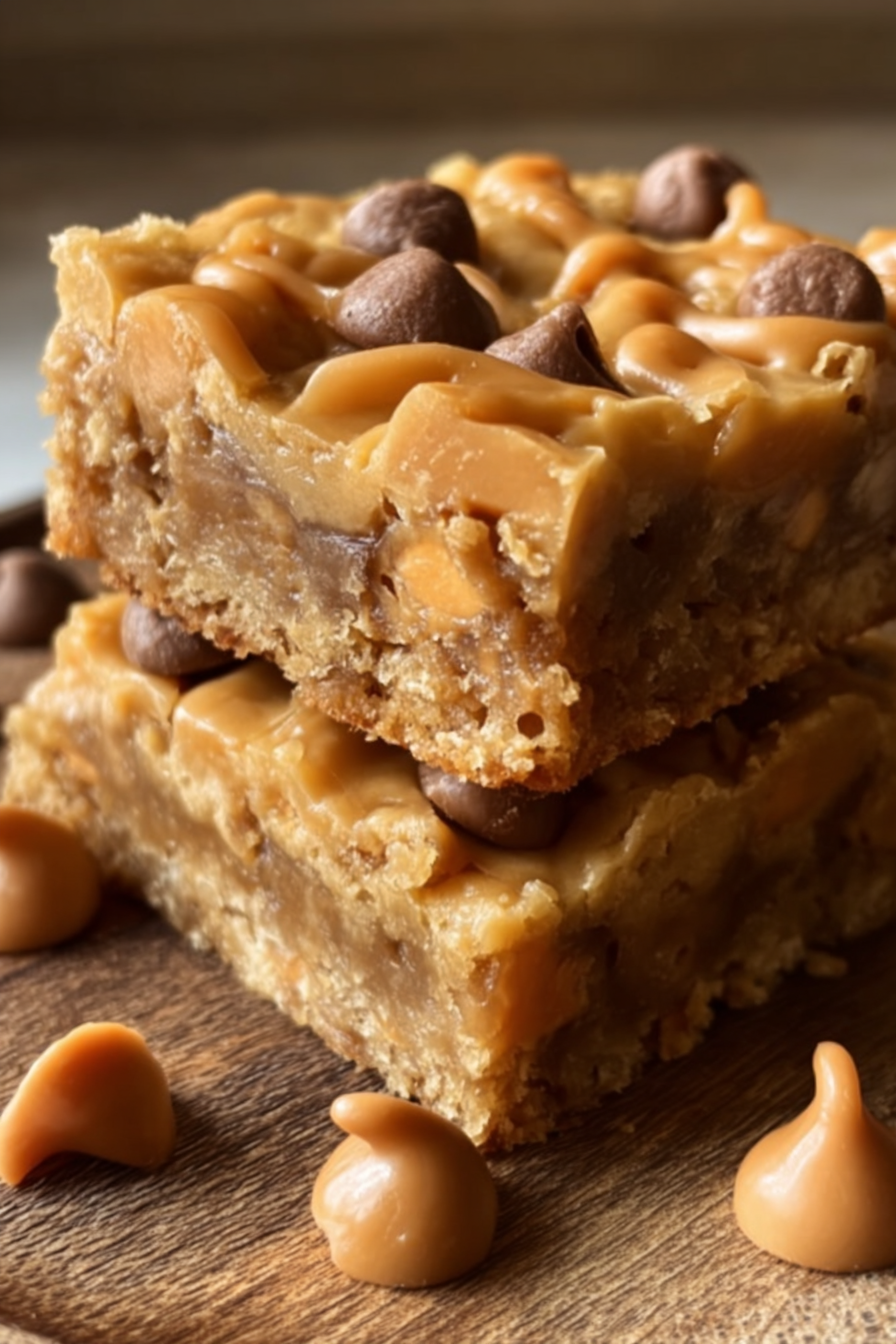
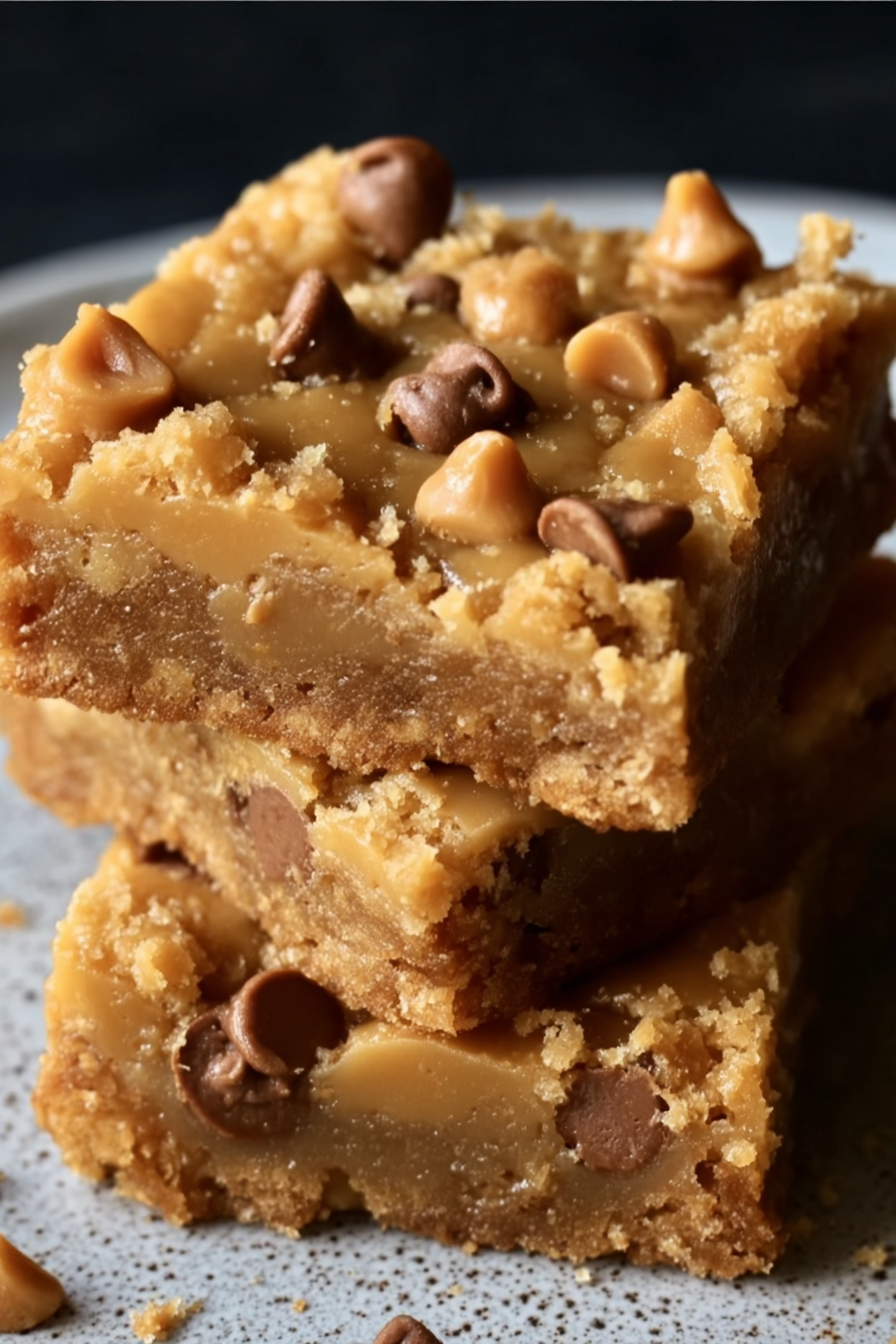
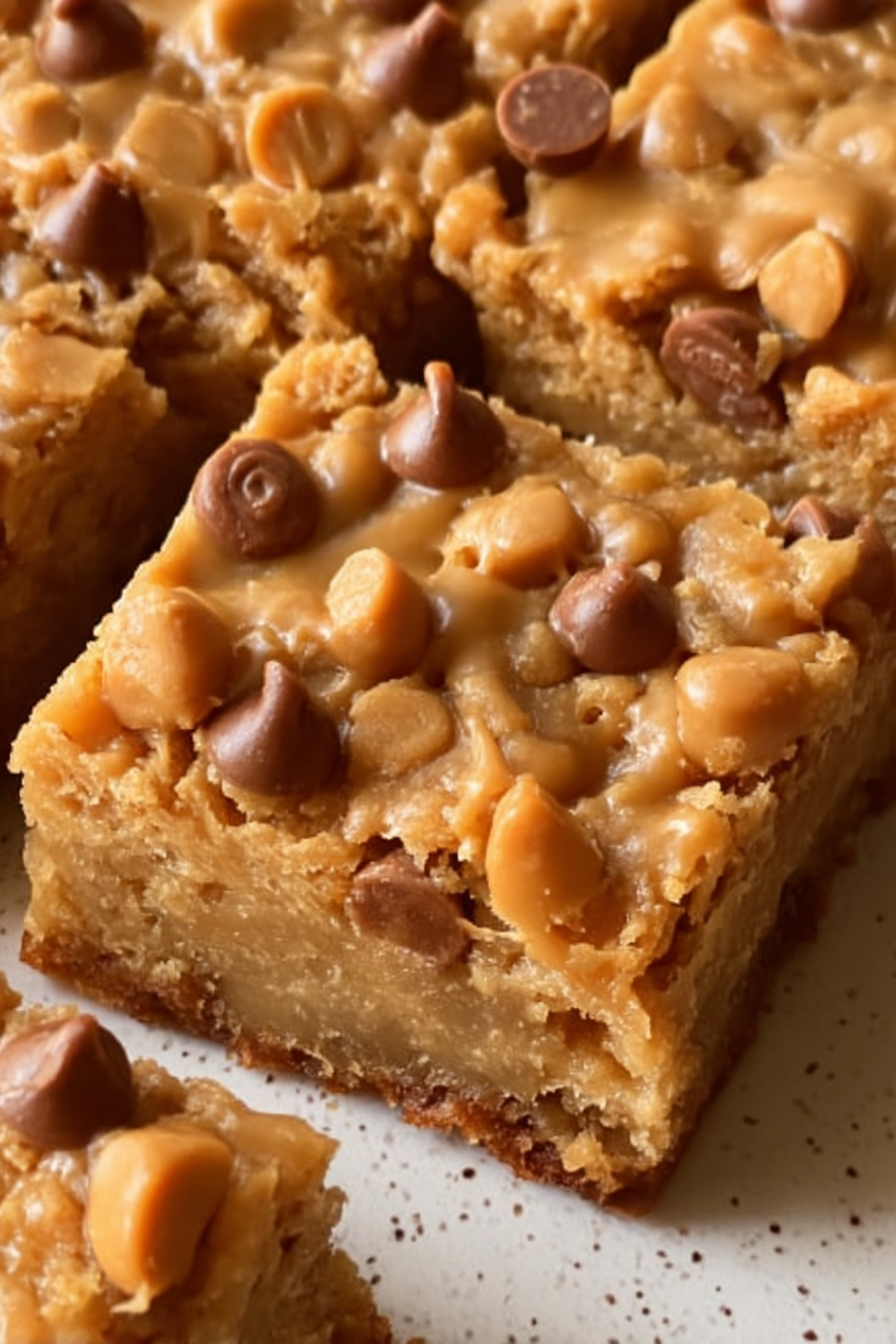
If you’re a fan of desserts that strike the perfect balance between sweet, nutty, and chewy, these Peanut Butter Butterscotch Bars will win your heart instantly. They’re made with simple pantry staples yet deliver a bakery-style indulgence right at home. Whether you’re baking for a family gathering, a holiday party, or just to satisfy a sweet tooth craving, this recipe offers a nostalgic comfort that appeals to kids and adults alike. The combination of brown sugar, creamy peanut butter, and butterscotch chips creates layers of flavor that make each bite irresistible.
My recipe story
Growing up, dessert bars were a staple in my household. My grandmother loved experimenting with sweet recipes that were easy to make but still felt special. Peanut butter and butterscotch were two of her favorite flavors, so these bars became a family classic over the years. I remember helping her measure the sugars, sneaking spoonfuls of peanut butter, and eagerly waiting for the bars to cool before we cut into them. Now, every time I bake them, it feels like bringing a little piece of family tradition back to life. They’re simple, but they carry a sentimental weight that makes them all the more enjoyable to share.
💡 Why You’ll Love This Recipe
- The bars are quick and easy to make, requiring no complicated steps.
- They use pantry-friendly ingredients you likely already have at home.
- The flavor combination of peanut butter and butterscotch is unique and satisfying.
- Perfect for potlucks, bake sales, or casual weeknight desserts.
- They store well, making them great for make-ahead treats.
Ingredient breakdown
One of the best things about Peanut Butter Butterscotch Bars is how accessible the ingredients are. Each one plays a specific role in building the perfect texture and flavor. The base of the recipe begins with melted butter, which provides richness and moisture. This, combined with creamy peanut butter, creates a velvety and flavorful foundation that carries throughout every bite.
Sugars play a crucial role too. Brown sugar adds chewiness and depth, while granulated sugar balances the sweetness and structure. Together, they give the bars that perfectly soft yet firm consistency. Eggs bind everything together and add richness, while vanilla extract elevates the flavors. Flour and baking soda provide structure and lift, ensuring the bars aren’t overly dense. Finally, butterscotch chips are folded in, adding delightful bursts of caramel-like sweetness that complement the nutty base beautifully.
Optional add-ins like chopped peanuts, mini chocolate chips, or a pinch of sea salt on top can enhance the overall flavor profile and texture. These variations can take the bars from a simple dessert to a gourmet treat with minimal effort.
Equipment you’ll need
- Mixing bowls (one large, one medium)
- Wooden spoon or silicone spatula
- Electric mixer (optional, for ease)
- Measuring cups and spoons
- 9×13-inch baking pan
- Parchment paper or non-stick spray
- Cooling rack
- Sharp knife for slicing bars
Step-by-step directions
- Prepare your baking pan: Start by preheating your oven to 350°F (175°C). Line a 9×13-inch baking pan with parchment paper, leaving some overhang on the sides to make lifting the bars easier later. If you don’t have parchment, lightly grease the pan with butter or non-stick spray to prevent sticking.
- Melt the butter: In a microwave-safe bowl, melt the butter until smooth, about 30–45 seconds. Let it cool slightly to avoid scrambling the eggs when added. This melted butter will create a rich and chewy base for your bars.
- Mix the wet ingredients: In a large mixing bowl, combine the melted butter, creamy peanut butter, brown sugar, and granulated sugar. Mix until well combined and smooth. Add the eggs one at a time, mixing thoroughly after each addition, then stir in the vanilla extract.
- Combine the dry ingredients: In a separate bowl, whisk together the flour and baking soda. Gradually add this dry mixture to the wet ingredients, mixing just until incorporated. Be careful not to overmix, as this can make the bars tough.
- Fold in the butterscotch chips: Gently stir in the butterscotch chips with a spatula or wooden spoon. Make sure they’re evenly distributed throughout the batter so that every bite has little bursts of butterscotch sweetness.
- Bake the bars: Spread the batter evenly into the prepared pan, smoothing the top with your spatula. Bake for 25–30 minutes, or until the edges are golden brown and a toothpick inserted into the center comes out clean or with just a few moist crumbs.
- Cool and slice: Remove the pan from the oven and let it cool on a wire rack for at least 30 minutes. Once cooled, lift the bars out using the parchment overhang and place them on a cutting board. Slice into squares or rectangles, depending on your preference.
Variations & substitutions
There are endless ways to adapt this recipe to your preferences. For a chocolate-lover’s twist, replace half of the butterscotch chips with semi-sweet chocolate chips. If you’re looking to cut down on sweetness, you can reduce the granulated sugar slightly without compromising structure. For a gluten-free version, swap the all-purpose flour with a 1:1 gluten-free baking flour. You can also use chunky peanut butter for added texture or even almond butter for a slightly different nutty flavor. If you want to add crunch, stir in chopped peanuts, pecans, or walnuts before baking.
💡 Expert Tips & Troubleshooting
- Let the melted butter cool slightly before mixing to avoid cooking the eggs.
- Do not overmix the batter once the flour is added, as it can make the bars dense.
- If the edges brown too quickly, cover loosely with foil during the last 5 minutes of baking.
- Always allow the bars to cool completely before slicing for clean edges.
Storage, freezing & make-ahead
These bars store beautifully, making them perfect for preparing in advance. Keep them in an airtight container at room temperature for up to 4 days. If you’d like to extend their shelf life, refrigerate them for up to a week, though be sure to let them come to room temperature before serving for the best texture. For freezing, wrap individual bars in plastic wrap and place them in a freezer-safe bag. They’ll keep well for up to 3 months. To serve, thaw at room temperature or microwave briefly for a warm, gooey treat.
Serving ideas & pairings
Peanut Butter Butterscotch Bars are delightful on their own, but they can also be elevated with creative pairings. Serve them with a glass of cold milk for a classic combination, or add a scoop of vanilla ice cream on top for an indulgent dessert. Drizzling melted chocolate or caramel sauce can add even more decadence. For a holiday platter, pair them with other baked goods like brownies, blondies, or cookies for a variety of flavors and textures. They also make a great companion to coffee or hot cocoa during cozy gatherings.
FAQ
Can I use natural peanut butter in this recipe?
Yes, but keep in mind that natural peanut butter tends to be runnier and may slightly change the texture of the bars. Stir well before using.
How do I know when the bars are done baking?
The bars are ready when the edges are golden brown, and a toothpick inserted in the center comes out clean or with a few moist crumbs.
Can I double this recipe?
Absolutely. Simply use two 9×13 pans or a larger sheet pan. Be mindful of baking time, as larger batches may require a few extra minutes.
What if I don’t have butterscotch chips?
You can substitute with white chocolate chips, caramel chips, or even more peanut butter chips for a similar effect.
Do these bars need to be refrigerated?
No, they are fine at room temperature in an airtight container. Refrigeration can extend shelf life but isn’t required.
Final thoughts
Peanut Butter Butterscotch Bars are the perfect blend of nostalgia, comfort, and indulgence. They’re easy to make, crowd-pleasing, and endlessly customizable. Whether you’re making them for a special occasion or just because, they’re sure to become a favorite in your household. Their chewy texture, nutty richness, and caramel-like sweetness make them a dessert that feels both simple and extraordinary. Bake a batch today, and you’ll see why this recipe has stood the test of time in so many kitchens.
Print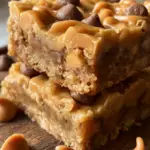
Peanut Butter Butterscotch Bars
- Total Time: 45 minutes
- Yield: 24 bars
- Diet: Vegetarian
Description
Chewy, rich dessert bars combining creamy peanut butter and sweet butterscotch chips for a nostalgic, crowd-pleasing treat. Perfect for sharing.
Ingredients
- 1/2 cup unsalted butter, melted
- 1 cup creamy peanut butter
- 1 cup brown sugar, packed
- 1/4 cup granulated sugar
- 2 large eggs
- 2 teaspoons vanilla extract
- 1 1/2 cups all-purpose flour
- 1 teaspoon baking soda
- 1 cup butterscotch chips
Instructions
- Preheat oven to 350°F (175°C). Line a 9×13-inch baking pan with parchment paper or lightly grease with butter.
- Melt the butter in a microwave-safe bowl, then let it cool slightly.
- In a large mixing bowl, combine melted butter, peanut butter, brown sugar, and granulated sugar until smooth.
- Add eggs one at a time, mixing well after each addition. Stir in vanilla extract.
- In a separate bowl, whisk together flour and baking soda. Gradually mix into wet ingredients until just combined.
- Fold in butterscotch chips evenly throughout the batter.
- Spread batter into prepared pan and smooth the top.
- Bake for 25–30 minutes, until edges are golden and a toothpick inserted in the center comes out clean.
- Cool completely on a wire rack, then lift out and cut into bars.
Notes
For extra flavor, sprinkle sea salt on top before baking. Store bars in an airtight container at room temperature for up to 4 days or freeze for up to 3 months.
- Prep Time: 15 minutes
- Cook Time: 30 minutes
- Category: Dessert
- Method: Baking
- Cuisine: American