Day of the Dead Cookies: A Delicious Tradition
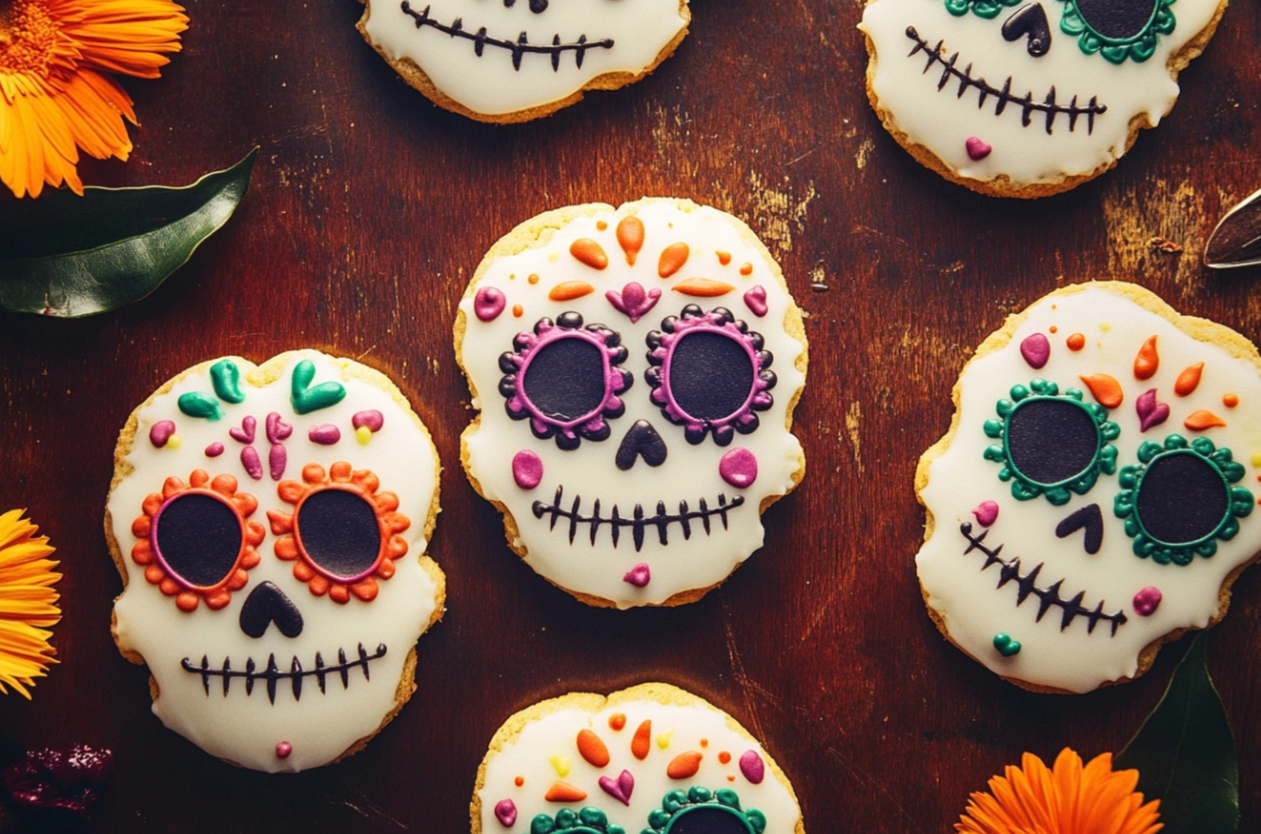
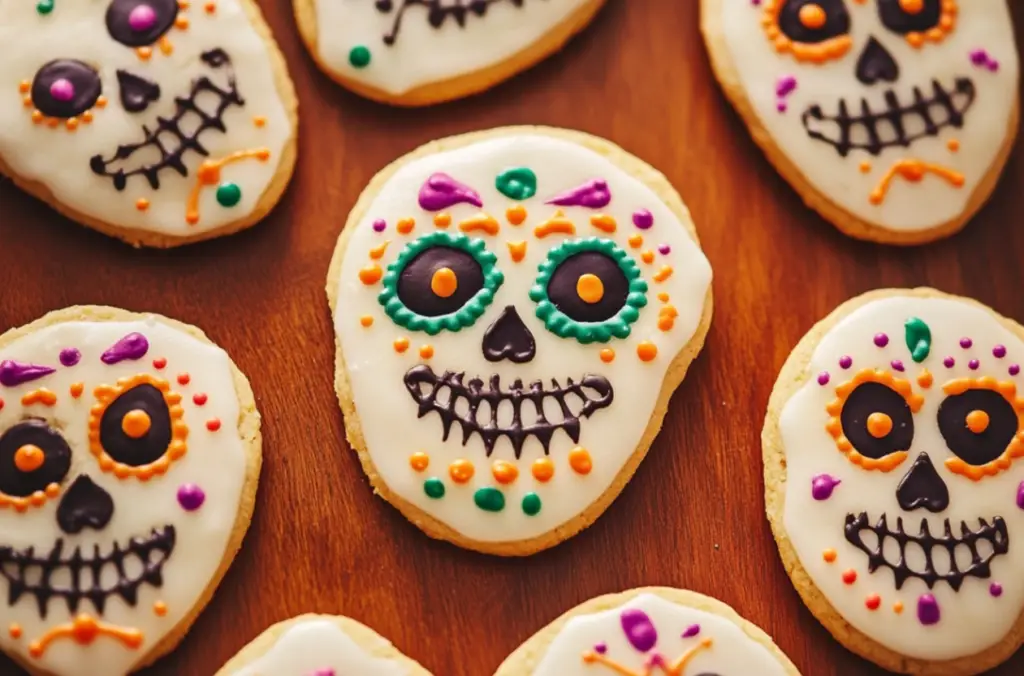
Day of the Dead Cookies are a vibrant and tasty way to celebrate the Día de los Muertos tradition. These cookies, inspired by sugar skulls, are perfect for honoring loved ones in a fun, creative manner. They capture the colorful essence of the holiday with bright designs and delicious flavors, making them a must-have treat for your celebration. Whether you’re hosting a party or looking for a unique dessert, these cookies will bring a festive touch to any table.
A Symbol of Celebration
Day of the Dead Cookies are more than just a sweet treat; they symbolize the lively, celebratory nature of Día de los Muertos. The intricate designs, from skull shapes to vibrant patterns, represent the joy and remembrance of those who have passed. This holiday is about embracing life and death, and what better way to do that than through deliciously decorated cookies? For ideas on perfecting your cookie designs, check out Royal Icing Tips for Beginners.
Perfect for Customization
One of the best things about Day of the Dead Cookies is how customizable they are. With a simple sugar cookie base and royal icing, you can create intricate designs in a variety of colors. Using food-safe markers, you can add even more detail to your cookies, making each one unique. If you want more tips on storing your cookies after decorating them, visit How to Store Cookies Properly to keep them fresh and looking fantastic for days.
Basic Recipe
Print
Day of the Dead Cookies
- Total Time: 1 hour
- Yield: 24 cookies 1x
- Diet: Vegetarian
Description
Soft, buttery cookies decorated with colorful icing, perfect for celebrating Día de los Muertos. These cookies can be personalized with bright designs that reflect the spirit of the holiday.
Ingredients
For the cookies:
- 3 cups all-purpose flour, plus more for surface
- 1 tsp baking powder
- ½ tsp kosher salt
- 1 cup (2 sticks) butter, softened
- 1 cup granulated sugar
- 1 large egg
- 1 tbsp milk
- 1 tsp pure vanilla extract
For the icing:
- 5 cups powdered sugar
- 6 tbsp milk, plus more for thinning
- ¼ cup light corn syrup
- ¼ tsp pure vanilla extract
- Black, teal, orange, green, purple, and yellow food coloring
Instructions
- In a bowl, whisk together flour, baking powder, and salt. Set aside.
- In a separate bowl, beat butter and sugar until light and fluffy. Add egg, milk, and vanilla extract, and mix until combined.
- Gradually add dry ingredients to wet ingredients and mix until a dough forms.
- Roll out dough on a floured surface and cut into desired shapes.
- Bake at 350°F (175°C) for 10–12 minutes or until edges are lightly golden. Let cool.
- Prepare icing by whisking powdered sugar, milk, corn syrup, and vanilla extract. Add food coloring as desired.
- Decorate cookies with icing, creating intricate sugar skull designs.
Notes
Use different piping tips to create detailed patterns. Thin the icing with extra milk for flooding and thicker for outlining.
- Prep Time: 25 minutes
- Cook Time: 12 minutes
- Category: Dessert
- Method: Baking
- Cuisine: Mexican-inspired
Nutrition
- Serving Size: 1 cookie
- Calories: 150 kcal
- Sugar: 15g
- Sodium: 80mg
- Fat: 7g
- Saturated Fat: 4g
- Unsaturated Fat: 2g
- Trans Fat: 0g
- Carbohydrates: 23g
- Fiber: 1g
- Protein: 2g
- Cholesterol: 25g
Keywords: Day of the Dead Cookies
STEPS
Step 1
In a medium bowl, whisk together flour, baking powder, and salt. Set aside.
Step 2
In a large bowl, cream the butter and sugar until light and fluffy. Add the egg, milk, and vanilla extract, mixing until well combined.
Step 3
Gradually add the dry ingredients to the wet ingredients until a dough forms. Roll out the dough on a floured surface and cut into shapes.
Step 4
Bake at 350°F (175°C) for 10–12 minutes or until edges are lightly golden. Allow cookies to cool completely.
Step 5
For the icing, whisk powdered sugar, milk, corn syrup, and vanilla until smooth. Divide into bowls and add food coloring as desired.
Step 6
Decorate the cooled cookies with your Day of the Dead inspired designs.
Advanced Techniques for Perfect Day of the Dead Cookies
Creating flawless Day of the Dead Cookies requires some advanced techniques, especially when it comes to decorating. Mastering the art of royal icing and cookie texture can elevate your cookies to a whole new level.
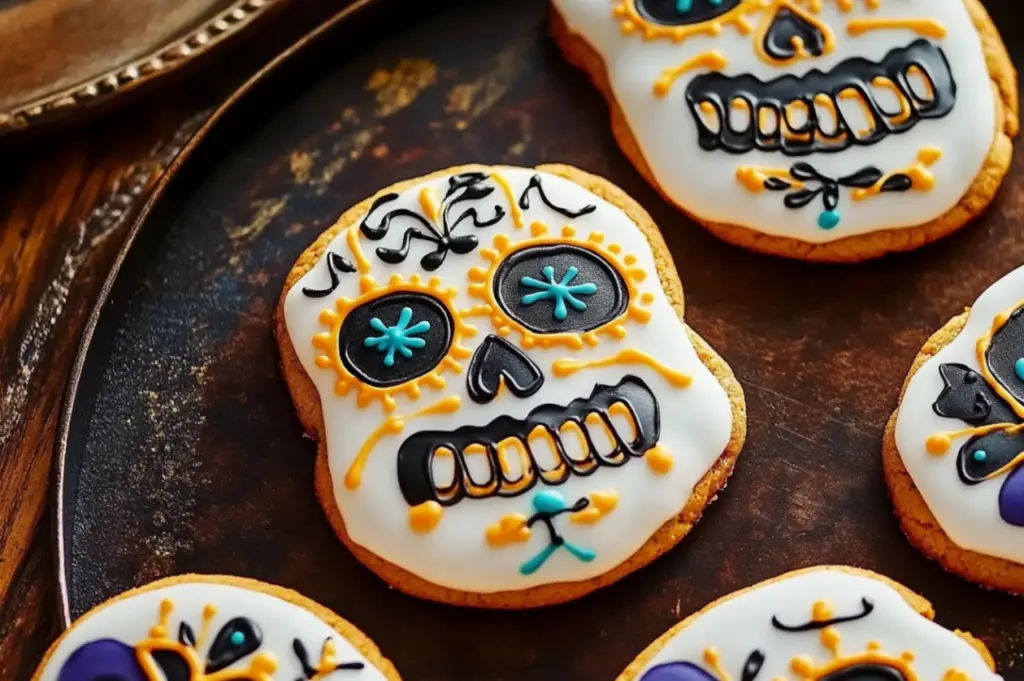
Mastering Royal Icing
To achieve the sharp, clean lines that make your Day of the Dead Cookies stand out, it’s important to get the icing consistency just right. Use a thicker icing for outlining and a thinner version for flooding the inside of your designs. By adjusting the icing texture with a little extra milk, you can create intricate, colorful patterns that resemble sugar skulls. Allow your iced cookies to dry fully before adding additional layers or details.
Perfect Cookie Texture
Achieving the ideal texture for Day of the Dead Cookies starts with properly chilling your dough. Chilling the dough not only makes it easier to handle but also ensures your cookies hold their shape during baking. For a softer cookie, roll your dough to about 1/4 inch thick. For a crisper finish, go thinner. Ensure even baking by rotating your cookie sheets halfway through the baking process.
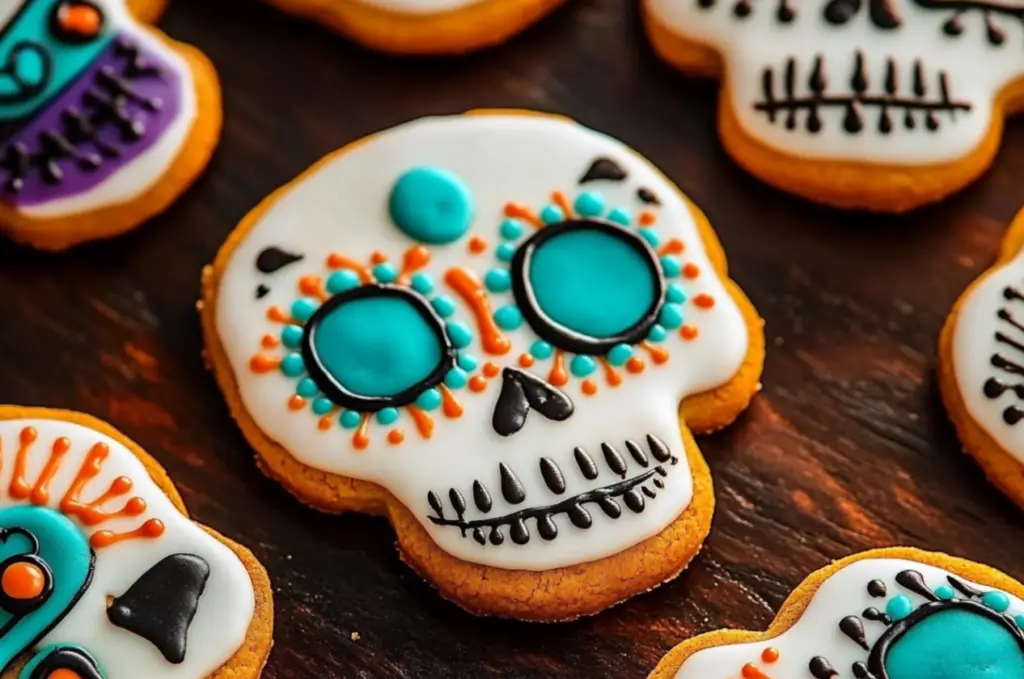
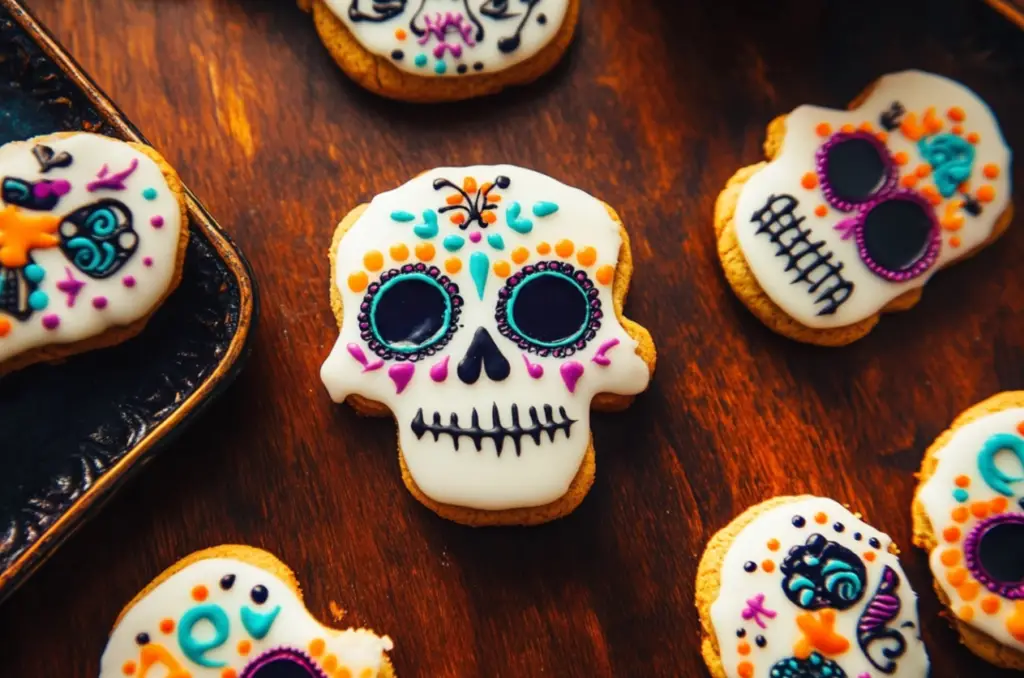
Using Bold Colors
The use of bold colors is essential to capturing the spirit of Day of the Dead. Vibrant food coloring brings your designs to life and makes each cookie a unique work of art. From teal to orange and purple, these hues add a festive flair to your cookies. Be sure to use gel food coloring for more intense, concentrated shades.
This step-by-step approach ensures that your Day of the Dead Cookies not only taste delicious but look stunning as well.
Maintenance and Storage Tips for Day of the Dead Cookies
Once you’ve baked and decorated your Day of the Dead Cookies, proper storage is key to maintaining their freshness and appearance. Following these simple tips will ensure your cookies remain a delight to eat and display.
Storing Decorated Cookies
To prevent smudging the intricate designs on your Day of the Dead Cookies, store them in a single layer. Use an airtight container and place parchment paper between each layer to protect the icing. This will keep the cookies fresh for up to one week at room temperature. Avoid placing them in the refrigerator, as moisture can affect the icing and cause the colors to bleed.
Freezing Options
If you need to prepare Day of the Dead Cookies in advance, freezing is an excellent option. Freeze the undecorated cookies in an airtight container or freezer bag for up to three months. When ready to decorate, let them thaw at room temperature. You can also freeze fully decorated cookies by placing them in a single layer, ensuring the icing is completely set before stacking.
Refrigeration and Shelf Life
While refrigeration isn’t necessary for Day of the Dead Cookies, it’s ideal for extending the shelf life of undecorated cookies. These cookies will last about two weeks in the fridge. Always allow refrigerated cookies to come to room temperature before serving to enhance their flavor and texture.
With these simple yet effective storage techniques, your Day of the Dead Cookies will stay fresh, beautiful, and ready to enjoy for any celebration. Whether you’re freezing them for later or keeping them at room temperature, maintaining the cookies is easy with the right methods.
Dietary Adaptations for Day of the Dead Cookies
If you or your guests have dietary preferences or restrictions, you can easily adapt Day of the Dead Cookies to accommodate a variety of needs. From gluten-free to dairy-free versions, there are plenty of ways to customize these cookies without sacrificing taste or texture.
Gluten-Free Adaptation
To make gluten-free Day of the Dead Cookies, substitute the all-purpose flour with a gluten-free flour blend that contains xanthan gum for elasticity. Many gluten-free flours will work well with this recipe, and the rest of the ingredients remain the same. The cookies will have the same buttery texture, making this a great option for those avoiding gluten.
Dairy-Free Icing
For a dairy-free version of the royal icing, simply swap out the milk in the icing recipe with a plant-based alternative, such as almond milk or oat milk. Ensure that the butter in the cookie dough is replaced with a vegan butter substitute. The texture and flavor will still be rich, allowing you to enjoy Day of the Dead Cookies without any dairy.
Reducing Sugar
If you’re looking to cut down on sugar, consider using a sugar substitute like stevia or monk fruit. These options allow you to reduce the sugar content in both the cookie dough and the icing while maintaining a sweet, satisfying flavor. The cookies will still hold their shape and decorate beautifully.
By making these simple changes, you can enjoy Day of the Dead Cookies that cater to your dietary preferences while keeping the festive spirit alive.
FAQs for Day of the Dead Cookies
Here are some frequently asked questions that can help guide you through making and enjoying Day of the Dead Cookies.
What type of cookie cutters should I use for Day of the Dead Cookies?
You can use any cookie cutter shape you prefer, but skull-shaped cutters are the most traditional choice for Day of the Dead Cookies. They capture the spirit of the holiday and provide the perfect canvas for decorating with bright colors and intricate designs. However, round or heart-shaped cutters work well if you want a simpler option.
Can I make the dough in advance?
Yes! You can prepare the cookie dough for Day of the Dead Cookies up to three days in advance. Just wrap it tightly in plastic wrap and store it in the refrigerator. When you’re ready to bake, allow the dough to come to room temperature before rolling it out.
How long do I need to let the icing dry?
The royal icing on Day of the Dead Cookies needs at least four hours to fully dry. For best results, let them sit overnight to ensure the icing hardens completely before stacking or packaging.
Can I use store-bought icing instead?
Yes, you can use store-bought icing to decorate Day of the Dead Cookies. However, making your own royal icing allows for better control of consistency and color, giving you more precision when decorating intricate designs.
These tips and answers will ensure your Day of the Dead Cookies turn out perfectly every time, whether you’re baking ahead or trying new decorating techniques.
Day of the Dead Cookies: Final Tips for Success
To perfect your Day of the Dead Cookies, there are a few final tips and tricks that can elevate both their taste and appearance. These simple yet effective techniques will ensure that your cookies are a hit during any celebration.
Use High-Quality Ingredients
For the best results, always use high-quality ingredients. Fresh butter and pure vanilla extract add rich flavor to your Day of the Dead Cookies. The better the ingredients, the more flavorful and tender your cookies will be. Additionally, high-quality food coloring will give your royal icing more vibrant hues that stand out in your designs.
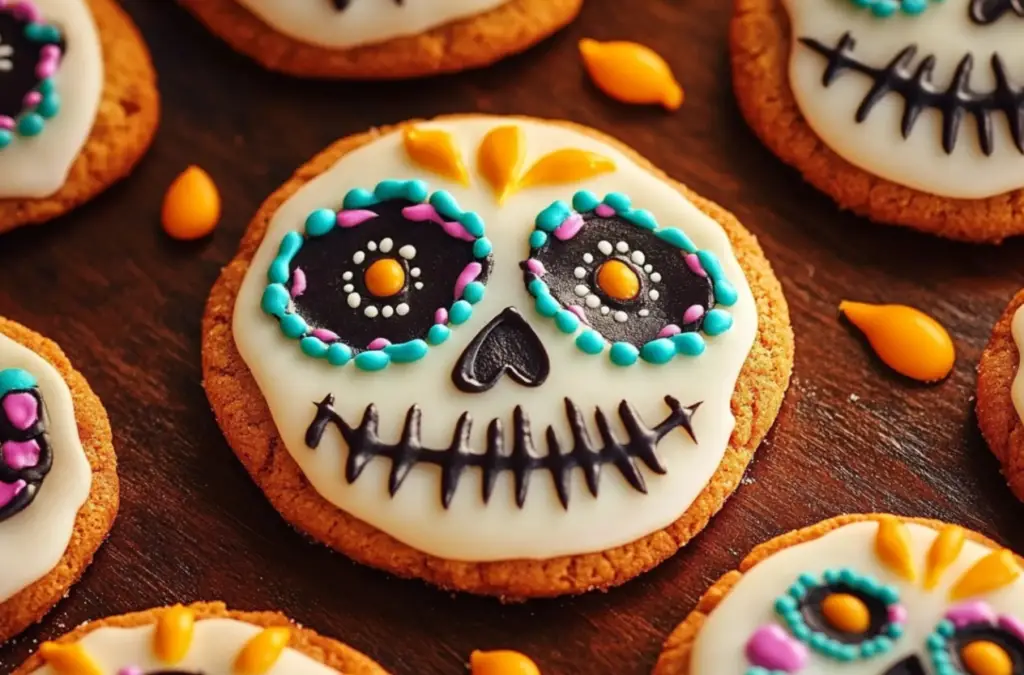
Customize Your Cookies with Unique Decorations
Personalize your Day of the Dead Cookies by experimenting with various decorating techniques. Try using edible glitter, candy eyes, or sprinkles to add extra flair. You can also pipe on flowers, hearts, or other shapes that reflect the Día de los Muertos tradition. Encourage creativity with every cookie you design, as the holiday celebrates individuality and remembrance.
Time Your Baking Perfectly
Pay close attention to the baking time of your Day of the Dead Cookies. To achieve a soft and tender cookie, pull them out of the oven as soon as the edges turn lightly golden. Overbaking can result in a dry texture, so always keep an eye on the time.
By following these final tips, your Day of the Dead Cookies will look and taste amazing, bringing both flavor and festive flair to your Día de los Muertos celebration. Keep practicing, and soon you’ll master the art of these beautifully decorated treats!