Introduction to the Recipe
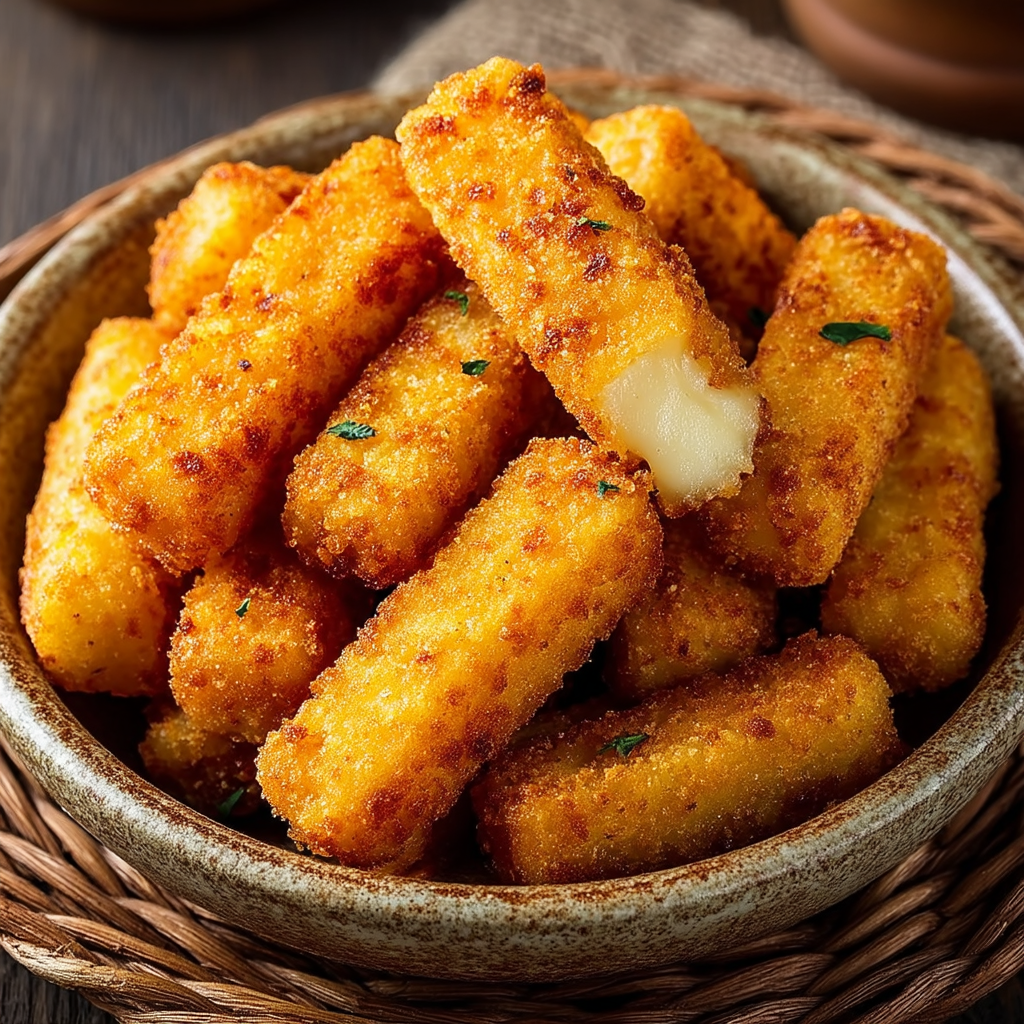
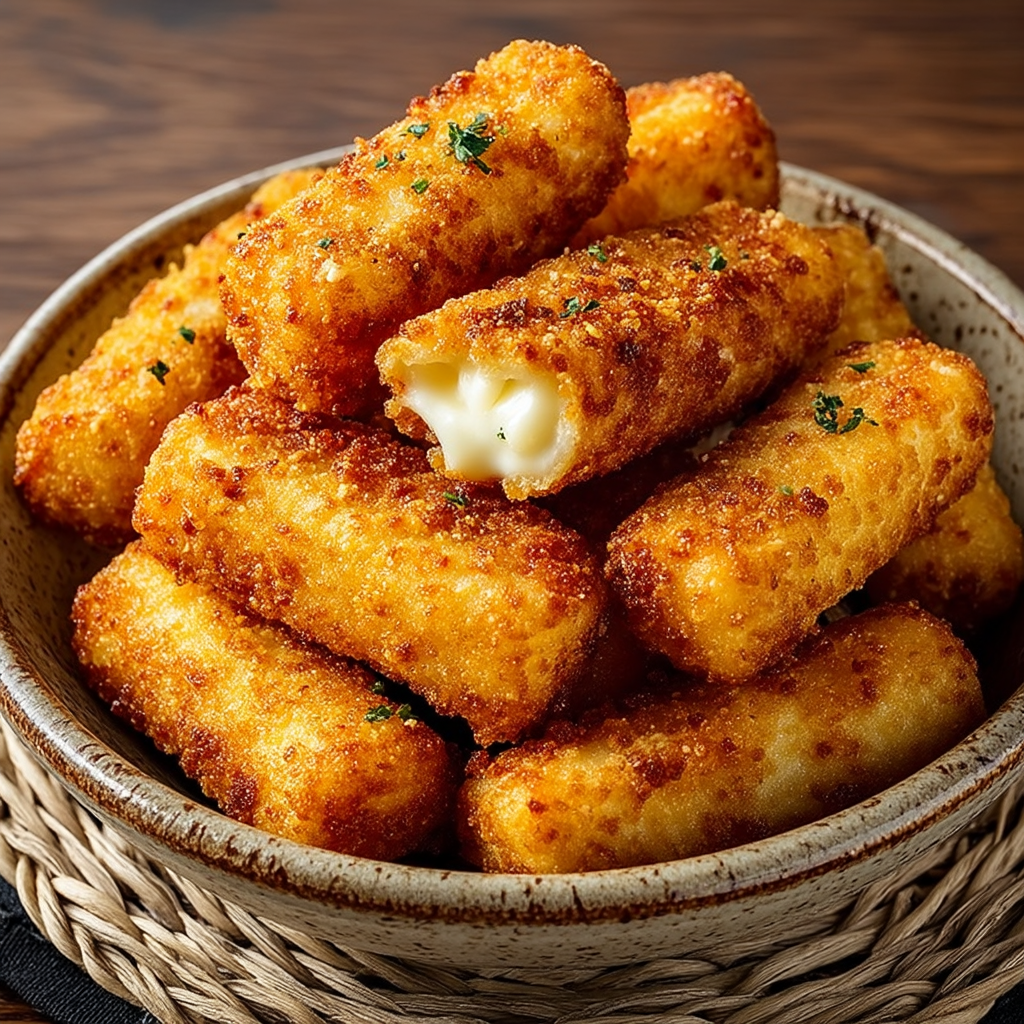
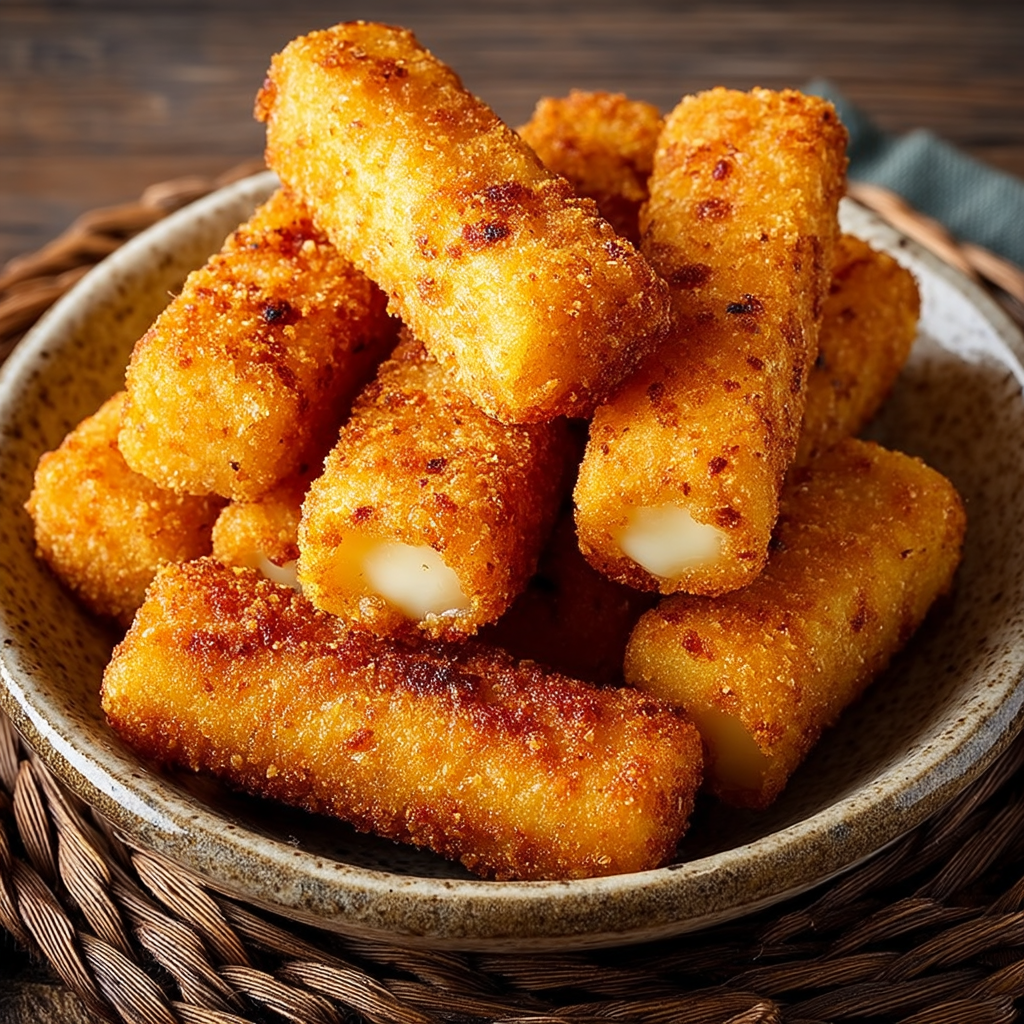
Potato finger sticks are an irresistible snack or side that brings the perfect balance of crispiness and tender potato goodness to your plate. These sticks, essentially a variation on fries, are easier to make than you might think and can be customized with a variety of seasonings to suit your taste. Whether you’re looking for a healthier alternative to traditional French fries or want a simple yet flavorful side dish, this Potato Finger Sticks recipe is a fantastic option.
The magic lies in the way these potato sticks are prepared: hand-cut from fresh potatoes, tossed in olive oil and a blend of savory spices, then baked or air-fried until golden and crisp. Unlike traditional fries that are deep-fried, potato finger sticks offer a lighter texture without sacrificing flavor. The basic seasoning mix includes salt, pepper, garlic powder, and paprika — but you can easily add your own twist with herbs like thyme, chili powder for heat, or even a sprinkle of grated cheese for extra indulgence.
For those curious about potato preparation, this guide to cutting and cooking potatoes offers helpful tips on achieving the perfect cut. Additionally, seasoning ideas for potatoes can inspire you to experiment with your favorite flavors.
Perfect for snacking, party appetizers, or alongside your favorite protein, Potato Finger Sticks bring satisfying crunch and comforting flavors in every bite. Plus, they’re incredibly versatile, easy to make, and customizable, making them a staple you’ll want to keep coming back to.
Basic Recipe: Ingredients and Instructions
Print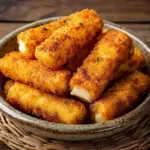
Potato Finger Sticks Recipe
Description
Learn how to make crispy Potato Finger Sticks with simple ingredients and optional seasonings for a perfect snack or side dish.
Ingredients
-
2–3 large potatoes
-
½ cup olive oil
-
½ teaspoon salt
-
¼ teaspoon black pepper
-
¼ teaspoon garlic powder (optional)
-
¼ teaspoon paprika (optional)
Optional Seasonings:
-
Additional herbs and spices to taste (e.g., chili powder, dried thyme, or grated cheese)
Instructions
Step 1: Preheat and prep
Preheat your oven to 425°F (220°C). Line a baking sheet with parchment paper or lightly grease it to prevent sticking.
Step 2: Wash and cut the potatoes
Thoroughly wash and peel the potatoes if desired (you can leave the skin on for extra texture and nutrients). Slice the potatoes into uniform finger-sized sticks, roughly ¼ to ½ inch thick. Try to keep the size consistent for even cooking.
Step 3: Soak the potato sticks (optional but recommended)
To remove excess starch and help achieve crispiness, soak the cut potatoes in cold water for at least 30 minutes. Drain and pat dry thoroughly using kitchen towels.
Step 4: Season the potato sticks
Place the dried potato sticks in a large bowl. Drizzle with olive oil, then sprinkle with salt, black pepper, garlic powder, and paprika (if using). Toss well to coat each stick evenly.
Step 5: Arrange and bake
Spread the seasoned potato sticks in a single layer on the prepared baking sheet, making sure they are not overcrowded to allow airflow for crisping. Bake for 25–30 minutes, flipping halfway through, until golden and crispy on the edges.
Step 6: Add optional toppings and serve
Once baked, you can sprinkle your finger sticks with additional herbs, chili powder, or grated cheese for extra flavor. Serve immediately with your favorite dipping sauces like ketchup, aioli, or ranch.
Notes
Cutting potatoes uniformly ensures even baking and prevents some sticks from burning while others remain undercooked.
Soaking is key to removing starch and making the sticks extra crispy.
Don’t skip flipping halfway through baking to achieve golden crunch on all sides.
Experiment with different seasonings depending on your mood — the flexibility is what makes this recipe a winner.
Keywords: Potato Finger Sticks
Advanced Techniques
Using a mandoline slicer for perfect cuts
To get consistently thin and even potato finger sticks, use a mandoline slicer. This tool allows you to adjust thickness precisely and speeds up the cutting process, ensuring every piece cooks evenly and crisps beautifully. Just be cautious when handling the sharp blades.
Double bake method for extra crispiness
After the initial bake, remove the sticks, let them cool slightly, then bake again at a higher temperature (450°F) for 5–7 minutes. This double bake helps remove additional moisture, giving you an even crunchier texture that rivals deep-fried fries.
Add a dusting of cornstarch before oil
Tossing your potato sticks lightly in cornstarch before coating with olive oil helps create a thin, crispy crust. The cornstarch absorbs moisture and crisps up in the oven, delivering a delightful crunch.
Infuse olive oil with garlic or herbs
Heat your olive oil gently with garlic cloves or fresh rosemary, then strain and use this infused oil to coat your potatoes. This technique imparts subtle but complex flavors that elevate simple potato sticks into a gourmet side.
Air fryer shortcut for faster cooking
If you own an air fryer, potato finger sticks can be cooked in it for 15–20 minutes at 400°F. Air frying uses rapid hot air circulation to crisp potatoes faster and with less oil, making it a healthier and quicker alternative.
See more advanced recipes at cookingwhite.com

Storage, Shelf Life, and Maintenance Tips
Store leftover finger sticks in airtight containers
Place any uneaten potato sticks in airtight containers and refrigerate. They will stay fresh for 2–3 days. When reheating, use an oven or air fryer instead of the microwave to restore crispiness.
Freeze cooked potato sticks for longer storage
You can freeze cooked potato finger sticks after they’ve cooled completely. Spread them out on a baking sheet to freeze individually before transferring to freezer bags. Reheat in the oven or air fryer without thawing for best results.
Reheat using the oven or air fryer
Microwaving leftover finger sticks leads to soggy results. Instead, reheat in a preheated oven at 375°F for 10 minutes or air fryer at 350°F for 5–7 minutes to revive crispiness.
Avoid overcrowding when cooking
When cooking or reheating, arrange sticks in a single layer without overcrowding. Proper airflow ensures even crisping and prevents steaming that causes sogginess.
Use fresh potatoes for best texture
Old or sprouting potatoes tend to have a different texture and may not crisp well. Using fresh, firm potatoes guarantees a superior final product.
Dietary Adaptations and Substitutions
Make it vegan-friendly and allergen-free
This recipe is naturally vegan and free from common allergens like gluten or dairy if you stick to olive oil and simple spices. For extra flavor, use nutritional yeast instead of cheese as a topping.
Gluten-Free options
Potatoes and olive oil are naturally gluten-free. Just ensure any seasoning blends or optional toppings do not contain gluten additives for a safe gluten-free snack.
Low-Sodium alternative
Reduce or omit salt to control sodium intake. Boost flavor with herbs like rosemary, thyme, or smoked paprika to maintain a tasty profile without added salt.
Add protein by pairing with dips
Serve potato finger sticks with protein-rich dips such as Greek yogurt-based sauces, hummus, or bean dips to make the snack more filling and balanced.
Keto-friendly version using alternatives
Though potatoes are high-carb, for a keto twist, swap potatoes for peeled jicama sticks or zucchini sticks and follow the same seasoning and cooking process. This keeps the finger stick shape but lowers carbs drastically.
FAQs About the Recipe
How can I make my potato finger sticks crispier?
Soaking the cut potatoes in cold water to remove excess starch and drying them thoroughly before oiling is crucial for crispiness. Additionally, avoid overcrowding the baking sheet and flip halfway through baking.
Should I peel potatoes or leave the skin on?
Peeling is optional. Leaving the skin on adds texture, nutrients, and a rustic look. Just be sure to wash the potatoes thoroughly.
Can I make this recipe in an air fryer?
Yes! Air frying potato sticks at 400°F for 15–20 minutes, shaking halfway through, yields crispy results with less oil and faster cooking.
What dipping sauces go well with potato finger sticks?
Classic ketchup, garlic aioli, ranch dressing, spicy sriracha mayo, or even cheese sauces all pair beautifully with potato finger sticks.
Can I use sweet potatoes instead?
Absolutely! Sweet potato finger sticks follow the same preparation method but may require slightly shorter cooking time and a gentle watch to avoid burning due to their natural sugars.
Conclusion & Final Thoughts
Potato finger sticks are a simple, versatile snack that anyone can master at home. Their crispy texture combined with the comforting flavor of baked potatoes makes them perfect for everything from casual snacking to serving alongside your favorite main dishes. What makes this recipe truly special is its flexibility—you can customize the seasoning to match your mood, whether that’s spicy, herby, cheesy, or classic.
With just a handful of ingredients, you’re able to create a healthier alternative to traditional fries without sacrificing taste or satisfaction. The ability to bake or air fry these sticks adds convenience and adaptability to your kitchen routine, making this a go-to recipe for busy weeknights or weekend gatherings.
No matter your dietary preferences or kitchen skill level, potato finger sticks provide a crowd-pleasing treat that’s easy to make, delicious, and endlessly customizable. Next time you crave something crunchy and savory, reach for this recipe and enjoy a homemade favorite that always delivers.