Pumpkin Hand Pies
Introduction
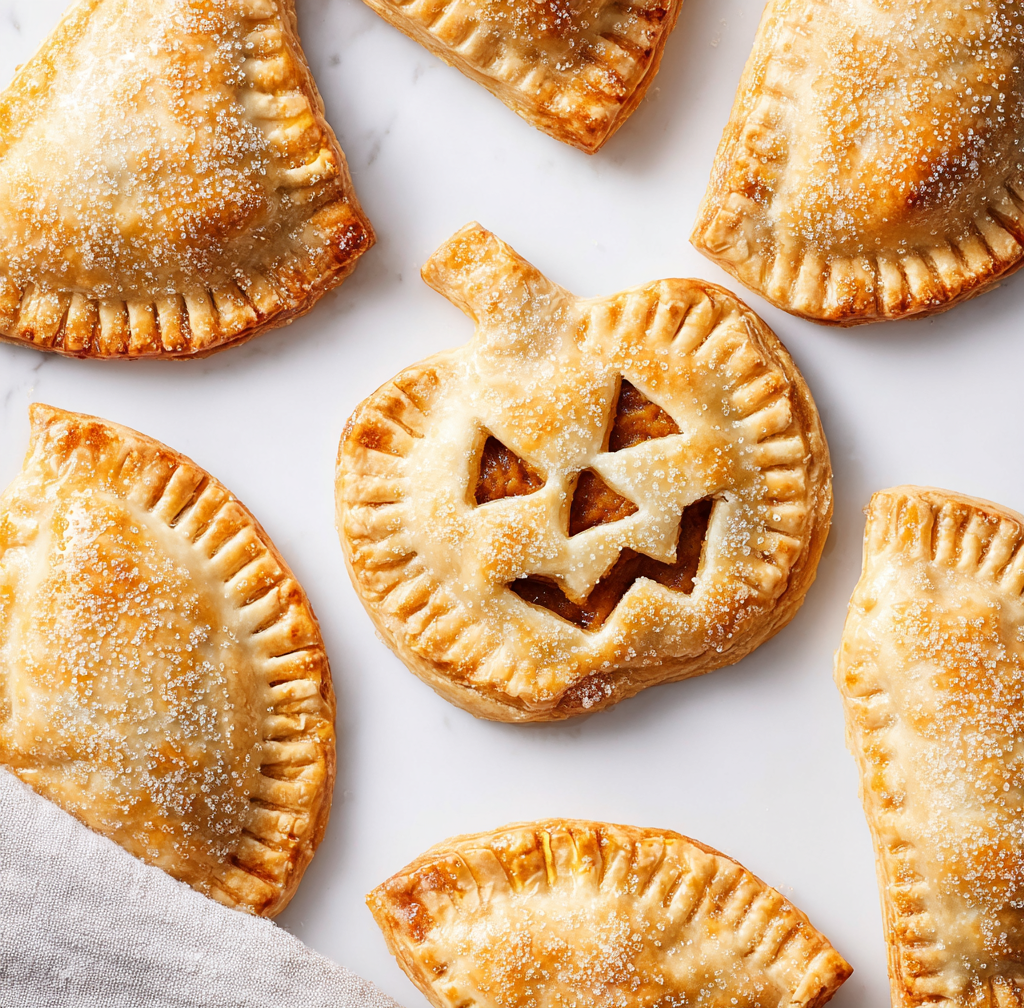
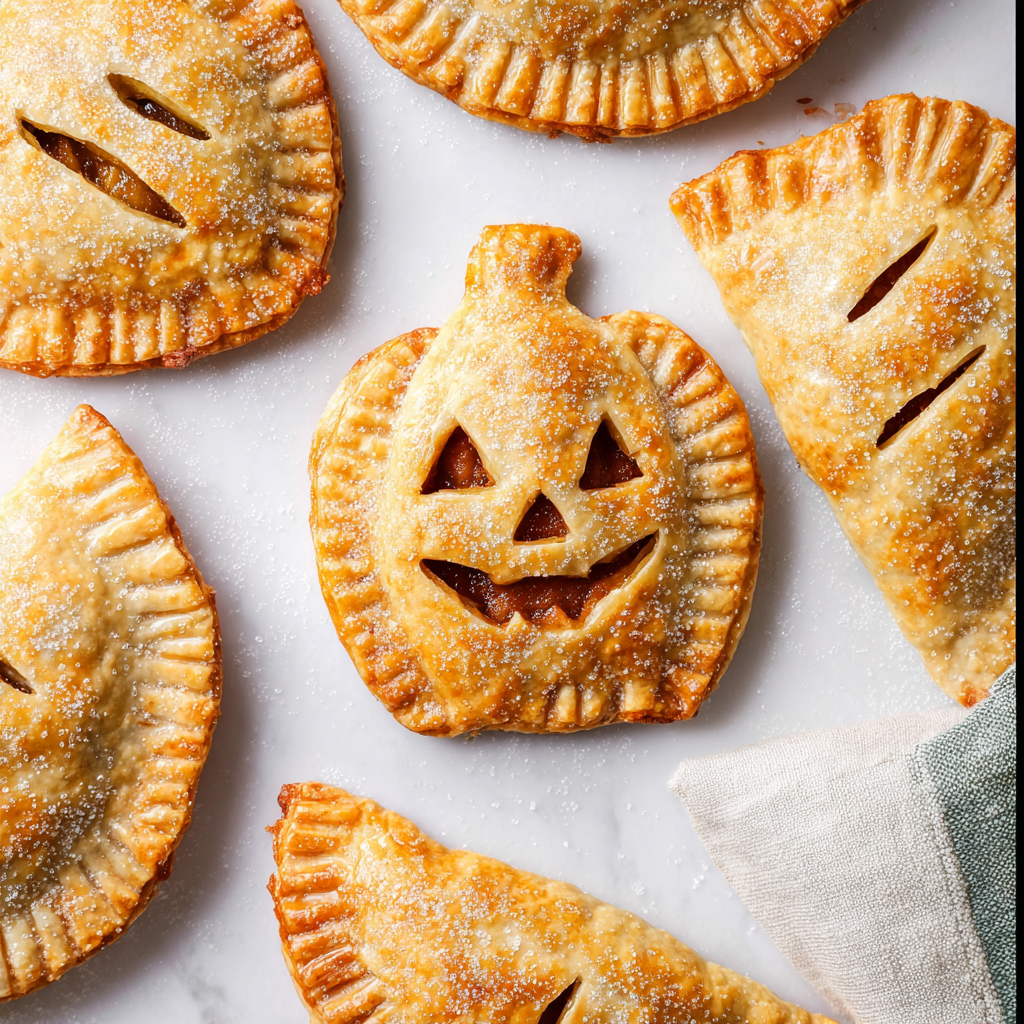
There’s something irresistibly cozy about these Pumpkin Hand Pies — golden, buttery pockets filled with creamy pumpkin spice filling and drizzled with sweet maple icing. They’re like mini pumpkin pies you can hold in your hand, perfect for crisp fall mornings, bake sales, or Thanksgiving dessert tables. Each bite offers the best of autumn: flaky crust, smooth spiced pumpkin, and a touch of maple sweetness that makes you close your eyes and savor.
I fell in love with hand pies years ago when I realized how perfectly they capture the comfort of traditional pie without the need for slicing or plates. They’re adorable, easy to share, and incredibly satisfying. Whether you’re a seasoned baker or just starting out, this Pumpkin Hand Pies recipe is forgiving, fun, and guaranteed to fill your kitchen with the smell of butter and warm spice.
The maple icing on top is what makes them extra special. It adds a glossy finish and a rich, caramel-like sweetness that perfectly complements the spiced pumpkin filling. You can enjoy these warm from the oven, or at room temperature with a cup of coffee or tea — either way, they’re little pockets of autumnal joy.
If you love learning more about hand pie techniques, check out Serious Eats’ guide to hand pies for expert baking science, or explore King Arthur Baking’s pastry tutorials to perfect your dough. Both are wonderful resources for mastering flaky, golden crusts.
Now, let’s bake these Pumpkin Hand Pies — a cozy, handheld version of everyone’s favorite fall dessert.
Recipe Card
Print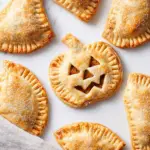
Pumpkin Hand Pies – Flaky, Spiced & Perfectly Portable Treats
Description
These Pumpkin Hand Pies combine a flaky, buttery crust with a luscious pumpkin filling spiced with cinnamon, nutmeg, and vanilla, finished with a drizzle of maple icing. They’re easy to make, easy to share, and deliver all the warmth of a traditional pumpkin pie in a cute, portable form.
Ingredients
Crust
- All-Butter Pie Dough or Homemade Pie Dough
- 1 large egg, beaten with 1 Tablespoon milk (for egg wash)
Filling
- 1 and 1/4 cups (282g) pumpkin puree*
- 1 large egg
- 6 Tablespoons (72g) packed light or dark brown sugar
- 1 Tablespoon all-purpose flour
- 1 teaspoon pumpkin pie spice (store-bought or homemade)
- 1 teaspoon pure vanilla extract
- Pinch of salt
Maple Icing
- 1 cup (120g) confectioners’ sugar
- 3 Tablespoons (45ml) pure maple syrup
- 1 Tablespoon (15ml) milk
- 1/2 teaspoon maple extract or vanilla extract
- Pinch of salt
Instructions
- Prepare the dough: On a floured surface, roll out the All-Butter Pie Dough into a large rectangle about 1/8 inch thick. Cut out 4-inch circles using a round cutter (or use a glass). Gather scraps, re-roll, and continue cutting until you have about 16–20 circles.
- Preheat oven to 375°F (190°C). Line two baking sheets with parchment paper.
- Make the filling: In a medium bowl, whisk together pumpkin puree, egg, brown sugar, flour, pumpkin pie spice, vanilla, and salt until smooth.
- Assemble the pies: Spoon 1–1.5 tablespoons of filling onto half of the circles, leaving a small border around the edges. Brush the border with egg wash, then top with another dough circle. Press edges firmly with a fork to seal.
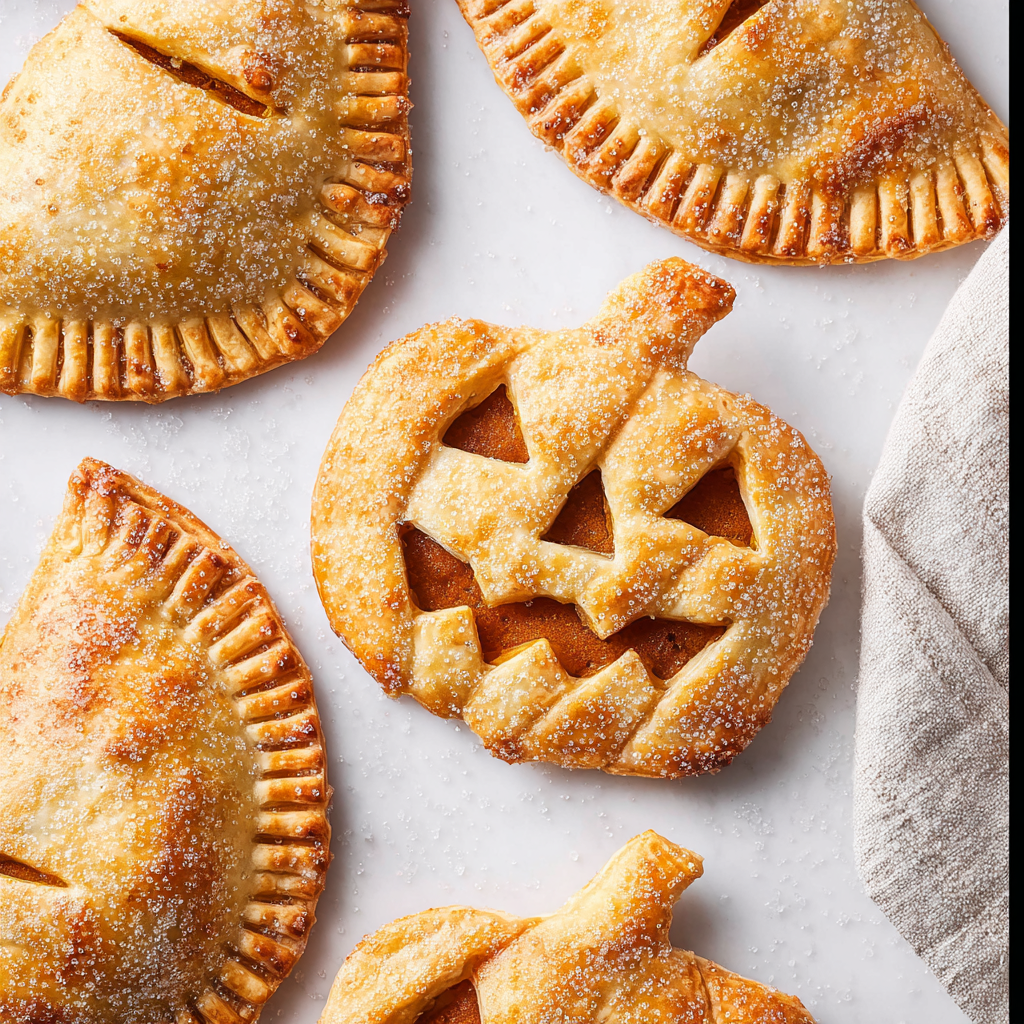
- Add vents and glaze: Cut a small “X” or a few slits on the top of each pie to allow steam to escape. Brush the tops with egg wash for a golden finish.
- Bake: Arrange on the prepared baking sheets and bake for 23–25 minutes, or until golden brown and puffed. Let cool on a wire rack for at least 20 minutes.
- Make the icing: In a small bowl, whisk together confectioners’ sugar, maple syrup, milk, extract, and salt until smooth. Drizzle over cooled pies.
- Serve and enjoy: Let the icing set for about 10 minutes before serving.
Notes
Active time: 40 minutes | Baking: 25 minutes | Cooling: 20 minutes
The filling should be thick but spreadable—if it’s too runny, refrigerate it for 10–15 minutes before assembling.
Advanced Techniques
Mastering the Perfect Flaky Crust for Hand Pies
The secret to flaky hand pies is cold butter and minimal handling. I always chill my dough twice — once before rolling and once after cutting out the circles. This helps the fat stay solid and creates beautiful layers during baking. For even better texture, use a combination of butter and shortening for that bakery-style crispness.
Balancing Pumpkin Sweetness and Spice
Pumpkin can vary in flavor depending on the brand or whether it’s homemade. Taste your filling before assembling and adjust sweetness or spice to your liking. I sometimes add a tiny pinch of black pepper — it subtly enhances the cinnamon and nutmeg without overpowering the flavor.
Creating a Leak-Proof Seal
Leaky pies can ruin presentation. To prevent this, lightly brush the edge of each bottom crust with egg wash before sealing. Press with a fork, then go around once more with your fingers to reinforce. A tight seal ensures the filling stays inside, giving you those neat, bakery-worthy pies.
Making the Maple Icing Extra Glossy
For a picture-perfect finish, make sure your icing is thick enough to drizzle slowly off a spoon. Add milk a few drops at a time to control consistency. A small pinch of salt brings out the maple’s natural depth — a trick I learned after several batches of too-sweet icing.
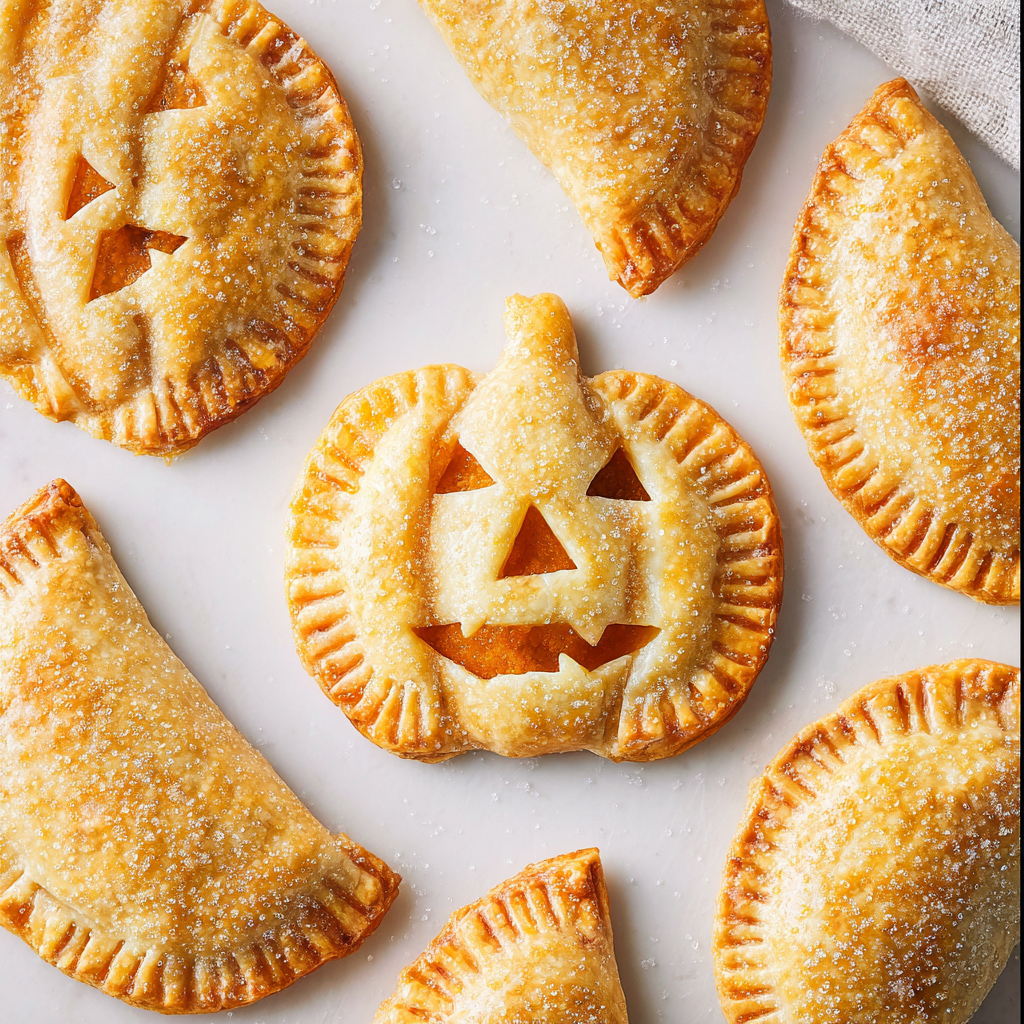
Adding Decorative Touches
If you want to impress guests, sprinkle coarse sugar or a light dusting of cinnamon on top of the egg wash before baking. It creates a caramelized sparkle that makes the pies look as good as they taste.
Storage, Shelf Life, and Maintenance Tips
Keeping Pumpkin Hand Pies Fresh
Once cooled, store your hand pies in an airtight container at room temperature for up to 2 days or in the refrigerator for up to 5 days. Keep layers separated with parchment paper to prevent sticking.
Freezing Before Baking
You can freeze assembled, unbaked hand pies for up to 2 months. Place them on a baking sheet until firm, then transfer to a freezer bag. When ready to bake, no need to thaw—just add a few extra minutes to the baking time.
Reheating for Freshness
To revive leftover pies, warm them in a 325°F (160°C) oven for 10 minutes. This refreshes the crust’s crispness and revives the aroma of pumpkin spice.
Storing Iced vs. Uniced Pies
If you’re making the pies ahead for a party, wait to drizzle the maple icing until the day of serving. Refrigeration can cause icing to absorb moisture and lose its sheen.
Transporting for Gatherings
Place pies in a shallow container or bakery box lined with parchment. Avoid stacking them if iced. For outdoor events, keep them cool and covered — the icing can soften in warm temperatures.
Dietary Adaptations and Substitutions
Making Dairy-Free Pumpkin Hand Pies
Use a dairy-free pie crust (made with vegan butter or coconut oil) and substitute almond or oat milk in both the filling and icing. The flavor stays rich and balanced.
Gluten-Free Pumpkin Hand Pies
Swap in a gluten-free all-purpose flour blend for the crust. Because gluten-free dough is more delicate, roll it between parchment sheets and chill often to prevent tearing.
Refined Sugar-Free Option
Replace brown sugar with coconut sugar or maple sugar, and use pure maple syrup for the icing. The natural sweetness complements the pumpkin perfectly.
Vegan Pumpkin Hand Pies
Use flax egg (1 tablespoon flaxseed meal + 3 tablespoons water) in the filling, and brush the crust with non-dairy milk instead of egg wash. The texture remains beautifully crisp and tender.
Low-Fat or Lighter Version
You can use reduced-fat milk instead of whole milk in the filling, and skip the icing for a simpler, less-sweet version. They’re still delicious with a sprinkle of cinnamon sugar on top.
FAQs About Pumpkin Hand Pies
Why Is My Filling Leaking Out During Baking?
This usually happens when the edges aren’t sealed tightly or the filling is too runny. Chill the assembled pies for 10–15 minutes before baking to help the dough firm up and prevent leaks.
Can I Use Store-Bought Pie Dough?
Absolutely! Store-bought dough makes this recipe even easier and still delivers great results. Just make sure to keep it cold before cutting and assembling.
Can I Make These Ahead of Time?
Yes! You can make the filling and dough up to 2 days in advance. Store both in the refrigerator, then assemble and bake when ready.
What’s the Best Way to Shape Hand Pies?
Circles and rectangles both work beautifully. If you don’t have cutters, simply cut 4×4-inch squares and fold them over diagonally into triangles. Rustic shapes look charming and taste just as good!
How Do I Keep the Icing from Getting Sticky?
Allow the pies to cool completely before icing. Once drizzled, let them sit uncovered for 15 minutes so the glaze can set. Afterward, you can cover loosely for storage.
Conclusion & Final Thoughts
These Pumpkin Hand Pies are the essence of fall wrapped in flaky pastry — sweet, spiced, and irresistibly comforting. They’re the perfect combination of buttery crust and creamy pumpkin filling, with a maple icing that adds just the right touch of indulgence. Whether you serve them at brunch, gift them in little paper bags, or line them up on your Thanksgiving dessert table, they never fail to bring smiles.
I love that they’re as practical as they are delicious — no slicing, no plates, no fuss. Just hand-held bites of pumpkin pie perfection. Each pie feels like a tiny celebration of the season, from the cinnamon-scented filling to the cozy sweetness of maple glaze.
Once you’ve made these, you’ll find yourself coming back to them all autumn long. They’re wonderful warm from the oven or enjoyed cool with a cup of coffee. However you serve them, Pumpkin Hand Pies are proof that sometimes the smallest desserts make the biggest impression — tender, flaky, and filled with everything we love about fall.