Introduction
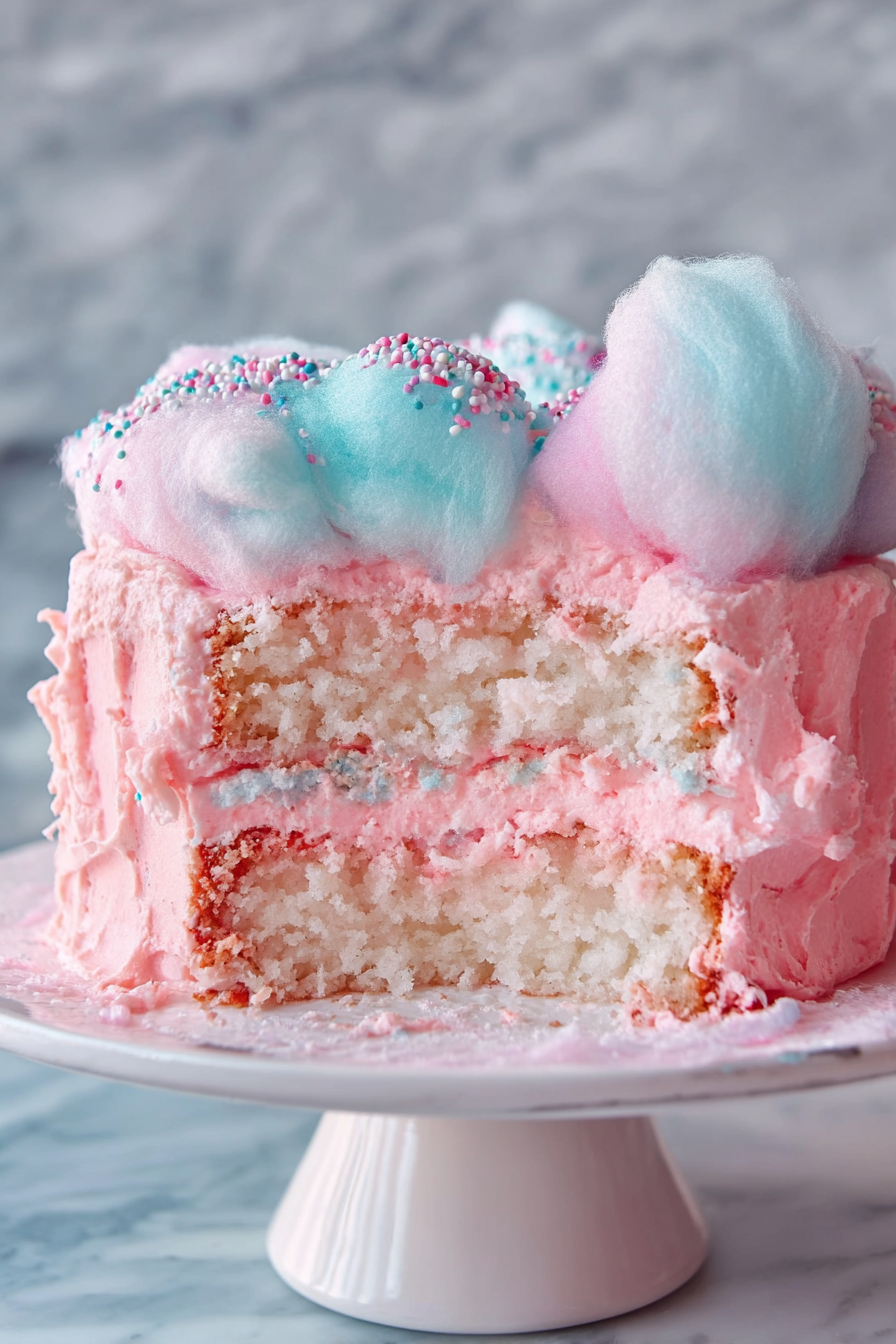
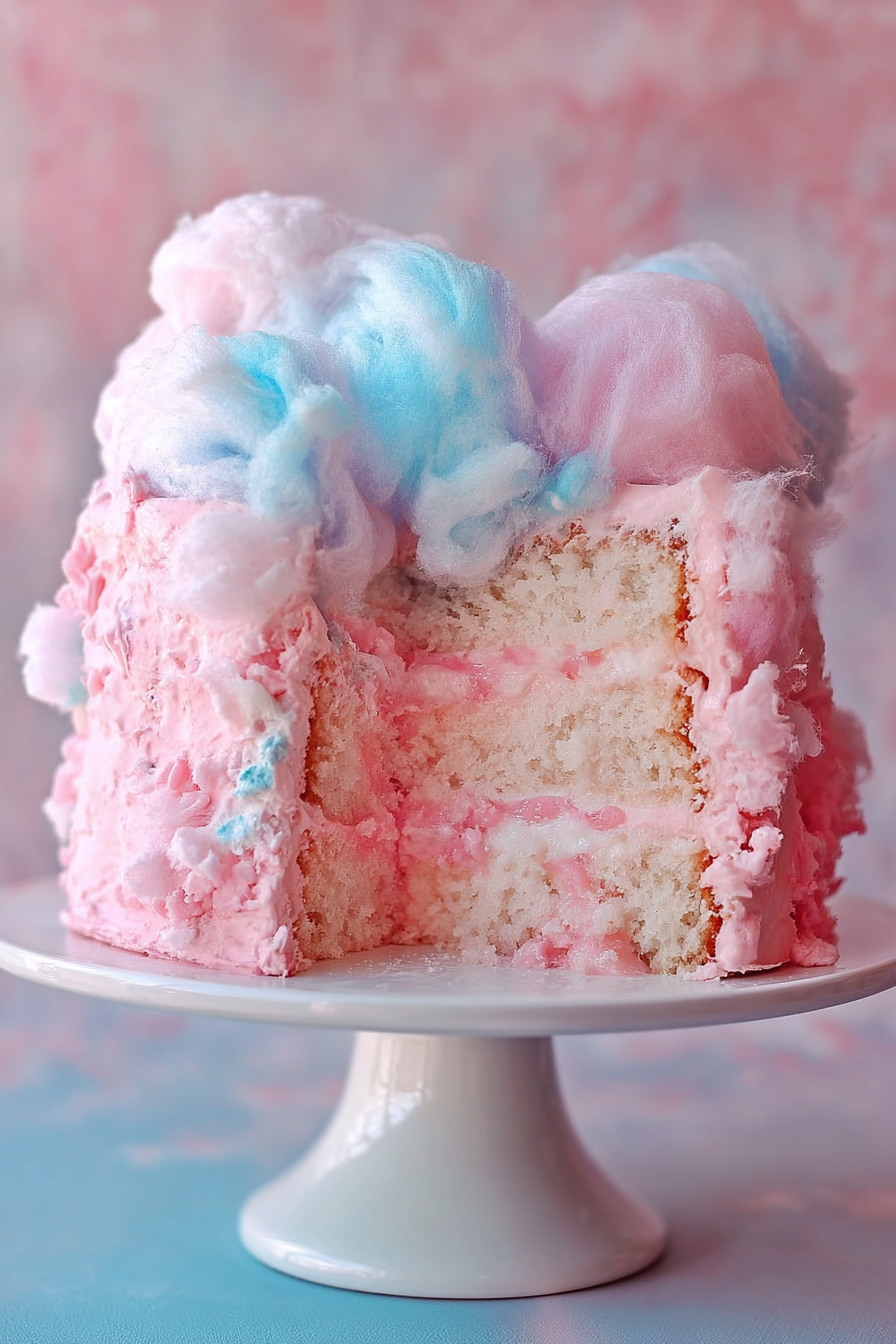
If you’ve ever wanted to capture the joy of a carnival in dessert form, a cotton candy cake is exactly what you need. This enchanting treat combines soft, moist sponge cake with cotton candy–infused frosting and vibrant pastel colors. Perfect for birthdays, celebrations, or just when you’re craving something whimsical, this cake doesn’t just taste amazing—it looks like a showpiece too. Every slice is like a little taste of nostalgia, reminding you of sweet cotton candy melting on your tongue at the fairground.
My recipe story
I first made a cotton candy cake for my niece’s birthday, and it quickly became the star of the party. She adored the pastel swirls, while the grown-ups couldn’t stop raving about the fluffy sponge and playful frosting. I wanted a recipe that wasn’t just pretty, but one that actually delivered on flavor. After a few tests—some too sweet, others not fluffy enough—I finally perfected this version. It has just the right balance of sweetness and moisture, plus that unmistakable cotton candy flair that makes every bite fun and nostalgic.
💡 Why You’ll Love This Recipe
- Visually stunning with pastel layers that wow guests at any gathering.
- Moist, tender crumb that melts in your mouth with each bite.
- Cotton candy flavoring for a unique twist on classic cake.
- Perfect centerpiece for birthdays, baby showers, or themed parties.
- Customizable with colors, flavors, and decorative toppings.
Ingredient breakdown
The beauty of this cotton candy cake lies in its balance of pantry staples and a touch of specialty ingredients. At its heart, we’re working with a classic sponge cake base—flour, sugar, baking powder, eggs, and milk. These create structure and tenderness, ensuring the cake bakes up light yet sturdy enough to handle multiple layers.
Butter adds richness and moisture, making every bite soft and flavorful. A splash of vanilla extract deepens the flavor profile, while cotton candy flavoring delivers that unmistakable carnival sweetness. Gel food coloring is key here—it creates those dreamy pastel shades without altering texture. Finally, the frosting is a classic buttercream, whipped light and fluffy, ready to hold its shape for swirls, rosettes, or smooth finishes.
Optional garnishes like sprinkles, edible glitter, or tufts of actual cotton candy make this cake a showstopper. They’re not essential for taste, but they absolutely elevate presentation and make the cake Instagram-worthy.
Equipment you’ll need
- Mixing bowls
- Electric hand mixer or stand mixer
- Measuring cups and spoons
- Two 8-inch round cake pans
- Parchment paper
- Spatula and offset spatula
- Cooling rack
- Food-safe gel coloring
- Wire whisk
Step-by-step directions
- Prepare the pans: Preheat your oven to 350°F (175°C). Grease two 8-inch round cake pans and line the bottoms with parchment paper. This ensures the cakes release cleanly without sticking and makes assembly easier later.
- Mix the dry ingredients: In a medium bowl, whisk together 2 cups all-purpose flour, 1 tablespoon baking powder, and a pinch of salt. Sifting helps aerate the mixture, ensuring a lighter sponge with an even rise in the oven.
- Cream butter and sugar: In a large bowl, beat 1 cup unsalted butter with 1 ½ cups granulated sugar until pale and fluffy, about 3 minutes. This process traps air into the batter, which translates into a softer, more tender cake crumb.
- Add eggs and flavoring: Beat in 4 eggs one at a time, mixing well after each addition. Stir in 1 teaspoon vanilla extract and 1 teaspoon cotton candy flavoring. The mixture should look smooth and slightly glossy at this point.
- Combine wet and dry: Alternate adding the flour mixture and 1 cup milk, starting and ending with the dry ingredients. Mix on low speed just until incorporated. Overmixing at this stage can toughen the cake, so stop as soon as no streaks of flour remain.
- Color the batter: Divide the batter evenly into separate bowls, depending on how many colors you’d like. Add a drop or two of gel food coloring to each bowl, stirring gently. Pastel pink, blue, and purple are popular choices for cotton candy vibes.
- Bake the cakes: Pour the colored batters into prepared pans and swirl slightly with a knife for a marbled effect if desired. Bake for 25–30 minutes, or until a toothpick inserted in the center comes out clean.
- Cool completely: Allow cakes to rest in pans for 10 minutes, then transfer to wire racks to cool fully. Never frost a warm cake, as the buttercream will melt and slide off.
- Prepare the frosting: In a clean bowl, beat 1 cup softened butter until creamy. Gradually add 4 cups powdered sugar, alternating with 3–4 tablespoons milk. Beat on high until fluffy. Stir in ½ teaspoon cotton candy flavoring and divide for coloring, if desired.
- Assemble and decorate: Place one cake layer on a serving plate. Spread frosting evenly across the top, then place the second layer on top. Coat the cake in a thin crumb layer, chill briefly, then finish with a smooth or swirled layer of frosting. Garnish with sprinkles or tufts of cotton candy just before serving.

Variations & substitutions
Instead of a classic vanilla sponge, try swapping half the flour for cake flour to make the texture extra tender. If cotton candy flavoring isn’t available, you can substitute with raspberry or strawberry extract for a fruity twist. Dairy-free bakers can use plant-based butter and milk without sacrificing fluffiness. For a fun surprise, bake pastel-colored sprinkles right into the batter for a confetti-style cake that matches the playful theme.
💡 Expert Tips & Troubleshooting
- Always let cakes cool fully before frosting to prevent melting and sliding.
- Use gel food coloring, not liquid, for vibrant pastels without altering batter consistency.
- If your frosting is too stiff, add an extra tablespoon of milk; if too runny, add more powdered sugar.
- Chill layers for 20 minutes before assembly to minimize crumbs.
Storage, freezing & make-ahead
This cotton candy cake keeps well at room temperature for up to two days if covered. For longer storage, refrigerate it in an airtight container for up to five days. If you’d like to make it ahead, bake the cake layers a day in advance and store them tightly wrapped. The frosting can be made ahead too—simply refrigerate and re-whip before using. To freeze, wrap cooled cake layers individually in plastic wrap, then foil, and store for up to two months. Thaw overnight in the fridge before decorating.
Serving ideas & pairings
This cake shines as the centerpiece of a birthday party, but it also pairs beautifully with other fun treats. Serve with cotton candy mocktails, pastel macarons, or strawberry milkshakes for a playful spread. If you want a more refined pairing, try a glass of champagne or sparkling rosé for the adults—it balances the cake’s sweetness perfectly. Small scoops of vanilla or bubblegum ice cream make a delightful sidekick too.

FAQ
Can I make this cake without cotton candy flavoring?
Yes! Use vanilla, raspberry, or strawberry extract instead—it will still be delicious and festive.
Can I use boxed cake mix?
Absolutely. Start with a vanilla cake mix, then add cotton candy flavoring and food coloring for the same whimsical effect.
How do I stop cotton candy decorations from melting?
Add them right before serving, as cotton candy dissolves quickly in moisture.
What food coloring works best?
Gel food coloring is ideal because it’s concentrated and won’t change batter consistency.
Can I turn this into cupcakes?
Yes, divide the batter into cupcake liners and bake at 350°F for 18–20 minutes.
Final thoughts
Cotton candy cake is more than just a dessert—it’s an experience. With its fluffy crumb, whimsical colors, and nostalgic flavor, it’s guaranteed to delight kids and adults alike. Whether you’re celebrating a birthday, hosting a themed party, or just indulging your sweet tooth, this cake is the perfect way to add magic to your table. Don’t be surprised if it becomes a requested tradition for years to come!
Print
Quick and Easy Cotton Candy Cake
- Total Time: 50 minutes
- Yield: 12 servings
- Diet: Vegetarian
Description
A whimsical cake with sweet cotton candy flavor and a soft, fluffy texture. Perfect for birthdays, celebrations, or whenever you want a touch of fun.
Ingredients
- 2 cups all-purpose flour
- 1 tablespoon baking powder
- 1/2 teaspoon salt
- 1/2 cup unsalted butter, softened
- 1 1/4 cups granulated sugar
- 3 large eggs
- 1 teaspoon vanilla extract
- 1 teaspoon cotton candy flavoring
- 1 cup whole milk
- Pink and blue food coloring (optional)
- 2 cups cotton candy, for garnish
Instructions
- Preheat the oven to 350°F (175°C). Grease and flour two 8-inch round cake pans.
- In a medium bowl, whisk together flour, baking powder, and salt.
- In a large mixing bowl, cream butter and sugar until light and fluffy. Beat in eggs one at a time, then add vanilla and cotton candy flavoring.
- Gradually add the dry ingredients to the wet mixture, alternating with milk, mixing until just combined.
- Divide the batter evenly between the pans. If desired, tint one portion pink and the other blue for a swirled effect.
- Bake for 25–30 minutes, or until a toothpick inserted in the center comes out clean. Cool completely on wire racks.
- Frost with your favorite buttercream and decorate with cotton candy just before serving.
Notes
Add the cotton candy garnish right before serving, as it dissolves quickly. Store cake in an airtight container at room temperature for up to 2 days.
- Prep Time: 20 minutes
- Cook Time: 30 minutes
- Category: Dessert
- Method: Baking
- Cuisine: American

