1. Introduction to the Recipe
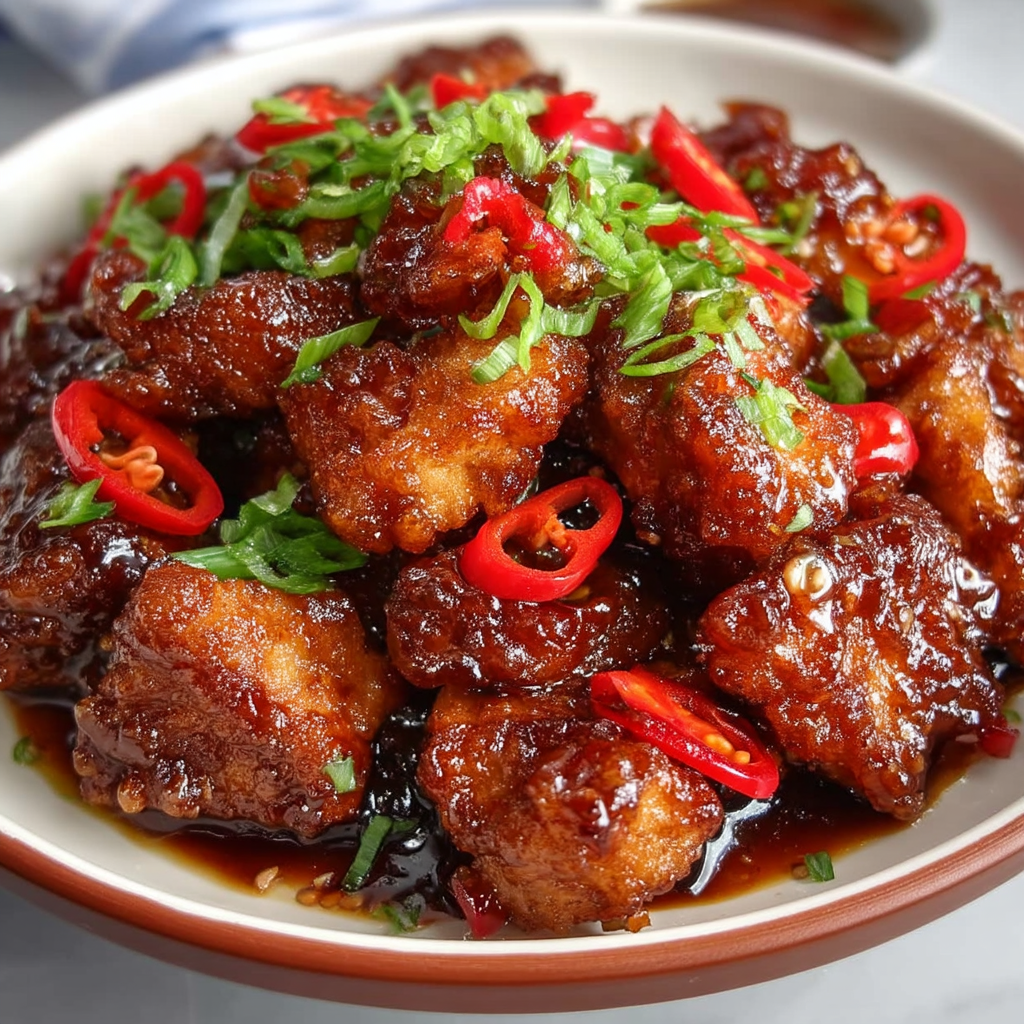
When you need dinner on the table fast but don’t want to sacrifice flavor, Quick & Easy Mongolian Chicken delivers big results with minimal effort. This recipe transforms simple chicken thighs into tender, golden bites coated in a glossy, sweet-savory sauce that tastes just like your favorite takeout — but lighter, fresher, and ready in under 30 minutes.
Unlike the classic deep-fried restaurant version, this one uses a skillet (or sheet pan) method, which keeps things simple and clean. The cornstarch coating gives each piece a delicate crispness, while the homemade Mongolian glaze — made with hoisin, soy sauce, garlic, ginger, and brown sugar — creates a perfect balance of sticky, salty, and sweet. The sauce thickens beautifully right in the pan, coating every bite in that irresistible glossy shine.
This recipe is all about efficiency without compromise. Everything happens in one pan — from searing to glazing — making cleanup easy and stress-free. Serve it over steamed jasmine rice, noodles, or even roasted vegetables for a fast, crowd-pleasing meal.
Looking for more easy Asian-inspired dinners? Try our Sticky Honey Garlic Chicken or Crispy Sesame Beef Stir Fry. Both pair beautifully with this dish and bring vibrant, takeout-style flavors right to your kitchen.
With the bold aroma of garlic and ginger wafting through your home, this Quick & Easy Mongolian Chicken will become your new go-to dinner when you need something fast, satisfying, and bursting with flavor.
2. Basic Recipe: Ingredients and Instructions
Print
Quick & Easy Mongolian Chicken Skillet Dinner
Description
Quick & Easy Mongolian Chicken — tender glazed chicken in a sticky garlic-ginger sauce made in one skillet for fast weeknight dinners.
Ingredients
For the Chicken:
- 1 lb skinless, boneless chicken thighs, cut into bite-sized pieces
- ¼ cup cornstarch (or potato starch)
- ⅓ cup vegetable oil (or neutral oil)
For the Sauce:
- 2 cloves garlic, minced
- 1 red chili pepper, sliced (optional for heat)
- 5 slices fresh ginger
- 4 Tbsp hoisin sauce
- 2 Tbsp regular soy sauce
- 2 Tbsp brown sugar
- 2 tsp sesame oil
Cornstarch Slurry:
- 1 Tbsp cornstarch (or potato starch)
- ½ cup water
Optional Garnishes:
- 1 green onion, finely chopped
- 1 red chili pepper, sliced
Instructions
Step 1 – Prepare the Chicken
- Pat chicken pieces dry with paper towels.
- In a bowl, toss chicken with cornstarch until evenly coated. Shake off any excess.
Step 2 – Sear the Chicken
3. Heat vegetable oil in a large skillet over medium-high heat.
4. Add the chicken in batches (avoid overcrowding). Cook 4–5 minutes per side until golden brown and crisp. Remove and set aside on a plate lined with paper towels.
Step 3 – Build the Sauce
5. Pour off excess oil, leaving 1 tablespoon in the pan.
6. Add garlic, ginger slices, and red chili. Sauté for 30 seconds until fragrant.
7. Stir in hoisin sauce, soy sauce, brown sugar, and sesame oil. Simmer for 1–2 minutes until slightly thickened.
Step 4 – Thicken and Combine
8. Whisk the cornstarch slurry and slowly pour into the pan while stirring.
9. Simmer another 1–2 minutes until the sauce becomes glossy and thick.
10. Return the chicken to the pan and toss until well coated.
Step 5 – Serve
11. Remove from heat. Garnish with sliced green onions and chili pepper.
12. Serve immediately over rice, noodles, or roasted vegetables.
Sheet-Pan Option:
- Preheat oven to 425°F (220°C).
- Coat chicken lightly with cornstarch and oil, arrange on a parchment-lined sheet, and bake for 15–18 minutes until crispy.
- In a small saucepan, make the sauce separately, then toss baked chicken in the warm glaze before serving.
Notes
Use chicken thighs for best flavor; they stay tender even if slightly overcooked.
Swap hoisin with oyster sauce for a bolder umami kick.
Add steamed broccoli or snap peas for color and freshness.
Keywords: Quick & Easy Mongolian Chicken Skillet Dinner
3. Advanced Techniques
1. Achieving Perfect Crispiness Without Deep Frying
Cornstarch (or potato starch) forms a light coating that crisps beautifully with minimal oil. The key is to shake off excess before searing and ensure the pan is hot enough that the chicken sizzles immediately upon contact. Avoid overcrowding the pan to maintain even browning.
2. Balancing Sweet and Savory Flavors
The hallmark of Mongolian-style sauce is its balance between sweet and salty. Hoisin sauce brings depth and umami, while brown sugar caramelizes slightly, creating that sticky, irresistible texture. Adjust sweetness to taste — start small, and add more if you like a richer glaze.
3. Boosting Aromatics for Authentic Flavor
Fresh ginger and garlic are essential. For a deeper aroma, slightly bruise the ginger slices before cooking to release oils. Add them early in the pan so the base of your sauce becomes fragrant and flavorful before other ingredients join in.
4. Thickening Sauce the Right Way
Whisk the cornstarch slurry separately before adding to the sauce to prevent lumps. Always simmer after adding — don’t boil — to keep the sauce silky and glossy. If it becomes too thick, a splash of water or broth will loosen it perfectly.
5. Making a Sheet-Pan Version for Meal Prep
The oven method is great for hands-off cooking. The baked coating stays crispy, and tossing it in sauce before serving ensures even coverage. You can bake larger batches this way for meal prepping or family dinners without standing over the stove.

4. Storage, Shelf Life, and Maintenance Tips
1. Storing Leftovers
Refrigerate cooked Mongolian chicken in an airtight container for up to 3 days. Store sauce and chicken separately for best texture.
2. Reheating
Reheat in a skillet over low heat with a splash of water or broth to loosen the glaze. Avoid microwaving too long — it can make the sauce gummy.
3. Freezing
Freeze cooled chicken and sauce separately in freezer-safe containers for up to 2 months. Thaw overnight in the fridge and reheat gently on the stove.
4. Refreshing the Glaze
If sauce thickens too much after refrigeration, whisk in 1–2 tablespoons of water or soy sauce while reheating to restore consistency.
5. Reviving Crispiness
Reheat baked or pan-seared chicken pieces in a 400°F oven for 5–7 minutes before tossing them back in warm sauce. This trick revives their crisp texture perfectly.

5. Dietary Adaptations and Substitutions
1. Gluten-Free Version
Use gluten-free soy sauce (tamari) and ensure hoisin sauce is gluten-free. The rest of the ingredients are naturally gluten-free.
2. Low-Sodium Version
Opt for low-sodium soy sauce and reduce hoisin slightly. Add a squeeze of lime or rice vinegar at the end to brighten the flavor naturally.
3. Vegetarian or Vegan Alternative
Replace chicken with tofu or tempeh cubes. Coat in cornstarch and bake or pan-sear until golden, then toss in the same Mongolian glaze for an easy plant-based meal.
4. Low-Carb / Keto Adaptation
Skip the cornstarch and thicken the sauce with xanthan gum. Replace brown sugar with monk fruit sweetener or erythritol for a keto-friendly twist.
5. Spicy Variation
Stir in extra red chili flakes or a drizzle of chili oil at the end for extra heat. Adjust the spice level gradually — the sweetness of the sauce balances the spice perfectly.
6. FAQs About the Recipe
1. Can I use chicken breast instead of thighs?
Yes. Chicken breasts work fine but can dry out more easily. To prevent this, don’t overcook — sear just until golden, then let them finish gently in the sauce.
2. What makes this recipe “Mongolian”?
The sauce! It’s inspired by classic Mongolian beef — a combination of soy, sugar, garlic, and ginger that creates a glossy, caramelized glaze.
3. How can I make it extra crispy?
Double-coat the chicken with cornstarch: dredge once, rest for 5 minutes, then dredge lightly again before cooking. This creates a sturdier crust that holds up well to saucy coatings.
4. Can I add vegetables?
Absolutely. Bell peppers, broccoli, or snow peas can be stir-fried or roasted alongside the chicken. Add them near the end so they stay crisp.
5. Is this recipe good for meal prep?
Yes — it reheats beautifully. Store the chicken and sauce separately, and combine them when serving to preserve the best texture.
7. Conclusion & Final Thoughts
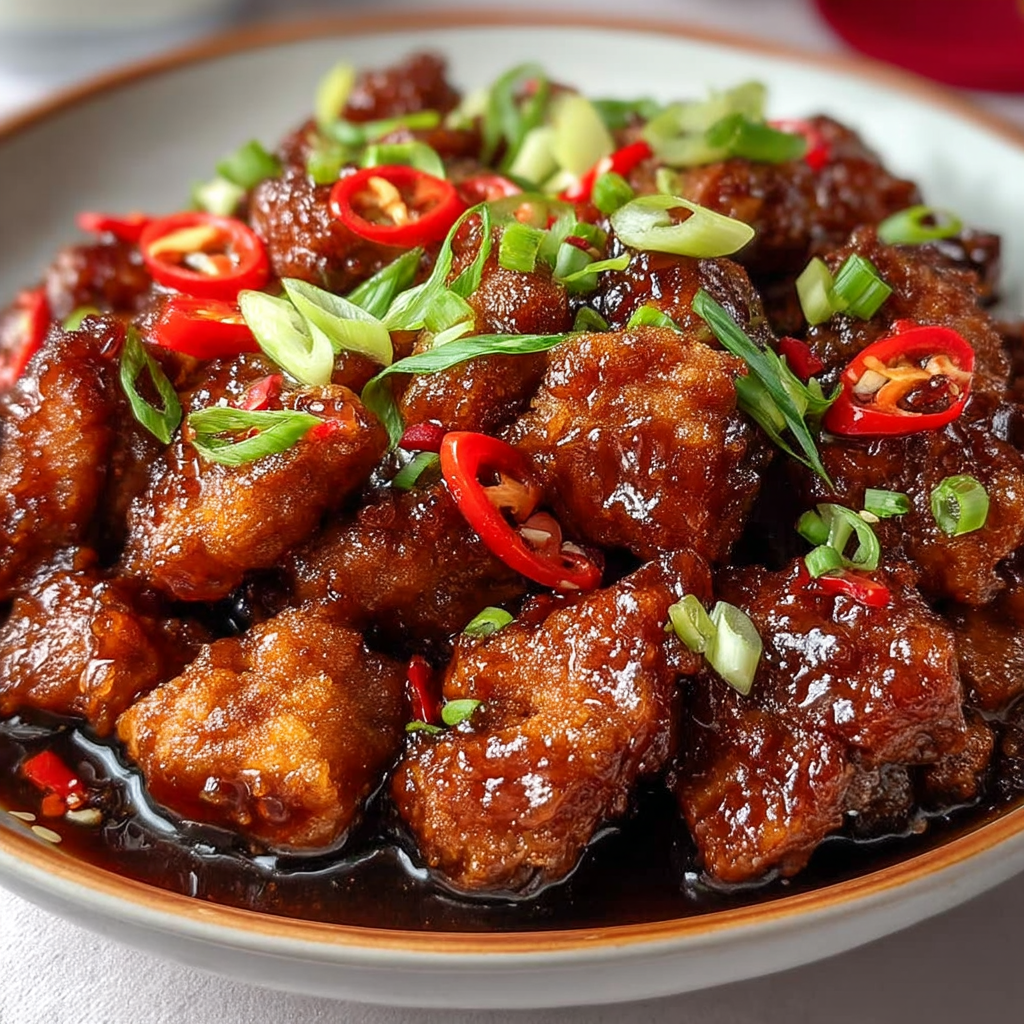
Quick & Easy Mongolian Chicken is the ultimate weeknight lifesaver — bold flavor, minimal dishes, and guaranteed satisfaction. It’s everything you want in a fast dinner: golden-seared chicken, a sweet-savory glaze that clings to every bite, and a fragrance of garlic and ginger that fills your kitchen with warmth.
By skipping the deep fryer, this version feels lighter while still delivering that sticky, restaurant-style coating. Whether you choose the stovetop skillet or sheet-pan method, you’ll get the same mouthwatering results — juicy chicken wrapped in glossy, flavorful sauce.
Serve it over fluffy jasmine rice, noodles, or even cauliflower rice for a lower-carb option. Add some steamed veggies for color, and you’ve got a balanced, satisfying meal ready in under 30 minutes.
Once you make this Quick & Easy Mongolian Chicken, it’ll become a staple in your rotation — proof that simple ingredients, when combined thoughtfully, can create something truly extraordinary.