1. Introduction to the Recipe
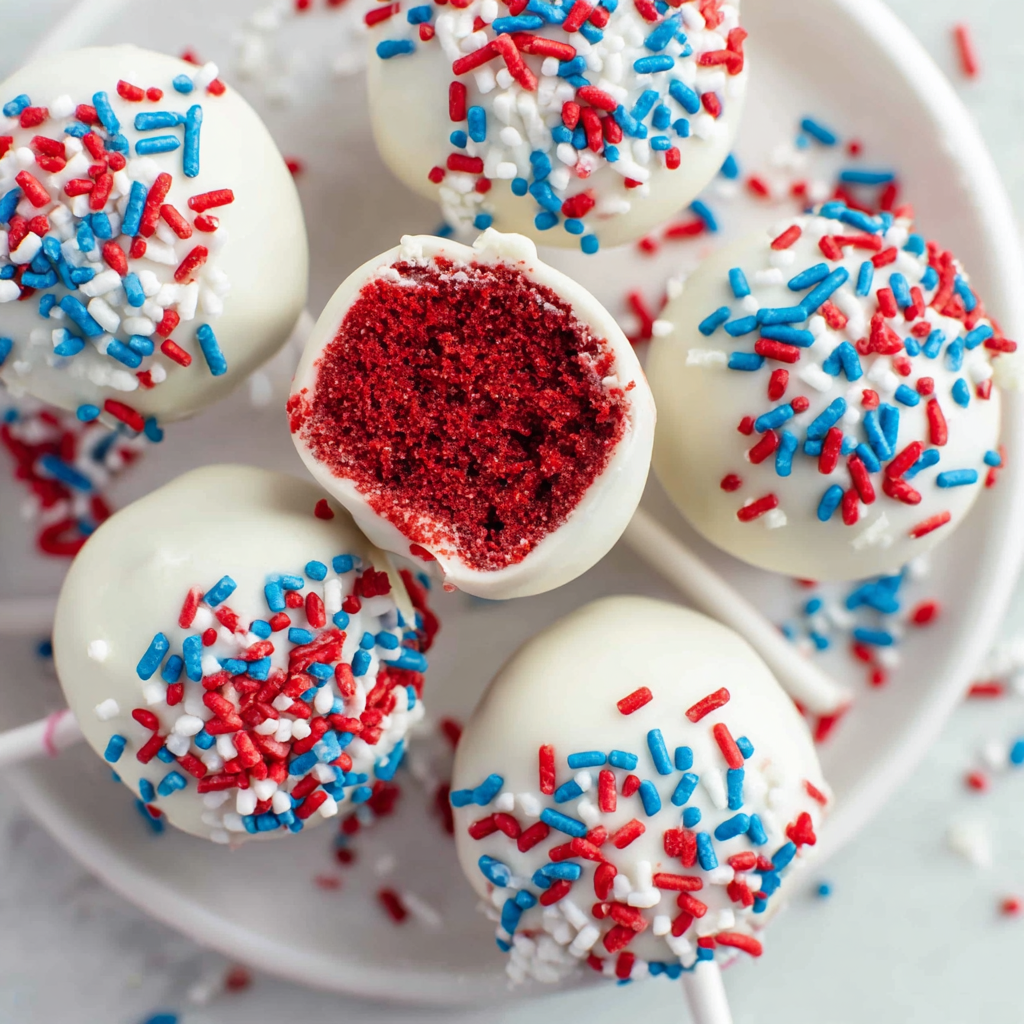
Red Velvet Cake Pops are one of the most beloved bite-sized desserts, known for their vibrant color, velvety texture, creamy interior, and crisp candy shell. What makes this recipe so appealing is how incredibly simple it is—you only need a baked red velvet cake, some cream cheese, powdered sugar, vanilla, and melting chocolate. Despite their simplicity, these cake pops taste just like something you’d buy in a professional bakery. They’re festive, elegant, and ideal for holidays, birthday parties, baby showers, dessert tables, or gifting. Their portability and perfect portion size make them a crowd-pleasing treat that disappears fast.
If you’re new to making cake pops, don’t worry—this recipe is designed for beginners but still provides the same quality results you’d expect from a bakery case. Red velvet’s subtle cocoa flavor paired with a creamy tangy center creates an unforgettable bite. If you’d like to explore more red velvet inspiration before diving into the recipe, check out helpful references like AllRecipes’ Red Velvet Cake Guide (https://www.allrecipes.com) or Taste of Home’s Cake Pop Tips (https://www.tasteofhome.com). These resources offer insights into baking techniques and chocolate-coating tips that can elevate your results.
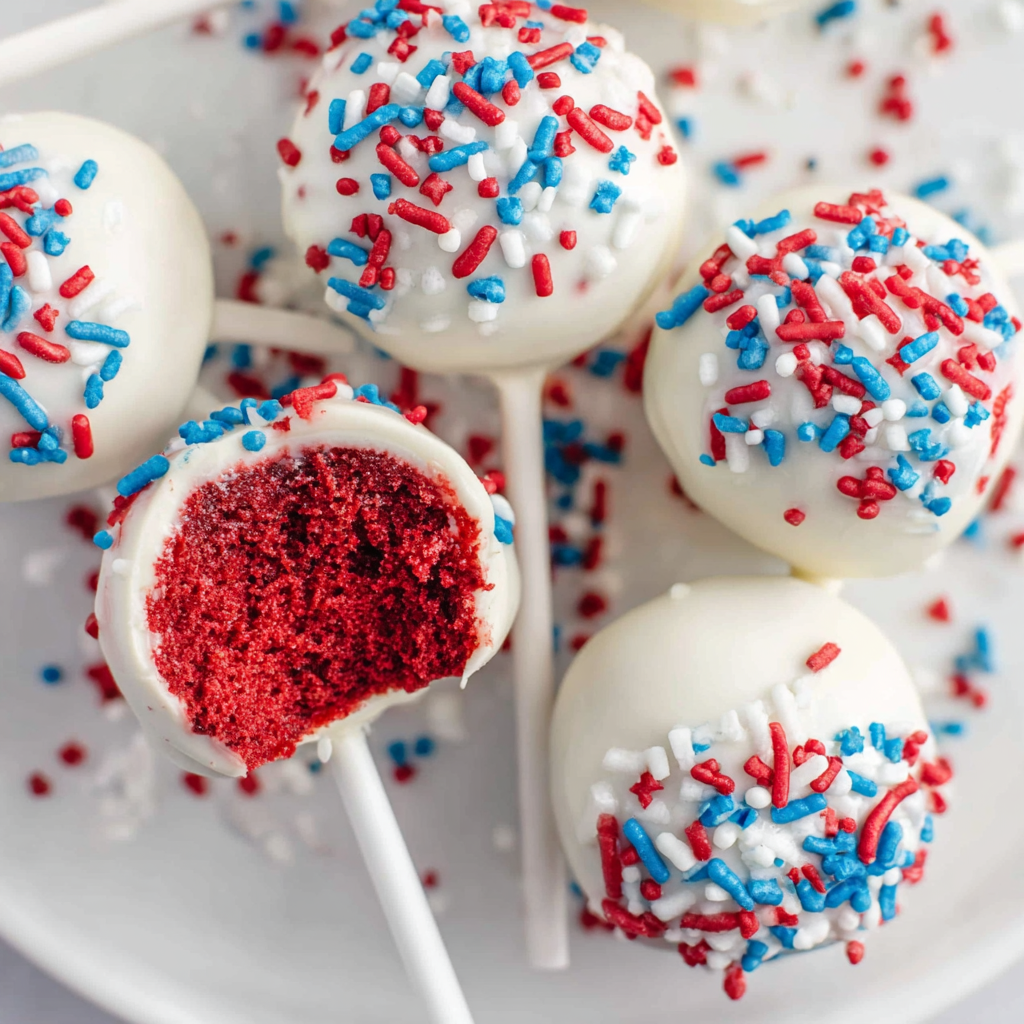
What makes these Red Velvet Cake Pops so special is how adaptable they are. You can decorate them with sprinkles, tinted candy melts, edible glitter, or crushed peppermint—whatever fits the season. Plus, they store beautifully, freeze well, and can be made in advance. Whether you’re making them for Christmas, Valentine’s Day, weddings, or simple weekend treats, these cake pops deliver flavor, nostalgia, and charm in every bite.
2. Basic Recipe: Ingredients and Instructions
Print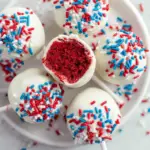
Best Red Velvet Cake Pops – Easy, Moist & Bakery-Style
Description
Moist and delicious Red Velvet Cake Pops made with cream cheese frosting, candy melts, and sprinkles for perfect party treats.
Ingredients
Cake & Filling
- 15.25 ounces red velvet cake mix plus ingredients to prepare (1 box)
- 16 ounces cream cheese, softened
- 1 ¼ cups powdered sugar
- 2 teaspoons vanilla extract
Coating & Decoration
- 12 ounces white candy melts or white chocolate melting wafers
- Sprinkles for topping
Instructions
- Prepare the Cake
Bake the red velvet cake according to the box directions. Allow it to cool completely before crumbling. - Make the Cream Cheese Mixture
In a bowl, beat softened cream cheese with powdered sugar and vanilla until smooth and creamy. - Combine Cake and Filling
Crumble the cooled cake into a large bowl. Add the cream cheese mixture and use your hands to mix until a dough-like consistency forms. - Form the Cake Balls
Scoop tablespoon-sized portions and roll them into smooth balls. Place on a parchment-lined tray. - Chill the Cake Balls
Refrigerate for 2 hours or freeze for 20–30 minutes until firm. - Prepare the Candy Coating
Melt candy melts or chocolate in a microwave-safe bowl in 20-second intervals, stirring until smooth. - Dip the Cake Pops
Dip a lollipop stick into the melted chocolate, insert it halfway into each ball, then dip the entire pop into the coating. - Decorate
Add sprinkles immediately before the coating sets. - Set the Cake Pops
Place them upright in a foam block or upside down on parchment until fully hardened.
Notes
For smooth coating, avoid overheating candy melts.
If pops fall off sticks, the mixture may be too warm—chill again.
Using a deep cup for dipping creates even coverage.
3. Advanced Techniques
1. Optimizing Cake Texture for Perfect Binding
Achieving the ideal texture for Red Velvet Cake Pops starts with understanding moisture balance. A cake that is too dry will crumble excessively, requiring too much cream cheese and resulting in soggy pops. Conversely, a cake that is overly moist can collapse off the stick during dipping. To perfect consistency, bake your cake the day before and let it rest overnight; this slightly firms the crumb, making it easier to bind without excessive filling. When mixing, add cream cheese gradually until the mixture clumps easily but is not sticky. This precise balance leads to uniformly shaped pops that hold their form through dipping and setting.
2. Mastering Candy Melt Consistency for Smooth Coating
The coating is often the trickiest part of making cake pops. Candy melts can become thick or clumpy if overheated or exposed to moisture. To achieve a silky finish, melt the candy slowly in short bursts, stirring thoroughly. If the coating is too thick, add a teaspoon of vegetable shortening or coconut oil to loosen it. Avoid adding water, as it causes the chocolate to seize. Using a tall, narrow cup instead of a bowl also increases coating efficiency, allowing each pop to dip cleanly in one motion. Proper coating technique creates professional-grade results with minimal streaking or air bubbles.
3. Achieving Professional-Level Decoration Techniques
Decoration is where you can transform simple cake pops into stunning dessert showpieces. After dipping, rotate the pop gently to release excess coating and tap the stick lightly on the edge of the cup. Add sprinkles before the coating sets, or drizzle contrasting melted chocolate in thin ribbons for an elegant look. For seasonal variations, crushed pistachios, peppermint pieces, edible glitter, or red velvet crumbs make the pops visually striking. If you want perfectly even lines, place melted chocolate in a piping bag with a fine tip. With thoughtful decoration, your cake pops look polished enough for parties or gifts.
4. Temperature Control for Structural Stability
Temperature plays a crucial role in the structure of Red Velvet Cake Pops. If the mixture is too warm, the balls will soften and detach during dipping. Always chill finished balls thoroughly before dipping—freezing for 15–20 minutes works best. Likewise, avoid dipping into overly hot candy melts, as extreme temperature differences cause cracking. The goal is a smooth, even shell that remains intact once set. Practicing good temperature habits results in stable pops that hold beautifully on sticks without slipping or cracking.
5. Flavor Customization Beyond Traditional Red Velvet
While classic red velvet flavor is irresistible, this recipe offers the perfect foundation for creative variations. Add a teaspoon of espresso powder for depth, mix crushed Oreo cookies into the dough for texture, or incorporate citrus zest for brightness. You can also tint the white chocolate coating with gel coloring for vibrant pops matching party themes. For a richer interior, fold mini chocolate chips or cocoa nibs into the mixture. These flavor and texture upgrades transform a simple base into a gourmet treat tailored to your personal taste.
4. Storage, Shelf Life & Maintenance Tips
1. Refrigerator Storage for Freshness
Red Velvet Cake Pops store exceptionally well in the refrigerator due to their cream cheese filling. Place them in an airtight container, separating layers with parchment paper to prevent sticking. They will maintain flavor and texture for up to one week. Cold storage helps preserve the structure of both the cake interior and the chocolate coating, preventing melting or sweating. For best results, let refrigerated pops sit at room temperature for 10 minutes before serving to soften slightly without losing firmness.
2. Freezer Storage for Long-Term Keeping
Freezing cake pops is an excellent way to prepare them ahead of events. Freeze undecorated or decorated pops on a tray first, then transfer them to a freezer-safe container. They keep beautifully for up to 2 months without sacrificing texture. Thaw in the refrigerator overnight or at room temperature for 30–45 minutes. The candy coating protects the interior from freezer burn, preserving freshness and flavor.
3. Preventing Chocolate Blooming During Storage
Chocolate bloom—white streaks that appear on the coating—occurs when pops experience temperature swings. To prevent blooming, store pops at a consistent temperature and avoid moving them from cold to warm environments rapidly. Keep them away from direct sunlight and heat sources. Using high-quality candy melts also reduces blooming risk. Proper storage ensures visually perfect pops long after you make them.
4. Best Practices for Transporting Cake Pops
Transporting Red Velvet Cake Pops requires careful packaging to maintain shape and prevent breakage. Use cake pop stands or tightly packed containers to keep pops upright. Ensure they are fully hardened before packing and keep them cool during transport—an insulated bag or small ice pack works well. Proper transport technique guarantees they arrive looking polished and professional.
5. Maintaining Texture After Refrigeration
Sometimes chilled cake pops can feel too firm. To restore ideal texture, let them sit uncovered for 5–10 minutes at room temperature before serving. This allows the interior to regain its soft, velvety texture while keeping the exterior crisp. Avoid leaving them out too long, especially in warm environments, to prevent the chocolate from becoming sticky.

5. Dietary Adaptations & Substitutions
1. Gluten-Free Red Velvet Cake Pops
To make gluten-free Red Velvet Cake Pops, simply substitute the boxed cake mix with a certified gluten-free red velvet cake mix. Most major brands offer gluten-free alternatives with similar texture. Ensure your candy melts and sprinkles are also gluten-free, as some brands contain wheat-derived stabilizers. The cream cheese mixture works the same without modification, and the final pops taste nearly identical to traditional versions.
2. Lower-Sugar and Reduced-Carb Variations
For a reduced-sugar version, use sugar-free cake mix and powdered sugar alternatives such as Swerve or monk fruit blends. Choose sugar-free melting wafers, which are widely available. Keep in mind that reduced-sugar candy melts may harden faster, so work quickly during dipping. This alternative still produces delicious, satisfying cake pops with significantly fewer carbs.
3. Vegan Red Velvet Cake Pops
To make vegan cake pops, swap the boxed cake mix with a vegan red velvet mix and use dairy-free cream cheese and plant-based butter alternatives. For the coating, opt for vegan white chocolate or candy melts made without dairy. Sprinkles should be checked for confectioner’s glaze, which is not vegan. These substitutions create fully vegan cake pops with a creamy texture and rich flavor.
4. Allergy-Friendly, Nut-Free Options
This recipe is naturally nut-free, but always verify the cake mix, candy melts, and sprinkles are processed in nut-free facilities. Using allergy-safe brands ensures safety for school events or parties with allergy-sensitive guests. You can also use sunflower-based sprinkles or seed-based decorations for additional allergen control.
5. Dairy-Free Adaptations
To make the recipe dairy-free, use dairy-free cream cheese, vegan butter substitutes, and dairy-free white chocolate coating. Many plant-based white chocolates melt and coat just like traditional versions when handled gently. This version still maintains all the flavor and moisture of traditional cake pops.
6. FAQs About the Recipe
1. Why Are My Cake Pops Cracking?
Cracking usually happens due to temperature differences between the chilled cake balls and hot candy coating. When the cold interior expands inside warm chocolate, the shell may split. To avoid this, let cake balls rest for 5 minutes after removing them from the freezer before dipping. Likewise, avoid overheating chocolate and aim for warm—not hot—coating. Maintaining consistent temperatures reduces cracking dramatically.
2. Why Do Cake Pops Fall Off the Stick?
If cake pops fall off the stick, the mixture may be too soft or too warm. Ensure the dough is firm and properly chilled before dipping. Always dip the stick into melted chocolate before inserting it into the cake ball; this chocolate “glue” hardens and acts as an anchor. Also, avoid shaking or rotating the pop too aggressively during dipping.
3. How Do I Keep the Coating Smooth?
A smooth coating depends on properly melted candy melts. Overheating can cause thick, gritty chocolate. Use short microwave bursts, stir frequently, and add a teaspoon of coconut oil or shortening if needed. A tall, narrow cup helps achieve a clean dip with minimal air bubbles.
4. Can I Make Cake Pops Without Sticks?
Yes! Simply leave them as cake truffles. Dip them fully in chocolate and place on parchment to set. These are easier to transport and require less equipment. The flavor remains exactly the same, and they still look beautiful when drizzled or decorated.
5. Can I Freeze Assembled Cake Pops?
Absolutely—frozen cake pops store wonderfully. Place them in a freezer-safe container with parchment between layers to prevent sticking. They stay fresh for up to two months. Thaw in the fridge to avoid condensation and maintain a flawless coating.
7. Conclusion & Final Thoughts
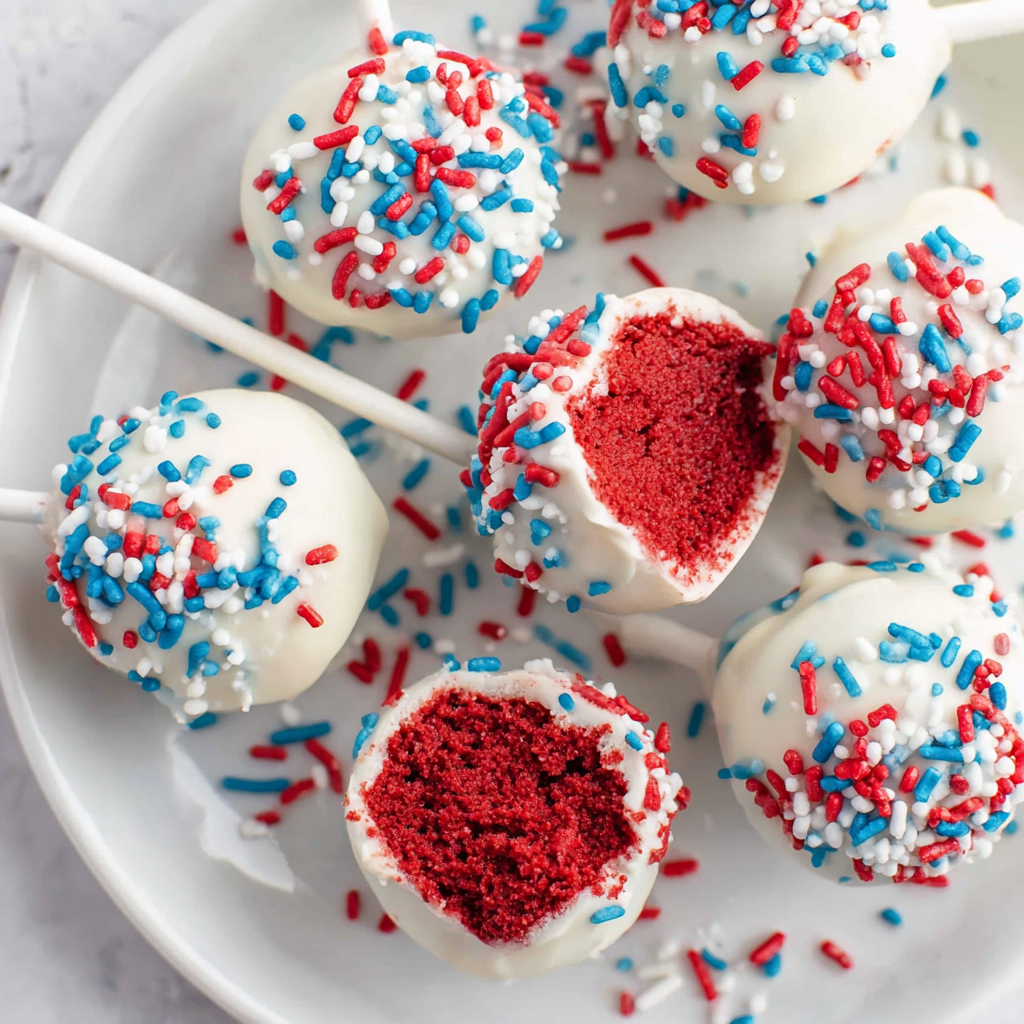
Red Velvet Cake Pops are one of the most delightful desserts you can make at home—eye-catching, rich, indulgent, and incredibly customizable. Whether you’re preparing treats for a holiday celebration, birthday party, wedding dessert table, or simply a fun weekend activity, these cake pops bring color and joy to any occasion. Their moist, velvety interior paired with a crisp, sweet chocolate shell creates a perfect contrast in every bite. The method is simple enough for beginners, yet the results look and taste impressively professional.
What makes this recipe truly special is its flexibility. You can decorate them with seasonal sprinkles, drizzle with chocolate, shape them into hearts or ornaments, or coat them in colored candy melts to match your event theme. They store beautifully, freeze well, and can be made ahead of time without losing quality. Plus, the ability to adapt them for gluten-free, vegan, dairy-free, or low-sugar diets makes them accessible for almost any crowd.
In the end, these Red Velvet Cake Pops are more than just a dessert—they’re a fun, creative culinary project that lets you play with color, design, and flavor. Their festive appearance and rich, tangy red velvet flavor guarantee they’ll become a favorite in your home. Whether packaged as gifts, displayed on dessert tables, or shared with loved ones, these cake pops are a charming treat that feels special every time. Enjoy the process, experiment with decorations, and savor each bite of this irresistibly creamy, crunchy, and delicious dessert.