Introduction to Rice Krispie Chocolate Chip Cookies
There’s something magical about the combination of textures in Rice Krispie Chocolate Chip Cookies. These cookies marry the familiar chewy goodness of classic chocolate chip cookies with the light, crispy crunch of Rice Krispies cereal, resulting in a unique treat that’s hard to resist. Perfect for every occasion—be it family gatherings, potlucks, or just a quiet afternoon snack—this recipe brings joy with every bite. What’s more, these cookies are easy to make, even for beginner bakers.
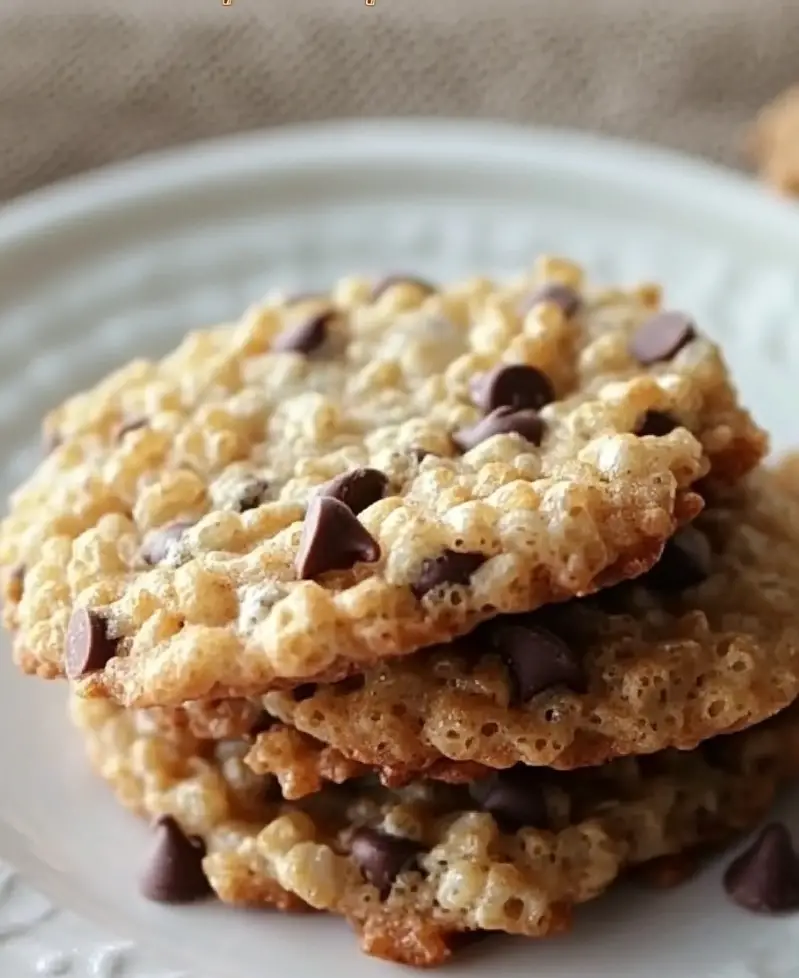
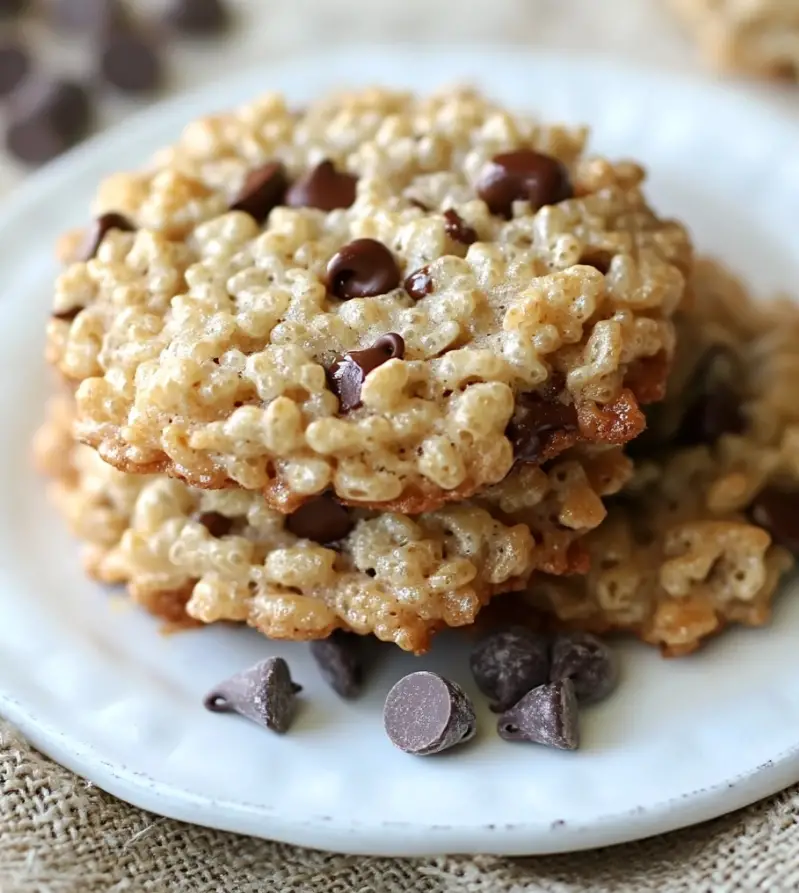
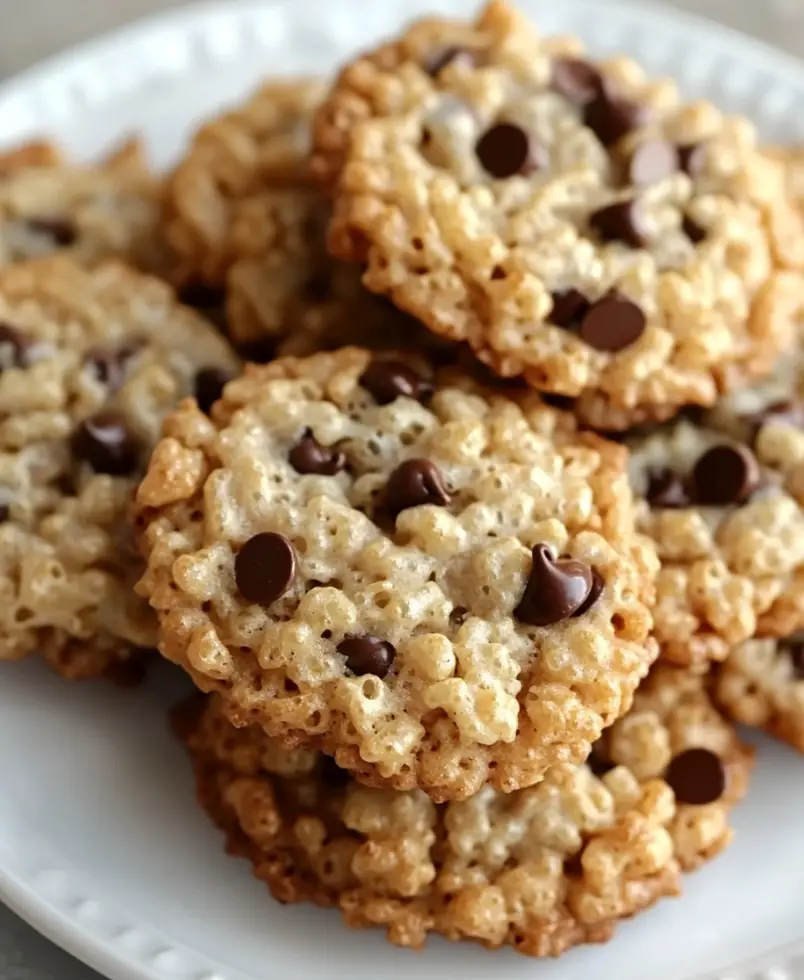
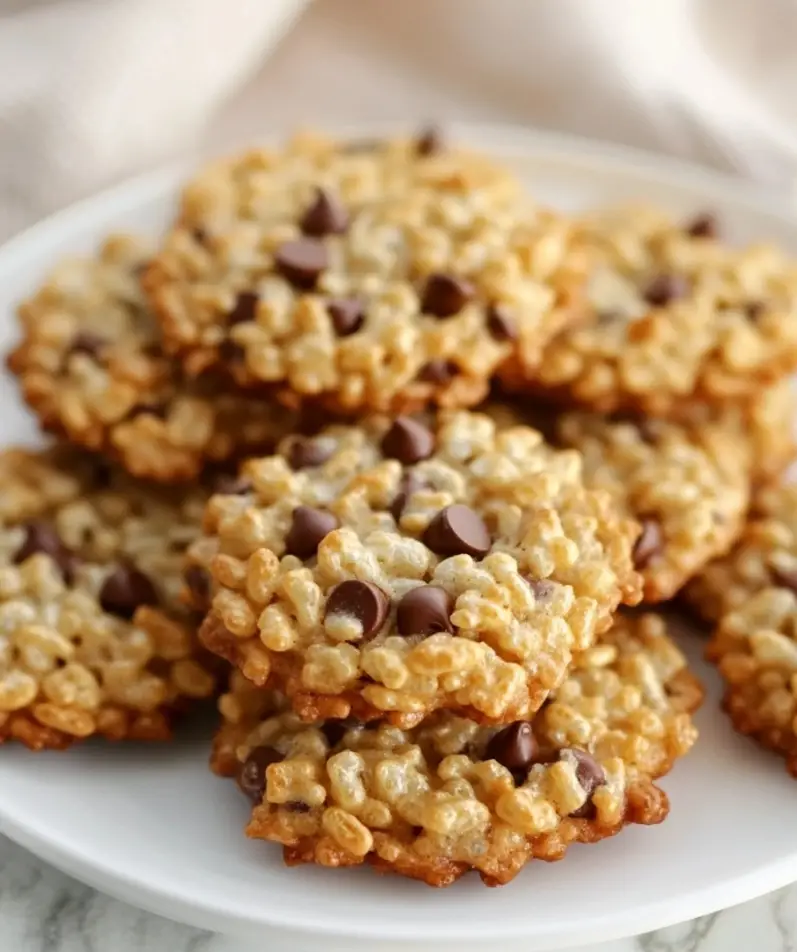
Imagine biting into a warm, golden-brown cookie where each mouthful bursts with gooey chocolate chips and crispy Rice Krispies. Not only do they taste heavenly, but they also look beautiful, making them ideal for sharing on social media or serving at festive events. Let’s walk you through this recipe step by step, explore advanced baking tricks, and offer storage and dietary adaptation options to fit every lifestyle.

Basic Recipe: Ingredients and Directions for Success
Ingredients
For approximately 24-30 cookies, you will need:
- 1 cup unsalted butter (softened at room temperature)
- 1 cup brown sugar (packed)
- 1/2 cup granulated sugar
- 2 large eggs
- 1 teaspoon vanilla extract
- 2 1/2 cups all-purpose flour
- 1 teaspoon baking soda
- 1/2 teaspoon salt
- 1 cup chocolate chips
- 3 cups Rice Krispies cereal
Step-by-Step Directions
- Prepare Your Workspace: Preheat the oven to 350°F (175°C) and line a baking sheet with parchment paper to prevent sticking.
- Cream the Butter and Sugars: Using a hand mixer or stand mixer, cream the softened butter with the brown sugar and granulated sugar until light, smooth, and fluffy. This step helps incorporate air into the dough for soft, chewy cookies.
- Add Eggs and Vanilla: Add the eggs one at a time, mixing well after each addition. Stir in the vanilla extract to enhance flavor.
- Combine Dry Ingredients: In a separate bowl, whisk together the flour, baking soda, and salt. Slowly add this dry mixture to the wet ingredients, mixing until combined. Avoid overmixing, as it can make the cookies dense.
- Incorporate Chocolate Chips and Rice Krispies: Gently fold in the chocolate chips and Rice Krispies cereal, ensuring they are evenly distributed throughout the dough.
- Shape the Dough: Using a tablespoon or cookie scoop, drop rounded scoops of dough onto the prepared baking sheet. Leave some space between each cookie to allow for spreading.
- Bake: Bake for 10-12 minutes, or until the edges of the cookies turn a light golden brown. The centers will still appear slightly soft, but they will firm up as they cool.
- Cool: Let the cookies cool on the baking sheet for a few minutes before transferring them to a wire rack to cool completely.
Advanced Techniques: Taking Your Cookies to the Next Level
Chilling the Dough
If you prefer thicker, bakery-style cookies, refrigerate the dough for at least 30 minutes before baking. Chilled dough spreads less, resulting in thicker cookies with a chewier texture.
Using Browned Butter for Enhanced Flavor
Brown butter gives the cookies a deeper, nutty flavor. Simply melt the butter in a saucepan over medium heat, stirring frequently until it turns a golden-brown color with a fragrant aroma. Allow the butter to cool slightly before creaming with sugars.
Mixing Different Chocolate Varieties
Combine milk, dark, and white chocolate chips for a sophisticated flavor profile. The varying sweetness and bitterness levels create a more complex taste.
Experimenting with Add-Ins
Add your personal twist by incorporating other ingredients like:
- Chopped nuts (e.g., pecans or walnuts) for added crunch.
- Dried fruits (e.g., cranberries or raisins) for a chewy contrast.
- Coconut flakes or a sprinkle of sea salt on top for an elevated taste.
Alternative Shapes and Sizes
For bite-sized cookies, use a teaspoon to form smaller dough balls and reduce baking time to 7-8 minutes. You can also make cookie bars by pressing the dough into a greased 9×13-inch pan and baking for 20-25 minutes.

Maintenance Tips: Storing and Preserving Freshness
Proper storage ensures that your cookies stay fresh and delicious for days.
Short-Term Storage
- Room Temperature: Store cookies in an airtight container at room temperature for up to 5 days. Adding a slice of bread inside the container helps retain moisture and prevents the cookies from becoming stale.
- Microwave Revival: If your cookies start to harden, microwave them for 10-15 seconds to restore their chewiness.
Long-Term Storage
- Freezing Baked Cookies: Place the cooled cookies in a freezer-safe bag and store them in the freezer for up to 3 months. Thaw at room temperature when ready to enjoy.
- Freezing Dough: Form the dough into balls and freeze them on a baking sheet. Once frozen, transfer them to a freezer bag. When ready to bake, pop them straight into the oven—no need to thaw—and just add 2-3 minutes to the baking time.
Dietary Adaptations: Adjusting the Recipe for Different Needs
Gluten-Free Adaptation
To make these cookies gluten-free, substitute all-purpose flour with gluten-free flour and ensure you use gluten-free certified Rice Krispies cereal.
Dairy-Free Option
For those avoiding dairy, replace the butter with vegan butter or coconut oil and use dairy-free chocolate chips.
Low-Sugar Option
Reduce the granulated sugar by 1/4 cup and replace it with a sugar substitute like monk fruit sweetener or erythritol for a lower-sugar version.
Nut-Free and Allergy-Friendly
This recipe is naturally nut-free, but if you’re baking for someone with severe allergies, verify that the chocolate chips and cereal are produced in nut-free facilities.

FAQs: Answering Common Questions About Rice Krispie Chocolate Chip Cookies
1. How do I make the cookies chewier?
For chewier cookies, use more brown sugar than granulated sugar, as brown sugar has more moisture. You can also chill the dough to prevent spreading.
2. Can I make these cookies in advance?
Absolutely! You can refrigerate the dough for up to 3 days or freeze it for up to 3 months. Baking from frozen is easy—just add a couple of minutes to the bake time.
3. What’s the best way to ensure even baking?
Use a cookie scoop to measure uniform dough balls, ensuring that all cookies bake evenly. Rotating the baking sheet halfway through also helps prevent over-browning on one side.
4. Can I substitute the Rice Krispies with other cereals?
Yes! If you don’t have Rice Krispies, try using Cornflakes, Cheerios, or even Cocoa Puffs for a fun twist on the texture and flavor.
5. Why did my cookies spread too much?
Overmixing the dough or using warm butter can cause excessive spreading. Ensure your butter is softened but not melted and try chilling the dough before baking.
6. Can I add extra chocolate chips?
Yes! Feel free to increase the chocolate chips to 1 1/2 cups for extra chocolatey goodness.
7. How can I tell when the cookies are done baking?
The cookies are ready when their edges are golden brown, but the centers may still appear soft. They will firm up as they cool, so don’t overbake them.
Final Thoughts: Enjoy Every Chewy, Crunchy Bite!
These Rice Krispie Chocolate Chip Cookies are the perfect combination of comfort and creativity. Whether you’re baking with kids, preparing treats for a party, or simply indulging in a snack, these cookies will never disappoint. With the crunchy texture of Rice Krispies and the sweetness of chocolate chips, each bite offers a unique contrast that’s hard to resist. Plus, with the option to customize the recipe with advanced techniques and dietary adaptations, these cookies can fit almost any occasion or lifestyle.
From the first batch you bake, these cookies are bound to become a favorite in your household. So grab your ingredients, preheat your oven, and let the baking adventure begin! Don’t forget to share your delicious creations on social media with hashtags like #RiceKrispieCookies and #CookieMagic to spread the joy. Happy baking!

