Introduction
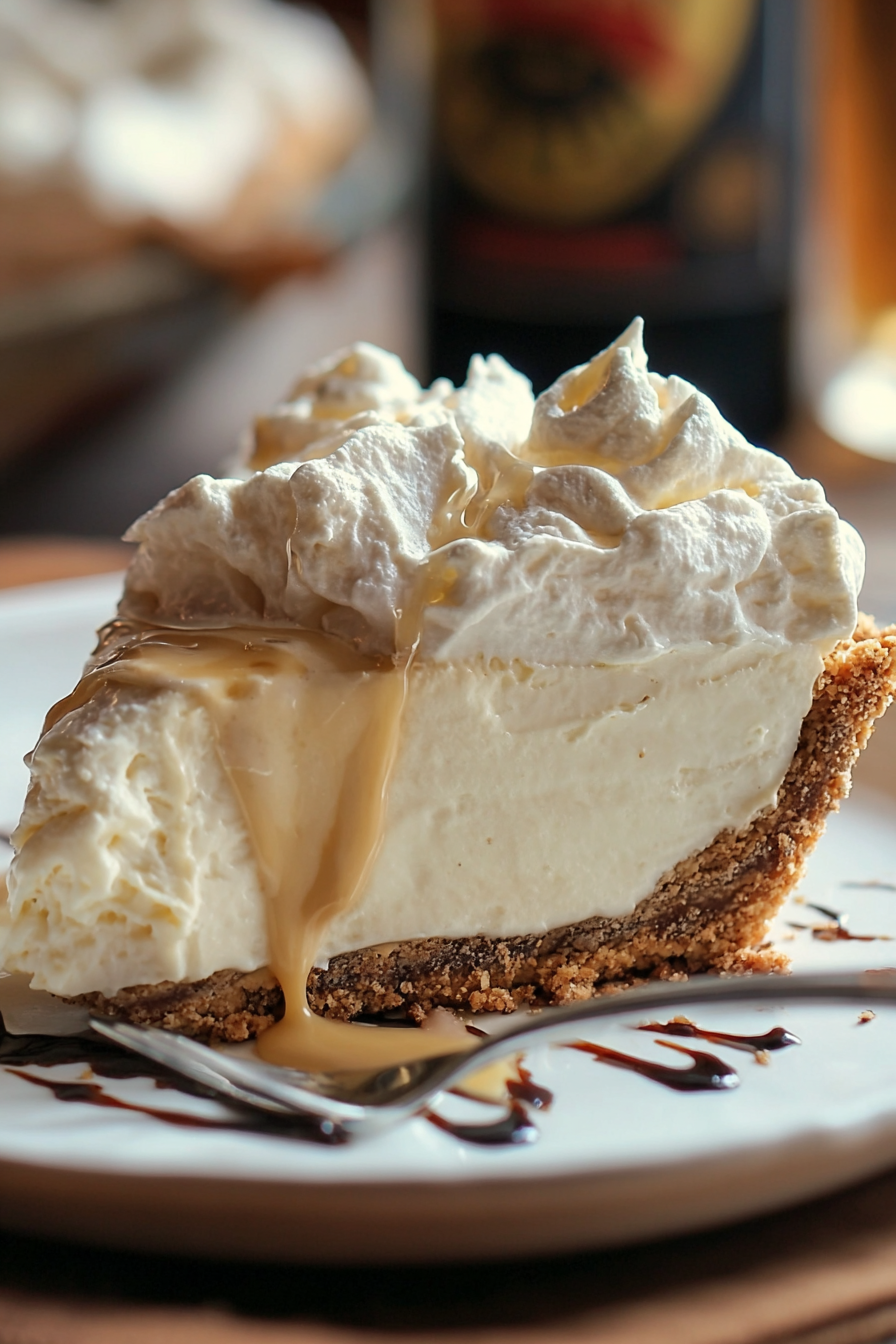
If you grew up sipping root beer floats on a hot summer day, then this Root Beer Float Pie is going to bring back all the sweet memories. This no-bake dessert combines the fizzy flavor of root beer with creamy vanilla pudding, whipped topping, and a buttery crust. It’s the perfect balance of retro charm and modern-day simplicity, making it a dessert you’ll want to serve at every barbecue, potluck, or family dinner.
Not only is this pie refreshing, but it’s also a breeze to put together. With just a few ingredients and minimal effort, you’ll have a show-stopping dessert that looks and tastes like it came from a bakery. Let’s dive into this recipe and discover how easy it is to make a Root Beer Float Pie that everyone will love.
My recipe story
This recipe is inspired by my childhood love for root beer floats. Whenever summer rolled around, my family would gather on the porch with tall frosty mugs filled with root beer and scoops of creamy vanilla ice cream. The fizz, the foam, and the sweet creaminess were always the highlight of hot afternoons. Years later, I wanted to capture that same nostalgic flavor in a dessert that could be shared at parties and family gatherings.
The first time I made this pie, it was for a neighborhood potluck. I remember people being instantly curious about the “Root Beer Float Pie” sign on the dessert table. By the end of the night, the pie dish was empty, and I had multiple requests for the recipe. That’s when I knew this dessert was something special — a fun, whimsical twist on a classic treat that never fails to bring smiles.
💡 Why You’ll Love This Recipe
- It’s a no-bake recipe — no oven required!
- Creamy, fizzy, and fun flavors that taste just like a classic root beer float.
- Perfect for summer gatherings, birthdays, or potlucks.
- Easy to make ahead of time and store in the fridge.
- Kid-friendly yet nostalgic enough for adults to enjoy.
Ingredient breakdown
The beauty of this recipe lies in its simplicity. You only need a handful of ingredients, yet each one plays an important role in creating the perfect balance of creamy texture and nostalgic flavor.
First, root beer is the star of the show. It brings that sweet, fizzy flavor that makes this pie taste just like the floats you remember. Pairing it with milk and instant pudding mix creates a smooth, creamy filling with just the right amount of sweetness.
Whipped topping adds lightness and makes the filling airy, while the graham cracker crust provides a buttery, slightly crunchy base that complements the creamy filling. A touch of vanilla extract enhances the flavors, making everything taste richer and more indulgent. Together, these ingredients transform into a dessert that’s both comforting and impressive.
Equipment you’ll need
- Mixing bowls
- Whisk or electric mixer
- Measuring cups and spoons
- Rubber spatula
- Pie dish (or store-bought graham cracker crust)
- Plastic wrap or pie cover
- Refrigerator space for chilling
Step-by-step directions
Step 1: Prepare the crust
If you’re using a store-bought graham cracker crust, you can skip this step. For a homemade crust, mix crushed graham crackers with melted butter and a little sugar. Press the mixture firmly into a pie dish and refrigerate for 15 minutes to set. This crust will act as the perfect buttery base for the creamy filling.
Step 2: Whisk the pudding mixture
In a large mixing bowl, combine the root beer, cold milk, and instant vanilla pudding mix. Whisk until smooth and slightly thickened. The pudding mix will start to set quickly, so keep whisking until you achieve a silky texture with no lumps. This step ensures the filling has that rich, creamy consistency we’re aiming for.
Step 3: Fold in whipped topping
Gently fold in the whipped topping with a spatula, taking care not to deflate it. This step lightens the pudding mixture and gives the filling its fluffy, mousse-like texture. The combination of whipped topping and pudding infused with root beer creates the essence of a root beer float in every bite.
Step 4: Assemble the pie
Pour the creamy mixture into the prepared crust, smoothing the top with a spatula. Make sure the filling is evenly distributed, and don’t forget to admire how luscious and thick it looks. At this point, you’ll already be able to smell the sweet, nostalgic aroma of root beer.
Step 5: Chill and set
Cover the pie with plastic wrap and refrigerate for at least 4 hours, or until firm. This chilling time allows the flavors to meld and the filling to fully set, so you get neat slices when serving. If possible, let it chill overnight for the best flavor and texture.
Step 6: Garnish and serve
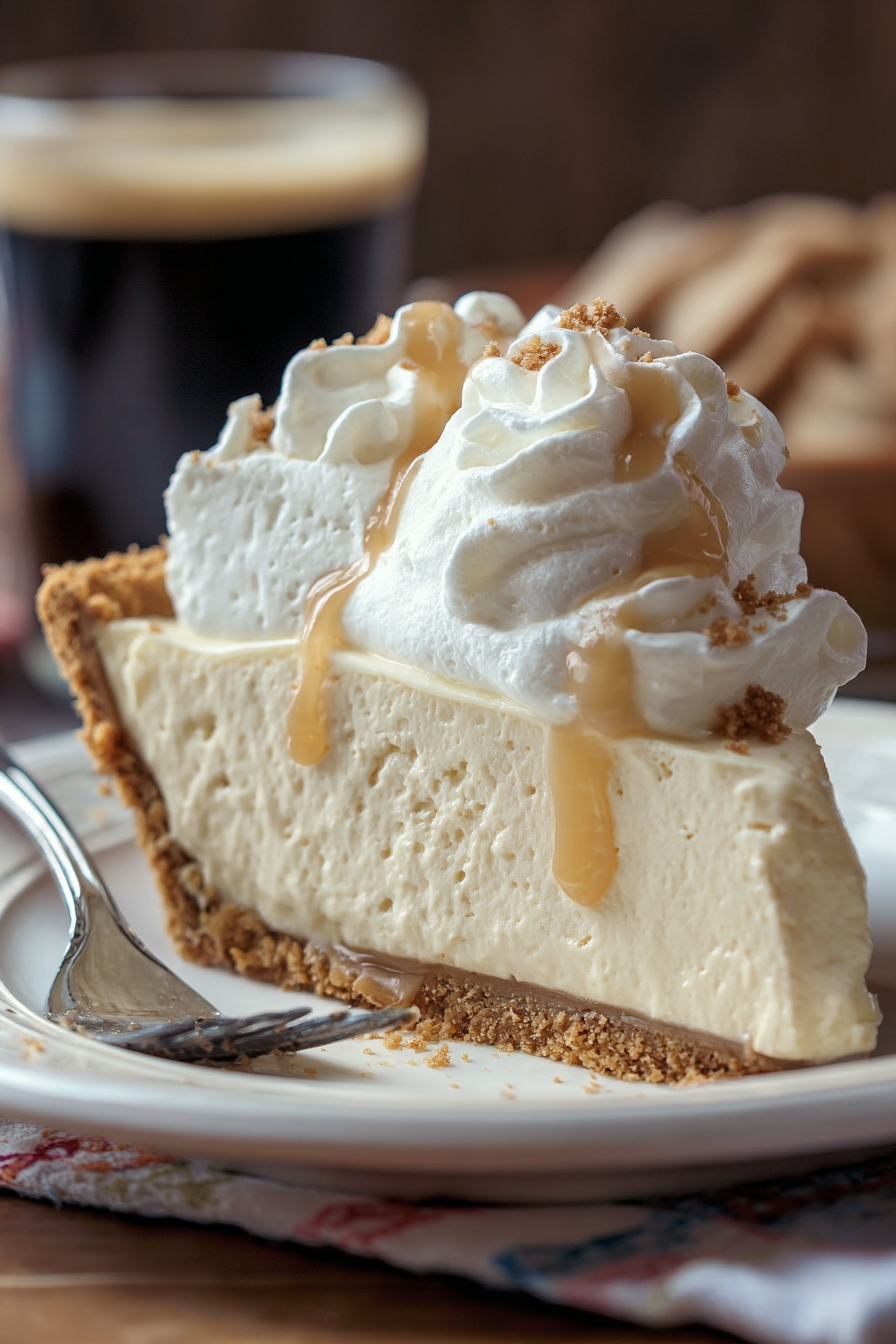
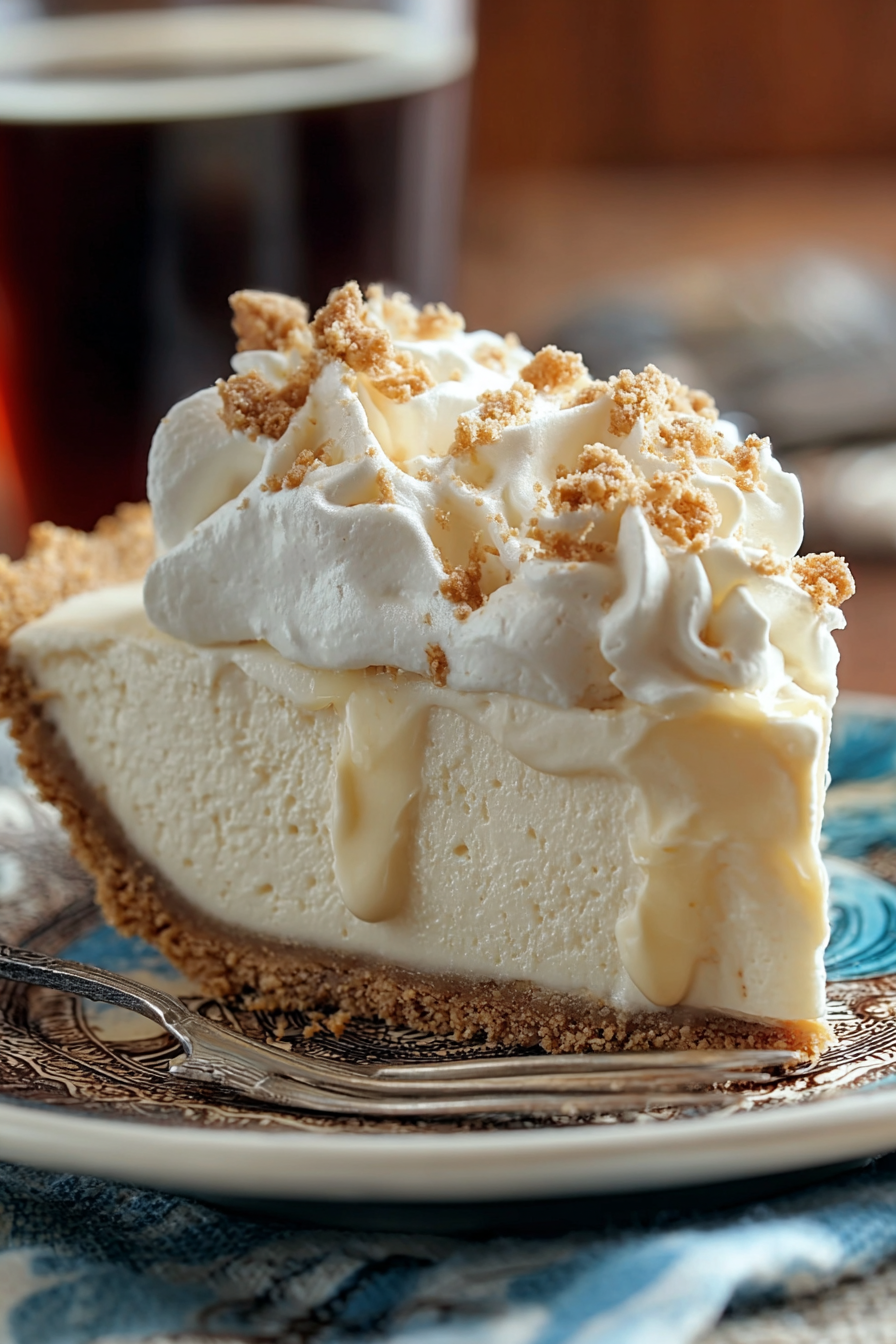
Just before serving, garnish with extra whipped topping, maraschino cherries, or even a drizzle of chocolate syrup. This not only enhances the presentation but also gives each slice that classic root beer float look and feel. Slice, serve, and watch as your guests fall in love with this whimsical dessert!
Variations & substitutions
If you’d like to switch things up, there are plenty of fun variations you can try. For a richer flavor, use chocolate pudding instead of vanilla, which creates a “root beer float with chocolate syrup” effect. If you’re not a fan of graham cracker crust, try an Oreo crust for a decadent twist. You can also substitute root beer with other soda flavors like orange soda or cream soda for a different but equally delightful pie.
For a lighter option, use sugar-free pudding mix and light whipped topping. If you need a dairy-free version, almond milk and coconut whipped cream work surprisingly well, although the texture may be slightly less firm. These easy substitutions make it possible for everyone to enjoy a slice of Root Beer Float Pie.
💡 Expert Tips & Troubleshooting
- Always chill the pie long enough to ensure clean slices. Overnight is best for maximum flavor.
- If the filling is too runny, add a little extra pudding mix or let it chill longer to firm up.
- To prevent a soggy crust, make sure the crust is well-set before adding the filling.
- Use cold milk when mixing the pudding to help it thicken properly.
- Decorate just before serving so toppings stay fresh and vibrant.
Storage, freezing & make-ahead
Root Beer Float Pie is best enjoyed chilled, and it stores beautifully. Cover the pie tightly with plastic wrap or foil and refrigerate for up to 3 days. If you want to make it ahead, you can prepare the pie a day before serving, allowing the flavors to deepen as it chills overnight.
Freezing is also an option. Wrap the pie securely with plastic wrap and then foil, and freeze for up to 1 month. Thaw in the refrigerator overnight before serving. Note that the texture may be slightly softer after freezing, but the flavor remains delicious. For individual servings, freeze slices on a baking sheet before wrapping to make grabbing a single slice easy.
Serving ideas & pairings
This pie is delightful on its own, but you can take it up a notch by serving it with additional root beer floats for a fun dessert duo. Pair it with scoops of vanilla ice cream on the side, or drizzle with chocolate or caramel sauce for extra indulgence. A sprinkle of crushed cookies or a cherry on top makes the presentation even more festive.
If you’re serving it at a summer barbecue, pair it with grilled burgers, hot dogs, and classic picnic sides for the ultimate nostalgic meal. It also makes a sweet finish to a cozy indoor dinner when you want a light yet satisfying dessert. However you serve it, this Root Beer Float Pie is sure to be the star of the table.
FAQ
Can I use diet root beer in this recipe?
Yes, diet root beer works just as well as regular root beer. The flavor may be slightly less sweet, but the texture of the pie will remain the same.
Can I make this recipe dairy-free?
Absolutely! Use non-dairy milk like almond or oat milk, and substitute whipped topping with coconut whipped cream.
What if I don’t have instant pudding mix?
Instant pudding mix is key to achieving the right texture. Regular pudding or homemade custard won’t set as firmly. If you must substitute, try gelatin-based fillings, though the flavor will differ.
How far in advance can I make this pie?
You can make it up to 2 days in advance. Just keep it tightly covered in the fridge until serving to ensure freshness.
What’s the best way to cut neat slices?
Use a sharp knife dipped in hot water, wiping between slices for clean edges. Chilling the pie overnight also helps create firm, even slices.
Final thoughts
Root Beer Float Pie is a dessert that brings together nostalgia, simplicity, and indulgence in one delightful slice. Whether you’re making it for a summer gathering, a birthday celebration, or just because you’re craving something unique, this pie is sure to impress. With its creamy texture, fizzy root beer flavor, and fun presentation, it captures the spirit of the classic float in a whole new way.
Print
Root Beer Float Pie
- Total Time: 4 hours 15 minutes (including chilling)
- Yield: 8 servings
- Diet: Vegetarian
Description
A creamy no-bake pie that captures the nostalgic flavors of a root beer float in dessert form. Perfect for summer gatherings or potlucks.
Ingredients
- 1 prepared graham cracker crust (9-inch)
- ¾ cup root beer
- ½ cup cold milk
- 1 package (3.9 oz) instant vanilla pudding mix
- 1 cup whipped topping, thawed
- Additional whipped topping, for garnish
- Maraschino cherries, for garnish
Instructions
- In a large mixing bowl, whisk together root beer, cold milk, and pudding mix until smooth and slightly thickened.
- Gently fold in whipped topping with a spatula until fully combined and fluffy.
- Pour the mixture into the prepared crust, spreading evenly.
- Cover and refrigerate for at least 4 hours or until firm.
- Garnish with extra whipped topping and cherries just before serving.
Notes
Chill overnight for the best flavor and texture. For a fun twist, try an Oreo crust or drizzle with chocolate syrup before serving.
- Prep Time: 15 minutes
- Cook Time: 0 minutes
- Category: Dessert
- Method: No-Bake
- Cuisine: American