Introduction
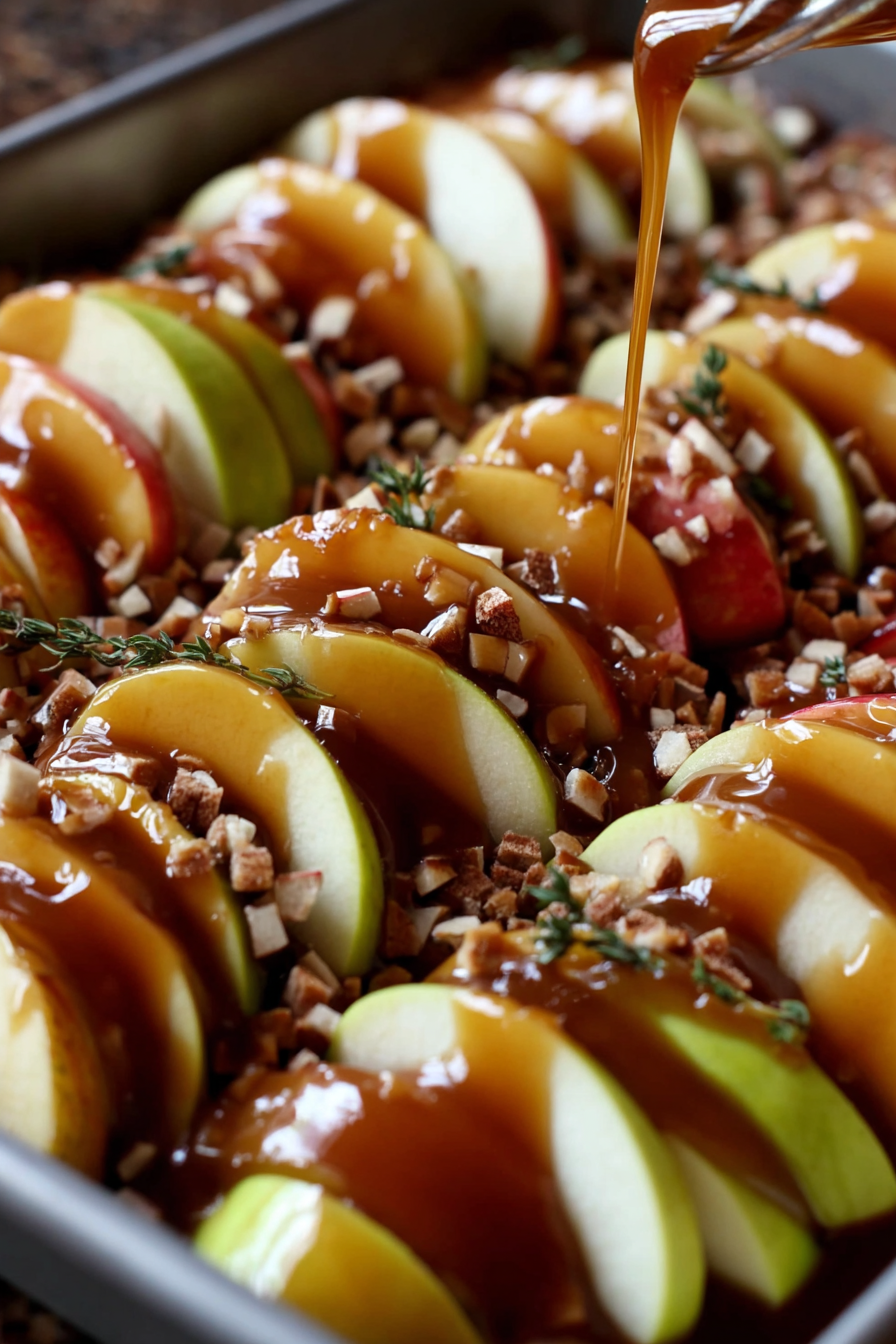
Sheet Pan Caramel Apples are the perfect solution for when you crave the nostalgic flavor of caramel-dipped apples without the sticky mess or hassle of individual skewers. This dessert combines crisp apple slices with rich caramel sauce, melted chocolate, and a sprinkle of your favorite toppings—all baked on one pan for effortless indulgence. Whether you’re hosting a fall gathering, a Halloween party, or simply want to treat your family to something sweet, these sheet pan caramel apples deliver the perfect balance of fresh fruit and decadent topping in every bite.
My Recipe Story
Growing up, caramel apples were a must-have every autumn. I still remember standing at local fairs, watching glossy caramel-coated apples spin on sticks under golden lights. But as I got older, I realized how tricky it was to actually eat them—sticky hands, caramel that slid off, and uneven bites. That’s when I thought, “Why not make it simpler?” The sheet pan version was born one cozy fall afternoon when I decided to layer sliced apples flat and drizzle them with caramel and chocolate. The result? A shareable dessert that tastes just like traditional caramel apples but is far easier to make and enjoy. It became an instant hit at family gatherings, and now, it’s a staple of my autumn baking season.
💡 Why You’ll Love This Recipe
- It captures the nostalgic flavor of caramel apples without the mess of sticks and dipping.
- Perfect for parties, potlucks, or family movie nights since it’s easy to serve and share.
- Customizable with your favorite toppings—nuts, candies, sea salt, or crushed cookies.
- Takes less than 30 minutes from prep to plate, making it an ideal last-minute dessert.
- Beautifully presentable, with golden caramel drizzles and colorful toppings that impress every guest.
Ingredient Breakdown
This easy dessert uses simple, wholesome ingredients that come together in minutes. The key lies in the balance of textures and flavors—crisp apple slices contrasted with silky caramel and velvety chocolate. You don’t need to be a pastry chef to make this; it’s foolproof and incredibly satisfying.
Apples: Choose firm, crisp varieties like Granny Smith, Honeycrisp, or Fuji. Granny Smith apples add tartness that balances the sweetness of caramel perfectly, while Honeycrisp and Fuji bring a natural juiciness and crunch. Slice them evenly for consistent baking and presentation.
Caramel Sauce: You can use store-bought caramel for convenience, or make your own homemade caramel with butter, sugar, and cream for a richer flavor. The key is to warm it slightly before drizzling so it spreads smoothly over the apples.
Chocolate Chips: Melted chocolate adds another layer of indulgence. Semi-sweet or dark chocolate works beautifully to cut through the sweetness. You can also use white chocolate for contrast or swirl it for a marbled effect.
Toppings: The fun part! Choose from chopped nuts, mini marshmallows, crushed graham crackers, pretzels, sprinkles, or sea salt flakes. Each adds its own unique crunch and personality to the dessert. Mixing a few different toppings creates an irresistible sheet of color and texture.
Equipment You’ll Need
- 1 large sheet pan (rimmed baking sheet)
- Parchment paper or silicone baking mat
- Sharp knife and cutting board
- Microwave-safe bowl or double boiler (for melting chocolate)
- Spoon or piping bag (for drizzling)
- Small saucepan (if making homemade caramel)
Step-by-Step Directions
Step 1: Preheat and Prepare. Preheat your oven to 350°F (175°C). Line a large sheet pan with parchment paper or a silicone baking mat. This prevents sticking and makes cleanup a breeze. Make sure your apples are washed, dried, and sliced evenly to ensure uniform cooking and presentation.
Step 2: Arrange the Apples. Spread the apple slices in a single layer across the prepared pan. Slightly overlap them so each piece gets some caramel and chocolate. This layer serves as the foundation of your dessert, so aim for an even, colorful spread.
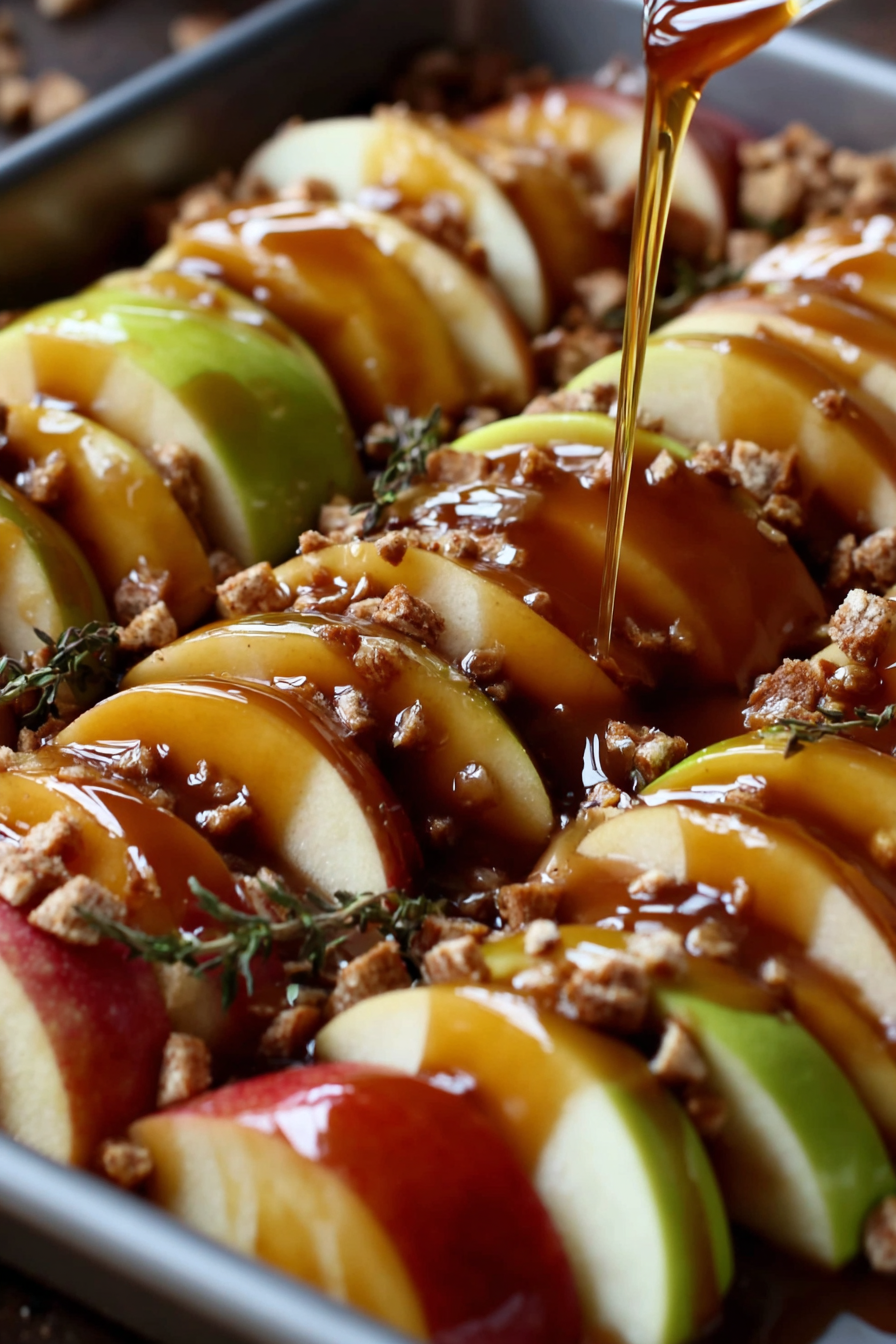
Step 3: Add the Caramel. Warm your caramel sauce until it’s just pourable, about 20–30 seconds in the microwave. Drizzle it evenly over the apple slices using a spoon or piping bag. You want each slice to have a glossy coating without pooling too much in one spot.
Step 4: Drizzle with Chocolate. Melt your chocolate chips in a microwave-safe bowl in 20-second intervals, stirring between each until smooth. Drizzle the melted chocolate over the caramel-covered apples in thin streams for that beautiful marbled effect.
Step 5: Add Toppings. Sprinkle your chosen toppings over the caramel and chocolate layers. Nuts add crunch, mini marshmallows bring chewiness, and sea salt adds a delightful contrast to the sweetness. Be generous but even in your distribution.
Step 6: Bake Lightly (Optional). Place the sheet pan in the preheated oven for 5–7 minutes if you prefer slightly softened apples and melted toppings. For crisp, fresh texture, you can skip baking entirely and serve them chilled or at room temperature.
Step 7: Cool and Serve. Allow the pan to cool for a few minutes before serving. Slice or scoop portions onto dessert plates, or serve directly from the pan for a rustic presentation. Each bite delivers the perfect combination of sweet, crunchy, and gooey goodness.
Variations & Substitutions
Peanut Butter Lovers: Swap half the caramel sauce for warmed peanut butter for a sweet-and-salty twist.
Vegan Version: Use coconut-based caramel and dairy-free chocolate chips for a plant-based treat that’s equally indulgent.
Seasonal Flavors: Add cinnamon sugar, crushed ginger snaps, or drizzle white chocolate for a holiday-inspired variation.
Healthy Twist: Use a light caramel made from dates or maple syrup, and top with granola or chia seeds for a nutritious dessert option.
💡 Expert Tips & Troubleshooting
- Prevent Browning: Toss apple slices in a little lemon juice before arranging to keep them from browning.
- Warm Caramel Evenly: Don’t overheat caramel or chocolate; it can harden when cooled. Heat in short bursts and stir often.
- Keep It Crisp: If serving later, assemble the apples just before serving to prevent moisture buildup.
- Use High-Quality Chocolate: The flavor really shines here—choose good-quality chocolate for best results.
- Make It Picture-Perfect: Alternate apple varieties for visual appeal—green, red, and yellow slices create a beautiful contrast.
Storage, Freezing & Make-Ahead
Sheet Pan Caramel Apples are best enjoyed fresh, but they can be stored if needed. Cover leftovers tightly with plastic wrap or place them in an airtight container in the refrigerator for up to 2 days. To prevent the caramel from hardening, let the apples sit at room temperature for 10–15 minutes before serving again.
If you want to make them ahead, slice and prepare the apples, but hold off on adding caramel and toppings until just before serving. Freezing isn’t recommended, as apples become mushy after thawing, and the caramel texture changes.
Serving Ideas & Pairings
These sheet pan caramel apples are irresistible on their own, but you can take them up a notch by serving them with complementary dishes and drinks. Try pairing them with a scoop of vanilla ice cream for a creamy contrast or a dollop of whipped cream for extra decadence. For a cozy autumn spread, serve alongside hot apple cider, spiced chai, or pumpkin lattes.
They also make a wonderful dessert for family movie nights, Halloween gatherings, or Thanksgiving potlucks. Set up a “build-your-own caramel apple bar” by laying out different toppings and letting guests personalize their own slice combinations—fun, interactive, and delicious!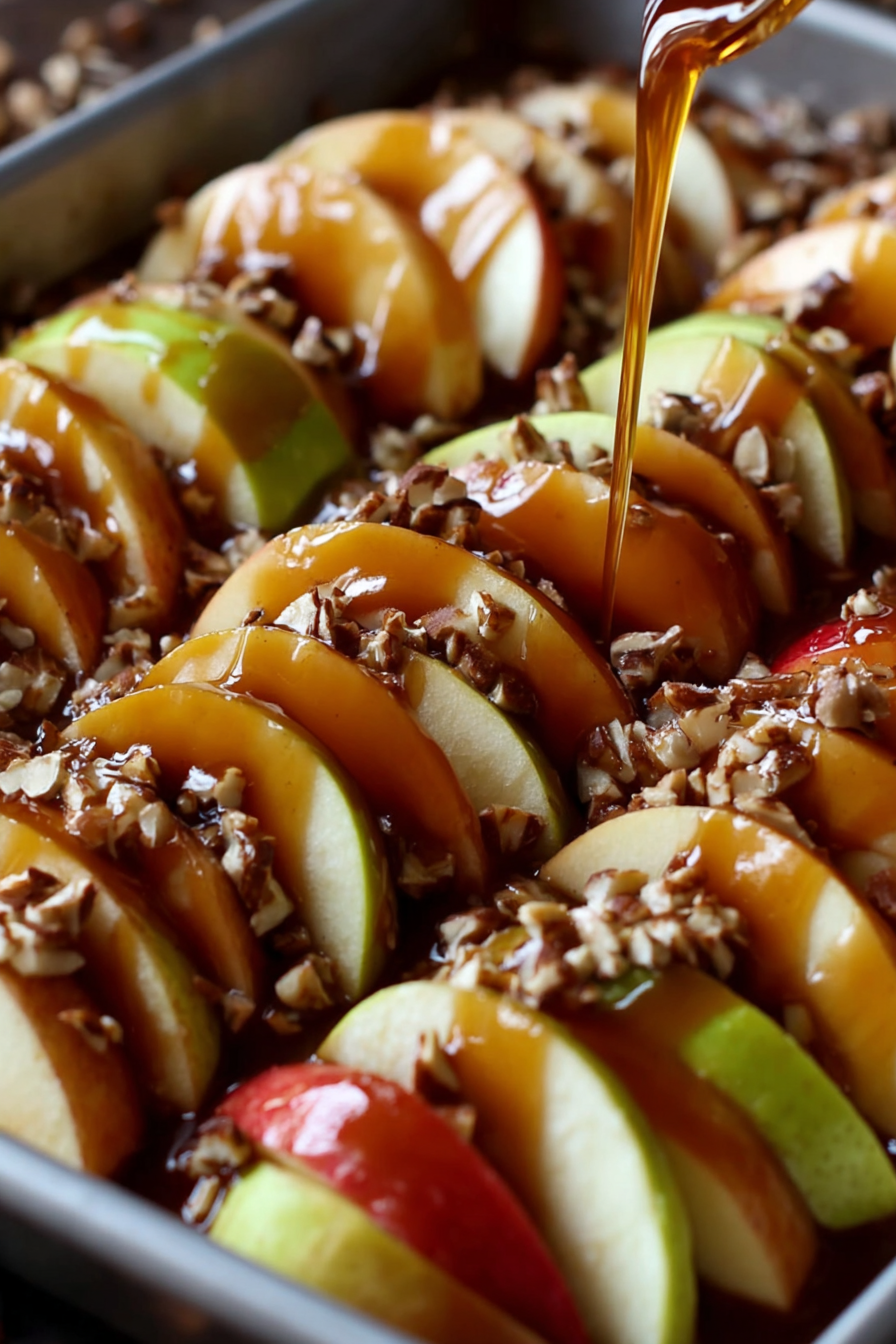
FAQ
1. Can I use any type of apple for this recipe?
Yes! Tart apples like Granny Smith balance the sweetness well, but Honeycrisp or Fuji apples work wonderfully too. Use what you love most.
2. Can I make this dessert without baking?
Absolutely. For a crisp texture, skip the oven and serve the apples chilled or at room temperature after drizzling with caramel and chocolate.
3. How can I keep the caramel from hardening?
Use warm caramel and serve the dessert soon after assembly. Storing it too long in the refrigerator can cause it to firm up.
4. What toppings work best?
Try crushed pretzels, peanuts, chocolate chips, shredded coconut, or even candy bits for added crunch and flavor.
5. Can I make this ahead for a party?
Yes, but assemble just before serving for best texture. You can pre-slice apples and prepare toppings in advance to save time.
Final Thoughts
Sheet Pan Caramel Apples are the ultimate crowd-pleasing dessert that combines simplicity, flavor, and nostalgia in one beautiful presentation. With just a few ingredients, you can create a treat that’s festive, customizable, and perfect for sharing. Whether you serve them warm from the oven or cool for a refreshing crunch, they’re guaranteed to bring smiles to every table. So grab your favorite apples, drizzle on that caramel, and turn your kitchen into a cozy autumn haven filled with sweetness and laughter.
Print
Sheet Pan Caramel Apples
- Total Time: 17 minutes
- Yield: 6 servings 1x
- Diet: Vegetarian
Description
Easy, shareable caramel apples made on a sheet pan—fresh apple slices drizzled with gooey caramel, melted chocolate, and fun toppings. Perfect for fall gatherings or quick desserts.
Ingredients
- 4 large apples, sliced
- 1 cup caramel sauce
- 1/2 cup chocolate chips, melted
- 1/4 cup chopped nuts (optional)
- 1/4 cup mini marshmallows (optional)
- 1 tablespoon lemon juice
- Parchment paper, for lining
Instructions
- Preheat oven to 350°F (175°C) and line a large sheet pan with parchment paper.
- Wash, core, and slice apples evenly. Toss with lemon juice to prevent browning.
- Arrange apple slices in a single layer on the pan, slightly overlapping.
- Warm caramel sauce until pourable, then drizzle evenly over the apples.
- Melt chocolate chips in the microwave in 20-second intervals, stirring until smooth, and drizzle over the caramel.
- Sprinkle chopped nuts, marshmallows, or your favorite toppings evenly over the apples.
- Bake for 5–7 minutes if you prefer softer apples, or skip baking for a crisp texture.
- Cool slightly before serving. Enjoy warm or at room temperature.
Notes
For best texture, serve immediately after assembling. Store leftovers covered in the refrigerator for up to 2 days. For extra flair, drizzle white chocolate or sprinkle sea salt before serving.
- Prep Time: 10 minutes
- Cook Time: 7 minutes
- Category: Dessert
- Method: Baking
- Cuisine: American