Introduction to Snickers Fudge
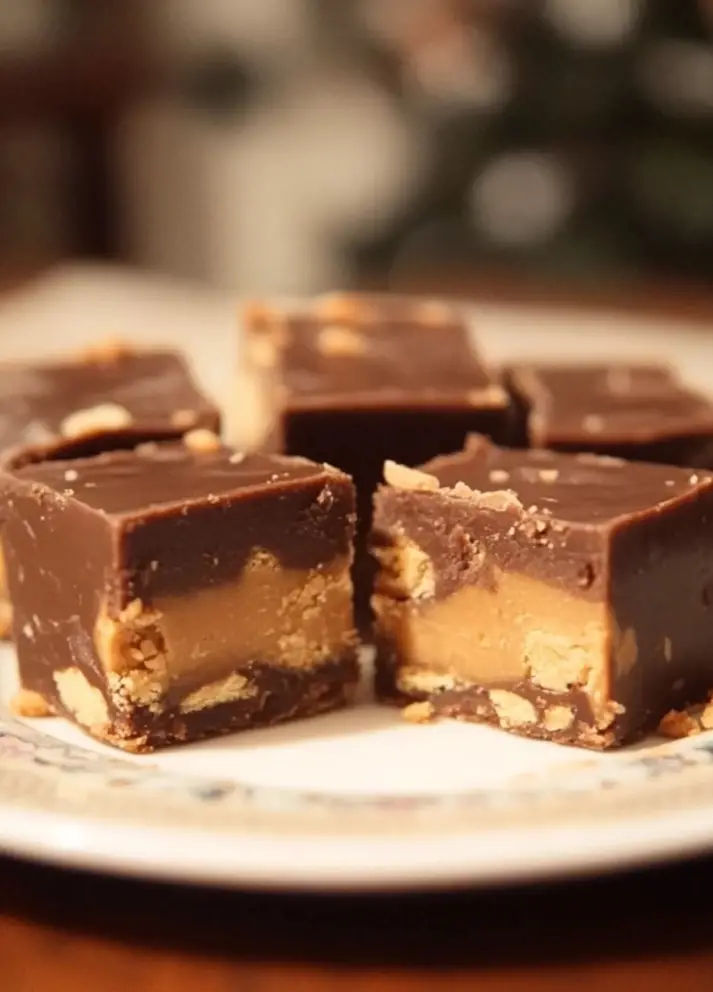
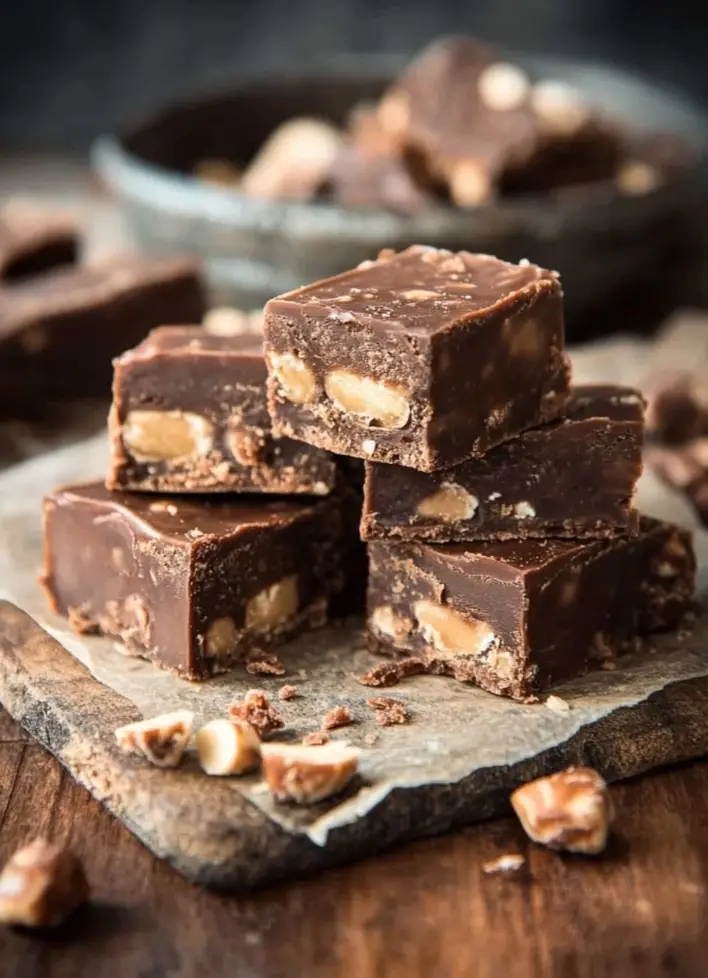
Snickers Fudge is the ultimate treat for dessert lovers, combining the richness of chocolate, the crunch of peanuts, and the creaminess of marshmallow fluff. This easy-to-make dessert offers a quick way to recreate the flavors of a Snickers bar in a fudge form, making it perfect for holiday gatherings, potlucks, or just a cozy night in. Each bite delivers a deliciously sweet and salty balance, ensuring every chocolate craving is satisfied.

Basic Recipe for Snickers Fudge
Ingredients
First Layer:
- 1 cup milk chocolate chips
- 1/4 cup butterscotch chips
- 1/4 cup peanut butter
Second Layer:
- 4 tbsp butter
- 1 cup sugar
- 1/4 cup evaporated milk
- 1 1/2 cups marshmallow fluff
- 1/2 cup chopped peanuts
Instructions
Step 1: Preparing the First Layer
- Place the milk chocolate chips, butterscotch chips, and peanut butter in a microwave-safe bowl.
- Microwave in 30-second intervals, stirring in between until melted and smooth.
- Spread the melted mixture evenly into a greased 9×9-inch pan.
- Refrigerate for 30 minutes or until set.
Step 2: Creating the Second Layer
- In a saucepan over medium heat, combine butter, sugar, and evaporated milk. Stir constantly.
- Once the mixture reaches a boil, continue cooking for 4-5 minutes.
- Remove from heat and stir in marshmallow fluff and chopped peanuts.
- Pour the mixture over the first layer, ensuring it’s evenly spread.
Step 3: Final Touch and Serving
- Refrigerate the layered fudge for 2-3 hours until fully set.
- Slice into squares and enjoy!
Advanced Techniques for Snickers Fudge
1. Layer Precision
To create a picture-perfect fudge, use an offset spatula for even spreading. This ensures smooth and professional-looking layers.
2. Experimenting with Flavors
- Add Caramel: Drizzle a layer of caramel between the two layers for an extra Snickers-like taste.
- Substitute Peanut Butter: Try almond or hazelnut butter for a unique twist.
- Incorporate Dark Chocolate: Replace milk chocolate with dark chocolate chips for a richer flavor.
3. Topping Ideas
Sprinkle sea salt, chopped peanuts, or drizzle more chocolate on top for added texture and flavor.
Maintenance Tips for Snickers Fudge
1. Storing the Fudge
- Store Snickers Fudge in an airtight container in the refrigerator. It stays fresh for up to 2 weeks.
- To prevent sticking, place wax paper between layers of fudge pieces.
2. Freezing the Fudge
- Wrap individual fudge squares in plastic wrap and store them in a freezer-safe container.
- Fudge can be frozen for up to 3 months. Thaw in the fridge overnight before serving.
3. Avoiding Crystallization
When cooking the sugar mixture, stir consistently to avoid the formation of sugar crystals, which could alter the fudge’s texture.
Dietary Adaptations for Snickers Fudge
1. Gluten-Free Version
- Ensure all ingredients, especially chocolate chips and marshmallow fluff, are certified gluten-free.
2. Vegan Snickers Fudge
- Use dairy-free chocolate chips and plant-based butter.
- Replace marshmallow fluff with vegan marshmallow cream.
- Substitute evaporated milk with coconut milk for a creamy texture.
3. Sugar-Free Adaptation
- Opt for sugar substitutes such as erythritol or monk fruit sweetener.
- Use sugar-free chocolate chips and peanut butter.

Frequently Asked Questions (FAQs)
1. Can I make Snickers Fudge without butterscotch chips?
Yes! You can replace butterscotch chips with more milk or dark chocolate chips, or try caramel chips for a twist.
2. How long does Snickers Fudge take to set?
The fudge typically sets within 2-3 hours in the refrigerator, but overnight chilling ensures the best results.
3. Can I use a different pan size?
Yes, but be mindful that a larger pan will result in thinner fudge, while a smaller pan will create thicker pieces.
4. What’s the best way to cut fudge cleanly?
Use a warm knife (dip it in hot water and wipe dry) for smooth, precise cuts.
5. Can I double the recipe?
Absolutely! Simply use a larger pan, like a 9×13-inch pan, to accommodate the increased quantity.