Introduction to Soft Christmas Peppermints
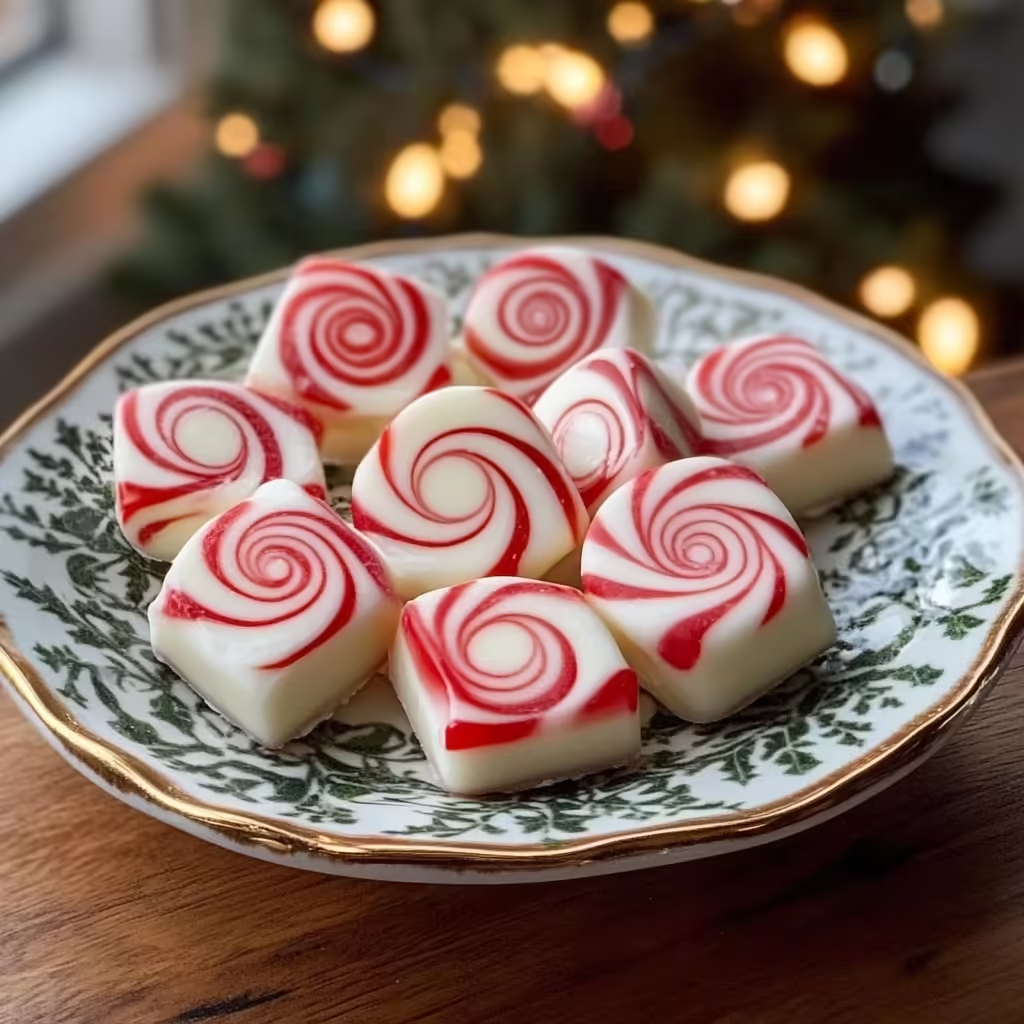
Soft Christmas Peppermints, often called Old-Fashioned Butter Mints, are a classic holiday treat that evokes nostalgic memories of Christmas gatherings and festive celebrations. These buttery, melt-in-your-mouth mints are delicately flavored with peppermint, offering the perfect balance of sweetness and freshness. Traditionally served at holiday parties or packaged into festive gift baskets, these mints are loved by people of all ages. Their smooth, tender texture paired with the iconic peppermint flavor makes them a perfect addition to your holiday dessert spread. With simple ingredients and an easy method, these soft Christmas mints are both fun to make and delightful to share with family and friends.
Basic Recipe for Soft Christmas Peppermints
Ingredients:
- ½ cup butter, softened
- 3 cups powdered sugar
- 2 tablespoons heavy whipping cream
- ¼ teaspoon peppermint extract (adjust to taste)
- Red gel food coloring (optional, for festive coloring)
Instructions:
1. Beat the Butter:
- Begin by placing the softened butter in a large mixing bowl. Using an electric mixer, beat the butter on medium speed until it becomes light, fluffy, and smooth. This step ensures that the mints will have a creamy texture.
2. Add the Remaining Ingredients:
- Gradually add the powdered sugar to the butter, one cup at a time, and continue mixing until the mixture becomes smooth. Next, add the heavy whipping cream and peppermint extract. Beat until the dough forms a firm, moldable consistency. The dough should be smooth, not sticky, and easily shaped by hand.
3. Divide and Color the Dough:
- Once the dough is fully combined, divide it into two portions. Keep about ¾ of the dough white, and color the remaining ¼ portion with red gel food coloring. Add the food coloring slowly, kneading it into the dough until you achieve your desired shade of red. This two-tone effect will give the mints a festive, candy cane appearance.
4. Roll and Twist:
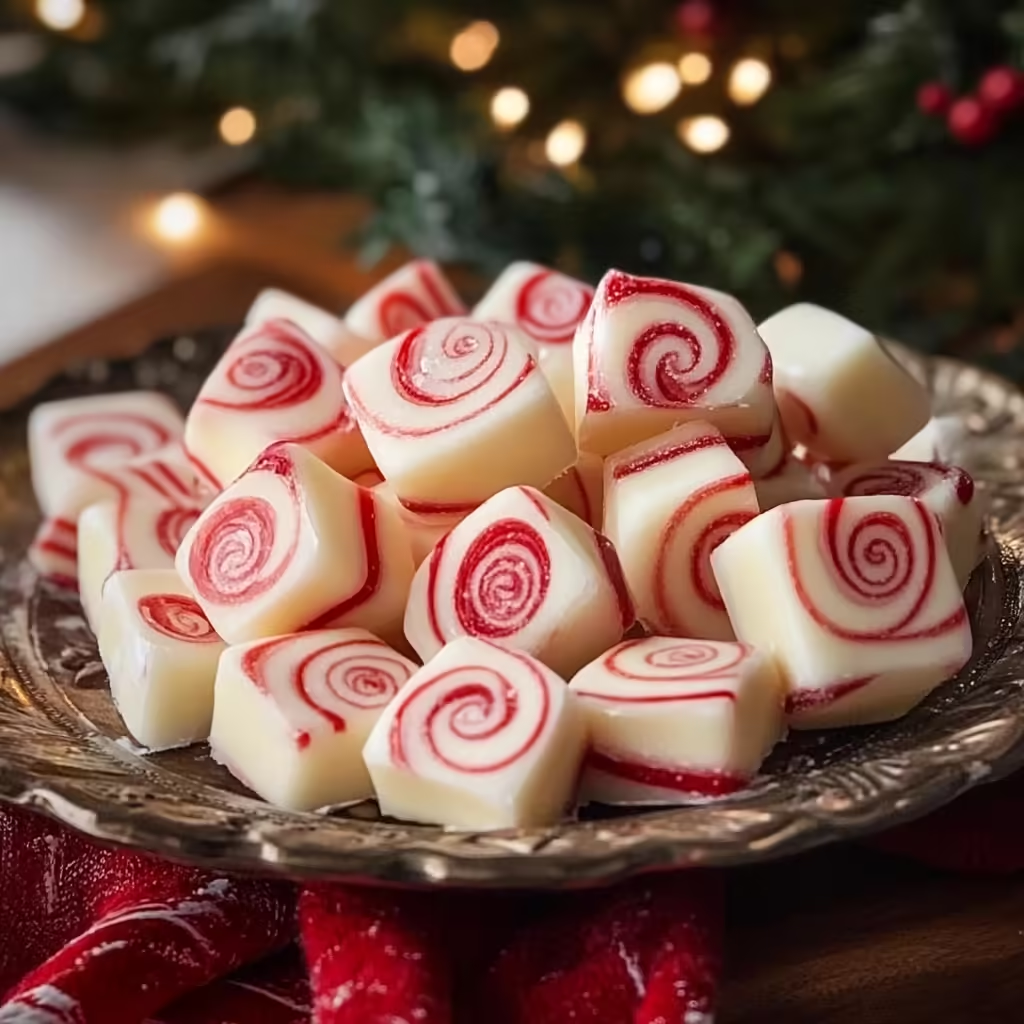
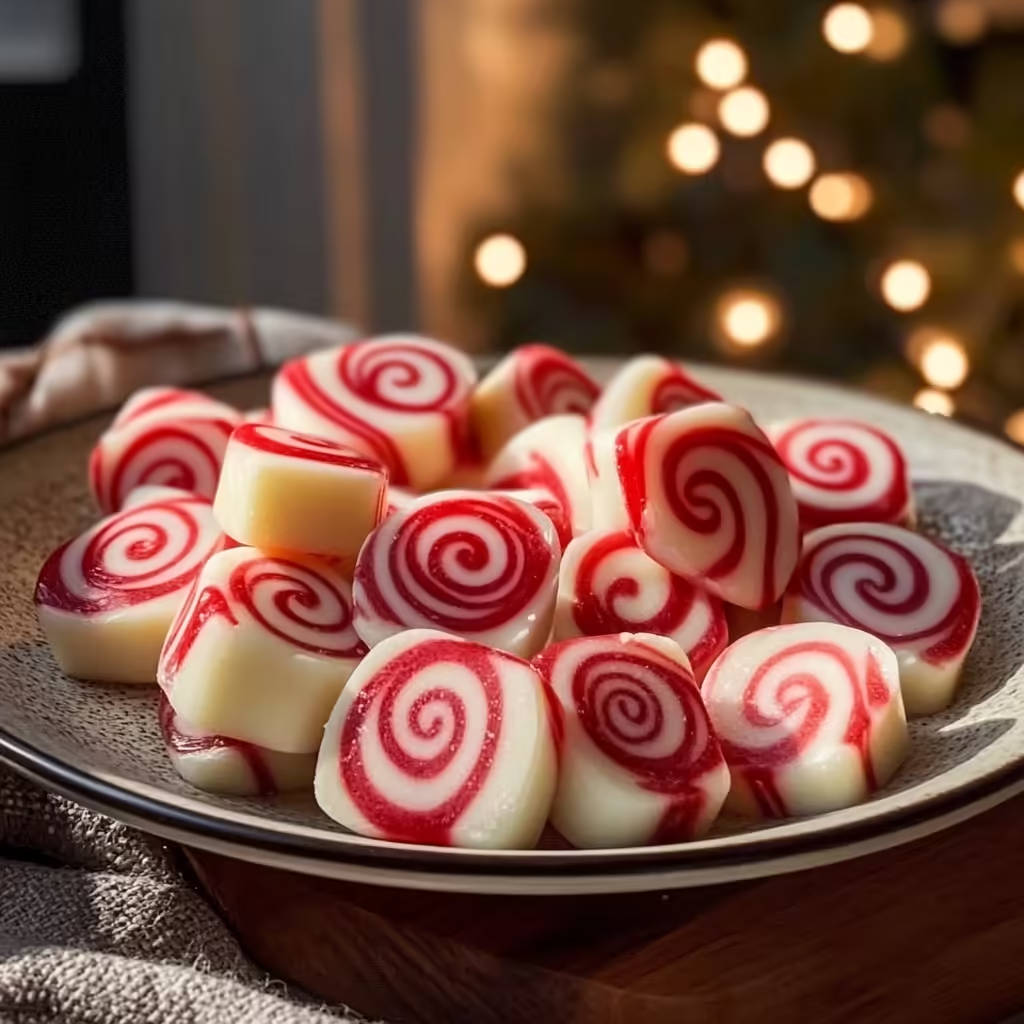
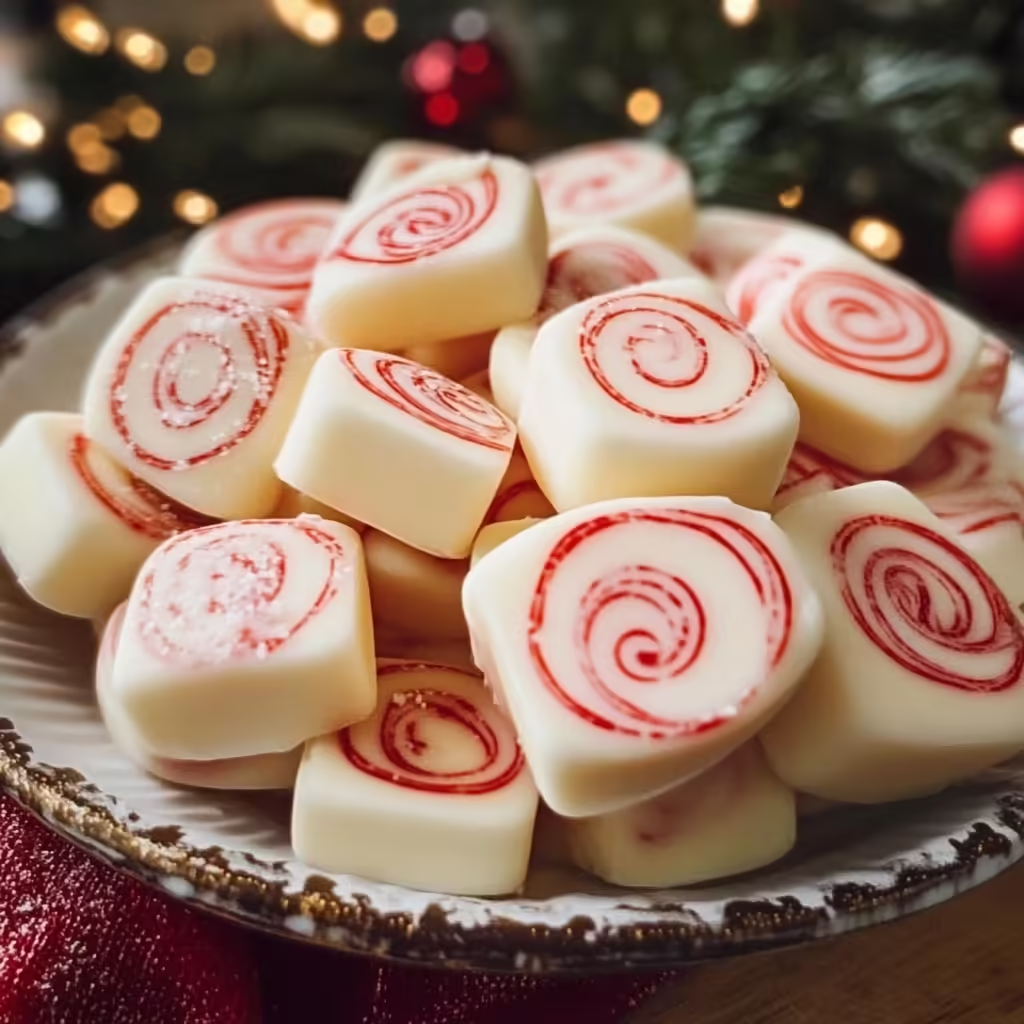
- Take small portions of each dough color and roll them out into thin ropes. Lay the white and red ropes side by side and gently twist them together. Pinch off small sections of the twisted ropes to form individual mints. If you prefer a simpler look, you can also shape the dough into small balls or discs without twisting the colors.
5. Air Dry and Set:
- Arrange the mints on a baking sheet lined with parchment paper. Let them air dry for 1-2 hours, allowing the surface to firm up. Afterward, cut them into bite-sized pieces if needed. For best results, let the mints dry for 24 hours before serving, allowing the flavors to fully develop and the texture to become perfectly soft yet firm.
Advanced Techniques for Making Perfect Christmas Peppermints
1. Achieving the Perfect Dough Consistency:
- The key to soft, melt-in-your-mouth mints lies in achieving the right dough consistency. Be sure to use softened, room-temperature butter for easy mixing. If the dough is too sticky after mixing in the powdered sugar, add a little more powdered sugar until it firms up. Conversely, if the dough is too dry or crumbly, add a teaspoon of heavy cream at a time until the dough becomes smooth and pliable.
2. Adjusting the Peppermint Flavor:
- Peppermint extract can be quite strong, so it’s important to adjust the amount based on your preference. Start with ¼ teaspoon, then taste the dough and add more if desired. If you want a milder flavor, reduce the amount of peppermint extract slightly. Alternatively, for a more intense peppermint kick, you can add a few drops of pure peppermint oil, but be careful as it is much stronger than extract.
3. Creating a Perfect Twist Design:
- For an aesthetically pleasing twist, roll the dough ropes to a consistent thickness to ensure even twisting. Press the two ropes together gently but firmly before twisting them to prevent them from coming apart. Don’t twist too tightly, as this could cause the colors to blend rather than show distinct white and red swirls. You can experiment with different thicknesses for the ropes to create a variety of mint sizes.
4. Making Different Shapes:
- While the twisted design is traditional, you can also make your mints in various shapes. Roll the dough into small balls and press them down slightly with the back of a fork for a rustic look. You can also use small cookie cutters to create holiday-themed shapes like stars, snowflakes, or hearts. These custom shapes make the mints even more festive and visually appealing for gift baskets.
5. Speeding Up Drying Time:
- If you’re in a hurry and don’t have time to let the mints air dry for 24 hours, you can speed up the drying process by placing the mints in the refrigerator for a few hours. This will help them firm up more quickly, though allowing them to air dry naturally ensures the best texture.
Maintenance Tips for Storing and Serving
1. Storing the Mints:
- Once the mints have fully dried, store them in an airtight container to preserve their soft texture. Keep them at room temperature, away from heat and moisture, to prevent them from melting or becoming sticky. Properly stored, the mints can last for up to 2 weeks, making them an excellent option for preparing in advance of holiday gatherings or as part of a gift basket.
2. Freezing the Mints:
- If you want to make a large batch and store some for later, these butter mints freeze well. Place the dried mints in an airtight freezer-safe container or resealable plastic bag. When ready to use, allow the mints to thaw at room temperature for a few hours before serving. Freezing does not affect the texture or flavor, making this a convenient option for long-term storage.
3. Serving Suggestions:
- These soft Christmas mints are perfect for serving at holiday parties, family gatherings, or as part of a dessert platter. For a beautiful presentation, place the mints in a decorative dish or on a serving tray. They also make lovely edible gifts—pack them in festive tins or glass jars with ribbons for a charming homemade gift idea.
4. Make-Ahead Tips:
- You can easily make these mints ahead of time, which is especially helpful during the busy holiday season. Prepare them up to two weeks in advance and store them in an airtight container until ready to serve or package for gifts. This way, you’ll have one less thing to worry about when holiday festivities begin.
Dietary Adaptations for Soft Christmas Peppermints
1. Dairy-Free Adaptation:
- To make this recipe dairy-free, replace the butter with a plant-based margarine or vegan butter alternative. Make sure the replacement is softened to room temperature before mixing, just like regular butter. For the heavy cream, use a non-dairy alternative such as coconut cream or a plant-based whipping cream. These substitutions will yield the same creamy, melt-in-your-mouth texture without the dairy.
2. Vegan Version:
- For a vegan version, follow the same dairy-free substitutions and also ensure that the food coloring you use is vegan-friendly. Many red food colorings contain animal-derived ingredients, so look for plant-based or naturally derived colorings like beetroot powder or other vegan alternatives.
3. Gluten-Free Adaptation:
- This recipe is naturally gluten-free as it does not contain any flour or wheat-based products. However, always double-check the packaging of your powdered sugar and food coloring to ensure they are certified gluten-free, especially if you are preparing these mints for someone with gluten sensitivities.
4. Low-Sugar or Sugar-Free Option:
- If you want to make a low-sugar or sugar-free version of these mints, you can replace the powdered sugar with a sugar-free powdered sweetener such as erythritol or a powdered monk fruit sweetener. These sugar substitutes will still provide the same sweetness and texture without the added sugar.
5. Paleo-Friendly Version:
- To make these mints paleo-friendly, replace the powdered sugar with powdered coconut sugar or another paleo-approved sweetener. Use coconut cream instead of heavy whipping cream and opt for natural food coloring derived from fruits or vegetables.
Frequently Asked Questions (FAQs)
Q: Can I use a different extract flavor instead of peppermint?
- Yes, you can substitute the peppermint extract with other flavors to create different varieties of mints. Popular options include vanilla extract, almond extract, or even lemon extract for a citrusy twist. Feel free to experiment with different flavors based on your preferences.
Q: How do I prevent the mints from becoming too sticky while rolling?
- If your dough becomes too sticky while rolling, you can sprinkle a little powdered sugar on your hands or work surface to make it easier to handle. If the dough is still too sticky, you may need to add a little more powdered sugar to firm it up. Be careful not to add too much, as this can make the dough dry and crumbly.
Q: Can I make these mints without food coloring?
- Absolutely! If you prefer not to use food coloring, you can leave the dough its natural color, which will result in elegant, creamy-white mints. You can also experiment with natural food colorings made from vegetable or fruit extracts if you want to avoid artificial dyes.
Q: How do I know when the mints are properly dried?
- The mints should feel firm to the touch and not sticky after they have dried. You’ll know they are ready to serve when the surface is smooth and dry, but the inside remains soft and buttery. If they are still soft or sticky after a few hours of air drying, allow them to sit out for a little longer before cutting and serving.
Q: Can I make larger batches of this recipe?
- Yes! You can easily double or triple the ingredients to make a larger batch of mints. Just be sure to keep the dough well-covered to prevent it from drying out while you work with smaller portions. If making a large quantity, you may need extra drying space to let all the mints air dry properly.
Conclusion
Soft Christmas Peppermints are a delightful addition to your holiday celebrations, offering a sweet, buttery, and minty treat that melts in your mouth. Their festive twist design, combined with the nostalgic peppermint flavor, makes them a wonderful choice for holiday gatherings, gifts, or just as a sweet snack. With simple ingredients and easy instructions, these homemade mints are fun to make and can be adapted to various dietary preferences. Whether you stick to the classic recipe or experiment with flavors and colors, these soft Christmas mints are sure to bring joy to all who taste them!