Introduction to the Recipe
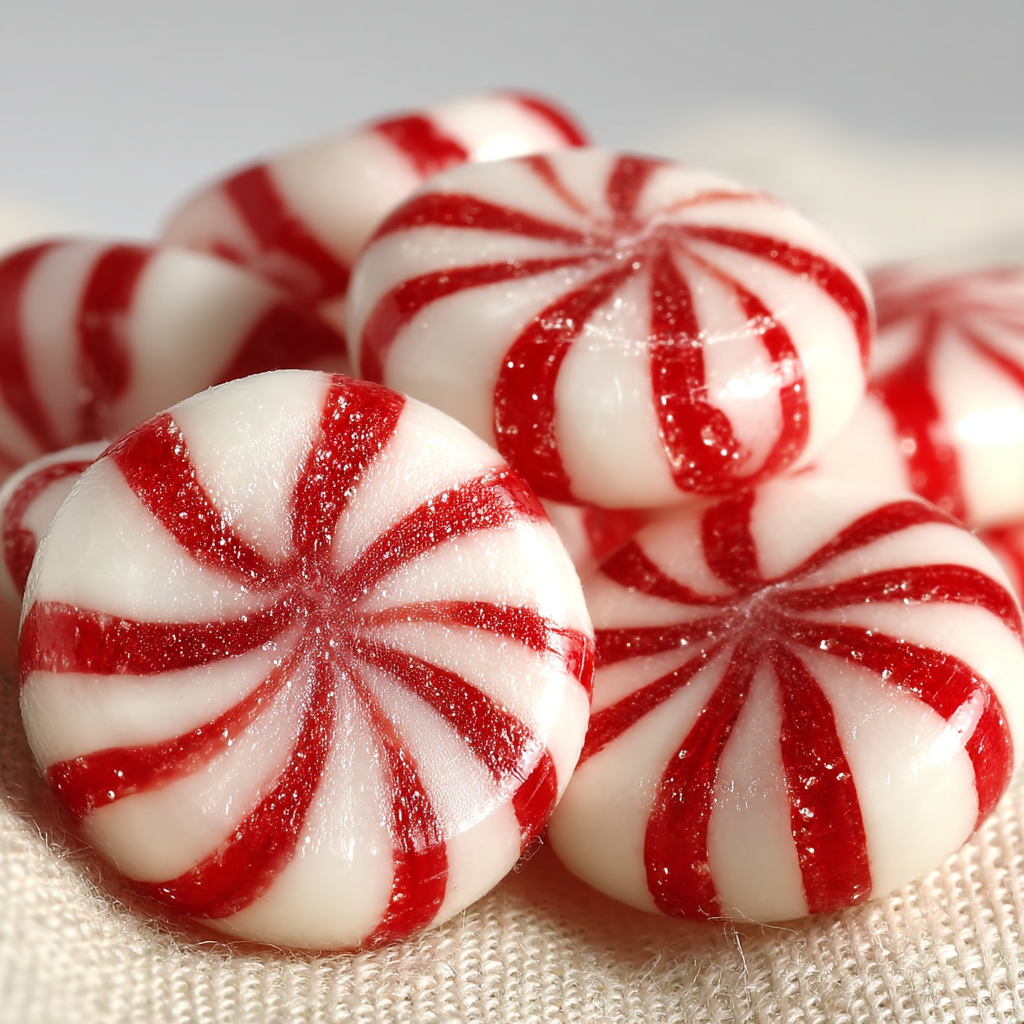
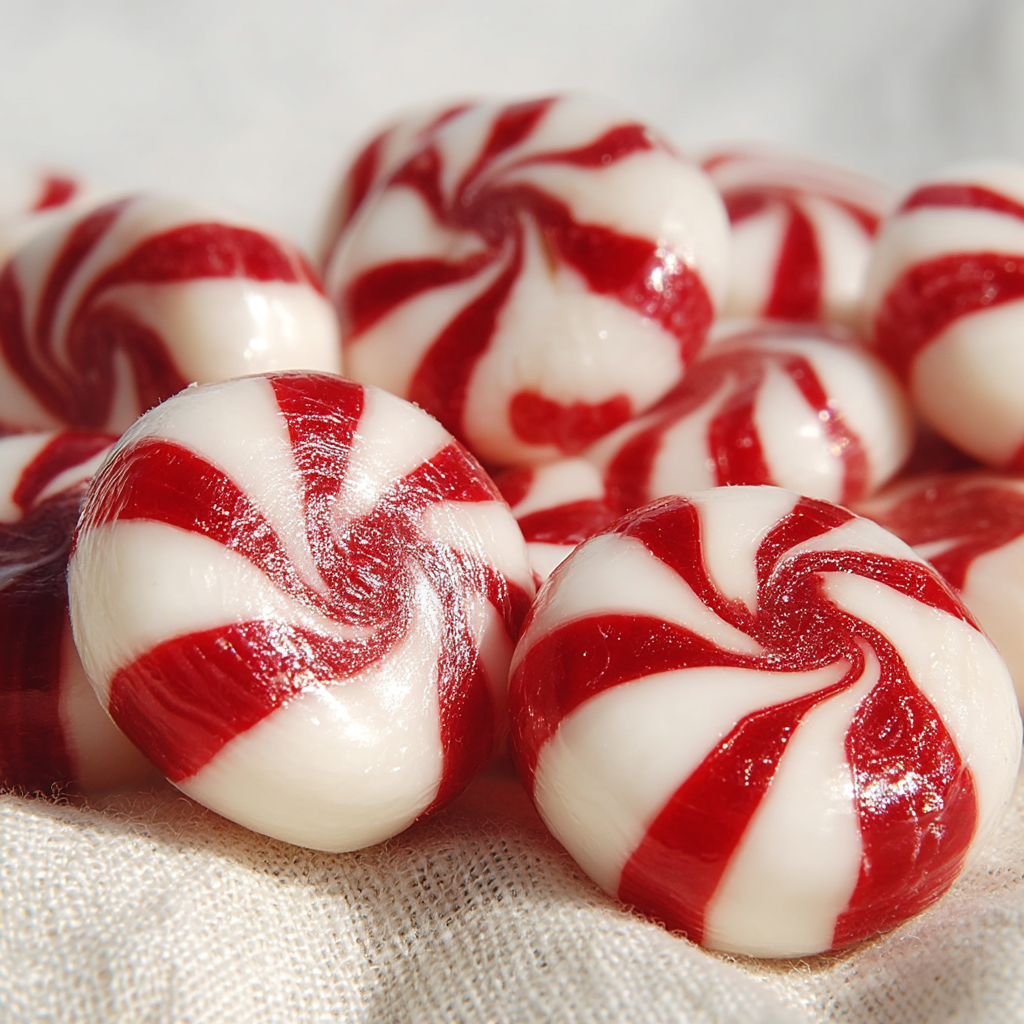
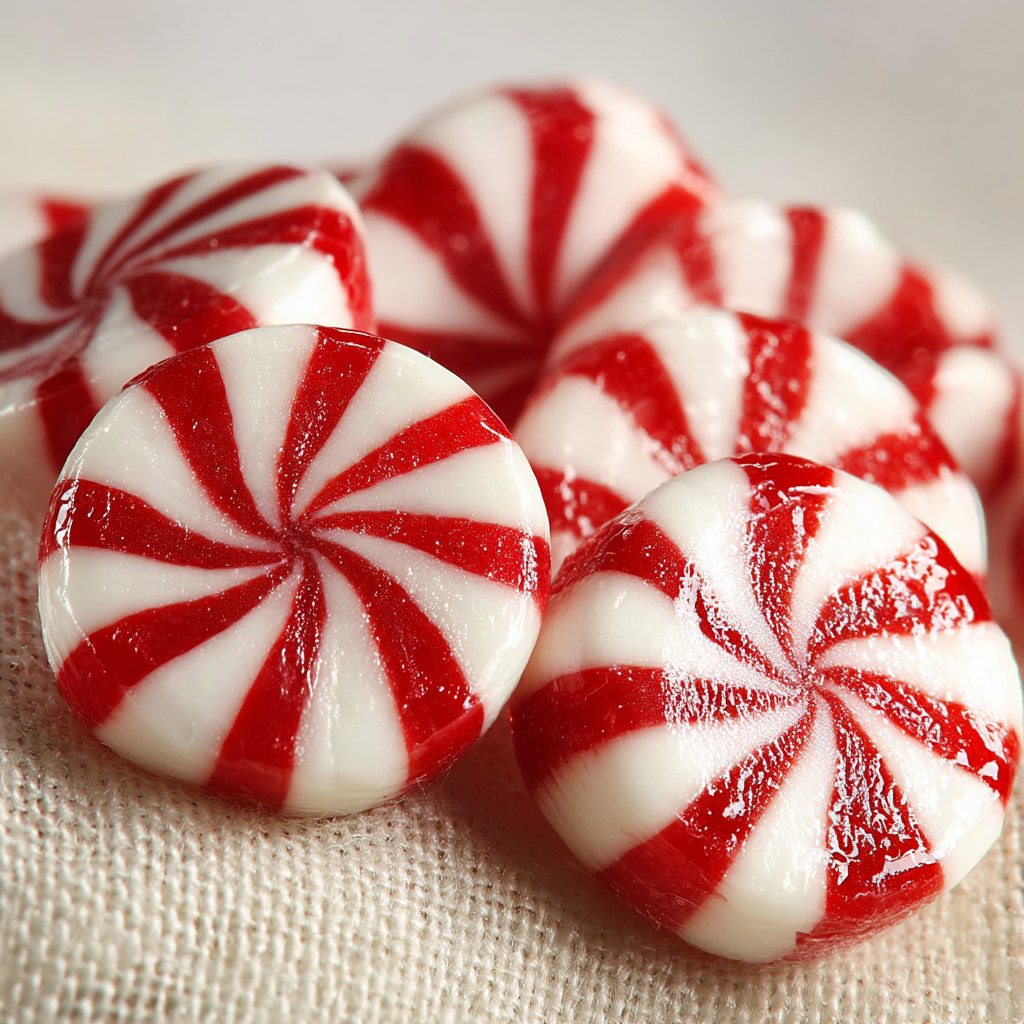
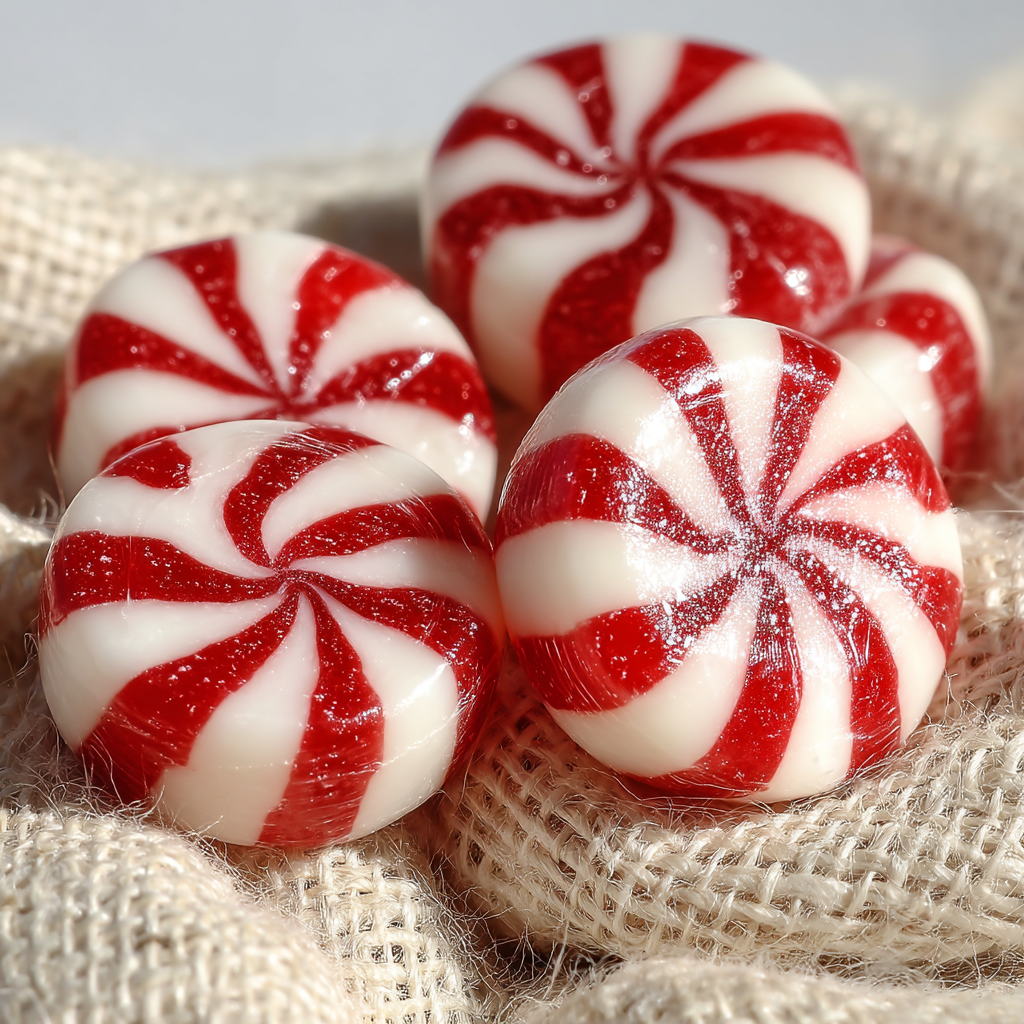
When the holidays arrive, there’s nothing quite like the joy of sinking your teeth into a soft, candy cane–inspired peppermint that melts gently on your tongue. The Magic of Soft Christmas Peppermints brings that dream to life—these treats combine the creamy richness of butter and cream, the sweet smoothness of powdered sugar, and the cool bite of peppermint extract. But what makes them truly enchanting is the red‑and‑white swirl, transforming a simple mint into a festive work of edible art.
Unlike hard peppermint candies that require boiling sugar syrup to a high temperature, this recipe delivers a melt‑in‑your-mouth texture by avoiding heat altogether. The soft peppermint texture comes from creating a pliable dough of butter, powdered sugar, and cream, then flavoring it with peppermint and coloring it with red gel food coloring. You roll, swirl, slice—and voilà, buttery pink-and-white towers of minty delight.
If you enjoy holiday confections, you might also appreciate this peppermint bark recipe or a detailed guide on swirling candy or cookie doughs.
In this article, I’ll begin with the complete ingredients and step‑by‑step instructions. Then we’ll explore advanced techniques (for better swirls, texture control, flavor intensification), storage tips, dietary adaptations, and answers to FAQs. Whether this is your first time crafting festive soft mints or you’re honing your candy skills, you’ll find plenty of helpful guidance here. Let’s let the magic begin!
Basic Recipe: Ingredients and Instructions
Print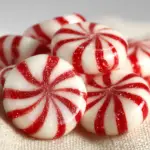
Soft Christmas Peppermints Recipe — Melt‑in‑Your‑Mouth Treats
Description
Make these soft Christmas peppermints—velvety, swirl candies with peppermint flavor. Perfect holiday confection.
Ingredients
- ½ cup (about 113 g) butter, softened to room temperature
- 3 cups powdered sugar (approx. 360 g)
- 2 tablespoons heavy whipping cream
- ¼ teaspoon peppermint extract
- Red gel food coloring (a few drops)
Instructions
- Prepare your workspace.
Line a baking sheet or tray with parchment paper. Have a small bowl ready for red‑colored dough, and a clean surface or silicone mat for rolling and shaping. - Cream butter and part of powdered sugar.
In a mixing bowl, beat the softened butter until smooth and fluffy. Gradually add about 2 cups of the powdered sugar, beating until well combined. At this stage, the mixture may be thick and crumbly—but that’s okay. - Add cream and peppermint extract.
Pour in the 2 tablespoons of heavy cream and ¼ teaspoon peppermint extract. Beat again until the mixture loosens into a smoother, more pliable consistency. - Incorporate remaining powdered sugar.
Add the remaining 1 cup powdered sugar, mixing until the dough is firm but workable. If the mixture is too sticky, you can add a tablespoon more powdered sugar; if too dry, add just a little more cream (½ teaspoon at a time). - Divide and color half the dough.
Divide the dough into two portions: about two‑thirds plain (white) and one‑third for coloring. Place the smaller portion in a separate bowl, and knead in a few drops of red gel food coloring until you have a vibrant, uniform red hue. Be careful not to overmix and make it too soft. - Form the swirl log.
On your work surface or silicone mat, roll each portion into flat rectangles or logs of similar shape (same length). Place the red log alongside the white, then gently press them together lengthwise. Lightly roll them together with a rolling pin or by hand to merge and create a swirl effect, being careful not to distort the individual colors too much. - Chill slightly for easier slicing.
If the log feels too soft to slice cleanly, wrap it in plastic and chill in the refrigerator for 15–20 minutes until it firms up just enough. - Slice into mints.
Using a sharp knife (or a bench scraper), slice the log into ¼‑inch to ⅜‑inch thick pieces. Arrange the pieces on the parchment‑lined tray. - Let rest or lightly firm.
Let the mints rest at cool room temperature for 30 minutes to set and firm slightly. If your room is warm, you may refrigerate them for 10 minutes before serving, but don’t leave them too cold or they can lose that soft “melt” texture. - Store or serve.
Once set, transfer to an airtight tin or container. See the storage section below for tips.
Notes
Use pure peppermint extract, not imitation, for a clean mint bite.
Softening the butter correctly is essential—if too cold, you’ll get lumps; if too warm, the dough will be too loose.
Gel coloring is better than liquid so you don’t disturb the moisture balance.
Don’t overwork the dough once combined; gentle kneading preserves the swirl lines.
If slices are sticky when fresh, place parchment between layers in storage to prevent sticking.
Advanced Techniques
To elevate your soft Christmas peppermints, here are five advanced techniques to refine swirl clarity, texture, flavor, and presentation:
1. Two‑Stage Chilling for Sharper Swirls
For more defined red-white swirls, you can use a two-stage chilling approach. After initially rolling the red and white logs together, light-chill them for 5–10 minutes to slightly firm the dough but not fully set it. Then roll slightly again, increasing the swirl definition. This semi-firm state lets you reshape or sharpen lines without smearing colors. After final shaping, fully chill before slicing. This method helps maintain crisp boundaries between colors.
2. Textural Control via Slight Fat Adjustment
To really fine-tune “softness,” you can adjust the balance between butter, powdered sugar, and cream. If you want a creamier melt, you can reduce powdered sugar by up to 2 tablespoons and increase cream by ½ teaspoon—carefully. Conversely, if slices are too soft, add 1–2 Tbsp extra powdered sugar. The trick is small adjustments so the dough remains sliceable. This advanced control helps you tailor to your climate (humid vs dry) and personal mouthfeel preference.
3. Flavor Intensity Layering
For a more complex mint flavor, try layering peppermint extract or combining with a tiny hint of menthol crystals or peppermint oil (very little, since these are strong). You might also flavor the red portion slightly differently (e.g. peppermint + a touch of raspberry) to create a subtle two-tone taste. Be mindful that adding flavor or aroma components can slightly affect texture, so keep additions minimal and test in small amounts.
4. Decorative Embossing or Cut-Out Shapes
Instead of simple round slices, you can press your swirl log (before slicing) with textured mats, cookie stamps, or lightly press with small cookie-cut shapes (stars, trees). Alternatively, after slicing, use small festive cookie cutters to cut shapes. Do this while the dough is still pliable (chilled but not fully firm). These decorative shapes make your mints look professional and festive.
5. Dusting or Glazing for a Fine Finish
After slicing, if the surfaces are slightly tacky, dust the mints with a superfine powdered sugar or a light dusting of cornstarch (very little) to prevent stickiness. If you want a glossy look, you could brush the surface lightly with a bit of melted white chocolate (diluted) or light inverted sugar syrup (very minimal). The thin glaze adds a sheen and protects the surface slightly, but avoid thick glazes that mask the swirl or alter texture.
Storage, Shelf Life, and Maintenance Tips
Here are five tips to keep your soft Christmas peppermints in peak condition:
1. Airtight, Cool, and Dry Storage
Store your mints in an airtight tin or container. Place a sheet of parchment or wax paper between layers to avoid sticking. Keep in a cool, dry spot—not near radiators, direct sunlight, or high humidity. Under ideal conditions, these soft mints stay fresh for 5 to 7 days with their texture intact.
2. Refrigeration in Very Warm Environments
If your ambient temperature is warm (above ~24–25 °C / 75–77 °F), you may refrigerate the mints—but do so cautiously. Place them in a sealed container, allow them to come up to room temperature (while still sealed) before opening to avoid condensation. Frequent temperature cycling can degrade texture.
3. Freezing for Longer Storage
You can freeze the mints for extended shelf life (up to 2 to 3 months). Layer them with parchment in freezer-grade bags or containers. When ready to eat, thaw them (still sealed) in the refrigerator, then bring to room temperature before opening, so no moisture forms on the surfaces.
4. Preventing Stickiness and Clumping
If stored improperly, mints may stick together. Use parchment between layers, avoid high humidity, and don’t crowd them inside the container. For best results, do not stack them too tightly. If you notice slight stickiness, you can quickly dust with a little powdered sugar before serving (just a light dust).
5. Refreshing Slightly Aged Mints
If your mints have softened or lost their texture after a few days, you can revive them gently. Place them on parchment and air-dry in a cool, dry area for a few hours to let moisture evaporate slightly. Alternatively, you can lightly re-chill them (briefly in refrigerator) before serving to regain structure. Avoid reheating or microwaving—they’ll lose softness.
Dietary Adaptations and Substitutions
You can adapt this soft peppermint recipe to different dietary needs. Here are five possibilities:
1. Vegan / Dairy-Free Adaptation
Replace the butter with a vegan butter (plant-based margarine) and the heavy cream with a non-dairy cream (e.g. coconut cream, soy cream). Make sure both are unsweetened and have similar fat content. Use vegan‑approved powdered sugar (some brands use bone char, so check labeling). The method remains the same, though texture may shift slightly. Adjust moisture if the dough feels too soft.
2. Reduced-Sugar Version
To reduce sugar, you may substitute part or all of the powdered sugar with a powdered sugar substitute (e.g. erythritol/polydextrose blend). Be cautious: many sugar substitutes behave differently (grittiness, moisture absorption). Start by replacing ⅓ or ½, test the texture, and adjust the cream accordingly. The sweetness will shift, so taste and tweak.
3. Flavored Variant (Peppermint + Fruit, or Chocolate Mint)
You can add a hint of fruit essence (raspberry, cherry) in the red side to create a two-tone flavor. Or incorporate a very small amount of unsweetened cocoa powder (¼ tsp) in part of the dough for a chocolate-mint swirl. Be careful not to add too much or you’ll alter texture. These variants give you fun flavor contrasts.
4. Natural Coloring / Dye-Free Version
If you prefer to avoid artificial color, you can skip red food coloring entirely or use natural red alternatives (like beetroot powder). Be aware that these natural options may affect taste or moisture slightly. You can also make them in plain white mint shapes without the swirl, if coloring is not essential.
5. Nut‑Free & Allergy-Safe Recipe
This base recipe is naturally nut-free. But if serving to people with nut allergies, ensure your butter substitute, powdered sugar, and any colorings or extracts are made in nut-free facilities and labeled safe. Avoid flavor extracts that may contain nut cross‑contaminants.
FAQs About the Recipe
1. My dough was too crumbly and wouldn’t form—what happened?
If your dough is too dry and crumbles, it means you’ve got excess powdered sugar or insufficient cream/fat. To rescue it, add ½ teaspoon increments of cream or softened butter and knead gently until it holds. Just a small amount can make a big difference. Avoid adding so much that you make the dough too soft.
2. The red swirl smudged into the white—how can I keep it distinct?
Smudging often happens when the dough is too soft or has been overworked. Use the two-stage chilling technique (see advanced techniques) to firm the dough slightly between steps. Work quickly, avoid over-kneading once colored, and slice when the log is just firm enough but not rigid.
3. The mints feel sticky days later—what causes that?
Stickiness can be caused by ambient humidity, improper storage, or over-soft dough. To mitigate, store in airtight containers, use parchment between layers, and keep in a cool, dry area. If sticky, lightly dust with powdered sugar or re-chill before serving.
4. They taste bland or weakly minty—how to intensify flavor?
You can increase the peppermint extract slightly (e.g. to ⅓ teaspoon), but be cautious: peppermint extract is potent and too much can sting. Alternatively, use peppermint oil or natural flavor in small amounts for extra punch. Also, fresh extract often has stronger flavor than older bottles.
5. How thin or thick should I slice them for best texture?
Slices between ¼ inch (≈ 6 mm) and ⅜ inch are ideal. Thinner slices may lose structure or collapse; thicker slices may not deliver a satisfying melt. If your log is slightly soft, chill before slicing so pieces hold shape cleanly.
Conclusion & Final Thoughts
The Magic of Soft Christmas Peppermints captures the essence of holiday wonder in a buttery swirl candy that feels like it melts with every bite. Rather than relying on hard sugar cooking, this recipe leans on texture magic—the creamy combination of butter, powdered sugar, and cream, with peppermint zest and red swirls—for a visually festive and luxuriously soft treat.
Beyond the basic recipe, the advanced techniques help you sharpen your swirl, control softness, introduce flavor depth, and present beautifully. The storage and adaptation tips ensure your mints stay fresh and sharable, while the FAQ section helps you troubleshoot common issues. Whether you take this recipe and make classic red‑white rounds, themed shapes, or add subtle flavor twists, it’s a wonderful canvas for holiday creativity.
In the end, these soft peppermints are more than candy—they’re nostalgic, beautiful, and surprisingly simple to make. They’re perfect for gifting, holiday parties, or just enjoying quietly by the fireside. Try a batch, test your swirl technique, and watch people’s eyes light up when they taste that first creamy, minty bite. If you’d like a printable recipe card, or help adapting it further (like sugar-free, vegan version, or fun cut-out shapes), I’d be delighted to assist. Happy mint-making and warm holiday wishes!