
Witch Hat Cookies: A Spooky Delight
A Festive Treat for Halloween
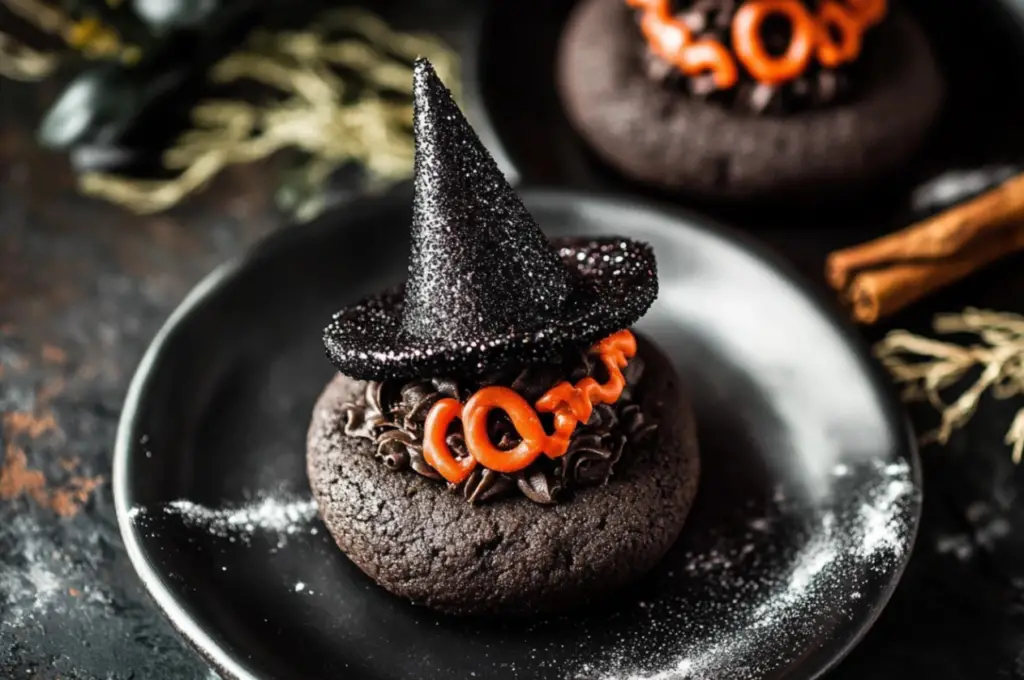
Witch Hat Cookies are the perfect Halloween treat. These delightful cookies combine rich chocolate flavors with a fun, spooky design. They make an excellent addition to any Halloween party, bringing joy and creativity to the celebration. Families can enjoy baking these together, creating memorable moments.
Creative Decorating Ideas
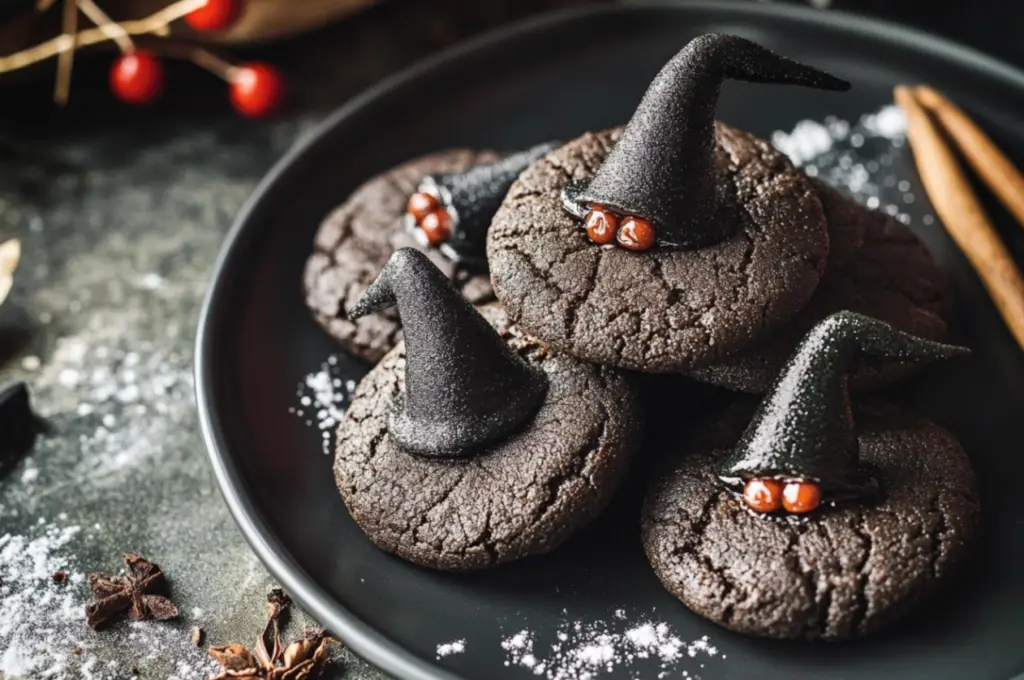
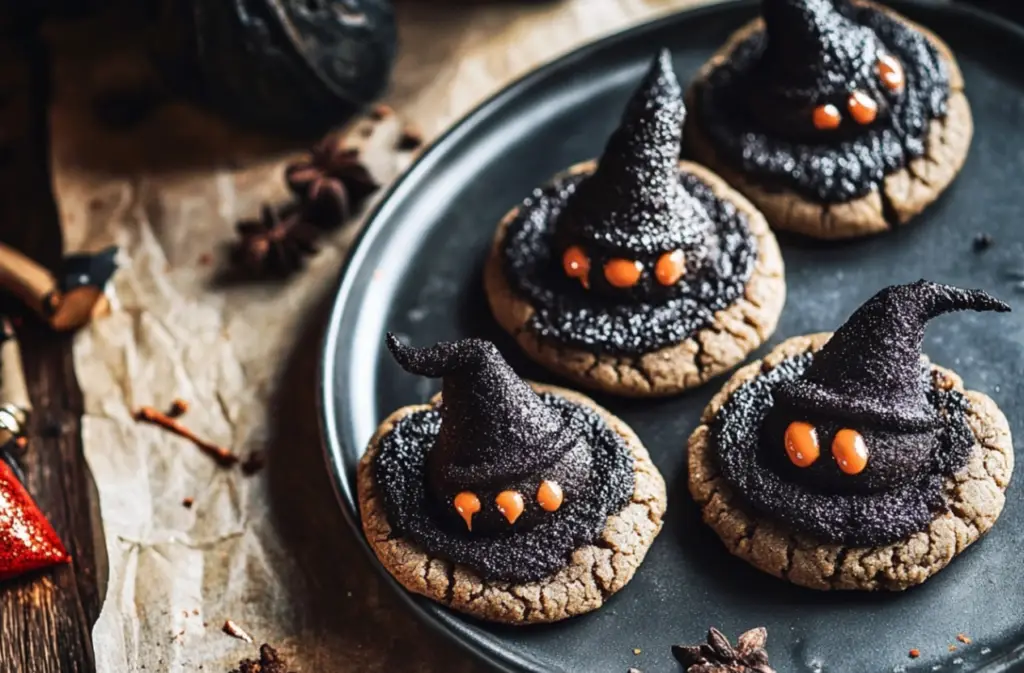
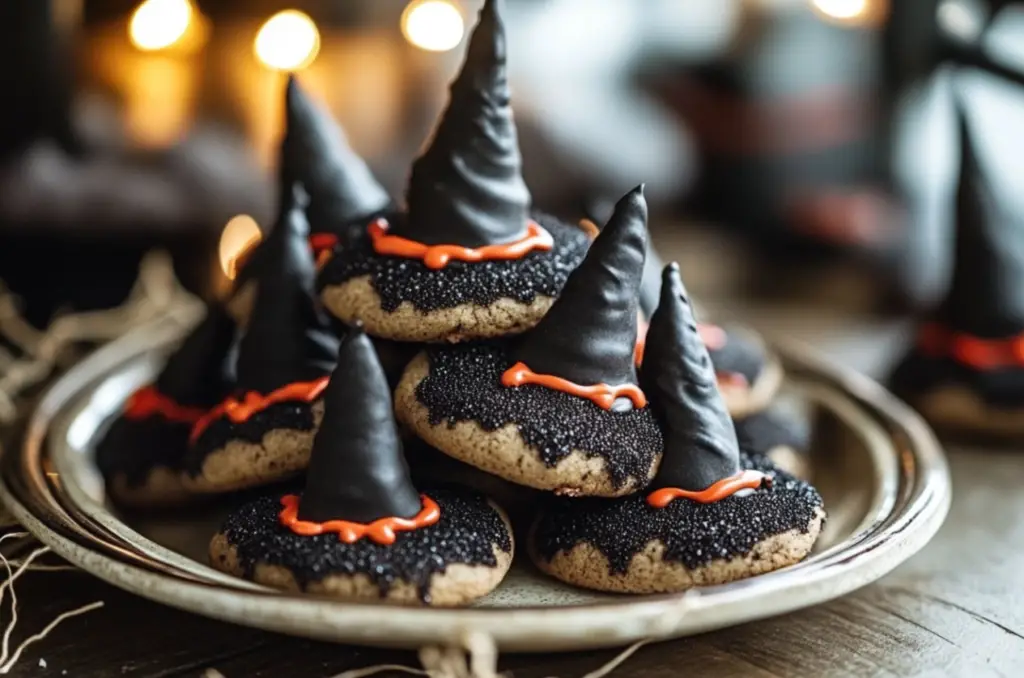
Transform your Witch Hat Cookies into edible masterpieces. Use black frosting to hold the iconic Hershey Kisses atop the cookies. For an added touch, sprinkle red rose-shaped candy sprinkles to mimic festive decorations. Explore more creative ideas in this Halloween Baking Ideas guide, which features various spooky recipes.
The Allure of Chocolate and Pumpkin
The combination of chocolate and pumpkin creates a unique flavor profile in Witch Hat Cookies. The dark brown sugar and pumpkin puree provide a moist texture that melts in your mouth. If you’re curious about enhancing your cookie-decorating skills, check out this Decorating Cookies Like a Pro resource for expert techniques.
A Memorable Halloween Tradition
Baking Witch Hat Cookies can become a cherished Halloween tradition for families. Encourage creativity by allowing kids to help with the decorating process. This interactive experience fosters a sense of community and fun, making it a delightful way to celebrate the season. Embrace the spirit of Halloween with these enchanting cookies!
Basic Recipe
Print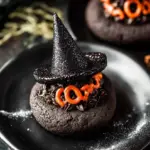
Witch Hat Cookies
- Total Time: 32 minutes
- Yield: 30 cookies 1x
- Diet: Vegetarian
Description
Fun, chocolatey cookies shaped like witch hats, topped with Hershey Kisses and decorated with spooky sprinkles.
Ingredients
- ¾ Cup salted butter
- 1½ Cups dark brown sugar (packed)
- ½ Cup pumpkin puree
- 1 egg
- 2 Teaspoons vanilla extract
- 2¼ Cups all-purpose flour
- ¼ Cup cocoa powder
- 3 Tablespoons black cocoa powder
- 2 Tablespoons cornstarch
- 1½ Teaspoons pumpkin pie spice
- 1 Teaspoon salt
- 1 Teaspoon baking soda
- ⅓ Cup black sanding sugar
- 30 Hershey Kisses (dark chocolate)
- ⅓ Cup black frosting
- 30 edible candy sprinkles (red rose shaped)
Instructions
- Preheat your oven to 350°F (175°C).
- In a large bowl, cream together the butter and dark brown sugar until light and fluffy.
- Mix in the pumpkin puree, egg, and vanilla extract until well combined.
- In another bowl, whisk together the flour, cocoa powders, cornstarch, pumpkin pie spice, salt, and baking soda.
- Gradually add the dry ingredients to the wet mixture, stirring until a dough forms.
- Chill the dough in the refrigerator for 30 minutes.
- Roll the dough into balls and place them on a baking sheet.
- Bake for 10-12 minutes until set. Let cool slightly.
- Once cooled, place a Hershey Kiss on top of each cookie and pipe black frosting around it.
- Finish by adding red rose-shaped candy sprinkles for a festive touch.
Notes
Tips for perfect cookies.
- Prep Time: 20 minutes
- Cook Time: 12 minutes
- Category: Dessert
- Method: Baking
- Cuisine: American
Nutrition
- Serving Size: 1 cookie
- Calories: 150
- Sugar: 10g
- Sodium: 100mg
- Fat: 7g
- Saturated Fat: 4g
- Unsaturated Fat: 2g
- Trans Fat: 0g
- Carbohydrates: 20g
- Fiber: 1g
- Protein: 2g
- Cholesterol: 20mg
Keywords: Witch Hat Cookies
STEPS
Step 1
Step 2
Step 3
Step 4
Step 5

Advanced Techniques for Witch Hat Cookies
Achieving the Perfect Texture
When making Witch Hat Cookies, achieving the ideal texture is crucial. For a chewy cookie, be sure not to overmix the dough. If you prefer a crispier texture, slightly extend the baking time. Experiment with the ratios of all-purpose flour and cocoa powder to fine-tune your desired consistency.
Decorating with Flair
Elevate your Witch Hat Cookies by mastering decorating techniques. Use a piping bag for the black frosting to create clean lines and designs. Consider adding edible glitter or sprinkles for a festive touch. For tips on perfecting your decorating skills, check out this Healthy Baking Substitutes resource.
Flavor Variations to Try
Don’t hesitate to explore flavor variations for your Witch Hat Cookies. You can add spices like cinnamon or nutmeg to enhance the pumpkin flavor. Alternatively, incorporate different types of chocolate for a twist on the classic recipe. These modifications can add excitement and creativity to your baking routine.
Baking Tips for Consistent Results
Consistency is key in baking. Use an oven thermometer to ensure your oven is at the right temperature. Additionally, always measure ingredients accurately to avoid unexpected results. By following these tips, you can create delicious Witch Hat Cookies that impress family and friends every time.
Maintenance Tips for Witch Hat Cookies
Storing Your Cookies
Proper storage is essential for keeping your Witch Hat Cookies fresh. Place them in an airtight container at room temperature. This method helps maintain their chewy texture and flavor for several days. If you prefer, you can also refrigerate them, but allow them to come to room temperature before serving.
Freezing for Later Enjoyment
If you want to save some Witch Hat Cookies for later, freezing is an excellent option. Wrap each cookie individually in plastic wrap, then place them in a freezer-safe bag. This way, they will stay fresh for up to three months. When you’re ready to enjoy them, simply thaw them at room temperature.
Reheating Tips
To revive the original flavor of your cookies, reheating is a great idea. Preheat your oven to 350°F (175°C). Place the cookies on a baking sheet for about 5-10 minutes. This method will help restore their delicious softness. Avoid using the microwave, as it can make the cookies chewy instead of soft.
Enhancing Presentation
When serving Witch Hat Cookies, presentation matters. Arrange them on a festive platter and consider adding themed decorations like Halloween confetti. This will enhance their visual appeal and create an inviting atmosphere for your guests. Use these tips to ensure your Witch Hat Cookies are not only tasty but also eye-catching!
Dietary Adaptations for Witch Hat Cookies
Gluten-Free Options
For those with gluten sensitivities, Witch Hat Cookies can be made gluten-free. Simply substitute all-purpose flour with a gluten-free blend. Ensure the blend includes xanthan gum for the best texture. This adaptation allows everyone to enjoy these festive treats without worry.
Vegan Variations
To create vegan Witch Hat Cookies, replace the egg with a flaxseed or chia seed substitute. Combine one tablespoon of flaxseed meal or chia seeds with three tablespoons of water. Let it sit for a few minutes until it thickens. Additionally, use plant-based butter and dairy-free chocolate for a delicious vegan version.
Reducing Sugar Content
If you’re looking to cut back on sugar, consider using a sugar substitute. Stevia or erythritol can work well in this recipe. Keep in mind that these substitutes can affect the texture, so experiment to find the right balance. Adjusting the sweetness can make these cookies a more health-conscious choice.
Allergy-Friendly Adaptations
For those with nut allergies, check that your ingredients are nut-free. You can also substitute the pumpkin puree with applesauce for a different flavor. These adaptations ensure that Witch Hat Cookies remain inclusive for everyone at your gathering.
By making these dietary adaptations, you can enjoy Witch Hat Cookies without compromising on taste or fun!
FAQs About Witch Hat Cookies
What Types of Chocolate Can I Use?
You can definitely use different types of chocolate for your Witch Hat Cookies. While dark chocolate Hershey Kisses are classic, feel free to experiment with milk chocolate or even white chocolate. Each variety adds a unique twist to the flavor profile.
Can I Substitute Pumpkin Puree?
If you don’t have pumpkin puree on hand, applesauce is a great alternative. It provides moisture while keeping the cookies soft. However, this change will slightly alter the taste of your Witch Hat Cookies.
How Can I Prevent Cookies from Spreading?
To prevent your Witch Hat Cookies from spreading too much while baking, chill the dough for at least 30 minutes before baking. This step allows the butter to firm up, resulting in thicker cookies. Also, ensure you’re measuring your ingredients accurately to maintain the right balance.
What Is the Best Way to Decorate Them?
For decorating, use a piping bag to create precise designs with black frosting. Adding sprinkles right after applying the frosting helps them stick better. Feel free to get creative with the decorations, as this enhances the spooky appeal of your cookies.
How Long Do They Last?
Witch Hat Cookies can last up to a week when stored in an airtight container at room temperature. If you freeze them, they can stay fresh for up to three months. This makes them perfect for preparing in advance for Halloween gatherings!
Conclusion and Final Thoughts on Witch Hat Cookies
Embrace the Fun of Baking
Witch Hat Cookies are not only delicious but also a fun way to celebrate Halloween. By baking these cookies, you can create lasting memories with family and friends. The process encourages creativity, especially when it comes to decorating.
A Treat for All Occasions
These cookies can be enjoyed at various events beyond Halloween. Consider making them for school parties, family gatherings, or simply as a festive snack. Their unique appearance and delightful taste make them a hit with everyone.
Try the Recipe Today
Now that you have all the tips and tricks, it’s time to try making Witch Hat Cookies! Gather your ingredients and let your imagination run wild. Whether you stick to the classic recipe or make your own adaptations, the result will be a delicious treat that everyone will love.
Share Your Creations
Don’t forget to share your Witch Hat Cookies with friends and family. They’re sure to be impressed by your baking skills and creativity. Plus, sharing these festive treats spreads the joy of Halloween even further! So grab your apron and start baking today!