Spooky Halloween Cookies: The Perfect Festive Treat
When it comes to festive sweets, nothing says Halloween like Halloween cookies. These spooky, fun treats are not just delicious but also perfect for celebrating the eerie season. From baking to decorating, the possibilities are endless. Whether you’re hosting a party or giving out treats, these Halloween cookies will wow your guests.
Creative Customizations for Halloween Cookies
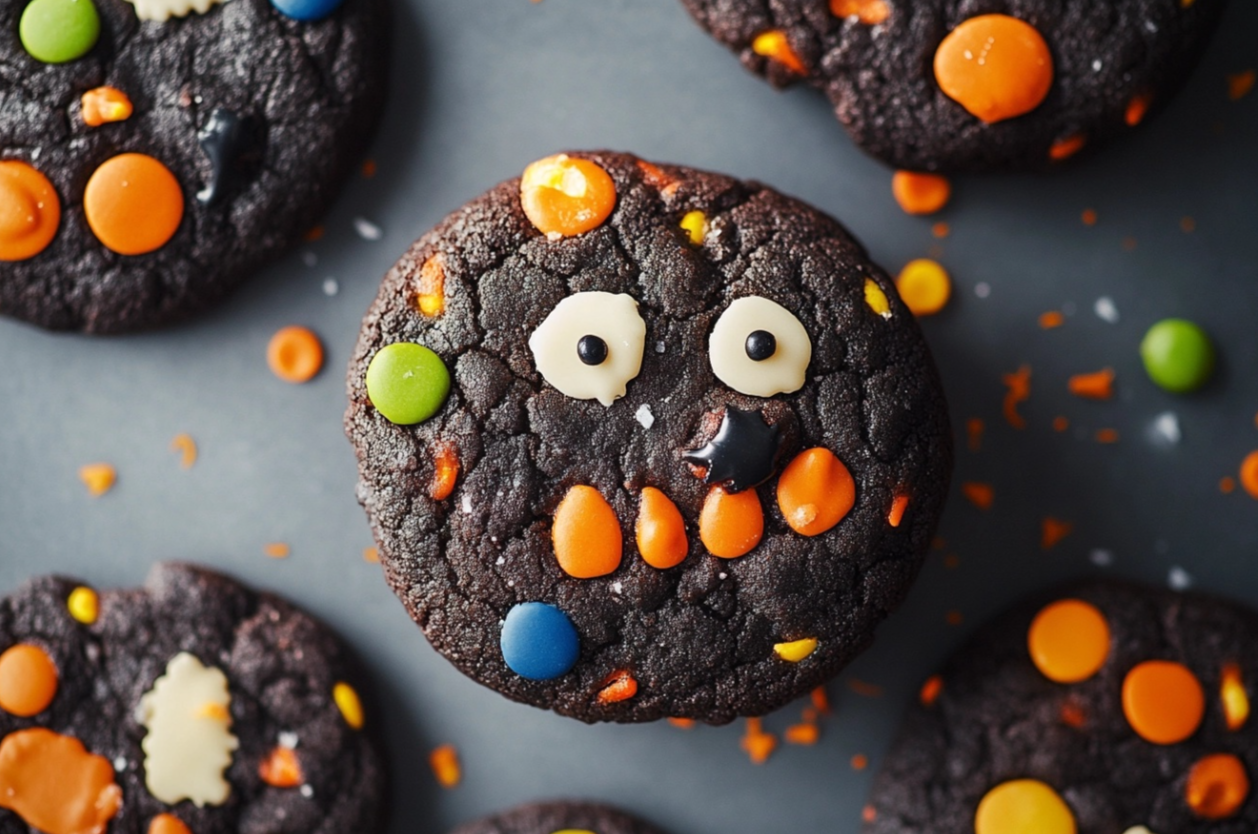
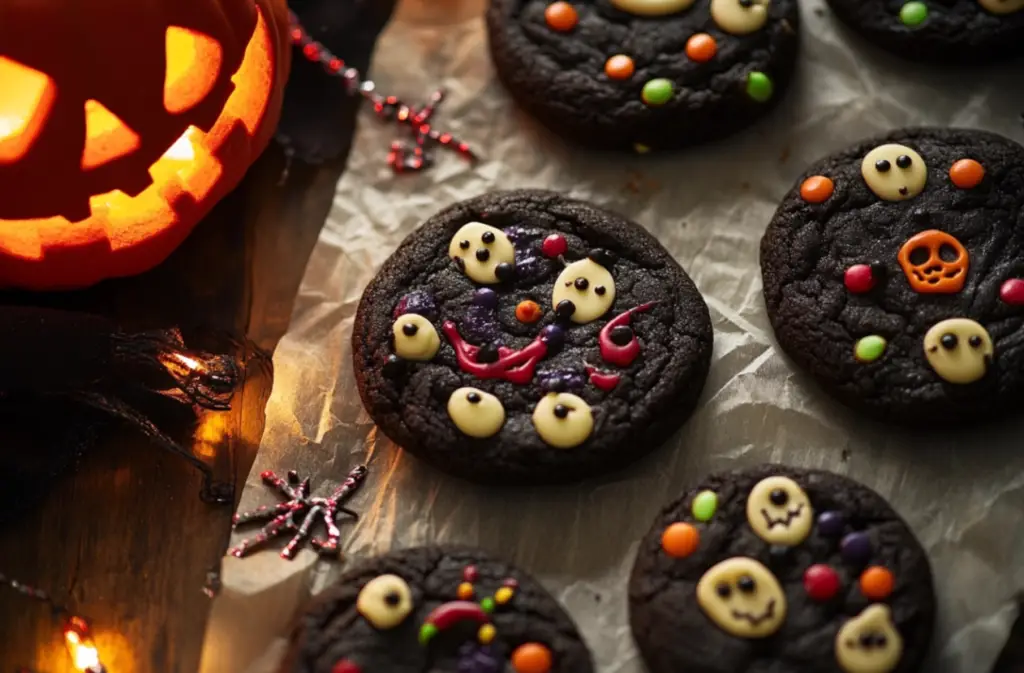
The beauty of Halloween cookies lies in the creative designs. You can add all sorts of spooky touches, such as candy eyeballs or colorful M&Ms. These cookies can be customized with orange, black, or purple decorations, bringing that eerie vibe to life. If you’re looking for more inspiration, check out these Top 40 Halloween Cookie Recipes for fresh ideas.
Halloween Cookies for All Ages
These cookies are not just for kids. Adults enjoy them too! Soft, chewy, and decorated with a mix of Halloween candies, they bring a smile to everyone’s face. Plus, they are easy to bake and share at any gathering. If you’re into decorating, you might want to read this guide on How to Decorate Halloween Cookies for creative tips.
Perfect for Every Occasion
Whether you’re preparing for a Halloween party or making treats for the office, these cookies are an easy crowd-pleaser. Packed with flavors and fun designs, they embody the spooky spirit of Halloween. You can even make vegan or gluten-free versions for those with dietary restrictions, ensuring everyone can enjoy the festive season.
The Perfect Halloween Cookie Recipe
Print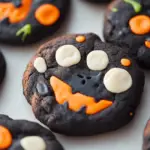
Spooky Halloween Chocolate Cookies
- Total Time: 27 minutes
- Yield: 16 cookies 1x
- Diet: Vegetarian
Description
These Halloween-themed chocolate cookies are soft, chewy, and loaded with festive candies. Perfect for parties or family gatherings, these cookies are easy to make and fun to decorate with candy eyeballs and Halloween M&Ms.
Ingredients
- 1/2 cup (113 grams) unsalted butter, at cool room temperature
- 1/2 cup (100 grams) granulated sugar
- 1/4 cup (50 grams) brown sugar
- 1 teaspoon vanilla extract
- 1 egg, at room temperature
- 1 cup (127 grams) all-purpose flour
- 1/2 cup (43 grams) black cocoa powder (or Dutch-process), sifted
- 1 tablespoon cornstarch
- 1 teaspoon fine sea salt
- 1/2 teaspoon baking soda
- 1/4 teaspoon baking powder
- 1/2 cup (85 grams) white chocolate chips, plus more for garnish
- 1 cup (218 grams) Halloween M&Ms, plus more for garnish
- Edible candy eyeballs, for garnish
Instructions
- Preheat the oven to 350°F (175°C) and line a baking sheet with parchment paper.
- In a mixing bowl, cream together the butter, granulated sugar, and brown sugar until smooth.
- Add the egg and vanilla extract, beating until fully incorporated.
- In a separate bowl, whisk together flour, cocoa powder, cornstarch, sea salt, baking soda, and baking powder.
- Gradually add the dry ingredients to the wet mixture, stirring until just combined.
- Fold in the white chocolate chips and Halloween M&Ms.
- Scoop dough onto the prepared baking sheet, about 2 tablespoons per cookie.
- Decorate with additional M&Ms and candy eyeballs.
- Bake for 10-12 minutes or until cookies are set but still soft in the center.
- Allow to cool before serving.
Notes
To ensure even baking, rotate the pan halfway through cooking. These cookies can be stored in an airtight container for up to one week.
- Prep Time: 15 minutes
- Cook Time: 12 minutes
- Category: Dessert
- Method: Baking
- Cuisine: American
Nutrition
- Serving Size: 1 cookie
- Calories: 170
- Sugar: 18g
- Sodium: 85mg
- Fat: 8g
- Saturated Fat: 5g
- Unsaturated Fat: 2g
- Trans Fat: 0g
- Carbohydrates: 23g
- Fiber: 1g
- Protein: 2g
- Cholesterol: 25mg
Keywords: Spooky Halloween Chocolate Cookies
STEPS
Step 1
Preheat the oven to 350°F (175°C) and line a baking sheet with parchment paper.
Step 2
In a mixing bowl, cream together the butter, granulated sugar, and brown sugar until smooth.
Step 3
Add the egg and vanilla extract, beating until fully incorporated.
Step 4
In a separate bowl, whisk together flour, cocoa powder, cornstarch, sea salt, baking soda, and baking powder.
Step 5
Gradually add the dry ingredients to the wet mixture, stirring until just combined.
Step 6
Fold in the white chocolate chips and Halloween M&Ms.
Step 7
Scoop dough onto the prepared baking sheet, about 2 tablespoons per cookie.
Step 8
Decorate with additional M&Ms and candy eyeballs.
Step 9
Bake for 10-12 minutes or until cookies are set but still soft in the center.
Step 10
Allow to cool before serving.
Advanced Decorating Techniques for Halloween Cookies
Creating Halloween cookies is not just about taste but also about visual appeal. The decorating process allows you to transform ordinary cookies into spooky, fun, and creative treats. Here are some advanced techniques to elevate your cookies to the next level.
Using Edible Paints and Frosting for Halloween Cookies
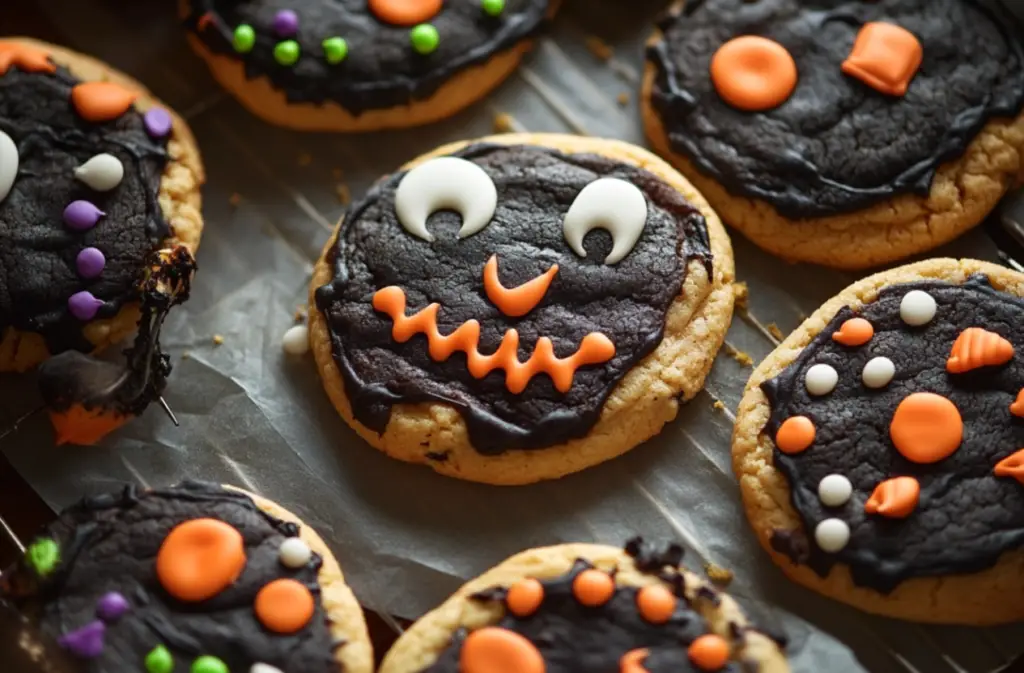
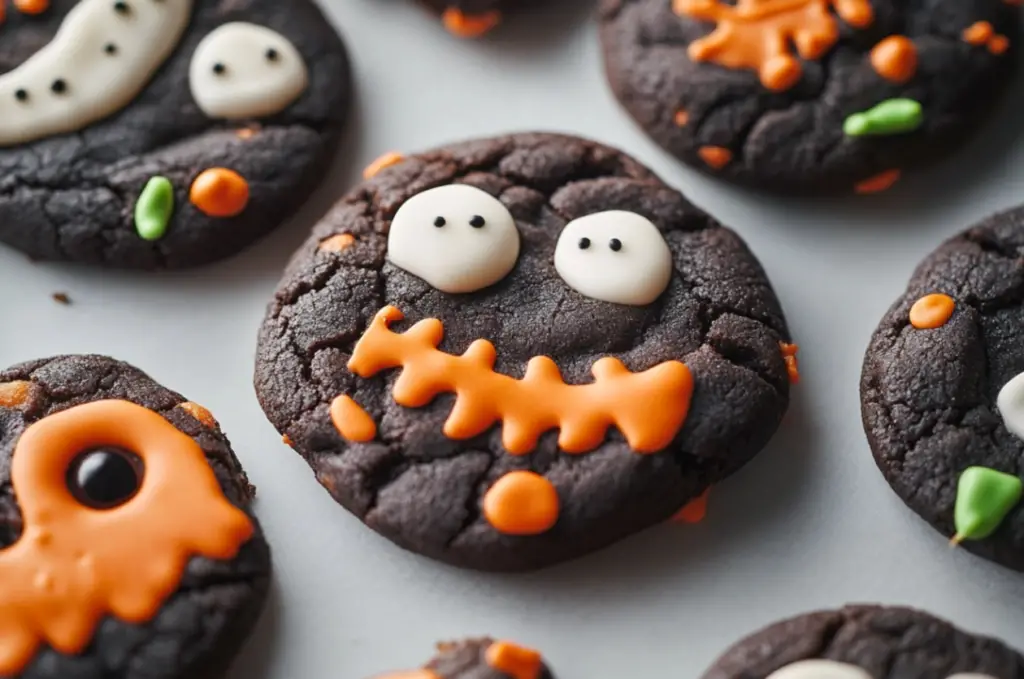
One way to make your Halloween cookies stand out is by using edible paints or icing. These products let you add fine details like spider webs, witches’ hats, and creepy creatures. Apply with a small brush for precision, and don’t forget to use Halloween-themed colors such as orange, black, and green.
Adding Texture to Halloween Cookies
For an extra layer of creativity, you can add textures to your cookies. Crushed Oreo crumbs can be sprinkled over chocolate frosting to create a “dirt” effect, perfect for graveyard-themed Halloween cookies. You can also press candy eyeballs or gummy worms into the soft dough before baking, giving your cookies a fun, interactive element.
Shaping and Molding Halloween Cookies
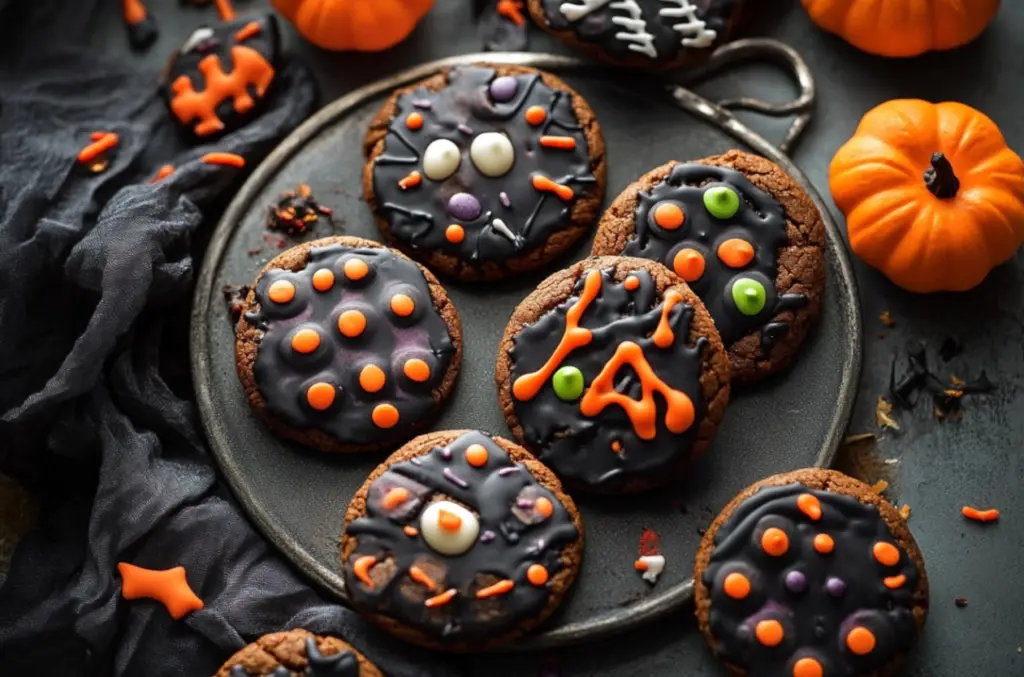
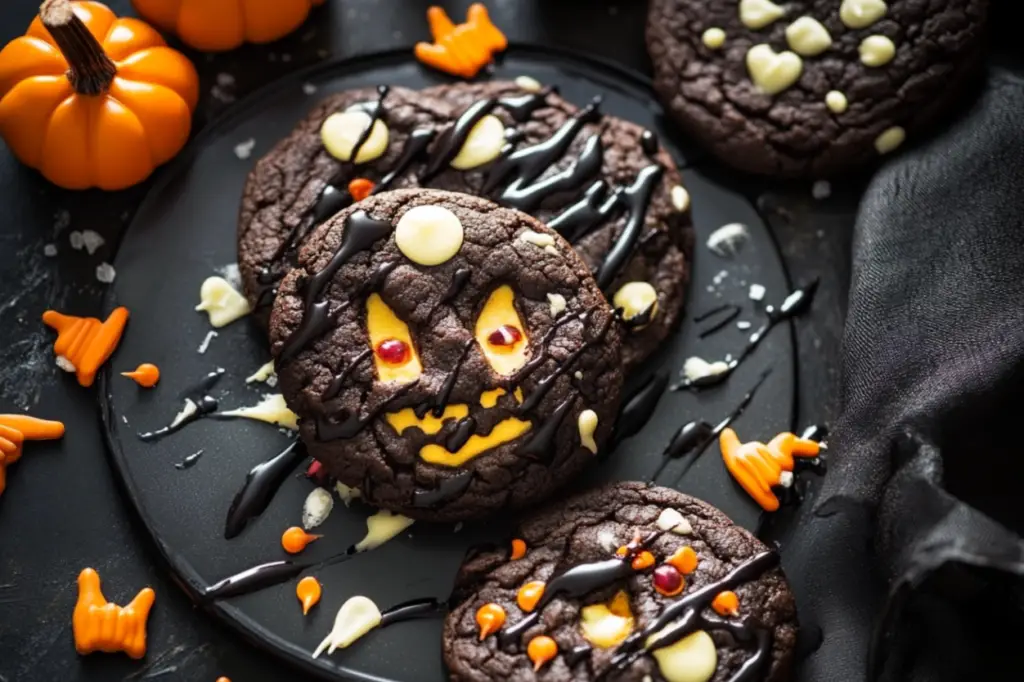
Another way to enhance your cookie designs is by shaping the dough. Roll it into different Halloween-inspired shapes like ghosts, pumpkins, or bats before baking. Cookie cutters can also be used for more intricate designs. Once baked, these cookies are ready to be decorated with colorful frosting, sprinkles, or edible glitter.
Halloween Cookies That Stand Out
By incorporating these advanced techniques, you can create Halloween cookies that truly capture the spooky spirit of the holiday. Whether for a party or a fun family activity, these cookies will leave a lasting impression.
Maintaining Freshness and Storing Halloween Cookies
Keeping Halloween cookies fresh ensures that they stay as tasty and appealing as when they first came out of the oven. Proper storage can extend their shelf life and preserve their texture.
Storing Halloween Cookies at Room Temperature
To maintain the freshness of your Halloween cookies, store them in an airtight container at room temperature. Make sure the container is tightly sealed to prevent air from drying them out. These cookies can typically last for up to a week when stored correctly. If you want to keep the cookies soft, add a slice of bread to the container — it helps retain moisture.
Freezing Halloween Cookies
If you’re preparing cookies in advance for a Halloween event, freezing is a great option. Once the cookies have cooled completely, layer them with parchment paper between each layer to avoid sticking. Store them in a freezer-safe container or ziplock bag. Halloween cookies can stay fresh in the freezer for up to three months, allowing you to enjoy them at a later date. Simply thaw them at room temperature before serving, and they’ll taste just as delicious as when they were freshly baked.
Reheating Halloween Cookies
For those who prefer warm cookies, reheating is easy. Place the cookies in the oven at 300°F for about 5 minutes. This process helps refresh the texture, making the cookies soft and chewy again. Avoid using the microwave, as it may make them tough and dry. By following these tips, your Halloween cookies will remain delightful long after they’ve been baked.
Dietary Adaptations for Halloween Cookies
Adapting Halloween cookies for different dietary needs ensures that everyone can enjoy the festive treats. Whether you’re making them gluten-free, vegan, or sugar-free, there are easy modifications you can follow.
Gluten-Free Halloween Cookies
For gluten-free Halloween cookies, simply swap out the all-purpose flour with a gluten-free alternative. A one-to-one gluten-free baking mix works best to keep the texture light and chewy. Additionally, ensure that other ingredients, such as cocoa powder and candies, are certified gluten-free. This way, your cookies will maintain the same delicious taste while being safe for those with gluten sensitivities.
Vegan Halloween Cookies
Making vegan Halloween cookies is just as simple. Replace the butter with a plant-based alternative like coconut oil or vegan margarine. Instead of eggs, use a flaxseed egg (1 tablespoon of ground flaxseed mixed with 3 tablespoons of water). Vegan chocolate chips are also widely available, ensuring you can still achieve the same rich, chocolatey flavor without any animal products.
Sugar-Free Halloween Cookies
For those looking to reduce sugar, you can easily modify the recipe to make Halloween cookies sugar-free. Substitute the granulated sugar with a sugar replacement like erythritol or monk fruit sweetener. These alternatives keep the cookies sweet but lower the overall sugar content. If you want a slightly less sweet option, you can also reduce the amount of sugar used in the recipe by half.
By making these simple changes, you can ensure your Halloween cookies cater to all dietary preferences, making them a versatile treat for everyone.
Common Mistakes and Troubleshooting Halloween Cookies
When baking Halloween cookies, even experienced bakers can face some challenges. Knowing how to troubleshoot common issues will help you achieve perfect results every time.
Cookies Spreading Too Much
One of the most frequent problems with Halloween cookies is excessive spreading during baking. This often happens when the dough is too warm. To avoid this, make sure your butter is at cool room temperature, not melted, when mixing the dough. Additionally, chilling the dough for 30 minutes before baking helps maintain the cookie shape. Using parchment paper instead of greasing the baking sheet can also reduce spreading.
Cookies Too Hard
If your Halloween cookies turn out hard instead of soft and chewy, it’s likely due to overbaking. Be sure to remove the cookies from the oven when they’re set but still soft in the center. Cookies continue to firm up as they cool, so taking them out a minute or two early ensures they stay soft. Another tip is to measure your ingredients accurately, especially the flour, as too much can lead to dry cookies.
Uneven Baking
Uneven baking is a common issue that results in some cookies being undercooked while others are overdone. To fix this, make sure your oven is fully preheated before placing the cookies inside. Rotating the baking sheet halfway through the bake time also ensures even heat distribution. For the best results, bake Halloween cookies on the middle rack of the oven to avoid overbrowning.
By keeping these troubleshooting tips in mind, your Halloween cookies will come out perfectly every time, ensuring a successful and spooky treat.
Frequently Asked Questions about Halloween Cookies
When preparing Halloween cookies, there are often a few common questions that come up. Here are answers to the most frequently asked questions, ensuring your spooky treats turn out just right.
Can I Make Halloween Cookies in Advance?
Yes, you can make Halloween cookies ahead of time. You can prepare the dough up to two days in advance and store it in the refrigerator. For longer storage, you can freeze the dough for up to three months. When ready to bake, simply thaw the dough in the fridge overnight and bake as directed. This makes it easy to plan ahead for parties or events without the last-minute rush.
What Can I Use Instead of Candy for Decorating?
If you prefer not to use candy, there are plenty of fun alternatives for decorating your Halloween cookies. Consider using colored icing, sprinkles, or edible glitter. You can also make creative designs with crushed nuts, shredded coconut, or even dried fruit. These options still give your cookies that festive flair while offering a healthier or more sophisticated twist.
How Do I Make Halloween Cookies Less Sweet?
If you’d like your Halloween cookies to be less sweet, simply reduce the amount of sugar in the recipe. You can cut the sugar by up to a third without affecting the texture too much. Another option is to swap out some of the sweet toppings, like candy, with more savory elements such as pretzels or nuts. This balances the flavors while keeping the festive look.
By answering these FAQs, you’ll be well-prepared to bake the best Halloween cookies for any occasion.