These Spooky Halloween Oreos are creepy, easy, and kid-approved—perfect for fast, festive Halloween snacking!
1. Introduction to the Recipe
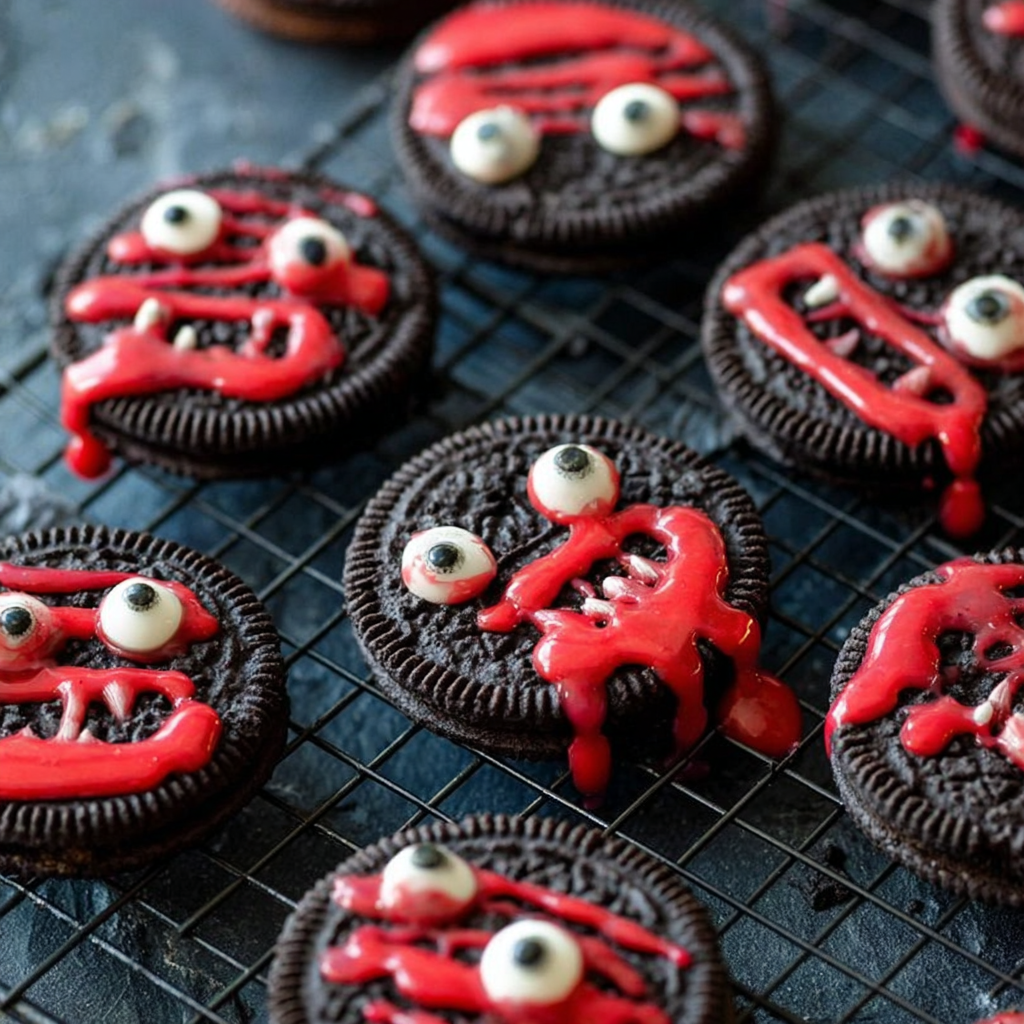
If you need a quick, creepy treat that still packs a punch on your Halloween party table, these Spooky Halloween Oreos are it. Minimal prep. Maximum impact. All you need is a pack of Oreos, candy eyes, and some red frosting to turn everyone’s favorite sandwich cookie into a gory little monster. They’re cute. They’re spooky. And they come together in under 10 minutes.
These cookies are perfect for parties, lunchbox surprises, or spooky movie night snacks. Because there’s no baking involved, they’re also a great last-minute Halloween hack for busy parents, teachers, or hosts. You can go as simple or elaborate as you like—just slap on some candy eyes and drizzle with red gel frosting for a “bloody” effect, or get creative with faces, fangs, or even zombie mouths.
Want more ideas for Oreo-based Halloween treats? Check out these Halloween Oreo crafts or this spooky dessert roundup.
Let’s get decorating.
2. Basic Recipe: Ingredients and Instructions
Print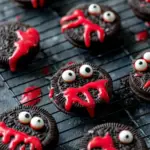
Spooky Halloween Oreos Recipe – Easy and Fun Treats
Description
These Spooky Halloween Oreos are creepy, easy, and kid-approved—perfect for fast, festive Halloween snacking!
Ingredients
- 1 package of Oreos (any variety)
- Candy eyes
- Solid red decorating frosting (tube style)
- Red gel decorating frosting (for blood effect)
Instructions
- Open the Oreos: Lay the cookies on a flat surface. You can use full cookies or carefully twist them apart to decorate the cream side.
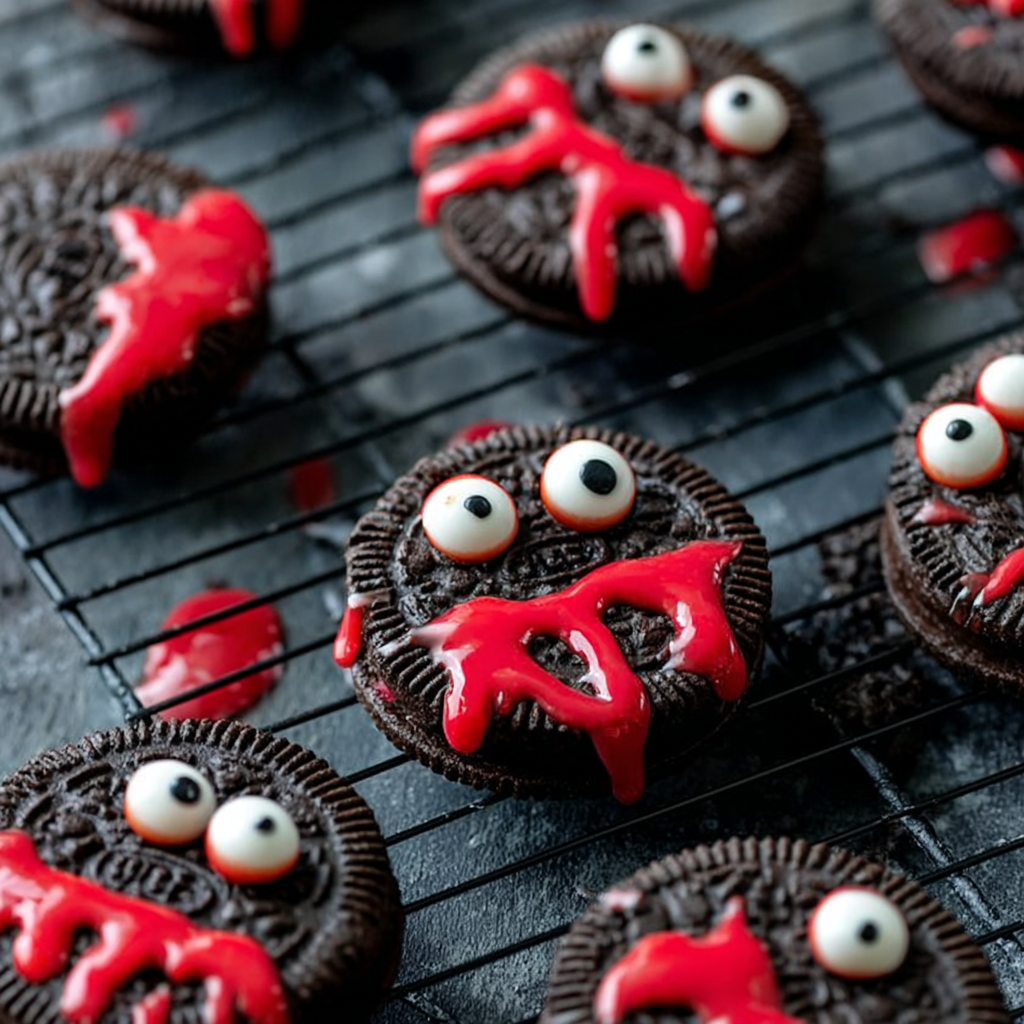
- Attach candy eyes: Use a small dab of solid red frosting as “glue” to stick the candy eyes onto the cookie tops or cream filling.
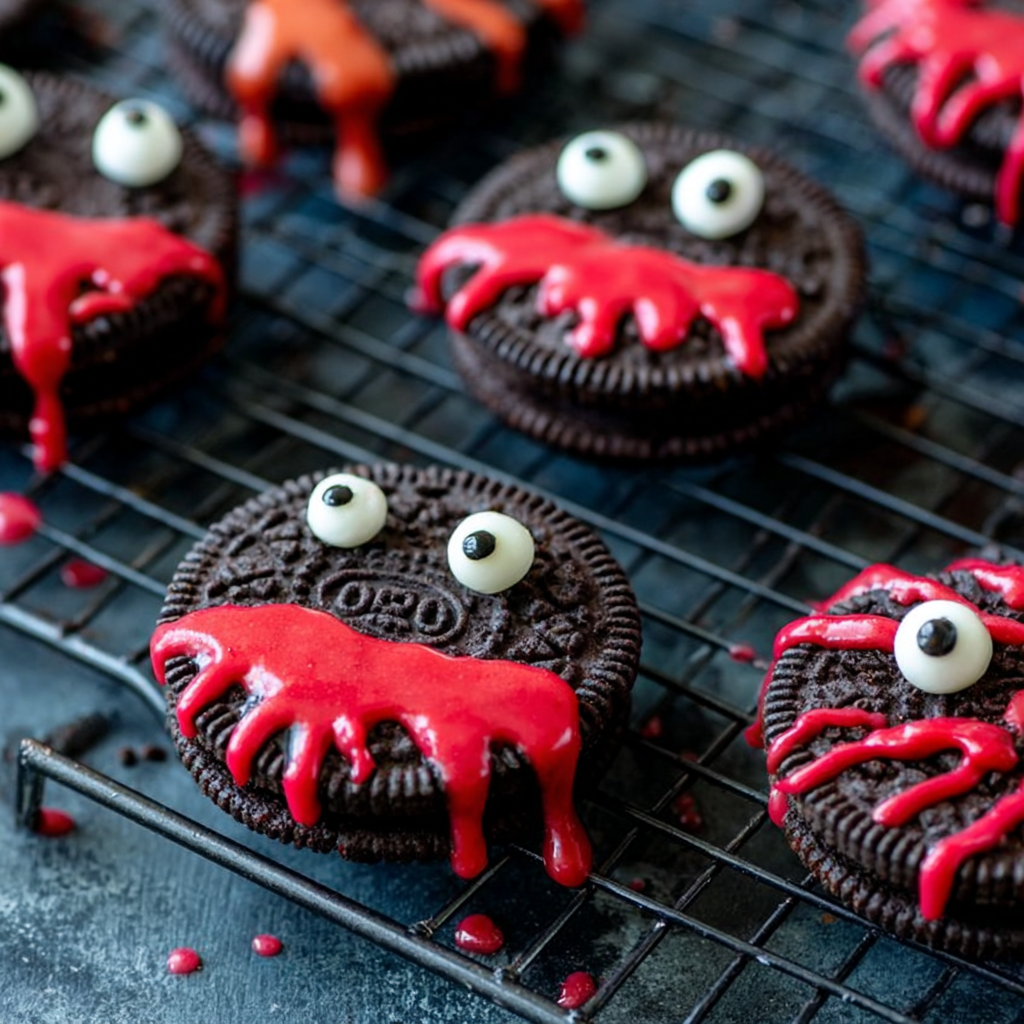
- Add blood: Use the red gel frosting to drip around the eyes, mouth area, or edges of the cookies to create a bleeding effect.
- Let set: Allow the frosting to set for a few minutes. Place decorated Oreos on a tray or in mini cupcake liners for easy serving.
- Serve or store: Enjoy immediately or store in a cool, dry place until party time.
Notes
Use double-stuffed Oreos if adding decorations to the cream side.
Let the kids decorate their own cookies—it’s a great activity!
Add gummy fangs or broken pretzels for arms if making mini monsters.
3. Advanced Techniques
Make Oreo Mummies
Instead of eyes and blood, use white chocolate or melted white candy melts to drizzle “bandages” over the top of each Oreo. Place two eyes peeking through for a spooky mummy effect.
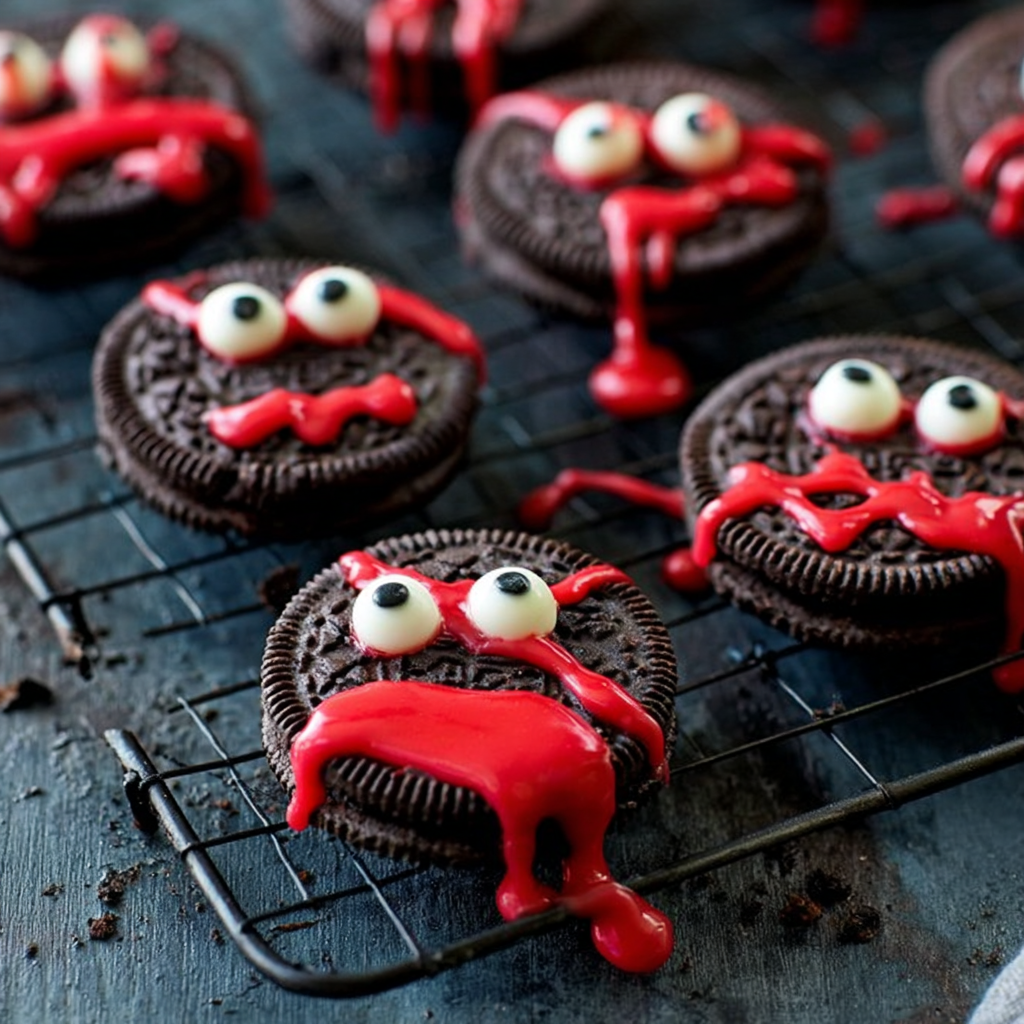
DIY Monster Faces
Get creative with expressions—use mini chocolate chips for mouths, draw stitches or scars with colored frosting, or use edible markers to sketch faces.
Use Oreo Thins for Bite-Sized Ghouls
Make mini versions using Oreo Thins. These are great for kids or for party platters where guests just want a little sweet bite.
Create a Halloween Oreo Graveyard Tray
Place decorated Oreos upright in chocolate pudding “dirt” and add cookie tombstones, candy pumpkins, and gummy worms for a themed dessert display.
Dip and Decorate
Dip the entire Oreo in red candy melts or white chocolate, then decorate the surface with eyes and gel for a more polished (and messier) finish.
4. Storage, Shelf Life, and Maintenance Tips
Room Temperature Storage
Keep decorated Oreos in an airtight container at room temp for up to 5 days. Avoid stacking unless using parchment paper between layers.
Avoid Humidity
Humidity can cause the candy eyes and gel frosting to bleed or slide. Store in a cool, dry area to maintain decorations.
Transporting for Parties
Use mini muffin liners in a cupcake box to keep Oreos upright and separate. This prevents smudging and keeps them looking clean.
Fridge Storage (Short-Term Only)
If necessary, store in the fridge for up to 2 days. Let come to room temp before serving for best taste and texture.
Make-Ahead Prep
You can prepare decorations a day or two in advance. Keep in a sealed container and avoid direct sunlight or heat.
5. Dietary Adaptations and Substitutions
Gluten-Free Version
Use gluten-free sandwich cookies like Glutino or Oreo’s GF version. Most candy eyes and gel frostings are gluten-free but double-check labels.
Vegan Option
Standard Oreos are accidentally vegan, but verify frosting and decorations are animal-product free. Use vegan-friendly candy eyes and gel.
Low-Sugar Option
Use sugar-free sandwich cookies or low-sugar chocolate cookies. Create “eyes” with mini stevia-sweetened chocolate chips pressed into a frosting dot.
Nut-Free Safe
Oreos are generally nut-free, but check for facility cross-contamination warnings if needed. Use nut-free frosting brands for safety.
Food Coloring Sensitivities
Use natural red coloring options or fruit-based gel frostings if avoiding artificial dyes. Some brands offer beet-based red gels.
6. FAQs About the Recipe
Can I use homemade cookies instead of Oreos?
Absolutely. Any flat, round cookie with a smooth top will work. Sugar cookies or chocolate shortbread are great substitutes.
How long do they last after decorating?
They stay fresh for up to 5 days if stored properly. Gel frosting may soften over time but will still look spooky!
What’s the best frosting for sticking decorations?
Tube-style decorating frosting works best as it’s thicker. Avoid thin icing or whipped frosting—they won’t hold candy eyes in place.
Can I freeze decorated Oreos?
Not recommended. Freezing can cause the cookies to crack and frosting to separate or run when thawed.
Are these safe for classroom treats?
Yes, if using allergy-safe ingredients. Pack individually in clear treat bags for an easy grab-and-go option.
7. Conclusion & Final Thoughts
Spooky Halloween Oreos are the ultimate low-effort, high-impact treat. They’re festive, flexible, and fun for all ages. Whether you’re decorating them with a classroom, prepping snacks for a Halloween movie night, or looking for a quick addition to your dessert table, these creepy cookies never fail to impress.
You don’t need baking skills or special tools—just a little frosting, some candy eyes, and a sense of spooky fun. From mummy cookies to bloody bites, these Oreos can wear many Halloween disguises. Get creative with the designs, or keep it classic and simple.
They’re also a great kid-friendly kitchen activity. Let little hands stick on eyes, drizzle “blood,” and build their own edible monsters. Just be prepared for a little mess—and a lot of giggling.
Fast, fun, and frighteningly festive—Spooky Halloween Oreos deserve a spot at every haunted table this season.