Halloween Peanut Butter Spider Cookies: The Ultimate Halloween Treat
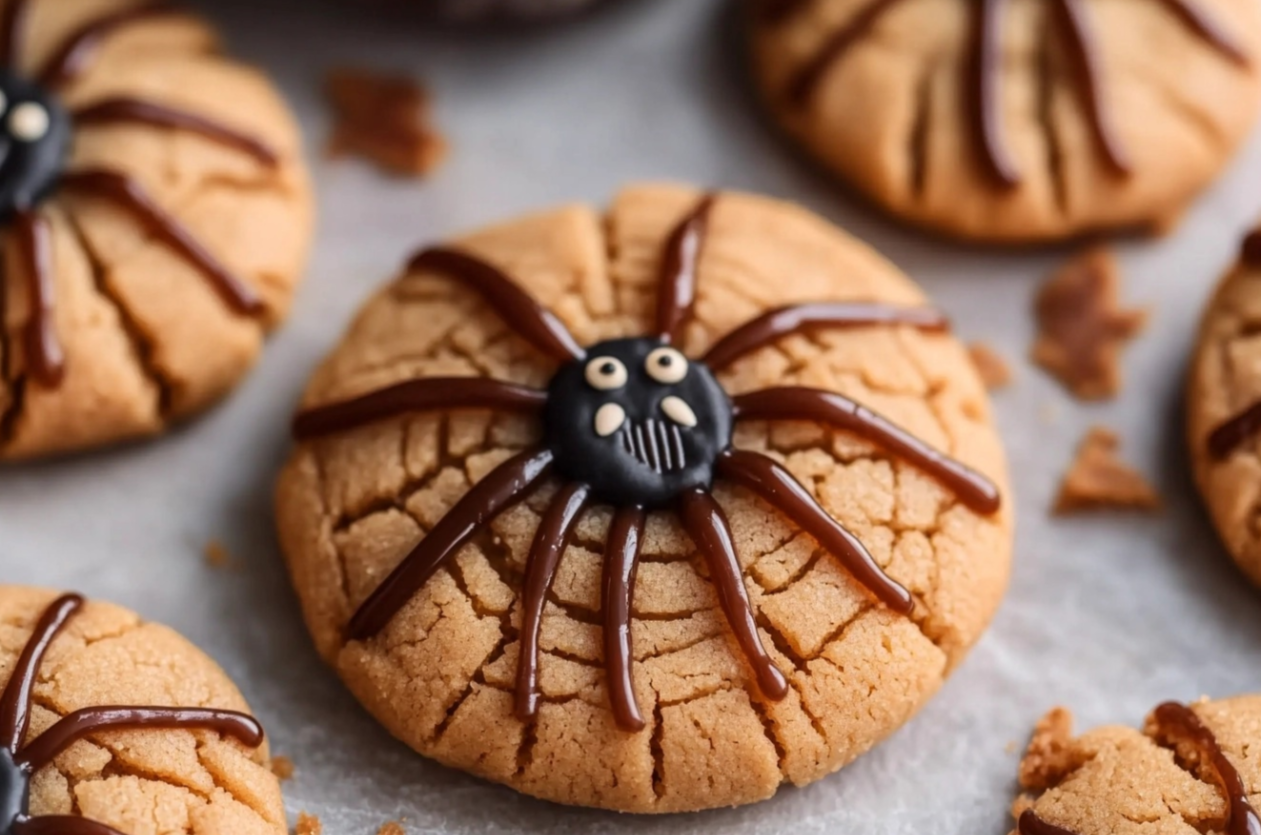
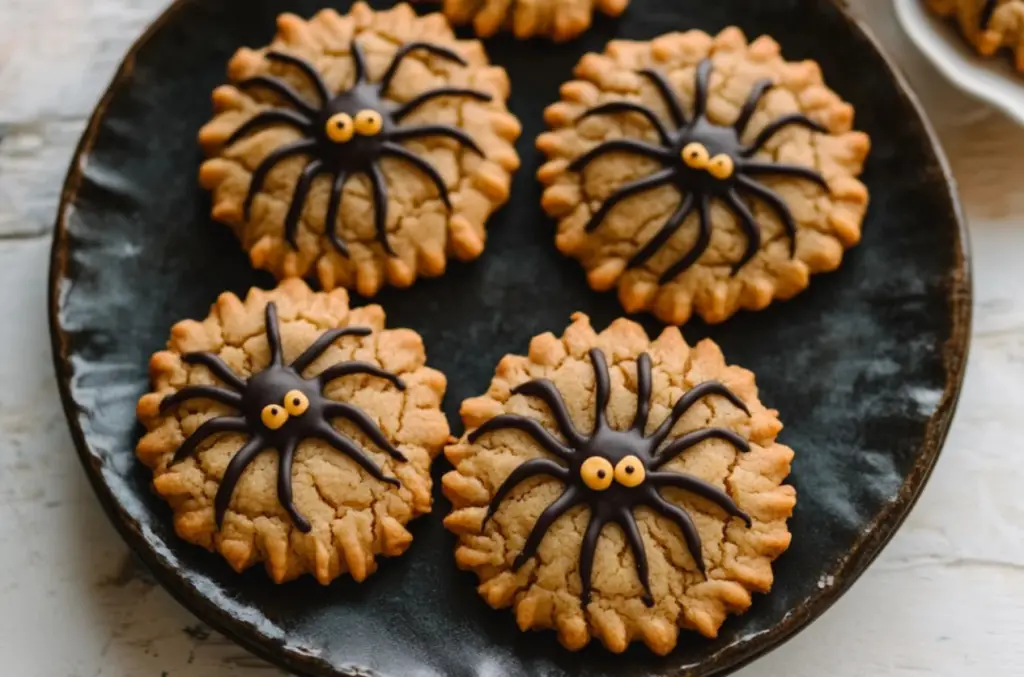
Halloween is the perfect time to get creative in the kitchen, and Halloween Peanut Butter Spider Cookies are just the spooky treat you need. These cookies combine the rich taste of peanut butter with a fun, spider-themed twist. Whether you’re hosting a Halloween party or looking for a fun family activity, these cookies will steal the show.
Why These Spider Cookies Are a Must-Make
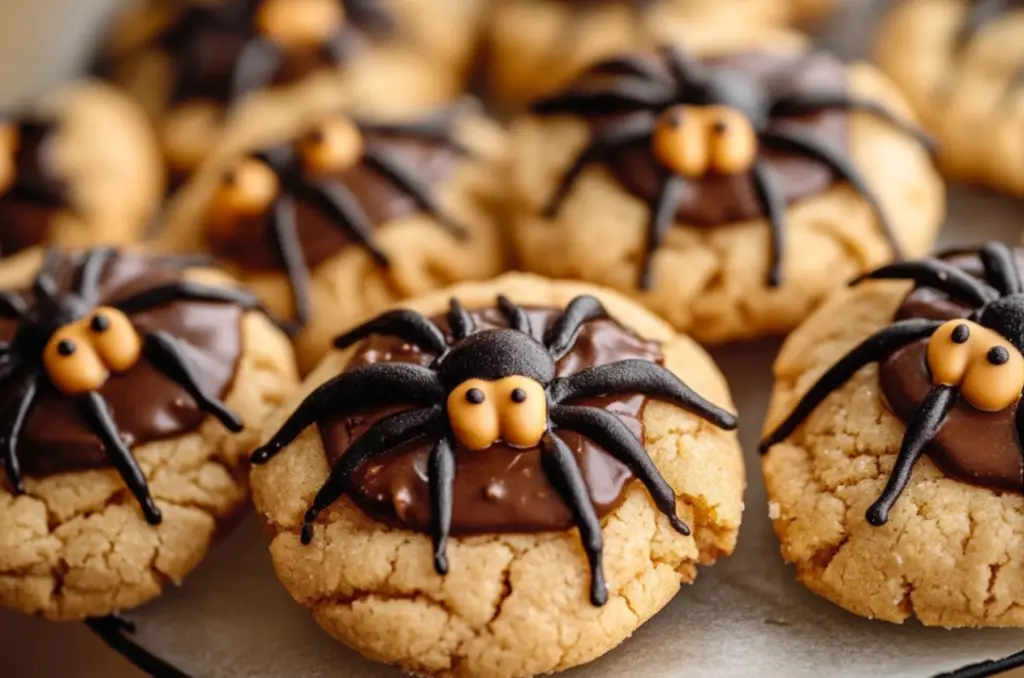
The soft, chewy texture of Halloween Peanut Butter Spider Cookies makes them irresistible. With a balance of sweetness from the Reese’s Peanut Butter Cups and the fun decoration of chocolate spider legs and candy eyes, they offer a treat that both kids and adults will love. For more ideas on how to bring festive treats to your party, check out these Halloween dessert inspirations.
The Appeal of Halloween-Themed Baking
There’s something special about creating themed treats for the holidays. These cookies are easy to make, even if you’re not an experienced baker. Plus, decorating them is a fun and creative process. You don’t have to stop at spider cookies—discover more peanut butter goodness by exploring other peanut butter recipes here.
Perfect for Parties and Celebrations
Halloween peanut butter spider cookies not only look great on your table but they also taste incredible. Their soft peanut butter base combined with the gooey chocolate decoration makes for the perfect treat to impress your guests. If you’re looking to master the art of cookie decorating, this guide has all the tips you need to make your cookies stand out.
These spooky cookies are a must for anyone looking to add some delicious fun to their Halloween lineup!
Recipe: Halloween Peanut Butter Spider Cookies
Print
Halloween Peanut Butter Spider Cookies
- Total Time: 25 minutes
- Yield: 18 cookies 1x
Description
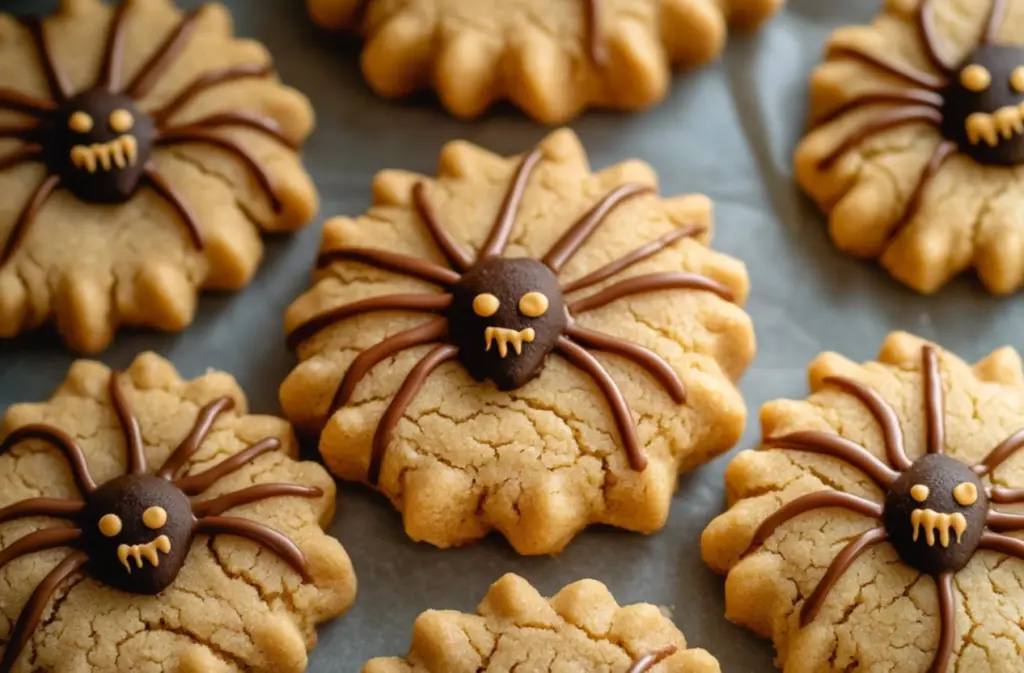
Soft, chewy peanut butter cookies topped with Reese’s Peanut Butter Cups and decorated with chocolate spider legs and candy eyes to create spooky, delicious spider cookies perfect for Halloween!
Ingredients
- ⅔ cup flour
- ½ teaspoon baking soda
- ¼ teaspoon salt
- ¼ cup butter
- 2 Tablespoons white sugar, plus extra for rolling
- 2 Tablespoons brown sugar
- ⅓ cup Peanut butter
- 1 egg
- 1 teaspoon vanilla
- 18 mini Reese’s Peanut butter cups
- ¼ cup chocolate chips
- 1 Tablespoon butter
- 36 candy eyes
Instructions
- Preheat oven to 350°F (175°C).
- In a bowl, mix flour, baking soda, and salt. Set aside.
- In a separate bowl, cream together butter, white sugar, and brown sugar until smooth.
- Add peanut butter, egg, and vanilla, and mix until combined.
- Gradually add the flour mixture and mix until dough forms.
- Roll dough into 1-inch balls, then roll in extra sugar.
- Place on baking sheet and bake for 8–10 minutes until lightly golden.
- While cookies are still warm, press a mini Reese’s cup into the center of each.
- Melt chocolate chips and butter, and pipe legs onto the sides of the Reese’s cup to form a spider.
- Place candy eyes on the Reese’s cup using the melted chocolate as glue.
Notes
Let cookies cool completely before serving for best results.
- Prep Time: 15 minutes
- Cook Time: 10 minutes
- Category: Dessert
- Method: Baking
- Cuisine: American
Nutrition
- Serving Size: 1 cookie
- Calories: 150
- Sugar: 12g
- Sodium: 70g
- Fat: 8g
- Saturated Fat: 4g
- Unsaturated Fat: 3g
- Trans Fat: 0g
- Carbohydrates: 18g
- Fiber: 1g
- Protein: 3g
- Cholesterol: 15mg
Keywords: Halloween Peanut Butter Spider Cookies
STEPS
Step 1
Gather all ingredients.
Step 2
Preheat oven to 350°F (175°C).
Step 3
In a bowl, mix flour, baking soda, and salt. Set aside.
Step 4
In a separate bowl, cream together butter, white sugar, and brown sugar until smooth.
Step 5
Add peanut butter, egg, and vanilla, and mix until combined.
Step 6
Gradually add the flour mixture and mix until dough forms.
Step 7
Roll dough into 1-inch balls, then roll in extra sugar.
Step 8
Place on baking sheet and bake for 8–10 minutes until lightly golden.
Step 9
While cookies are still warm, press a mini Reese’s cup into the center of each.
Step 10
Melt chocolate chips and butter, and pipe legs onto the sides of the Reese’s cup to form a spider.
Step 11
Place candy eyes on the Reese’s cup using the melted chocolate as glue.
Advanced Techniques for Perfect Halloween Peanut Butter Spider Cookies
Shaping the Perfect Cookie
To achieve consistent sizes for Halloween Peanut Butter Spider Cookies, rolling the dough evenly is crucial. Use a small cookie scoop or measure out the dough into 1-inch balls. This ensures that every cookie bakes evenly and has the same soft, chewy texture. When rolling the dough in sugar before baking, coat the entire surface for a deliciously sweet crunch with every bite.
Mastering the Spider Decoration
The decoration process is where these cookies truly come to life. Once the cookies come out of the oven, press the mini Reese’s Peanut Butter Cups into the center while the cookies are still warm. This allows the chocolate to soften slightly, making it easier to attach the candy eyes and pipe the chocolate legs. Melt your chocolate chips slowly in the microwave or over a double boiler, stirring frequently to avoid burning. Pipe thin, even lines for the spider legs to create a spooky but neat appearance.
Handling and Piping Chocolate
Piping chocolate can be tricky, but with a little practice, you’ll get it right. Place the melted chocolate in a piping bag with a fine tip, or use a plastic sandwich bag with a small corner snipped off. Steady your hand while piping to create smooth, defined legs. For precision, start at the base of the peanut butter cup and gently draw outward. Make sure the chocolate sets completely before serving or storing the cookies to avoid smudging.
Perfecting these advanced techniques will elevate your Halloween Peanut Butter Spider Cookies, ensuring they not only taste amazing but look incredible too!
Maintenance and Storage Tips for Halloween Peanut Butter Spider Cookies
Storing the Cookies for Freshness
To keep your Halloween Peanut Butter Spider Cookies fresh, store them in an airtight container at room temperature. They’ll stay soft and delicious for up to five days. Make sure the chocolate decorations have fully set before stacking them. If you’re planning to make them ahead of time, consider placing parchment paper between each layer of cookies to prevent the chocolate from smudging or sticking.
Freezing the Cookie Dough
If you’re tight on time, freezing the dough is a great option. After rolling the dough into balls, place them on a baking sheet and freeze for about an hour until firm. Once solid, transfer the dough balls to a freezer-safe bag. When you’re ready to bake, simply remove the desired amount and let the dough thaw at room temperature for a few minutes before rolling in sugar and baking. Frozen Halloween Peanut Butter Spider Cookies dough can last for up to three months, making it an excellent make-ahead solution for busy schedules.
Transporting the Decorated Cookies
If you need to take your Halloween Peanut Butter Spider Cookies to a party or gathering, careful transport is key to keeping the decoration intact. Use shallow containers with enough space between the cookies so that they don’t bump into each other. For extra protection, consider wrapping each cookie individually in plastic wrap or wax paper, ensuring that the spider legs and candy eyes remain in place.
With these tips, your spooky cookies will stay fresh and look perfect, whether you’re serving them immediately or saving them for a later date!
Dietary Adaptations for Halloween Peanut Butter Spider Cookies
Gluten-Free Version
For those with gluten sensitivities, you can easily adapt Halloween Peanut Butter Spider Cookies to be gluten-free. Simply swap out the regular flour with a high-quality gluten-free flour blend. Make sure to use a 1:1 ratio to maintain the cookie’s chewy texture. Additionally, check that the Reese’s Peanut Butter Cups and other candy decorations are gluten-free, as some brands may contain traces of gluten.
Dairy-Free Adaptation
If you’re catering to a dairy-free diet, it’s easy to modify this recipe. Substitute the regular butter with a plant-based or vegan butter alternative. Choose a dairy-free chocolate brand for the spider legs and eyes. With these simple swaps, your Halloween Peanut Butter Spider Cookies will still have the same delicious flavor and appearance, making them perfect for those avoiding dairy.
Lower-Sugar Options
For those looking to reduce sugar intake, you can make a few adjustments to the recipe without losing flavor. Replace the white and brown sugar with a natural sweetener such as coconut sugar, or use a sugar substitute like stevia or monk fruit. Be mindful that these alternatives may slightly change the cookie’s texture, but they still create a tasty, healthier version of Halloween Peanut Butter Spider Cookies.
By making these dietary adaptations, you can ensure that everyone, regardless of their dietary restrictions, can enjoy these spooky and delicious treats. With just a few easy adjustments, you can turn this recipe into a gluten-free, dairy-free, or lower-sugar version while still keeping the fun and flavor of Halloween Peanut Butter Spider Cookies!
FAQs: Troubleshooting Halloween Peanut Butter Spider Cookies
Why Are My Cookies Flat?
One of the most common issues with Halloween Peanut Butter Spider Cookies is flat cookies. This often happens if the butter is too warm or the dough wasn’t chilled enough before baking. To avoid this, make sure your butter is softened but not melted. Chilling the dough for 30 minutes before baking can help the cookies hold their shape and prevent spreading too much in the oven.
How Can I Make the Cookies Chewier?
For those who prefer a chewier texture, slightly underbake your Halloween Peanut Butter Spider Cookies. Remove them from the oven when the edges are just golden but the centers still appear soft. They will continue to cook as they cool, leaving you with the perfect chewy bite. Additionally, using more brown sugar than white sugar can add to the chewy texture.
Can I Use Other Candies for Decoration?
Absolutely! While mini Reese’s Peanut Butter Cups work great, you can also get creative with other candies. Try using Rolos, Hershey’s Kisses, or even small homemade truffles as the spider body. Just ensure the candy is soft enough to press into the warm cookies without breaking.
Why Are My Spider Legs Messy?
If your chocolate legs are not as neat as you’d like, the chocolate may have been too runny. To fix this, let the melted chocolate cool slightly before piping. If it still runs, try using a smaller piping tip or even a toothpick for more precise lines. This should result in cleaner spider legs for your Halloween Peanut Butter Spider Cookies.
These simple solutions will help you create flawless cookies every time!
Conclusion: Bringing Halloween Peanut Butter Spider Cookies to Life
A Fun and Delicious Halloween Treat
Making Halloween Peanut Butter Spider Cookies is more than just baking—it’s about creating something fun and memorable for Halloween. These spooky treats are not only delicious but also a hit at any gathering. The combination of soft peanut butter cookies, Reese’s Peanut Butter Cups, and creative spider decorations make them the perfect addition to your Halloween festivities.
Get Creative with Your Decorations
One of the best parts about making Halloween Peanut Butter Spider Cookies is the opportunity to get creative. Whether you follow the recipe exactly or add your own personal touch with different candies and decorations, there’s no limit to how spooky or cute your spiders can be. You can even experiment with adding colored sprinkles or edible glitter to make them stand out even more.
Perfect for Any Halloween Occasion
These cookies are perfect for Halloween parties, school events, or even as a fun family activity. The simple ingredients and easy instructions make them accessible for bakers of all levels. Plus, they’re a great way to get the kids involved in the kitchen—whether it’s rolling the dough or decorating the spiders.
In the end, Halloween Peanut Butter Spider Cookies are more than just a treat—they’re a way to bring people together and celebrate the holiday in a deliciously creative way. Enjoy making these fun and festive cookies, and share them with friends and family to spread the Halloween spirit!