Halloween Pudding Cups: A Spooky Delight
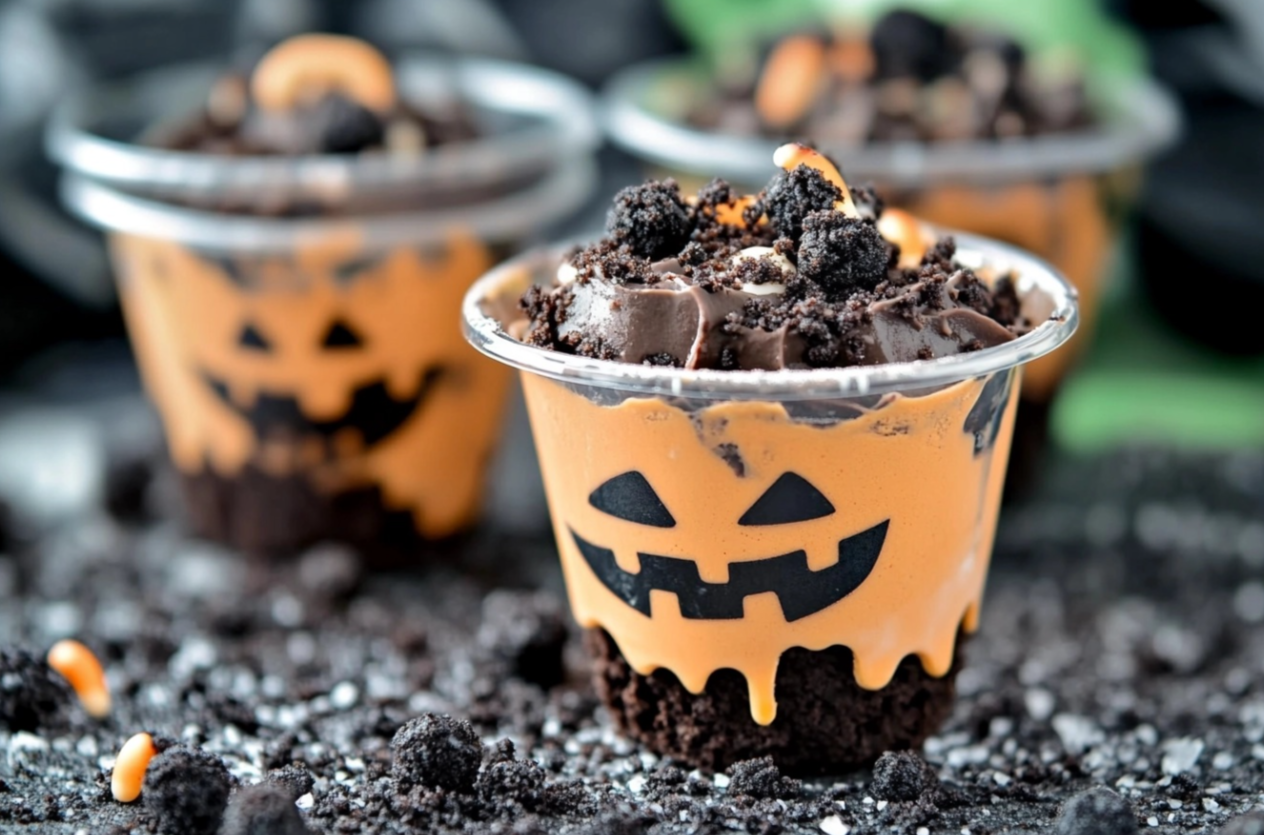
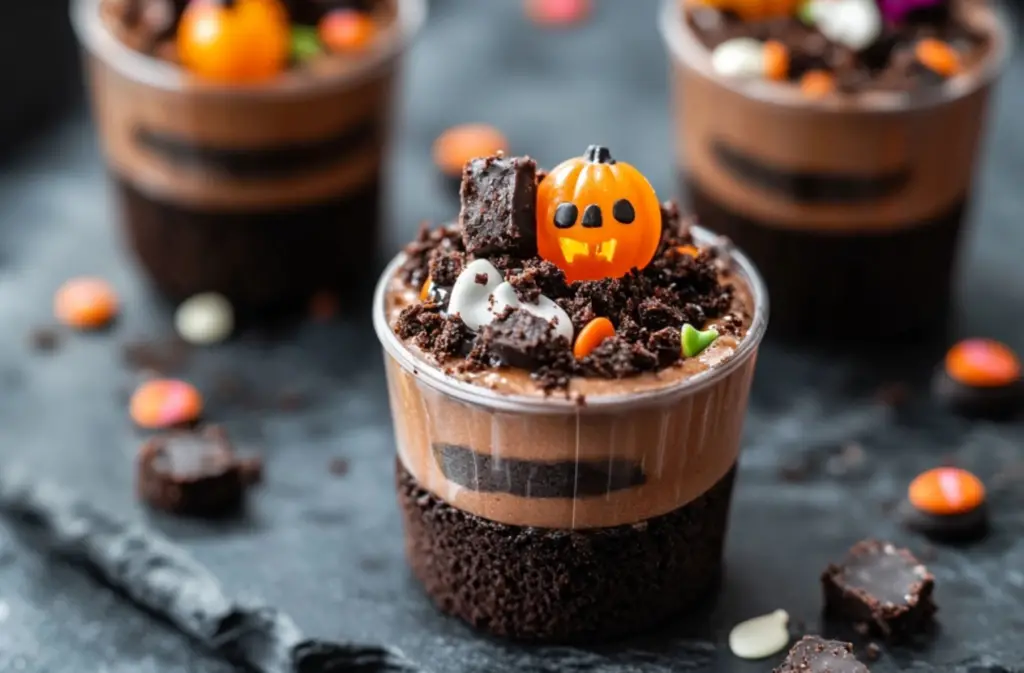
As Halloween approaches, it’s time to add a little spookiness to your dessert table with Halloween Pudding Cups. These simple yet delicious treats are perfect for kids and adults alike. Imagine layers of creamy pudding, colored to match the festive season, topped with crushed cookies for that eerie “dirt” look. If you’re hosting a Halloween party, these pudding cups will surely be a hit.
Looking for other fun, spooky treats? You can easily pair these with more Halloween-themed desserts from sites like AllRecipes to complete your party spread. Your guests will be thrilled with the variety, and these pudding cups will stand out as a crowd favorite.
Why You’ll Love Halloween Pudding Cups
Halloween Pudding Cups are not only easy to make, but they’re also customizable. You can add different colors, toppings, and decorations to fit your spooky theme. Plus, they are an excellent way to involve kids in the kitchen. Let them get creative with their own pudding designs! This dessert is also perfect for last-minute Halloween plans, as it only takes minutes to prepare.
If you’re interested in learning more easy pudding recipes, you might enjoy trying a few from this collection on Food Network. They offer a variety of pudding flavors and styles that you can adapt for your Halloween celebration.
Perfect for Parties and Gatherings
Whether you’re hosting a large gathering or just spending Halloween night with the family, Halloween Pudding Cups make for the ideal treat. Their bright, fun colors and eerie presentation will have everyone talking. Plus, they’re easy to serve—no need for utensils or complicated plating. Just grab a cup and enjoy!
Basic Halloween Pudding Cups Recipe
Print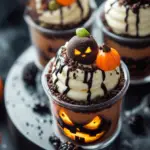
Halloween Pudding Cups
- Total Time: 15 minutes
- Yield: 6 servings 1x
- Diet: Vegetarian
Description
Creamy white chocolate pudding, tinted with spooky Halloween colors, topped with crushed Oreos for a fun and festive treat.
Ingredients
- 2 Boxes of white chocolate instant pudding
- 4 cups of Milk
- Orange food coloring
- Green food coloring
- 10 Oreo cookies, crushed
Instructions
- Prepare the white chocolate instant pudding as per the box instructions, using 4 cups of milk.
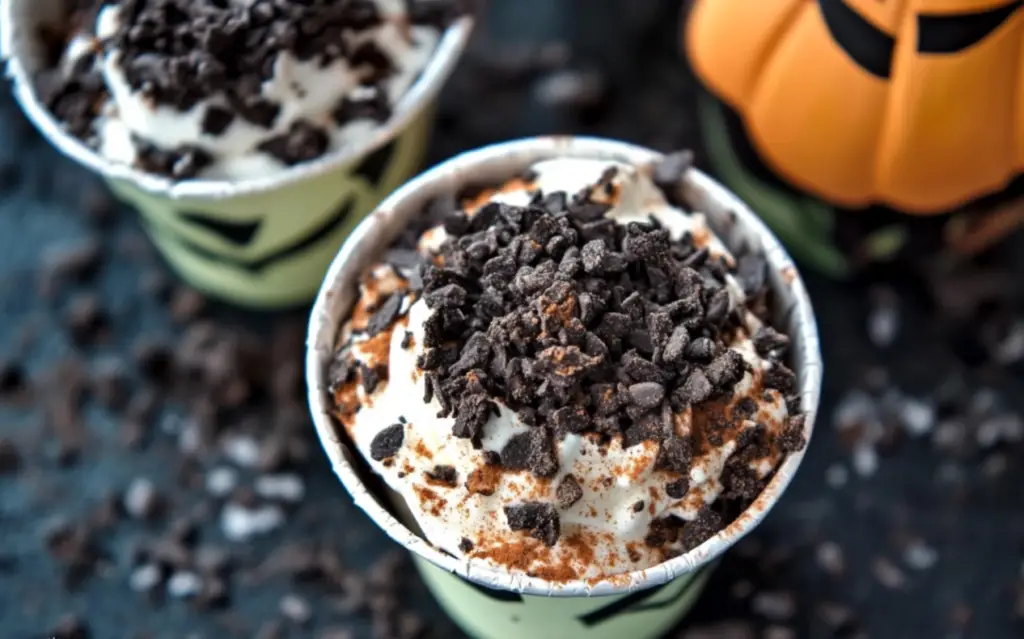
- Divide the pudding into two bowls. Add orange food coloring to one bowl and green food coloring to the other. Mix until the colors are well blended.
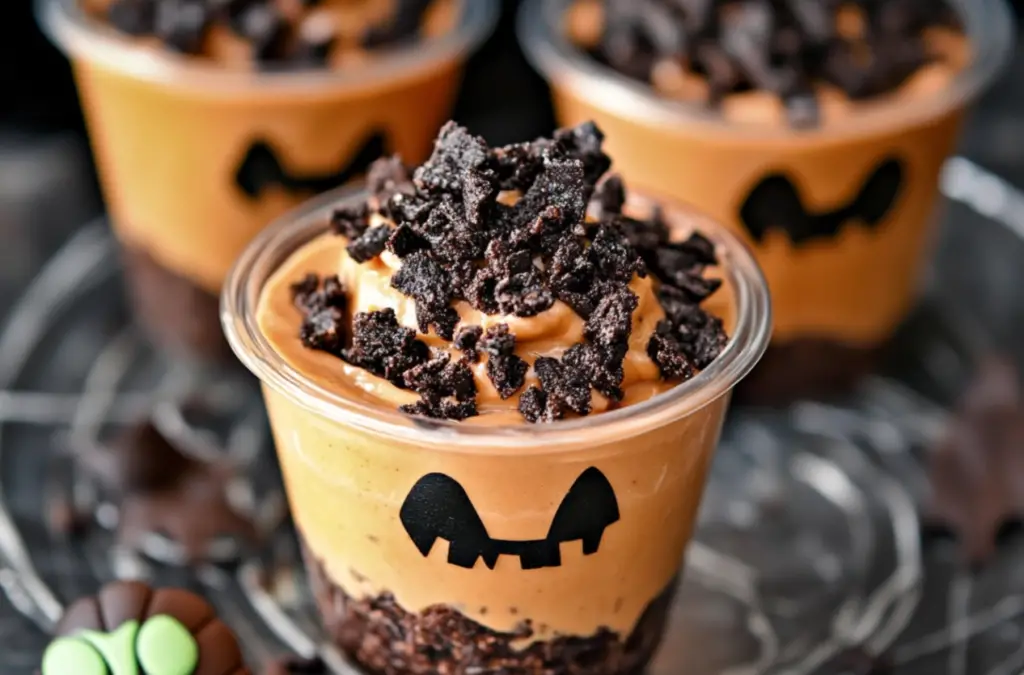
- Layer the orange pudding into serving cups, followed by the green pudding.
- Top each pudding cup with a generous sprinkle of crushed Oreos to resemble dirt.
- Optional: Add candy eyes, gummy worms, or other spooky decorations on top for added Halloween flair.
Notes
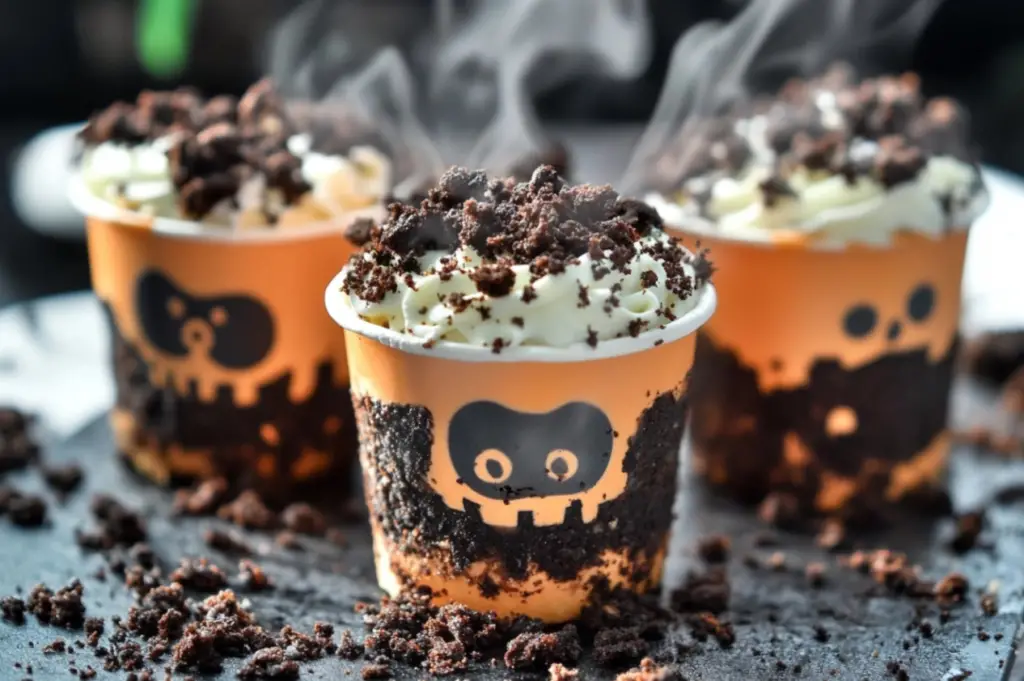
For a thicker pudding, reduce the milk slightly. You can also add whipped cream for an extra layer.
- Prep Time: 10 minutes
- Cook Time: 5 minutes
- Category: Dessert
- Method: Mixing
- Cuisine: American
Nutrition
- Serving Size: 1 pudding cup
- Calories: 210 per serving
- Sugar: 20g
- Sodium: 250mg
- Fat: 7g
- Saturated Fat: 4g
- Unsaturated Fat: 3g
- Trans Fat: 0g
- Carbohydrates: 34g
- Fiber: 1g
- Protein: 3g
- Cholesterol: 10mg
Keywords: Halloween Pudding Cups
STEPS
Step 1
Step 2
Step 3
Step 4
Step 5
Advanced Techniques & Customizations for Halloween Pudding Cups
Creating Halloween Pudding Cups is only the beginning. If you want to add a personal touch or take the presentation to the next level, there are plenty of fun and creative ways to do so. From spooky toppings to flavor twists, these advanced techniques will make your pudding cups the star of the party.
Advanced Decoration Ideas
If you’re looking to enhance the eerie look of your Halloween Pudding Cups, consider these fun decoration ideas:
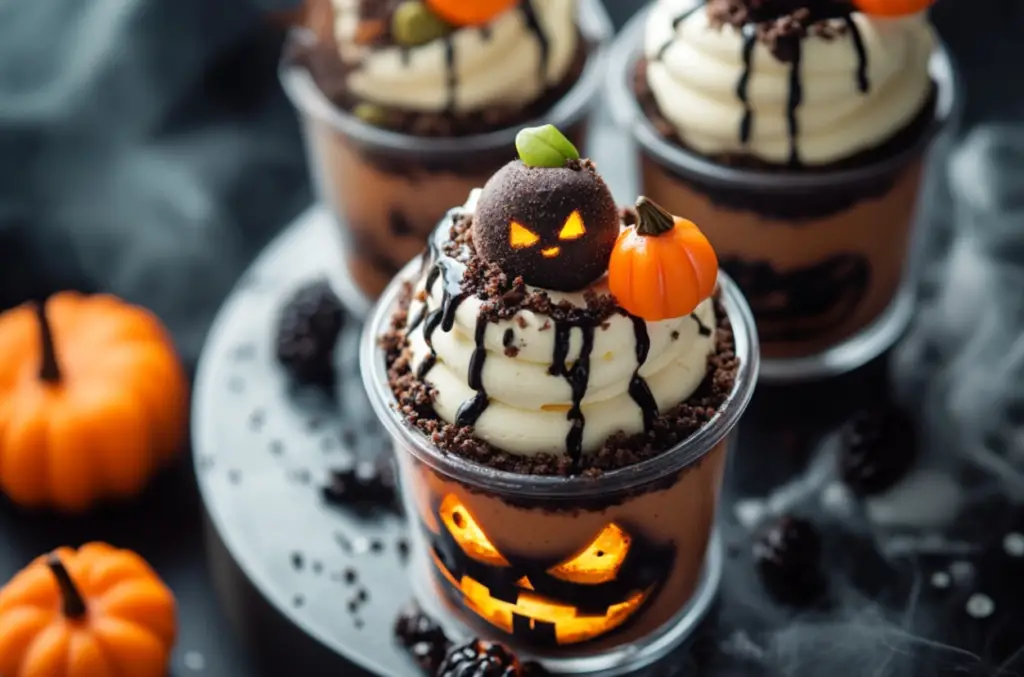
- Graveyard Pudding Cups: Place an edible cookie “tombstone” into each pudding cup and scatter gummy worms around it. The crushed Oreo cookies on top resemble dirt, creating a spooky graveyard scene.
- Spiderweb Design: Use chocolate syrup to pipe a spiderweb pattern on the surface of the pudding. You can easily achieve this effect by starting in the center and drawing lines outward, connecting them with a curved line.
- Candy Toppings: Add creepy candies like gummy eyeballs, plastic spiders, or candy bones to create a frighteningly festive dessert.
These easy tricks can instantly elevate the Halloween Pudding Cups, making them the perfect conversation starter at your next gathering.
Flavor Variations
For an extra flavor boost, consider switching up the ingredients in your Halloween Pudding Cups:
- Pudding Base: While white chocolate is delicious, you can substitute it with chocolate or vanilla pudding for a different flavor profile. Try a layered effect by using both types of pudding in the same cup.
- Add-Ins: Incorporate flavor extracts like vanilla or almond into the pudding mix for added depth. You could also add a layer of whipped cream between the pudding layers for an extra touch of creaminess.
These customizations will make your Halloween Pudding Cups both delicious and unforgettable for guests.
Storage & Maintenance Tips for Halloween Pudding Cups
Once you’ve mastered the art of creating Halloween Pudding Cups, you’ll want to ensure they stay fresh and delicious for your party or event. Here are some helpful tips on storing and maintaining the quality of your pudding cups.
Refrigeration and Storage
Halloween Pudding Cups should be stored in the refrigerator to maintain their texture and flavor. After preparing the pudding, cover the cups tightly with plastic wrap or use containers with lids to keep them fresh. You can store the cups in the fridge for up to 2-3 days. However, for the best results, it’s recommended to serve them within 24 hours to maintain the vibrant colors and textures.
Avoid freezing Halloween Pudding Cups, as the freezing process will alter the texture of the pudding and may cause it to separate upon thawing. The crushed Oreo topping may also lose its crunchy texture if stored for too long.
Transportation Tips
If you need to transport your Halloween Pudding Cups to a party or event, be sure to cover them securely to prevent spills. Use individual lids or cover the tops of the cups with plastic wrap. To ensure the pudding stays cool during transport, pack them in a cooler with ice packs, especially if you’ll be traveling for more than 30 minutes.
Keeping Toppings Fresh
If you’re using decorations like gummy worms or edible candy eyes, it’s best to add them just before serving to prevent them from getting soggy. This will ensure that your Halloween Pudding Cups look as fresh and spooky as possible when it’s time to enjoy them.
Dietary Adaptations & Substitutions for Halloween Pudding Cups
Making Halloween Pudding Cups can be fun and flexible, especially when it comes to adapting the recipe for different dietary needs. Here are some easy substitutions to accommodate various preferences, without sacrificing the spooky charm of this delightful treat.
Gluten-Free Halloween Pudding Cups
For a gluten-free version of Halloween Pudding Cups, ensure you use gluten-free instant pudding and gluten-free cookies to replace the Oreos. Many stores offer gluten-free cookie options that crumble just like Oreos but without the gluten. This simple swap allows everyone to enjoy these spooky treats without worry.
Dairy-Free and Vegan Options
To make Halloween Pudding Cups dairy-free, switch out the milk for plant-based alternatives like almond milk, coconut milk, or oat milk. Check the pudding mix to ensure it’s dairy-free as well, as some mixes contain milk powder. For vegans, look for vegan pudding mixes and plant-based cookies to keep the recipe aligned with their dietary needs.
Additionally, if you want to add a creamy layer to your Halloween Pudding Cups, use coconut whipped cream or another dairy-free whipped topping. This will still give that fluffy texture without any animal products.
Low-Sugar and Low-Fat Adjustments
If you’re watching your sugar intake, you can easily adapt Halloween Pudding Cups by using sugar-free pudding mixes. You can also find reduced-sugar or low-fat cookie options to replace the Oreos, helping you enjoy this dessert guilt-free.
For those aiming to cut down on fat, opt for a low-fat milk alternative or a sugar-free pudding mix to reduce the calorie count, while still keeping the dessert just as delicious. These simple adjustments make Halloween Pudding Cups a treat that everyone can enjoy, no matter their dietary preferences.
Frequently Asked Questions About Halloween Pudding Cups
Even though Halloween Pudding Cups are simple to make, you might still have a few questions about preparation, storage, and substitutions. Here are answers to some common questions that come up when making this spooky dessert.
Can I Make Halloween Pudding Cups in Advance?
Yes! You can prepare Halloween Pudding Cups up to 24 hours in advance. Store them in the refrigerator, tightly covered, to maintain freshness. If you’re adding decorations like gummy worms or candy eyes, wait until just before serving to keep the toppings from getting soggy.
What if I Don’t Have Food Coloring?
If you don’t have food coloring on hand, there are still ways to create a festive look for your Halloween Pudding Cups. You can use natural alternatives, such as beet juice for red, turmeric for yellow, or spinach juice for green. You can also skip the food coloring altogether and let the crushed Oreos provide a spooky “dirt” topping.
Can I Use Homemade Pudding Instead of Instant?
Yes, homemade pudding works just as well for Halloween Pudding Cups. Be sure to allow the pudding to cool completely before layering it into the cups. Homemade pudding offers a rich and creamy texture, which can make your dessert even more delicious.
Can I Freeze Halloween Pudding Cups?
Freezing Halloween Pudding Cups is not recommended. The texture of the pudding can become grainy, and the toppings may lose their crunch. It’s best to store them in the refrigerator and enjoy them within a couple of days.
Can I Use Different Types of Cookies?
Absolutely! Feel free to swap out the Oreos for other cookies like graham crackers or chocolate chip cookies. Just make sure they crumble well to achieve that dirt-like effect. This will keep your Halloween Pudding Cups fun and flexible for any preference.
Conclusion: Perfecting Your Halloween Pudding Cups
Creating Halloween Pudding Cups is a fun and easy way to bring a festive touch to any Halloween gathering. Whether you’re hosting a large party or enjoying a quiet night in, these spooky treats will add excitement to your dessert table. With just a few simple ingredients and a bit of creativity, you can make these cups both visually appealing and delicious.
Final Tips for Halloween Pudding Cups
To make your Halloween Pudding Cups even more special, remember to experiment with different toppings and decorations. Don’t be afraid to get creative with candy eyeballs, gummy worms, or spooky-themed sprinkles. Adding personal touches will make these pudding cups unique to your event and more enjoyable for guests.
It’s also important to keep the pudding cups refrigerated until serving time. This ensures they stay fresh and maintain their creamy texture. Be mindful of keeping toppings like cookies and candies crisp by adding them just before serving.
Making Halloween Pudding Cups a Tradition
After trying out this recipe, you might find that Halloween Pudding Cups become a favorite Halloween tradition for you and your family. With the ability to customize the flavors, colors, and decorations, there’s always a new way to enjoy this dessert. Plus, they’re an easy way to get kids involved in the kitchen, adding to the fun of the holiday.
With these tips and techniques, you’ll be ready to serve up a batch of Halloween Pudding Cups that are sure to impress. Happy Halloween!