Introduction to the Recipe
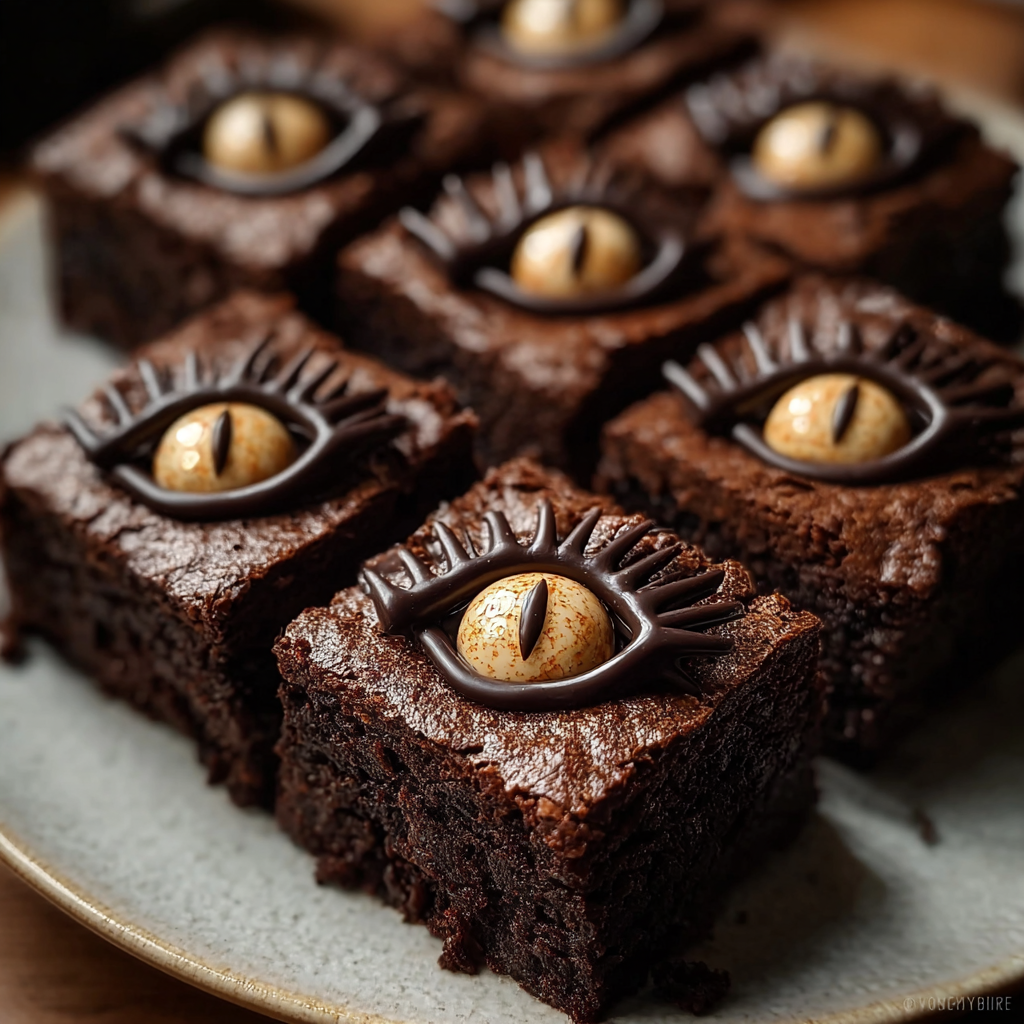
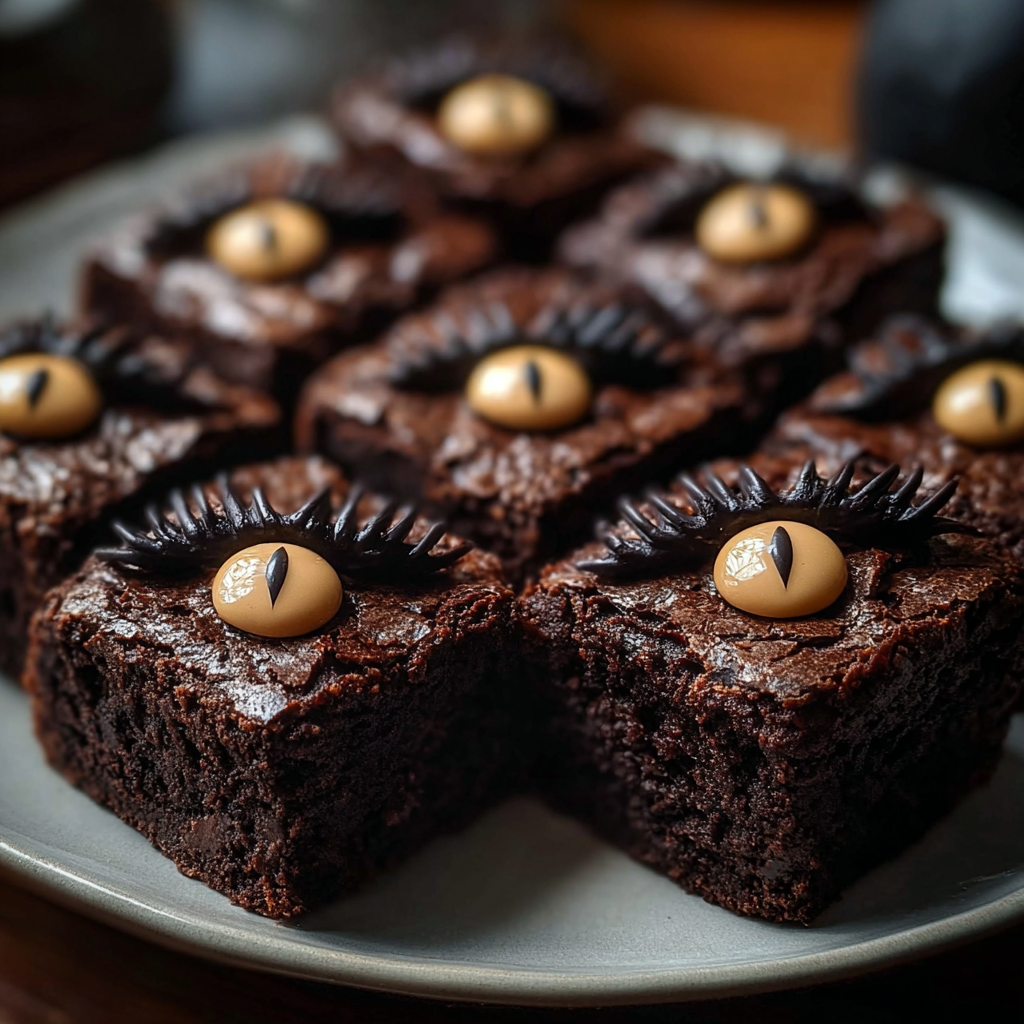
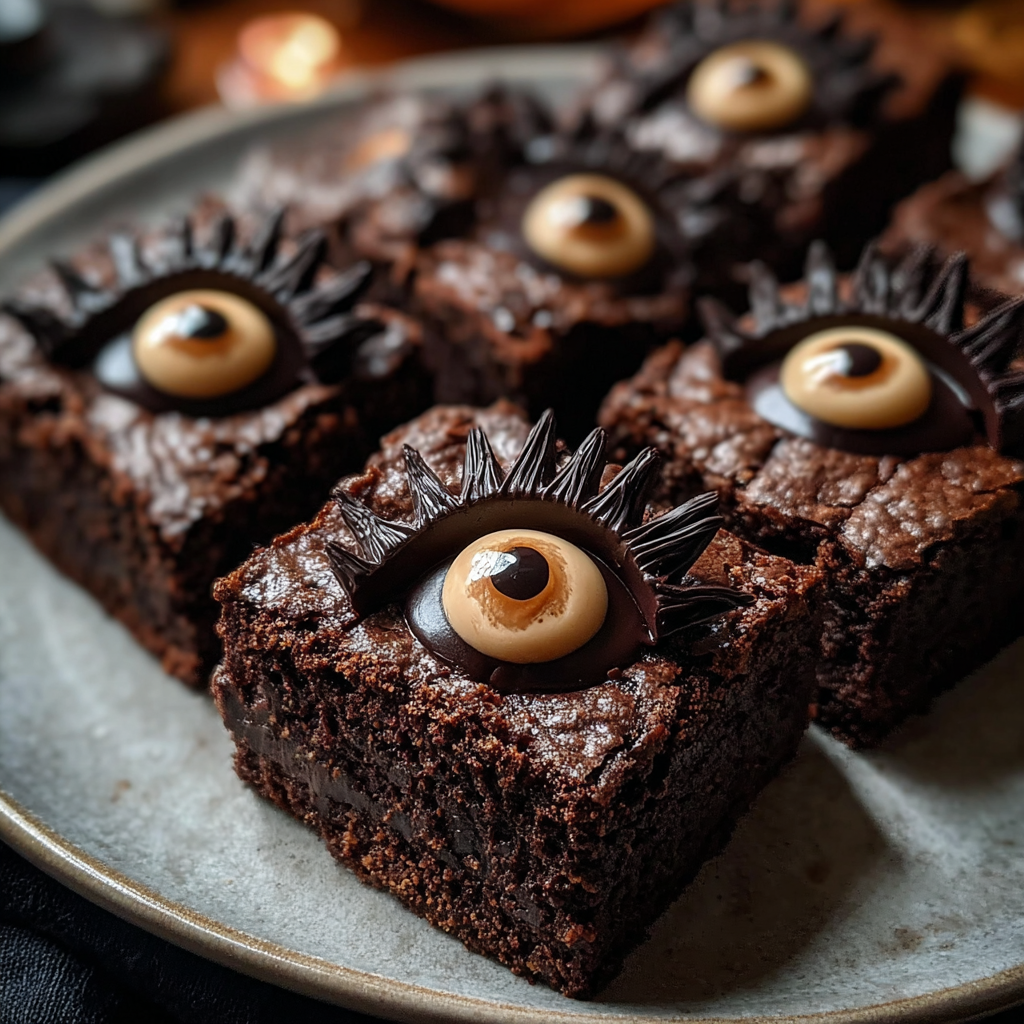
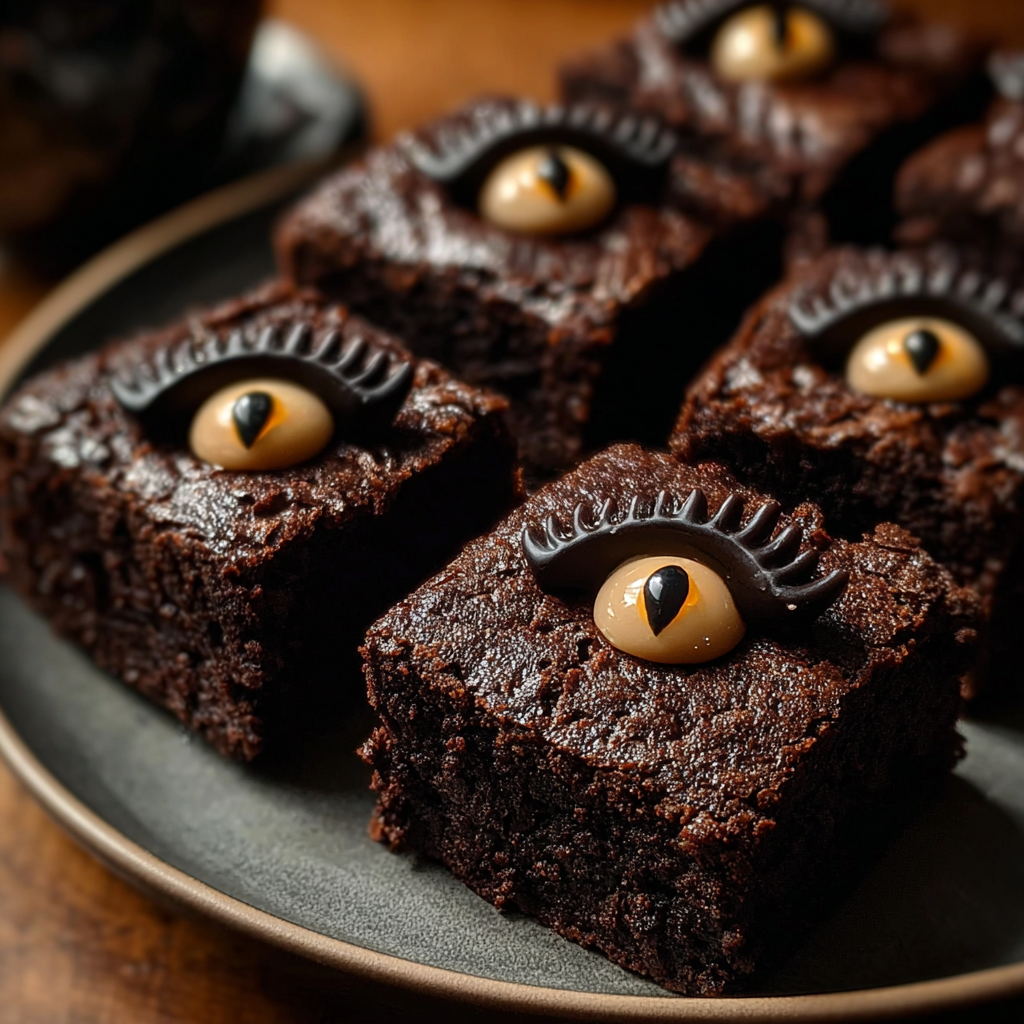
Looking for the ultimate Halloween dessert that’s both spooky and irresistible? These Monster Eye Brownie Bites are the answer! They combine everything we love about rich, fudgy brownies with playful, eye-popping decorations that’ll make both kids and adults grin. Each bite is chewy, chocolatey, and topped with a swirl of vibrant green frosting crowned by a mischievous candy eyeball. Whether you’re planning a Halloween party, a themed bake sale, or just a cozy October movie night, these treats will steal the show.
The beauty of this recipe lies in its simplicity — it uses a boxed fudge brownie mix for convenience while layering homemade touches that elevate it from “store-bought easy” to “bakery-quality amazing.” The buttercream frosting is smooth, creamy, and tinted a lively monster green that practically glows. Add candy eyeballs in different sizes, and you’ve got a batch of ghoulishly cute brownies that look straight out of a Pinterest dream.
For the best brownie base, check out this guide to achieving fudgy brownies every time and pair your spooky sweets with a cozy pumpkin spice latte recipe for the ultimate Halloween indulgence.
From their gooey texture to the silly monster faces staring back at you, these Monster Eye Brownie Bites are pure fun — no tricks, just delicious treats. Whether you’re a beginner baker or a seasoned pro, this recipe guarantees crowd-pleasing results that will vanish faster than a ghost in the night.
Basic Recipe: Ingredients and Instructions
Print
Spooky Monster Eye Brownie Bites
Description
These fudgy Monster Eye Brownie Bites are a spooky Halloween hit—rich, chewy, and topped with bright buttercream and candy eyes.
Ingredients
For the Fudgy Brownie Bites
- 1 box (18.3 oz) fudge brownie mix
- 2 large eggs
- ⅔ cup vegetable oil
- ¼ cup water
For the Vibrant Monster Frosting
- 1 cup unsalted butter, softened
- 3 cups powdered sugar, sifted
- 1 teaspoon vanilla extract
- 2 tablespoons milk or heavy cream (adjust for texture)
- Green gel food coloring
For the Spooky Decorations
- 1 package candy eyeballs (assorted sizes)
- Red gel food coloring (optional, for bloodshot eyes)
Instructions
1. Preheat the oven.
Set your oven to 350°F (175°C). Lightly grease a mini muffin pan or line it with mini paper liners to make removing the brownie bites easier.
2. Mix the brownie batter.
In a large bowl, combine the brownie mix, eggs, oil, and water. Stir just until combined — avoid over-mixing to keep the brownies dense and chewy.
3. Fill and bake.
Spoon the batter evenly into each mini muffin cup, filling about two-thirds full. Bake for 12–15 minutes, or until a toothpick inserted in the center comes out with a few moist crumbs.
4. Cool completely.
Let the brownie bites cool in the pan for 5 minutes, then transfer them to a wire rack. Cool completely before frosting.
5. Make the frosting.
In a separate bowl, beat softened butter with an electric mixer until light and creamy. Gradually add powdered sugar, one cup at a time, mixing on low speed. Add vanilla extract and milk (or cream), then beat for 3–5 minutes until fluffy. Tint with green gel food coloring until you reach your desired shade.
6. Decorate.
Pipe or spread the frosting onto each brownie bite. Gently press a candy eyeball (or several, for multi-eyed monsters) into the center. Use a toothpick dipped in red gel coloring to draw tiny veins for a spooky touch.
Notes
Don’t overbake — slightly underdone brownies are richer and fudgier.
Gel food coloring keeps your frosting bright without thinning it.
Candy eyeballs can melt in direct heat — add them only after cooling and frosting.
For cleaner edges, use a small cookie scoop to fill the muffin pan evenly.
Keywords: Monster Eye Brownie Bites
Advanced Techniques
Perfecting the Fudgy Texture
To achieve that signature gooey-fudgy bite, slightly underbake your brownies by about one minute compared to the box directions. The residual heat will finish cooking them while keeping the centers soft. Use high-quality oil and eggs at room temperature for a smoother batter. If you prefer a more intense flavor, stir in a tablespoon of espresso powder — it enhances the chocolate notes without adding coffee taste.
Making Bakery-Style Frosting Swirls
Use a piping bag fitted with a large round or star tip to achieve picture-perfect swirls. Chill the frosting for 10 minutes before piping to help it hold its shape. To add dimension, mix a bit of white frosting with your green batch and swirl them together in the piping bag for a marbled monster effect.
Adding Crunchy Layers
Add a subtle texture contrast by mixing mini chocolate chips or crushed Oreos into the batter before baking. The crunch adds a delightful surprise against the soft brownie base. You can also press a single chocolate chip in the center of each bite before baking for a “pupil” effect beneath the frosting.
Flavor Twists for Every Occasion
You can easily transform this recipe for other holidays. For Christmas, swap the green frosting for red and white stripes with peppermint extract. For Valentine’s Day, tint it pink and top with candy hearts instead of eyes. Keeping the same brownie base allows endless creativity with minimal effort.
Using Homemade Brownies Instead of a Mix
If you prefer to skip the box mix, use a homemade brownie recipe with melted butter and real cocoa powder. Aim for a thicker batter consistency to ensure your brownie bites bake evenly in mini molds. Homemade versions may require 1–2 minutes less baking time.
Storage, Shelf Life, and Maintenance Tips
Room Temperature Storage
Keep your Monster Eye Brownie Bites in an airtight container at room temperature for up to three days. Line layers with parchment to prevent frosting from smudging. Avoid warm or humid environments, as the frosting can soften.
Refrigerator Storage
For longer freshness, refrigerate the bites in a sealed container for up to one week. Allow them to sit at room temperature for 15–20 minutes before serving for the best texture and flavor.
Freezer Storage
Brownie bites freeze beautifully before decorating. Once baked and cooled, wrap them tightly in plastic wrap and place in a freezer-safe bag. Freeze for up to three months. When ready to serve, thaw at room temperature, then frost and decorate as desired.
Preventing Frosting Color Bleed
If you plan to store decorated brownies overnight, use a stiffer frosting consistency and avoid stacking them. Keep them in a single layer with a loose cover to preserve the color vibrancy.
Refreshing Stale Brownies
Microwave leftover brownie bites for 5–10 seconds to revive moisture. The heat slightly melts the chocolate inside, bringing back the fudgy texture and making them taste freshly baked again.
Dietary Adaptations and Substitutions
Vegan Version
Use a vegan brownie mix and substitute eggs with flax eggs (1 tbsp flaxseed meal + 3 tbsp water per egg). Replace butter with vegan margarine and milk with almond or oat milk. Opt for vegan-friendly candy eyes or make your own from fondant.
Gluten-Free Version
Use a gluten-free brownie mix or your favorite homemade gluten-free blend (rice flour + cornstarch + cocoa). Ensure all decorations are labeled gluten-free, as some candy eyes contain trace gluten.
Low-Sugar Option
Use a sugar-free brownie mix or reduce sugar in the frosting by half, adding a touch of stevia or monk fruit sweetener. Choose sugar-free candy decorations to keep sweetness balanced.
Nut-Free and Allergen-Safe
Most brownie mixes are nut-free, but always check the label. Avoid cross-contamination by cleaning utensils thoroughly. If serving at school events, mention your recipe’s allergen-free nature for safety.
Dairy-Free Version
Replace butter with coconut oil or dairy-free margarine and milk with soy or oat milk. The coconut oil adds a slight tropical note that pairs surprisingly well with chocolate.
FAQs About Monster Eye Brownie Bites
Can I make these ahead of time?
Absolutely! You can bake the brownie bites 2–3 days ahead and store them unfrosted. Add frosting and candy eyes the day of serving for the freshest look and taste.
What’s the best way to color frosting vibrantly?
Gel food coloring works best because it’s concentrated and doesn’t water down the frosting. Add a few drops at a time, mixing until the desired green hue is achieved.
My brownies turned out dry—what went wrong?
Overbaking is the most common culprit. Check them 2–3 minutes before the suggested time. Also, make sure not to over-mix the batter, as this can incorporate too much air and make the brownies cakey.
Can I use a regular muffin pan instead of mini?
Yes, but increase the baking time to 18–22 minutes. Larger brownies mean more room for creative monster faces—try adding three candy eyes per brownie for a “triclops” effect!
How can I make this recipe more festive for parties?
Create a “Monster Decorating Station” where guests can frost and decorate their own brownies. Offer various frosting colors, edible glitter, and assorted candy eyes for a hands-on Halloween activity.
Conclusion & Final Thoughts
There’s something magical about transforming simple fudge brownies into a parade of silly monsters. These Monster Eye Brownie Bites bring fun, flavor, and festivity to your Halloween table with minimal effort. The combination of chewy brownie centers and creamy buttercream frosting creates a textural dream, while the candy eyes add a playful finishing touch.
They’re perfect for kids’ parties, school bake sales, or family movie nights. You can customize colors, decorations, and flavors endlessly — it’s a creative experience as much as it is a delicious one. Plus, the recipe’s simplicity ensures that even beginner bakers can pull off a Pinterest-worthy dessert.
When October rolls around, whip up a batch of these mischievous bites and watch them disappear faster than a trick-or-treater’s candy bag. Every gooey mouthful delivers a mix of rich chocolate, smooth frosting, and Halloween cheer that’ll have everyone reaching for seconds.
So grab your whisk, gather your candy eyes, and bring your monsters to life — one brownie bite at a time.