Oogie Boogie Cookies: A Spooky Halloween Treat
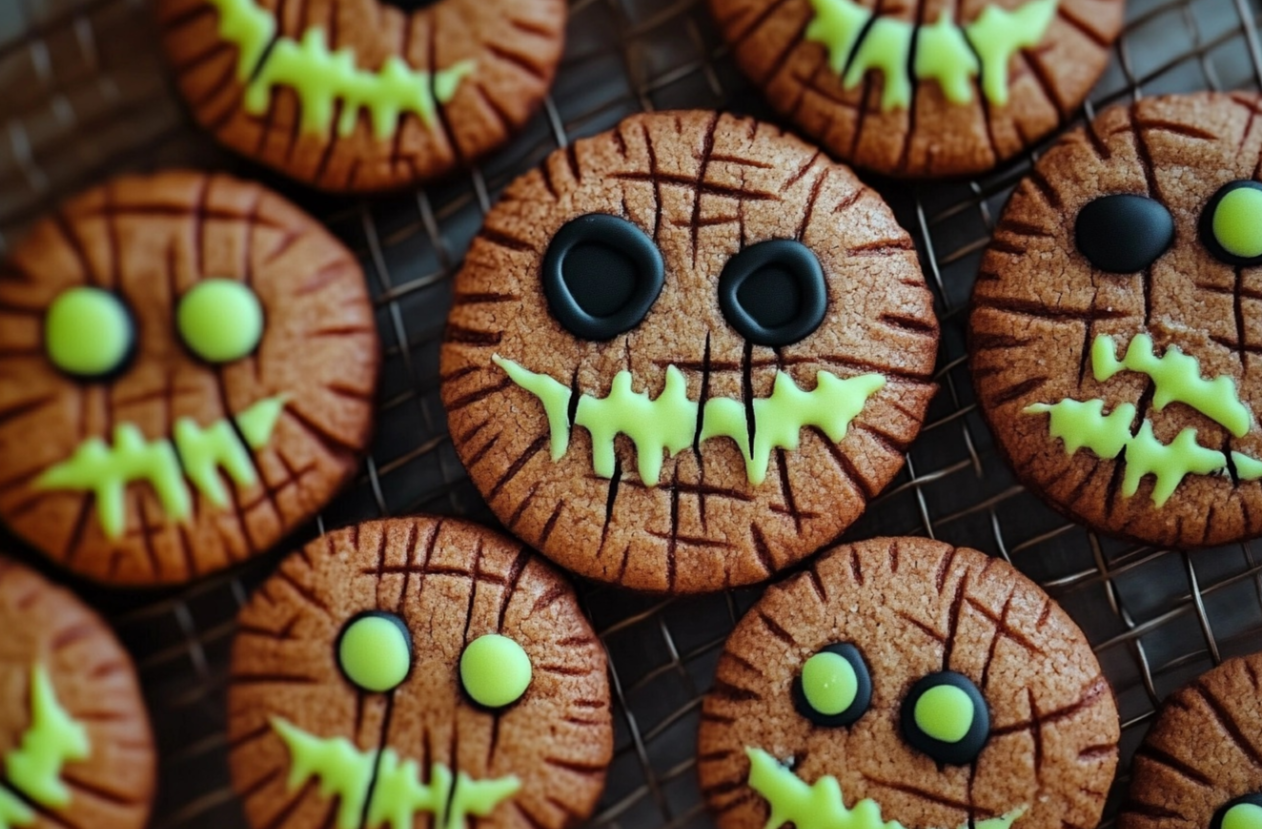
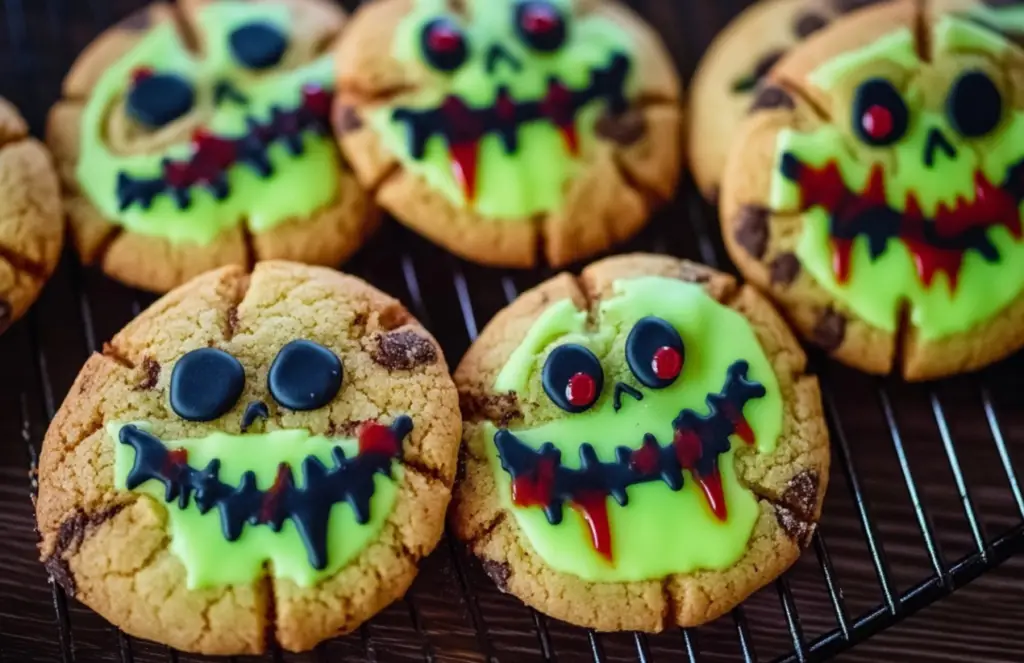
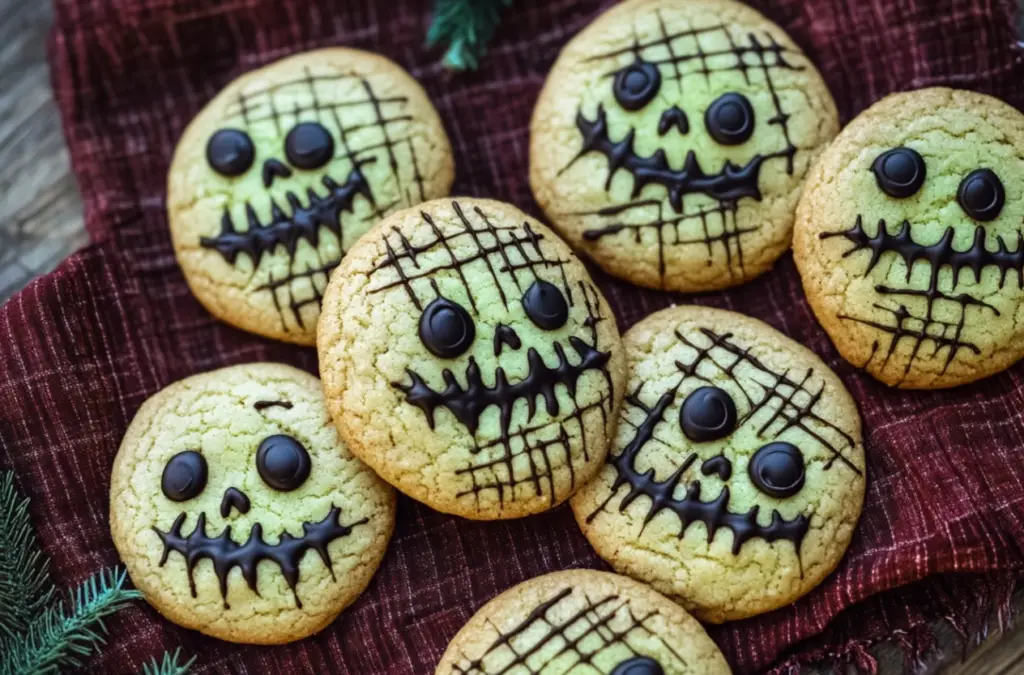
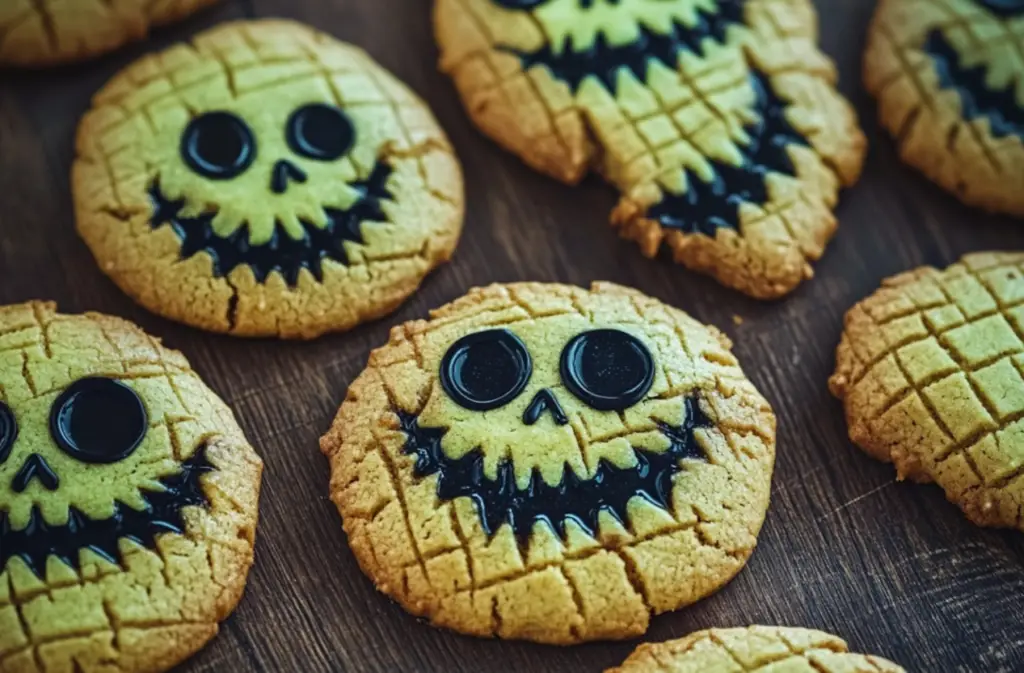
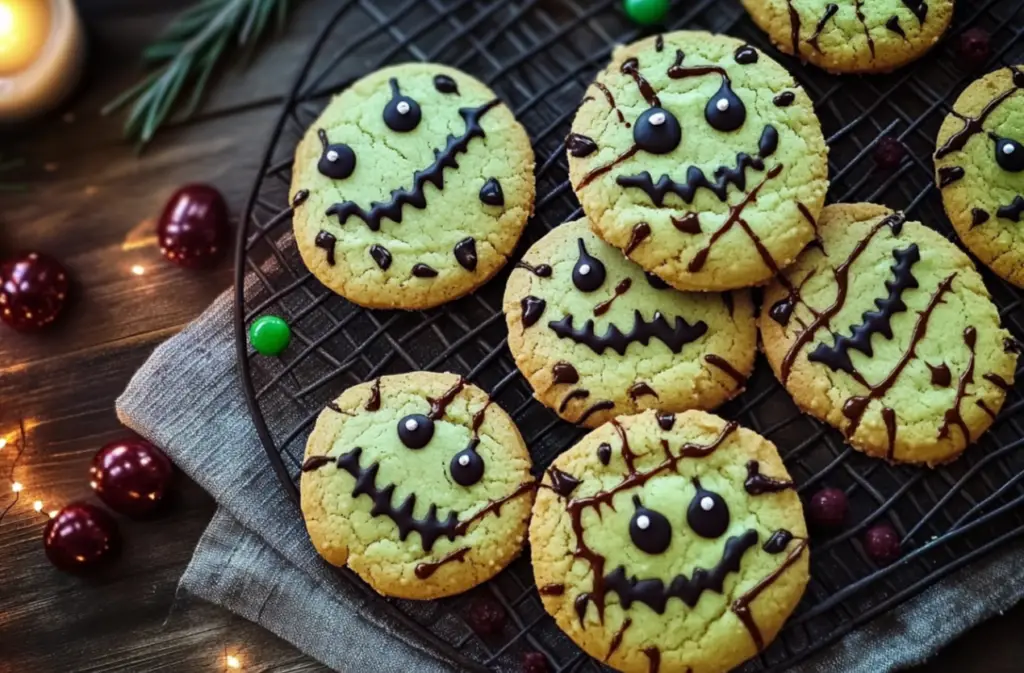
Halloween is the perfect time to get creative with your baking, and Oogie Boogie cookies are a fun way to embrace the spooky spirit. These sugar cookies are shaped like the iconic character from The Nightmare Before Christmas, making them a hit at any Halloween party. With just a few simple ingredients, you can bake a batch of delicious cookies that will delight both kids and adults.
- Oogie Boogie cookies are easy to make and require basic tools you probably already have in your kitchen.
- All you need is a pumpkin-shaped cookie cutter or an Oogie Boogie template, along with some food coloring to bring this character to life.
Why Oogie Boogie Cookies Are Perfect for Halloween
If you’re hosting a Halloween party or just want a fun treat for movie night, Oogie Boogie cookies are the perfect fit. They combine creativity with a delicious sugar cookie base. The best part? You can get as spooky or playful as you like with the decoration! Make sure you have some royal icing ready, as it plays a big role in achieving the look.
For more Halloween-themed party inspiration, check out these festive Halloween party ideas, which can help you plan the perfect event alongside your spooky treats.
A Fun Family Activity for the Halloween Season
Making Oogie Boogie cookies is also a fantastic way to get the whole family involved. Let the kids handle the icing while you bake the cookies! Not only are these cookies delicious, but they are also a great way to bond and create Halloween memories.
If you need tips on mastering your icing skills, this guide to royal icing techniques will help you perfect your spooky designs!
Recipe Section: How to Make Oogie Boogie Cookies
Print
Oogie Boogie Halloween Sugar Cookies
- Total Time: 30 minutes
- Yield: 24 cookies 1x
- Diet: Vegetarian
Description
Spooky, fun, and delicious, these Oogie Boogie cookies are the perfect Halloween treat. Made from a classic sugar cookie recipe and decorated with vibrant royal icing, they’re a must-have for your Halloween spread.
Ingredients
Sugar Cookies:
- 1 ½ cups all-purpose flour
- ½ teaspoon baking soda
- ¼ teaspoon salt
- ½ cup unsalted butter, softened
- ½ cup granulated sugar
- 1 large egg
- 1 teaspoon vanilla extract
Royal Icing: - 2 cups powdered sugar
- 1 ½ tablespoons meringue powder
- ¼ – ½ cup warm water
- green gel food coloring
- yellow gel food coloring
- black gel food coloring
Equipment: - Pumpkin with witch hat cookie cutter or Oogie Boogie template and sharp knife
- Piping bags
- Cookie pick
Instructions
- Preheat your oven to 350°F (175°C) and line a baking sheet with parchment paper.
- In a medium bowl, whisk together the flour, baking soda, and salt. Set aside.
- In a separate bowl, cream the softened butter and sugar until light and fluffy. Beat in the egg and vanilla extract.
- Gradually add the dry ingredients to the wet mixture until a dough forms.
- Roll out the dough to about ¼ inch thick. Use the pumpkin cookie cutter (or Oogie Boogie template and knife) to cut out cookie shapes.
- Place the cookies on the prepared baking sheet and bake for 8–10 minutes or until edges are lightly golden. Let the cookies cool completely.
- While the cookies are cooling, make the royal icing by whisking together the powdered sugar, meringue powder, and water until smooth. Add the gel food coloring to separate batches of icing.
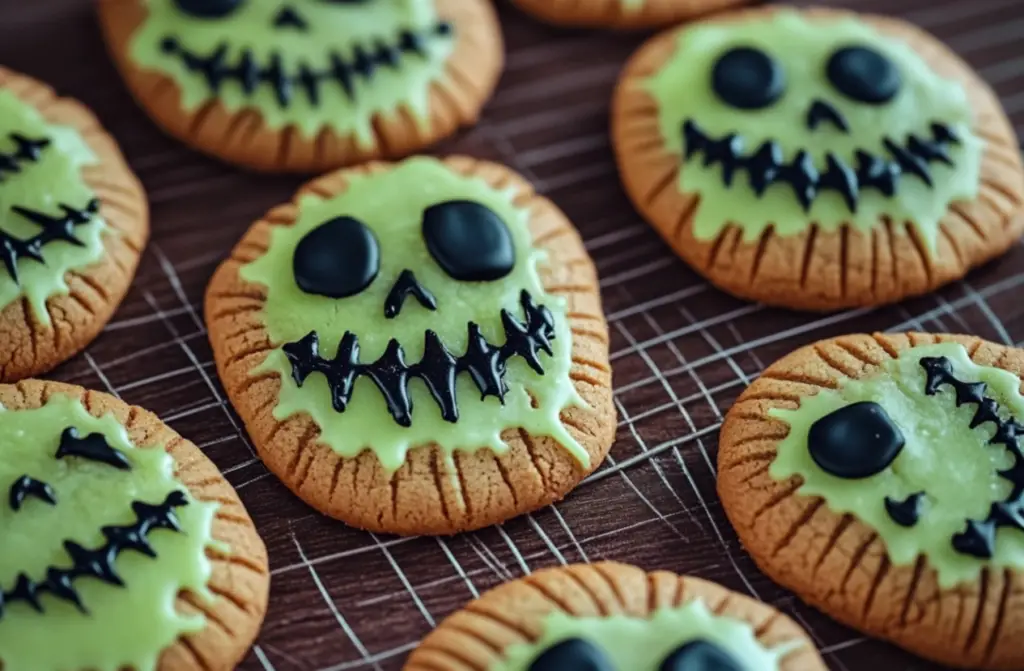
- Transfer the icing to piping bags and decorate the cookies using green, yellow, and black icing to create Oogie Boogie’s spooky face and details. Use the cookie pick to refine small areas.
Notes
Let the icing dry completely before serving or storing the cookies in an airtight container.
- Prep Time: 20 minutes
- Cook Time: 10 minutes
- Category: Desserts
- Method: Baking
- Cuisine: American
Nutrition
- Serving Size: 1 cookie
- Calories: 120 kcal
- Sugar: 15g
- Sodium: 40mg
- Fat: 5g
- Saturated Fat: 3g
- Unsaturated Fat: 2g
- Trans Fat: 0g
- Carbohydrates: 18g
- Fiber: 0.5g
- Protein: 1g
- Cholesterol: 15mg
Keywords: Oogie Boogie Halloween Sugar Cookies
STEPS
Step 1
Preheat your oven to 350°F (175°C) and line a baking sheet with parchment paper.
Step 2
In a medium bowl, whisk together the flour, baking soda, and salt. Set aside.
Step 3
In a separate bowl, cream the softened butter and sugar until light and fluffy. Beat in the egg and vanilla extract.
Step 4
Gradually add the dry ingredients to the wet mixture until a dough forms.
Step 5
Roll out the dough to about ¼ inch thick. Use the pumpkin cookie cutter (or Oogie Boogie template and knife) to cut out cookie shapes.
Step 6
Place the cookies on the prepared baking sheet and bake for 8–10 minutes or until edges are lightly golden. Let the cookies cool completely.
Step 7
While the cookies are cooling, make the royal icing by whisking together the powdered sugar, meringue powder, and water until smooth. Add the gel food coloring to separate batches of icing.
Step 8
Transfer the icing to piping bags and decorate the cookies using green, yellow, and black icing to create Oogie Boogie’s spooky face and details. Use the cookie pick to refine small areas.
Advanced Techniques for Perfecting Oogie Boogie Cookies
Mastering the art of decorating Oogie Boogie cookies requires a few advanced techniques. While the recipe itself is straightforward, the true challenge lies in nailing the icing consistency and piping details to bring the spooky character to life.
Getting the Perfect Royal Icing Consistency
Achieving the right icing consistency is crucial for making your Oogie Boogie cookies stand out. For outlining, the icing should be thick enough to hold its shape but not so stiff that it cracks. A good rule of thumb is to mix until the icing forms soft peaks that hold for a few seconds before melting back into itself. This makes piping smoother and easier to control. For flooding the cookies, you’ll want to thin the icing slightly by adding a few drops of water at a time, ensuring a smooth, even surface.
Piping Like a Pro
When decorating Oogie Boogie cookies, it’s essential to pipe with precision. Use a piping bag fitted with a small tip for detailed areas like Oogie Boogie’s eyes and mouth. To avoid mistakes, start by outlining the cookie’s edges with the thicker icing, then flood the inside with the thinner icing. For added texture, use a cookie pick to spread the icing into any small gaps or to create a smoother finish. This will ensure your Oogie Boogie cookies have a professional, polished look.
Enhancing the Spooky Factor with Colors
For the best results, don’t be afraid to experiment with gel food coloring. The combination of green, yellow, and black icing will make your Oogie Boogie cookies pop. Just ensure the colors are well-blended for a smooth, spooky finish.
Storing and Maintaining Oogie Boogie Cookies
Once you’ve put all that effort into baking and decorating your Oogie Boogie cookies, it’s important to store them properly to maintain their freshness and appearance. Proper storage ensures your cookies stay soft and delicious for days, allowing you to enjoy them well after Halloween.
Storing Oogie Boogie Cookies for Freshness
To keep your Oogie Boogie cookies fresh, store them in an airtight container at room temperature. Make sure the icing is completely dry before stacking the cookies to prevent smudging. If you layer them, place a sheet of parchment paper between the layers to avoid any damage to the decorations. Stored this way, your cookies can last up to a week without losing their softness or flavor.
Freezing Oogie Boogie Cookies for Later
If you’d like to prepare your Oogie Boogie cookies ahead of time, they freeze beautifully. Simply let the decorated cookies dry completely, then layer them with parchment paper in an airtight container. They can be stored in the freezer for up to three months. When you’re ready to serve them, allow the cookies to come to room temperature in the container to avoid condensation that can ruin the icing.
Packaging Oogie Boogie Cookies for Gifting
If you’re gifting your Oogie Boogie cookies, packaging them properly is key to keeping them intact. Use small boxes or treat bags, placing tissue paper or bubble wrap around the cookies to protect them during transport. This ensures your spooky cookies arrive in perfect condition, whether they’re a treat for friends or a party favor for guests.
Dietary Adaptations for Oogie Boogie Cookies
Although Oogie Boogie cookies are traditionally made with standard ingredients like flour, butter, and sugar, there are plenty of ways to adapt the recipe to suit different dietary needs. Whether you’re baking for a gluten-free, vegan, or low-sugar audience, these simple modifications will still result in a delicious, spooky treat.
Gluten-Free Oogie Boogie Cookies
To make Oogie Boogie cookies gluten-free, substitute the all-purpose flour with a gluten-free flour blend. Ensure the blend contains xanthan gum or another binding agent to maintain the cookie’s structure. The rest of the recipe remains the same, giving you a cookie that’s just as soft and chewy as the original.
Vegan Oogie Boogie Cookies
For a vegan version of Oogie Boogie cookies, replace the butter with a plant-based alternative, such as coconut oil or vegan margarine. You can also substitute the egg with a flax egg (1 tablespoon ground flaxseed mixed with 3 tablespoons water). The royal icing can easily be made vegan by using aquafaba (chickpea water) instead of meringue powder.
Low-Sugar Oogie Boogie Cookies
To create a lower-sugar version of Oogie Boogie cookies, replace the granulated sugar with a sugar substitute, such as stevia or monk fruit sweetener. You can also reduce the amount of powdered sugar in the icing and add a bit of vanilla extract to boost sweetness naturally. While these changes will slightly alter the taste and texture, the cookies will still be delicious and festive.
With these adaptations, you can ensure that everyone at your Halloween gathering can enjoy the fun and flavors of Oogie Boogie cookies.
FAQs About Oogie Boogie Cookies
When making Oogie Boogie cookies, you may encounter a few common questions. Here, we address some frequently asked questions to help you troubleshoot and get the most out of your spooky baking adventure.
Why is my royal icing too runny?
If your royal icing is too runny, it may be because you’ve added too much water. To fix this, simply add more powdered sugar, a tablespoon at a time, until the icing reaches the desired consistency. For Oogie Boogie cookies, you want the icing to be thick enough to pipe detailed designs, but still thin enough to flood the surface.
Can I freeze the cookie dough for Oogie Boogie cookies?
Yes, you can freeze the cookie dough for Oogie Boogie cookies. Simply wrap the dough tightly in plastic wrap and store it in an airtight container. The dough can be frozen for up to three months. When you’re ready to bake, let the dough thaw in the refrigerator before rolling it out and cutting the shapes.
How do I keep my Oogie Boogie cookies from spreading?
To prevent Oogie Boogie cookies from spreading too much during baking, make sure to chill the dough before cutting the shapes. Once you’ve cut the cookies, place them in the fridge for about 15-20 minutes before baking. This helps the butter in the dough stay solid, keeping your cookie shapes intact.
Can I customize the design of Oogie Boogie cookies?
Absolutely! While the green, yellow, and black colors are classic for Oogie Boogie cookies, feel free to get creative. Try adding other Halloween-themed decorations, such as edible glitter or using different icing colors to match your party theme.
Oogie Boogie Cookies: A Halloween Delight
Creating Oogie Boogie cookies is not only fun but also a great way to celebrate the Halloween season. These spooky treats bring the character of Oogie Boogie to life in a delicious way, combining the creativity of decoration with the simplicity of a sugar cookie recipe. Whether you’re making them for a Halloween party or a fun family activity, these cookies are sure to impress.
A Creative and Tasty Halloween Tradition
With the right ingredients and a few key techniques, you can make Oogie Boogie cookies that look professional and taste amazing. From mastering the royal icing to using the right tools for cutting and decorating, this recipe allows for creativity while maintaining a classic taste. The step-by-step instructions ensure that even beginners can bake these cookies with ease.
A Recipe Everyone Can Enjoy
One of the best things about Oogie Boogie cookies is their adaptability. Whether you’re looking to make gluten-free, vegan, or low-sugar versions, this recipe can be easily modified to suit everyone’s dietary needs. These cookies are not only festive but can also be enjoyed by all your guests, regardless of their preferences or restrictions.
Making Memories with Oogie Boogie Cookies
Beyond their delicious flavor and spooky design, Oogie Boogie cookies offer an opportunity to make lasting memories. Whether you’re baking with family or preparing treats for a Halloween gathering, these cookies add a unique and playful touch to the occasion. As you decorate each one, you bring your own personal flair to a timeless Halloween tradition.