1. Introduction to the Recipe
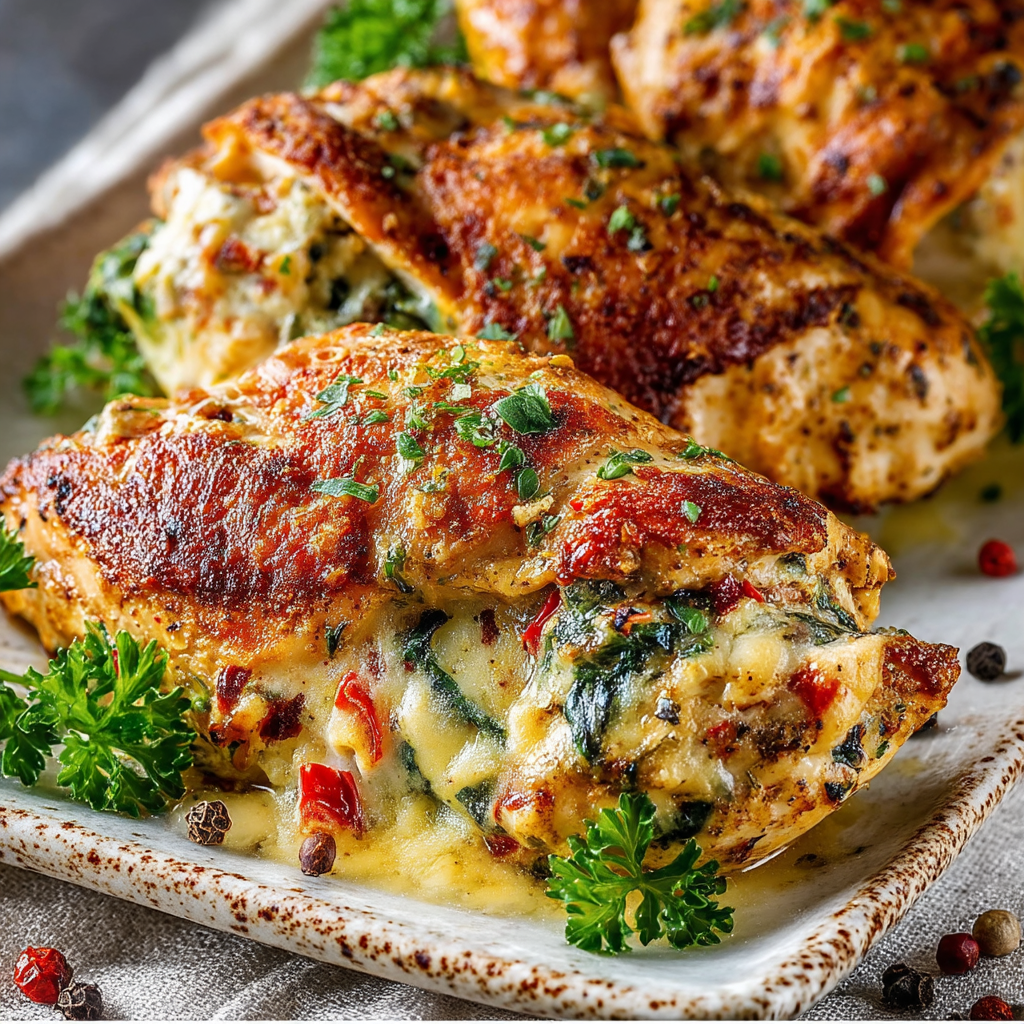
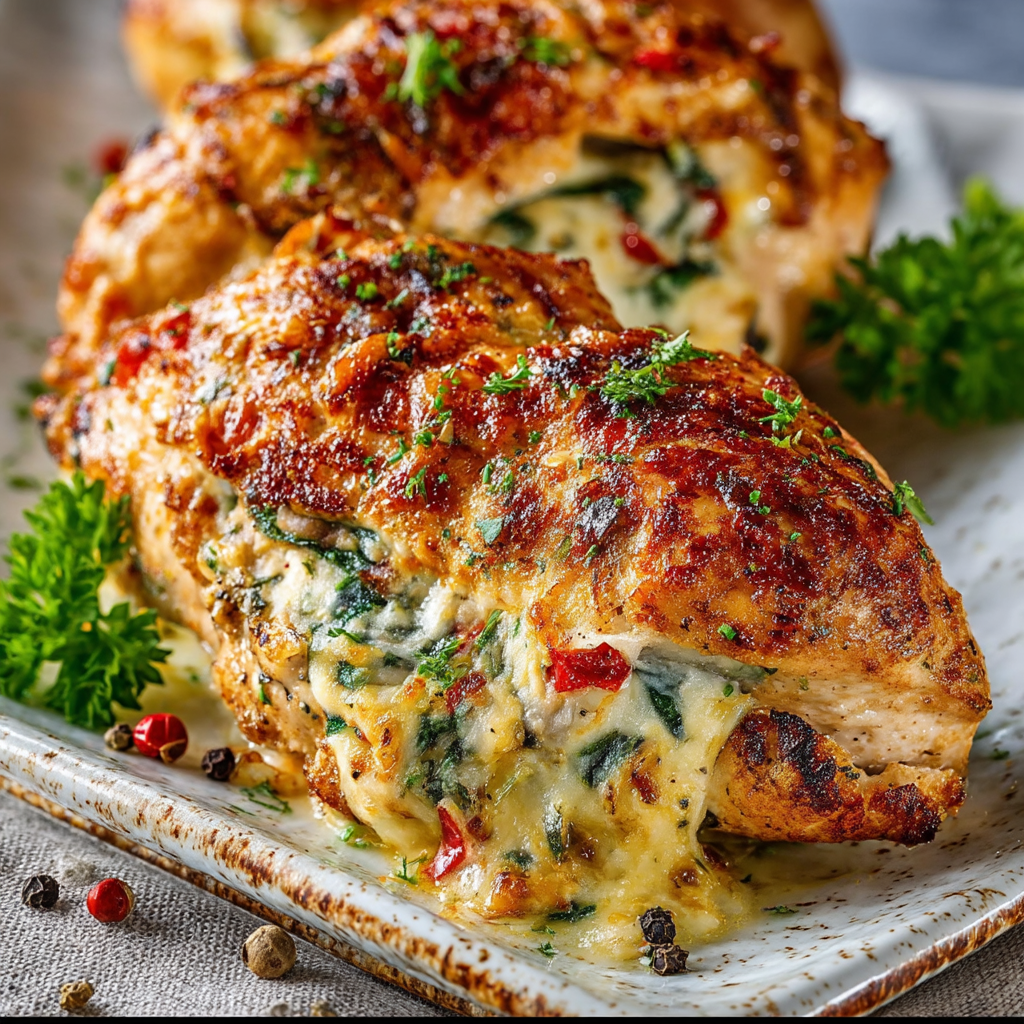
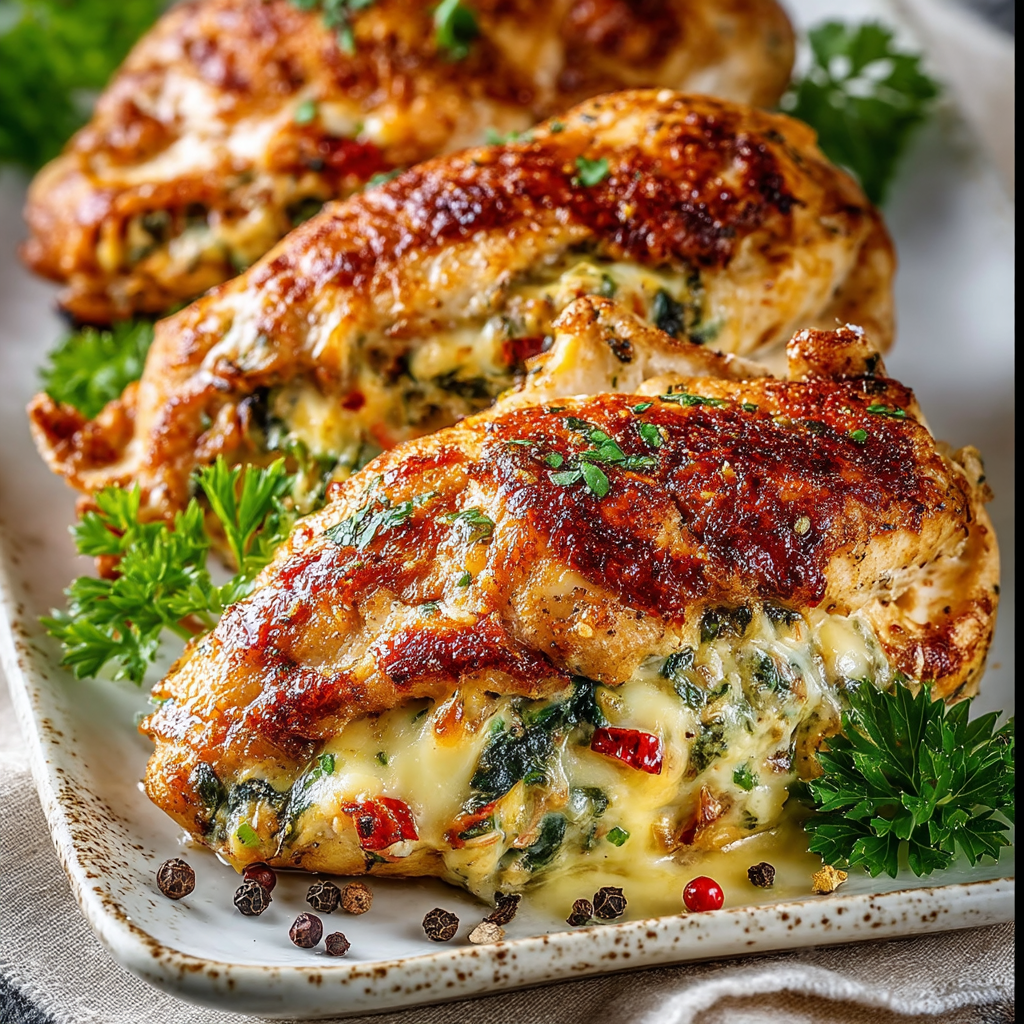
When you want a dish that impresses without overcomplicating your kitchen life, Stuffed Chicken Breast is the answer. It’s juicy, flavorful, and looks like you spent way more time on it than you actually did. Packed with savory asiago cheese, juicy tomatoes, smoky roasted red peppers, and crunchy breadcrumbs, this recipe nails the balance between comfort food and elegant main course.
The beauty of stuffed chicken is how customizable it is. You can make it cheesy and indulgent or lean and veggie-loaded. It cooks evenly, locks in moisture, and bursts with flavor from the inside out. Plus, you get a full meal experience in every bite—protein, texture, and layers of flavor wrapped up in a golden, seasoned chicken breast.
Whether you’re cooking for guests, date night, or meal prepping for the week, this stuffed chicken breast delivers every time. Pair it with mashed potatoes, roasted veggies, or a crisp salad, and you’ve got a restaurant-worthy dinner with very little fuss.
Want more ways to level up your chicken game? Check out this guide to mastering stuffed chicken or explore cheese pairings for poultry.
Ready to take a basic chicken breast and turn it into something amazing? Let’s get started.
2. Basic Recipe: Ingredients and Instructions
Print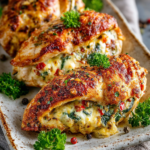
Easy Stuffed Chicken Breast with Asiago & Tomato
Description
This stuffed chicken breast recipe is filled with asiago, tomato, herbs, and breadcrumbs. Juicy, flavorful, and easy enough for weeknights.
Ingredients
Filling:
– 2 medium tomatoes, chopped
– 1 cup asiago cheese, shredded
– 1/4 cup parsley, chopped
– 1/4 cup roasted red peppers, chopped
– 1/2 cup breadcrumbs
Stuffed Chicken Breasts:
– 3 large chicken breasts
– 1/2 teaspoon salt (or to taste)
– 1/2 teaspoon pepper (or to taste)
– 1/2 teaspoon paprika
– 1 tablespoon olive oil
Instructions
1. Preheat oven to 375°F (190°C). Line a baking dish with foil or lightly grease.
2. Prepare the filling by combining tomatoes, asiago cheese, parsley, red peppers, and breadcrumbs in a medium bowl. Stir until evenly mixed.
3. Butterfly the chicken breasts: Slice each breast horizontally without cutting all the way through, creating a pocket. Season inside and out with salt, pepper, and paprika.
4. Stuff each chicken breast with an equal portion of the filling. Use toothpicks to secure the edges if needed.
5. Heat olive oil in an oven-safe skillet over medium-high heat. Sear chicken breasts for 2-3 minutes per side until golden.
6. Transfer to the oven (or move skillet into oven if using oven-safe pan) and bake for 20-25 minutes, or until chicken is cooked through and juices run clear.
7. Let rest 5 minutes before slicing. Serve warm.
Notes
– Don’t overstuff—a snug fit helps the filling stay inside while baking.
– Use a meat thermometer to ensure internal temp hits 165°F (74°C).
– Swap asiago with mozzarella, provolone, or feta if desired.
– Add spinach or chopped artichokes for a Mediterranean twist.
– This dish pairs well with balsamic glaze or a light lemon butter sauce.
3. Advanced Techniques
Seal with Kitchen Twine or Toothpicks
To keep the filling secure and prevent it from leaking, seal the chicken breasts tightly with kitchen twine or toothpicks. This not only keeps everything inside but also helps maintain a uniform shape for even cooking.
Dry Brining for Enhanced Flavor
Salt the chicken breasts 1-2 hours before cooking and refrigerate uncovered. This dry brining process enhances the seasoning and helps draw moisture into the meat for juicier results.
Pan Sauce from Fond
After searing the stuffed chicken, don’t waste the browned bits (fond) at the bottom of the skillet. Deglaze the pan with white wine or chicken broth, add a knob of butter, and reduce to make a flavorful sauce to drizzle over the sliced chicken.
Stuff from the Side, Not the Top
Create the pocket from the thick side of the chicken breast rather than cutting from the top. This creates a deeper pocket and more evenly distributed filling, while keeping the chicken easier to seal.
Sous Vide for Precision Cooking
For perfectly cooked chicken, use a sous vide method. Vacuum-seal the stuffed chicken, cook it at 145°F (63°C) for 1.5 hours, then sear in a hot skillet to finish. This method guarantees juicy, tender chicken with no guesswork.

4. Storage, Shelf Life, and Maintenance Tips
Refrigeration
Store leftovers in an airtight container in the refrigerator for up to 3-4 days. Reheat gently in a covered dish at 325°F until warmed through to avoid drying out the chicken.
Freezing Instructions
Uncooked stuffed chicken breasts can be frozen. Wrap individually in plastic wrap and foil, then freeze for up to 2 months. Thaw overnight in the refrigerator before cooking.
Reheat Without Drying Out
Cover the chicken with foil and reheat in a 325°F oven for 15-20 minutes. For added moisture, drizzle a bit of broth or olive oil over the chicken before reheating.
Prep Ahead Option
Assemble the stuffed chicken up to 24 hours in advance and store in the fridge until ready to bake. This is perfect for dinner parties or busy weeknights.
Repurpose Leftovers
Slice leftover stuffed chicken and use it in wraps, grain bowls, or over salads. The flavorful filling carries well into next-day meals.
5. Dietary Adaptations and Substitutions
Gluten-Free Version
Use gluten-free breadcrumbs or crushed gluten-free crackers in place of traditional breadcrumbs. Everything else in the recipe is naturally gluten-free.
Dairy-Free Option
Swap asiago cheese with dairy-free cheese or nutritional yeast for cheesy flavor. Use a dairy-free breadcrumb or omit altogether.
Low-Carb Adaptation
Skip the breadcrumbs and add chopped spinach, mushrooms, or riced cauliflower to the filling. This reduces carbs while still providing texture and flavor.
Vegetable-Stuffed Variation
Make it extra healthy by replacing cheese with sautéed spinach, zucchini, or broccoli. Combine with herbs and a touch of lemon zest for brightness.
Pescatarian Alternative
Try this same method using thick white fish like cod or halibut. Stuff with Mediterranean ingredients like olives, capers, and cherry tomatoes.
6. FAQs About the Recipe
How do I prevent the filling from leaking out?
Don’t overfill the chicken, and make sure to seal the edges with toothpicks or twine. A tight sear also helps the meat hold its shape while baking.
Can I use chicken thighs instead of breasts?
Yes, but opt for large, boneless thighs and pound them flat to roll them around the filling. Secure with toothpicks and follow the same cooking method.
Can I make this in an air fryer?
Absolutely. Preheat the air fryer to 375°F and cook the stuffed chicken for 18-20 minutes, flipping halfway through. Always check internal temp for doneness.
What cheese works best if I don’t have asiago?
Mozzarella, provolone, fontina, gouda, or even cheddar can work well. Feta adds a tangy kick if you prefer bold flavor.
Is it safe to prep stuffed chicken ahead of time?
Yes, as long as it’s kept cold and cooked within 24 hours. Keep it tightly wrapped and stored in the refrigerator until ready to bake.
7. Conclusion & Final Thoughts
Stuffed Chicken Breast is one of those dishes that looks and tastes gourmet but comes together with simple, everyday ingredients. It transforms a basic protein into something memorable, whether you’re feeding the family or entertaining guests.
With its creamy, savory, and herbaceous filling, this recipe checks all the boxes for texture and flavor. Plus, it’s versatile enough to fit different dietary needs with a few easy tweaks. From casual dinners to holiday mains, this dish is a keeper.
Once you make it, you’ll want to add it to your regular rotation. It’s elegant but not fussy. Flavorful but not overwhelming. And most of all, it’s just plain delicious.