Introduction
Overview of No-Bake Cherry Cheesecake
No-bake desserts have soared in popularity, and this No-Bake Cherry Cheesecake is no exception. With its creamy, tangy filling and sweet cherry topping, this dessert is perfect for everything from summer picnics to holiday gatherings. The no-bake approach ensures that anyone can create a mouthwatering cheesecake without worrying about oven temperatures, cracks, or long preparation times. Instead of baking, a simple chilling step does all the work, making this an ideal recipe for busy schedules or beginner bakers.
What Makes This Recipe Stand Out?
What makes this recipe shine is the balance between convenience and decadence. By using ready-made ingredients like a graham cracker crust and cherry pie filling, along with smooth cream cheese and sweetened condensed milk, the process is quick without compromising on flavor. The touch of lemon juice elevates the creamy filling by adding a subtle tang, creating a dessert that feels light yet satisfying.
Why No-Bake Cheesecakes are Perfect for Any Occasion
No-bake cheesecakes are more than just easy to make; they are versatile enough to suit various events. Whether for a birthday celebration, an office potluck, or an after-dinner treat, this dessert never fails to impress. The cherry topping makes it festive and visually appealing, and the creamy filling offers a rich contrast to the bright fruit flavors. Plus, this cheesecake is highly customizable—you can swap out the fruit topping or even experiment with different crusts to match the occasion or personal taste.

Basic Recipe: No-Bake Cherry Cheesecake
Ingredients
- 1 graham cracker pie crust
- 1 package softened cream cheese (8 oz.)
- 1 tsp vanilla
- 1 can sweetened condensed milk (Eagle Brand)
- 1/3 cup lemon juice
- 1 can cherry pie filling (for topping)
Directions
- Prepare the Filling:
In a large mixing bowl, beat the softened cream cheese and vanilla extract until smooth and fluffy. This step ensures the cheesecake filling has a silky, lump-free consistency, so take your time to achieve the right texture. - Incorporate the Condensed Milk and Lemon Juice:
Slowly add the sweetened condensed milk while continuing to mix. Gradually mix in the lemon juice to allow the acidity to thicken the filling naturally. The lemon juice not only improves texture but also enhances the flavor with a subtle tang. - Fill the Crust:
Pour the creamy mixture into the pre-made graham cracker crust and use a spatula to spread it evenly. - Chill the Cheesecake:
Refrigerate the cheesecake for at least 4 hours, or preferably overnight. Chilling is essential for the filling to firm up properly, ensuring each slice holds its shape when served. - Add the Cherry Topping:
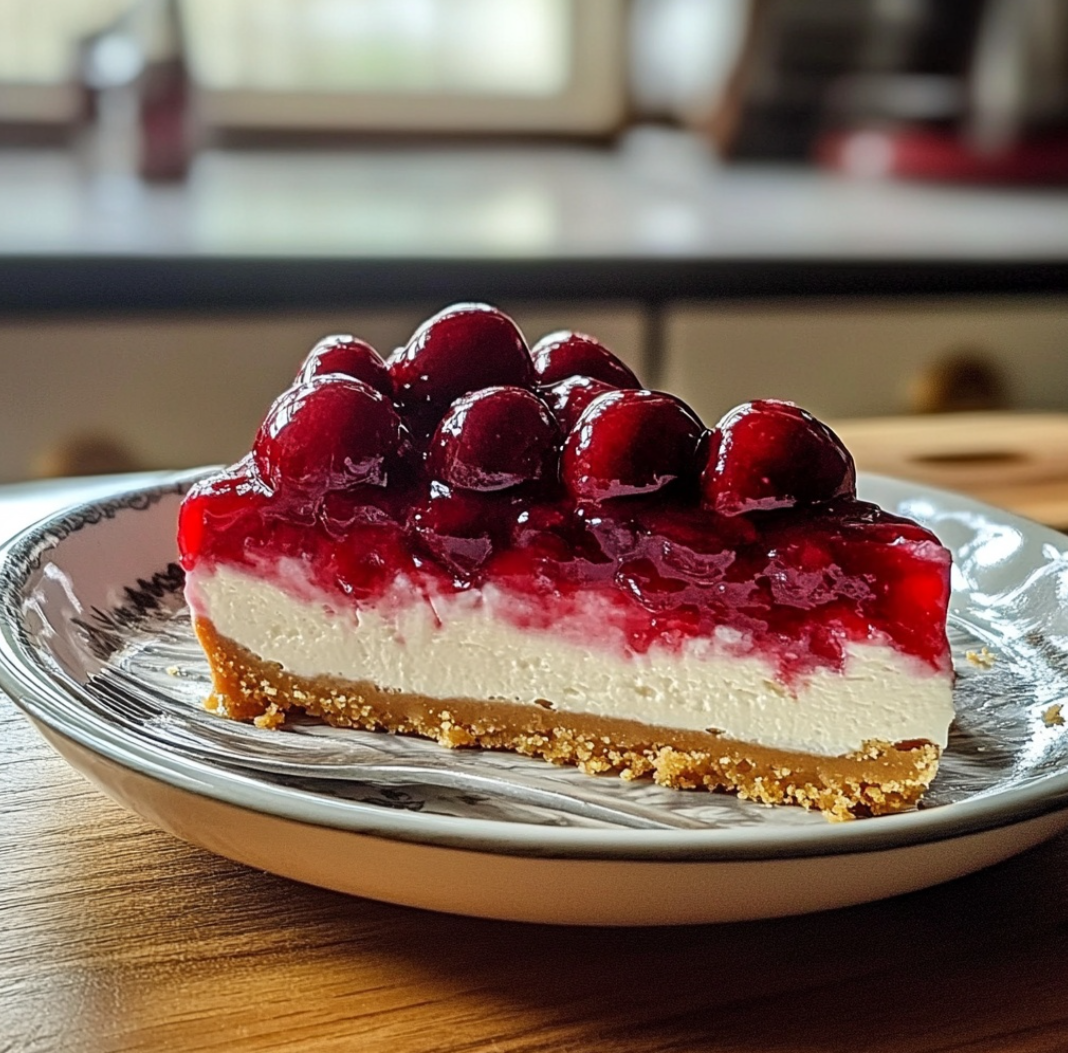
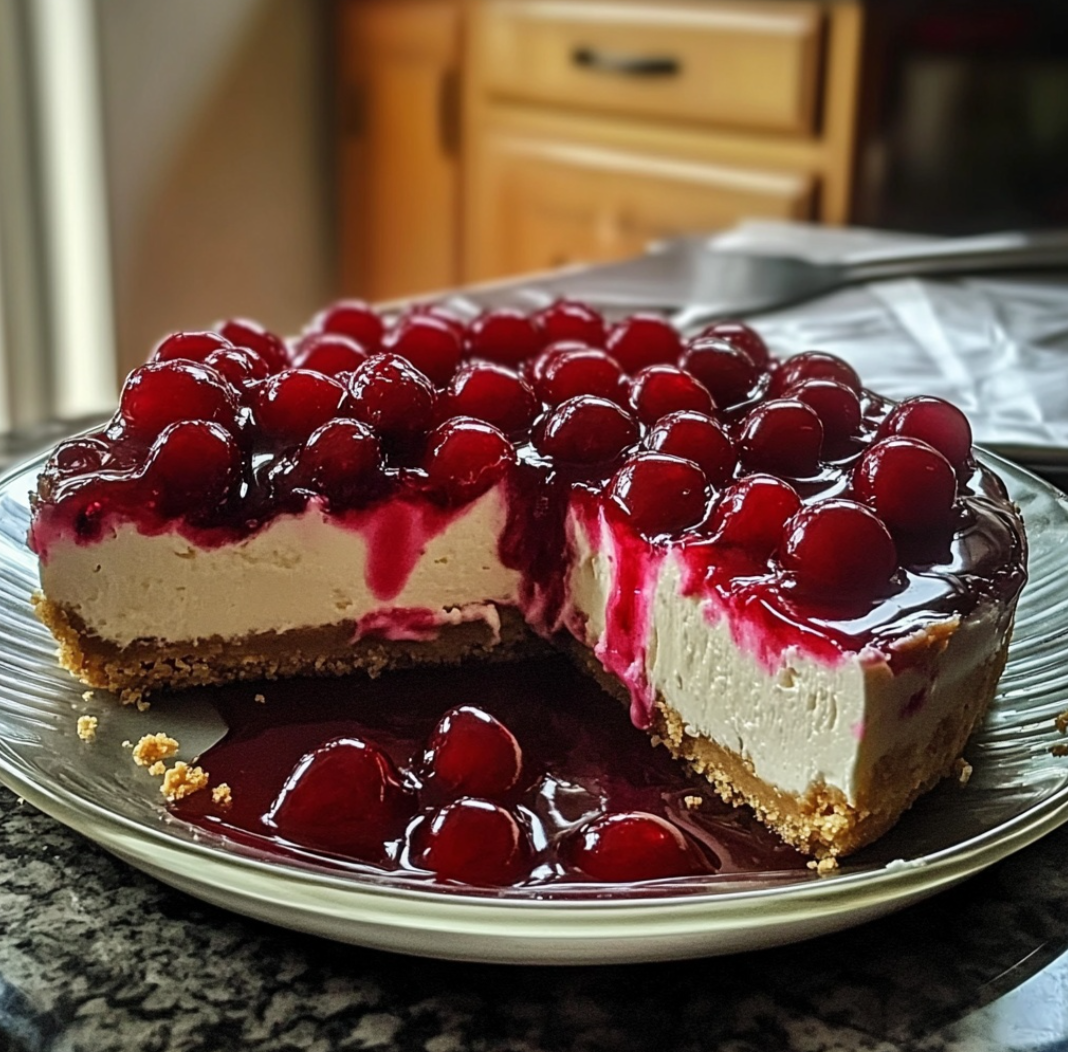
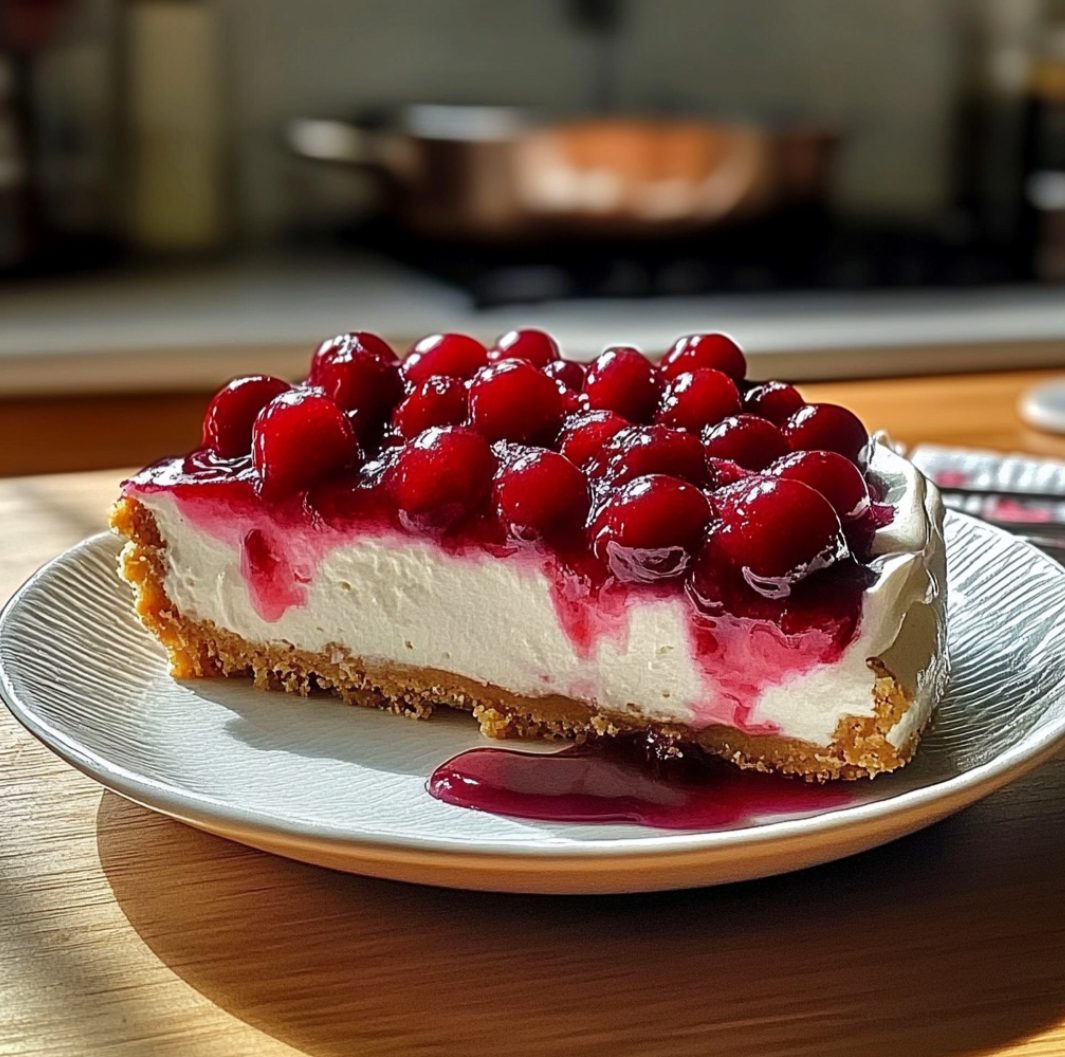
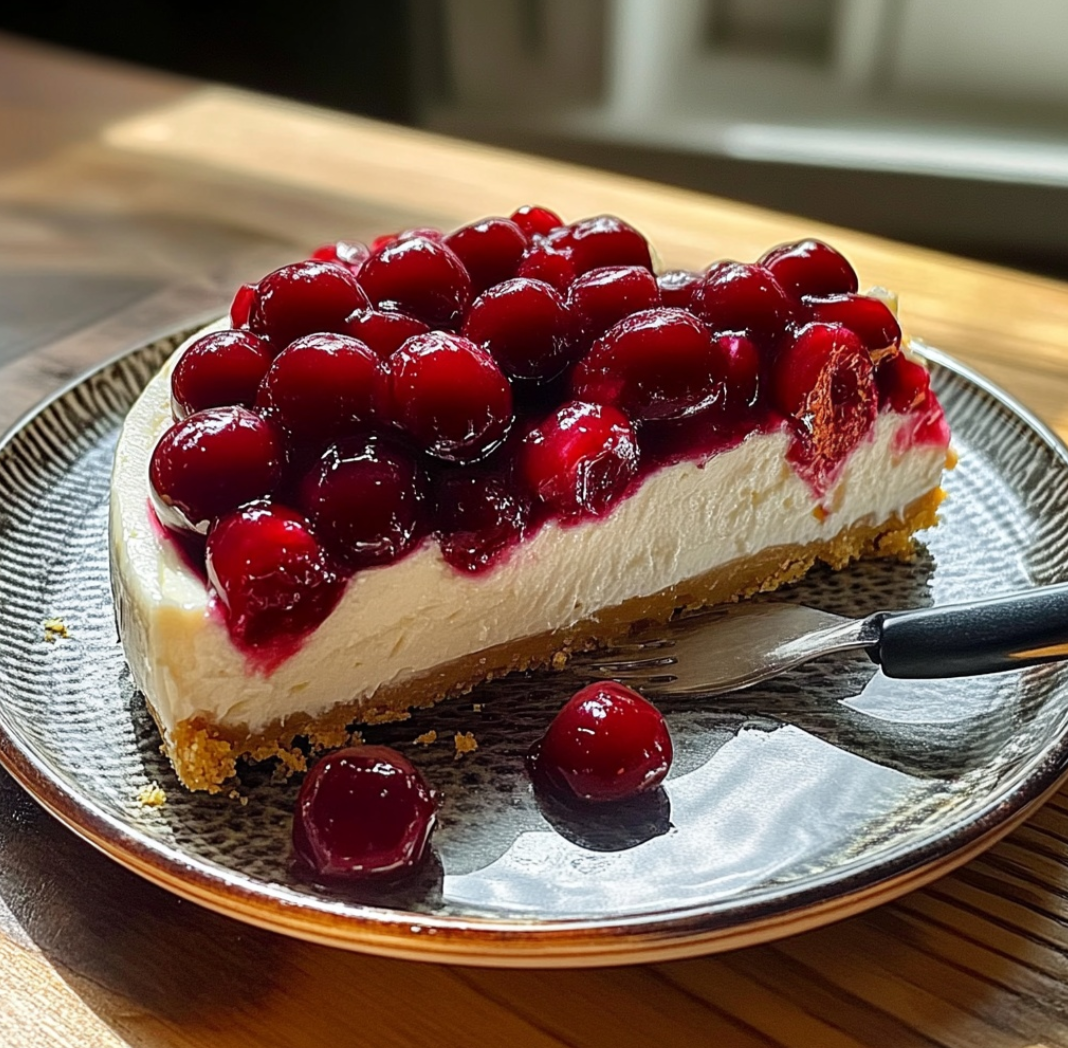
Just before serving, top the chilled cheesecake with a generous layer of cherry pie filling. The cherries add both visual appeal and a burst of sweetness that complements the creamy filling perfectly. - Serve and Enjoy:
Slice the cheesecake into neat wedges and serve with a smile. Each bite offers a delightful combination of rich creaminess, tangy lemon, and sweet cherries.
Advanced Techniques for a Perfect Cheesecake
1. Achieving a Smoother, Creamier Filling
- Start with softened cream cheese: Using room-temperature cream cheese helps achieve a smoother filling. If the cream cheese is too cold, it may form lumps that are hard to remove.
- Use an electric mixer: Mixing the ingredients slowly on low speed prevents air bubbles, resulting in a dense, creamy texture.
- Add lemon juice gradually: Incorporating the lemon juice slowly ensures that the filling thickens properly without curdling.
2. Creative Variations and Flavor Enhancements
- Crust Alternatives: Swap the graham cracker crust for an Oreo cookie crust, vanilla wafer crust, or even a ginger snap base to add extra flavor.
- Fruit Toppings: Replace cherry pie filling with other fruit toppings such as blueberry, raspberry, or peach for a new twist.
- Add a Chocolate Layer: Drizzle melted chocolate over the cherry topping or mix chocolate chips into the filling for a richer experience.
- Infused Flavors: Add a hint of almond extract or lemon zest to the filling to elevate the flavor profile.
3. Making Cheesecake in Mini Portions
For an elegant presentation or party setting, prepare individual cheesecakes using small glass jars or mini pie crusts. These single servings not only look adorable but also make it easier to serve guests without slicing the cheesecake.

Maintenance Tips: Storing and Serving Suggestions
1. How to Store the Cheesecake
- In the refrigerator: Cover the cheesecake with plastic wrap or store it in an airtight container to keep it fresh for up to 5 days.
- Prevent sogginess: If using homemade fruit toppings, add them just before serving to prevent the crust from becoming soggy.
2. Freezing the Cheesecake
- Wrap and freeze: To freeze the cheesecake, wrap it tightly in plastic wrap and aluminum foil. Store it in the freezer for up to 1 month.
- Thawing instructions: When ready to serve, thaw the cheesecake overnight in the refrigerator. Avoid thawing at room temperature to prevent the filling from softening too much.
3. Presentation Tips
- Slice with a hot knife: Run a knife under hot water and wipe it dry before slicing the cheesecake. This prevents the filling from sticking to the blade, resulting in cleaner cuts.
- Garnish creatively: Add whipped cream swirls, chocolate shavings, or extra cherries on top for a more elegant presentation.
Dietary Adaptations and Customization
1. Gluten-Free Version
- Use a gluten-free graham cracker crust, or make your own using gluten-free crackers and butter.
2. Dairy-Free and Vegan Options
- Substitute the cream cheese with a vegan cream cheese alternative.
- Use sweetened condensed coconut milk instead of dairy-based condensed milk.
- Ensure the crust and topping are free from animal products if making the dessert entirely vegan.
3. Low-Sugar or Keto Version
- Replace the sweetened condensed milk with sugar-free condensed milk to reduce sugar content.
- Use a low-carb pie crust or crushed nuts for a keto-friendly base.
- Opt for sugar-free cherry pie filling or make your own using fresh cherries and sweetener alternatives.
4. Adjusting Portion Sizes for Calorie Control
- Prepare smaller cheesecakes in individual jars to keep portions controlled.
- Alternatively, slice the full-size cheesecake into smaller wedges to reduce calorie intake per serving.

FAQs: Troubleshooting and Common Questions
1. Why is my cheesecake filling not setting?
If the filling is too soft or runny, it may be due to insufficient chilling time. Ensure the cheesecake chills for at least 4 hours, or ideally overnight, to allow the filling to firm up completely.
2. Can I make the cheesecake in advance?
Yes, this cheesecake is ideal for preparing ahead of time. You can make it a day or two in advance and keep it refrigerated until ready to serve.
3. How do I prevent lumps in the filling?
Make sure the cream cheese is fully softened before mixing. If lumps remain after beating, you can pass the mixture through a fine sieve to smooth it out.
4. What are some other toppings I can use?
Beyond cherry pie filling, you can use blueberry, raspberry, or peach fillings. Fresh fruit or a drizzle of caramel sauce also works beautifully.
5. Can I use homemade cherry topping?
Absolutely! Make a simple cherry compote by cooking fresh cherries with sugar and lemon juice until thickened. Let it cool before spreading it over the cheesecake.

