Introduction to Butter Mochi Recipe: A Hawaiian Delight
The Essence of Butter Mochi Recipe
Butter mochi Recipe, a beloved treat in Hawaiian cuisine, offers a unique combination of chewy texture and sweet, buttery flavor. This dessert has evolved from traditional Japanese mochi, adapting local ingredients like coconut milk and mochiko (sweet rice flour) to create a fusion that appeals to both locals and tourists. Learn more about traditional mochi to appreciate butter mochi’s roots in Traditional Mochi Recipes.
Cultural and Culinary Significance
- Cultural Roots: Butter mochi’s history reflects the blending of Japanese immigrants’ culinary traditions with Hawaiian ingredients.
- Popularity: Celebrated particularly during festive occasions, it has become a staple at local gatherings and potlucks across Hawaii.
What Makes Butter Mochi Special?
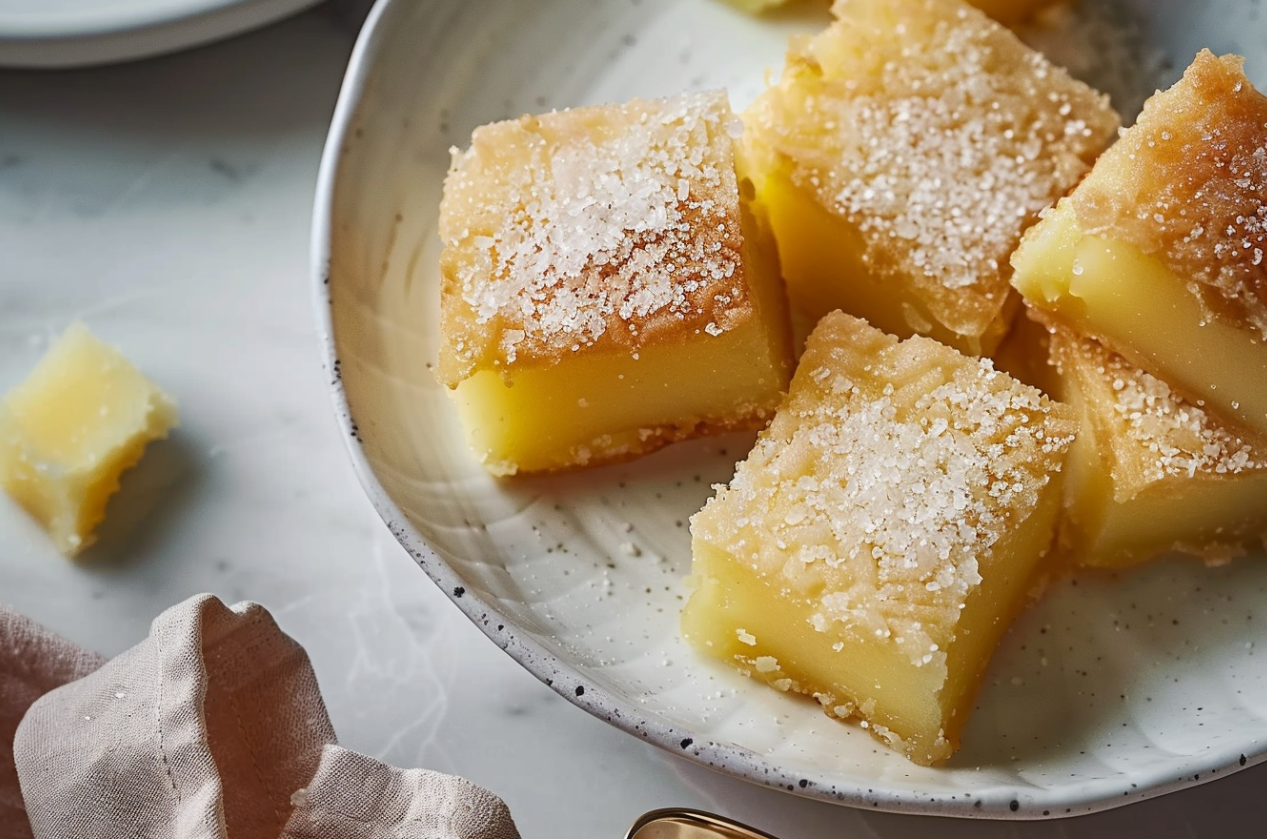
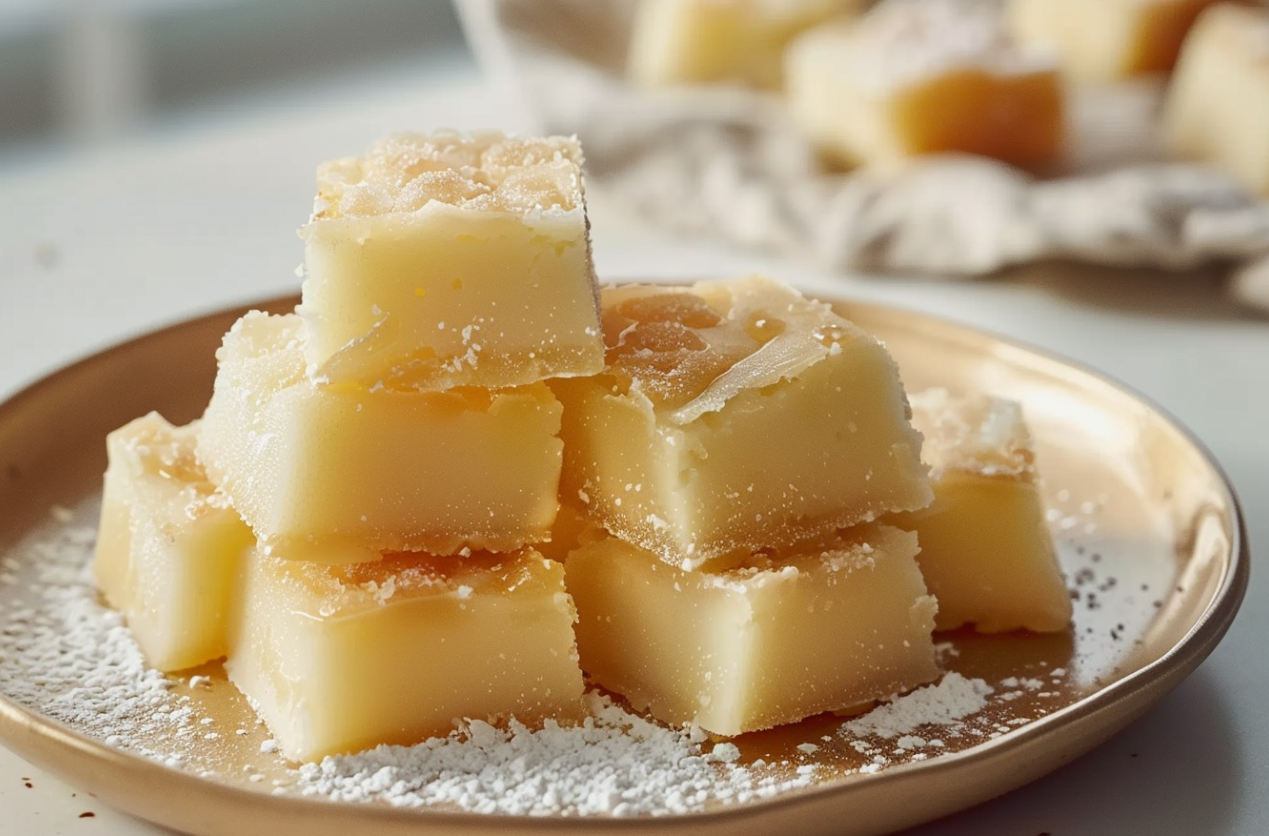
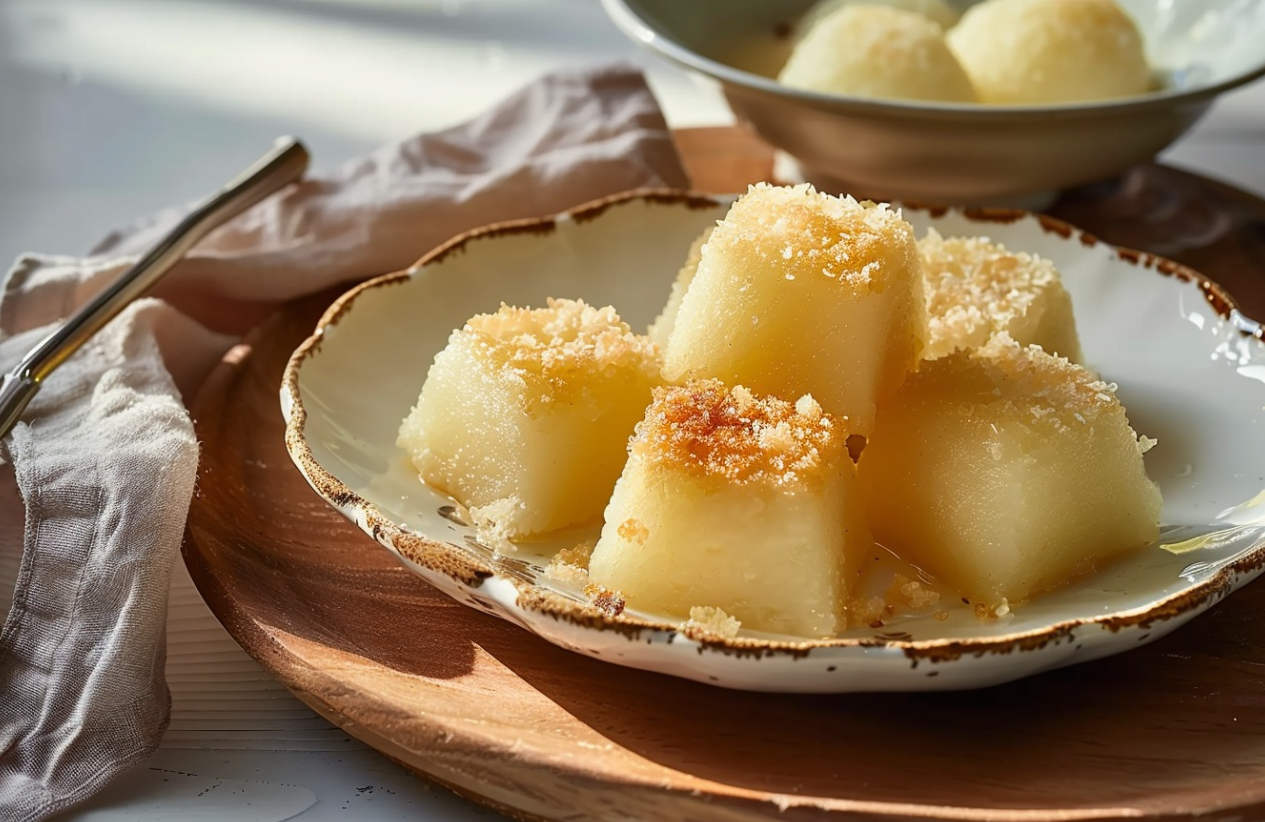
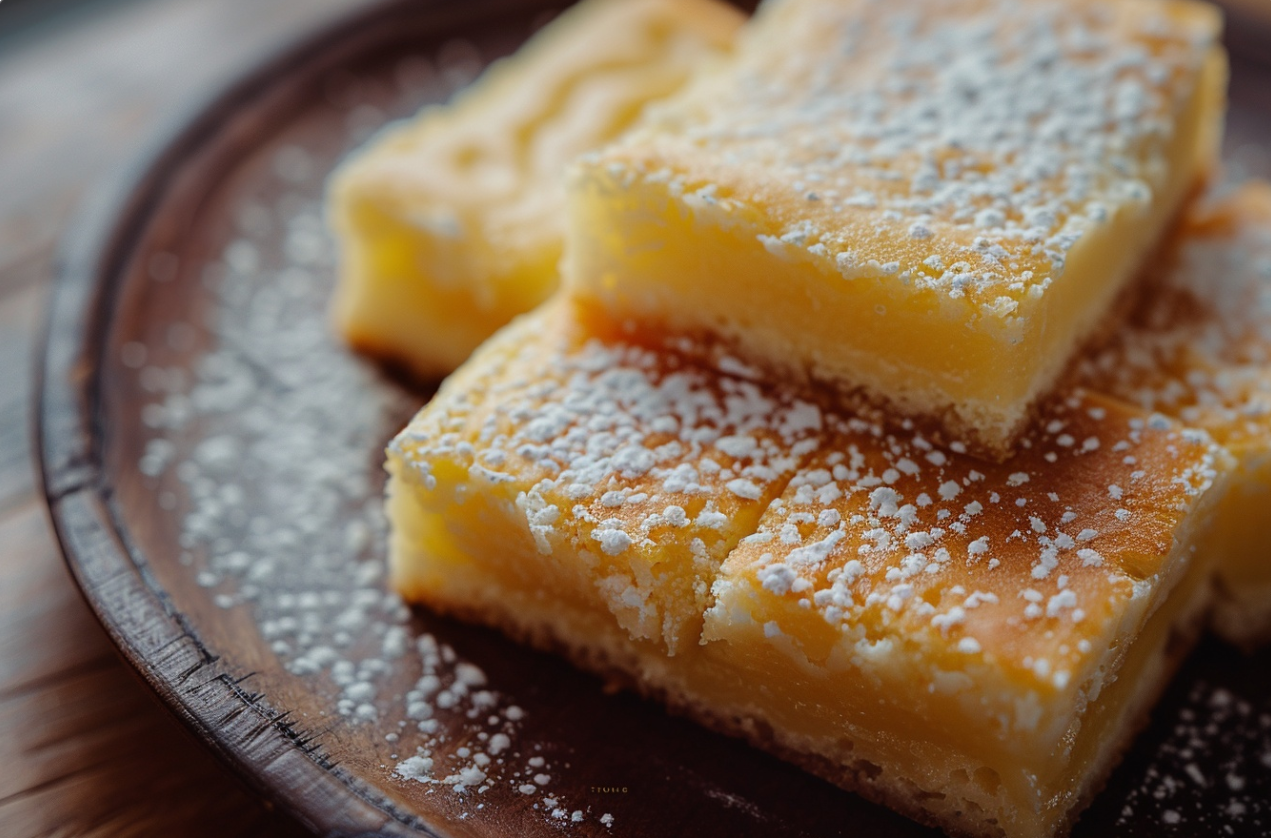
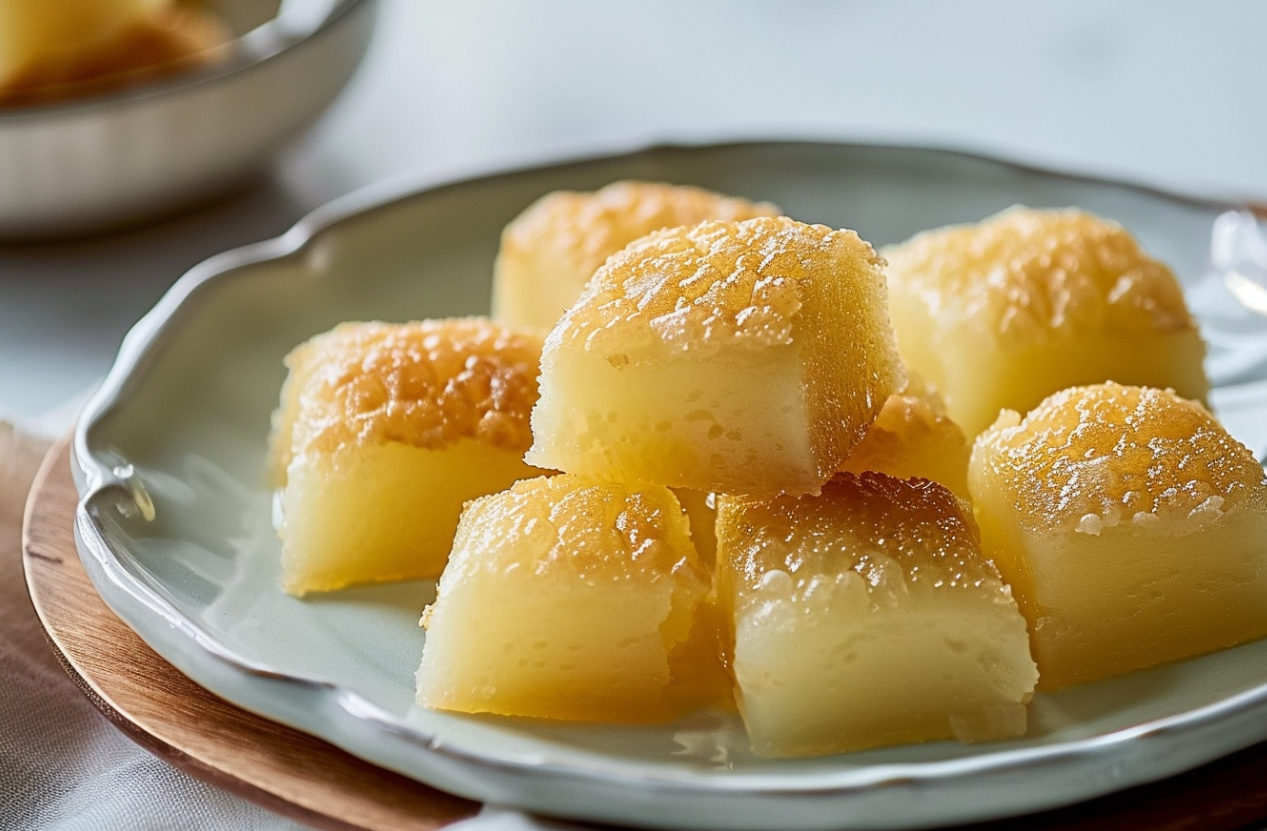
The allure of butter mochi lies in its simplicity and the sensory pleasure it provides. The main ingredients—mochiko, sugar, coconut milk, and butter—come together in a delightful synergy, baking into a golden, slightly crispy top layer that encases a soft, sticky interior. This texture contrast is a key characteristic of butter mochi that makes it irresistibly appealing.
By exploring the foundational aspects of butter mochi, this introduction sets the stage for a deeper dive into its preparation, variations, and tips for perfecting this tasty dessert.
Basic Recipe
Print
Classic Butter Mochi Recipe
- Total Time: 1 hour 15 minutes
- Yield: 24 squares 1x
- Diet: Gluten Free
Description
A traditional Hawaiian dessert, butter mochi is a sweet and chewy treat made with glutinous rice flour and coconut. Perfect for any occasion!
Ingredients
- 1 pound mochiko (glutinous rice flour)
- 2 ½ cups white sugar
- 1 teaspoon baking powder
- ½ cup butter, melted
- 3 cups whole milk
- 5 eggs
- 1 teaspoon vanilla extract
- 1 cup sweetened, flaked coconut
Instructions
- Preheat the oven to 350°F (175°C). Grease a 9×13-inch baking dish.
- In a large bowl, combine mochiko, sugar, and baking powder.
- Stir in melted butter, whole milk, eggs, and vanilla extract until smooth.
- Fold in the sweetened, flaked coconut.
- Pour the batter into the prepared baking dish.
- Bake for 1 hour, or until the top is golden brown and a toothpick inserted into the center comes out clean.
- Allow to cool completely before cutting into squares.
Notes
Store in an airtight container at room temperature for up to 3 days.
- Prep Time: 15 minutes
- Cook Time: 1 hour
- Category: Dessert
- Method: Baking
- Cuisine: Hawaiian
Nutrition
- Serving Size: 1 square
- Calories: 170
- Sugar: 20g
- Sodium: 60mg
- Fat: 7g
- Saturated Fat: 4g
- Unsaturated Fat: 2g
- Trans Fat: 0g
- Carbohydrates: 25g
- Fiber: 1g
- Protein: 3g
- Cholesterol: 45mg
Keywords: Butter Mochi
For more delightful recipes, check out Authentic Hawaiian Butter Mochi Recipe and How to Make Butter Mochi.
STEPS
Step 1
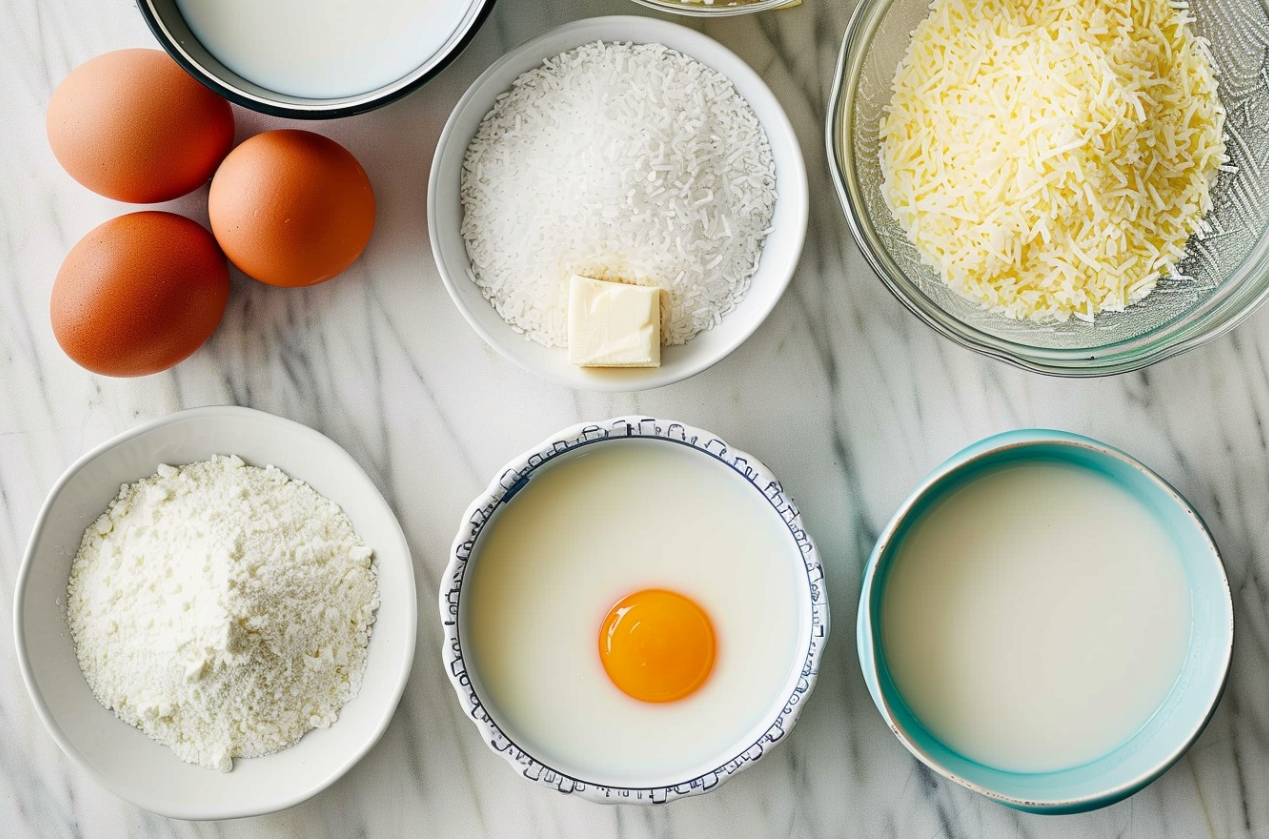
Assemble your ingredients. Set the oven to 350 degrees F (175 degrees C) to preheat. Lightly coat a 9×13 inch baking dish with grease.
Step 2
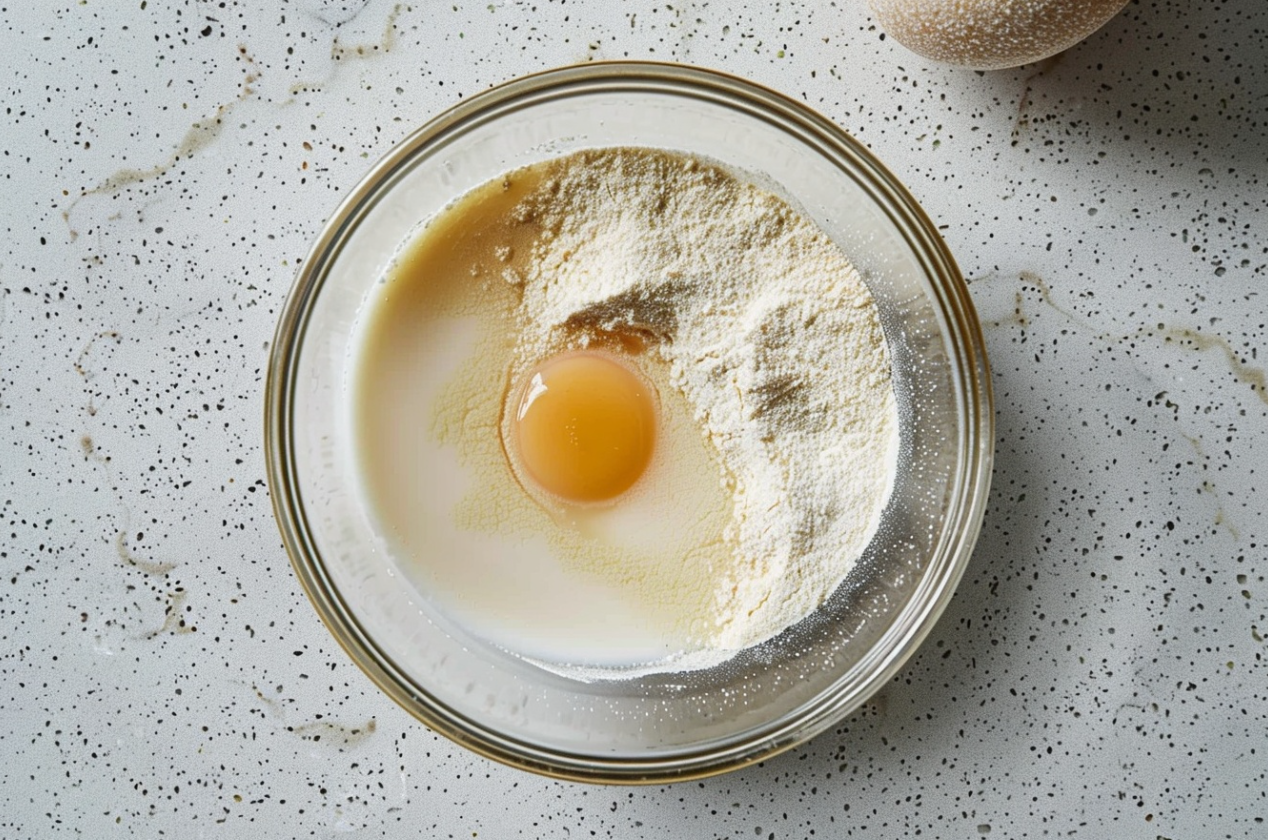
In a medium bowl, beat the eggs, vanilla, and milk together. In a different, larger bowl, mix the rice flour, sugar, and baking powder.
Step 3
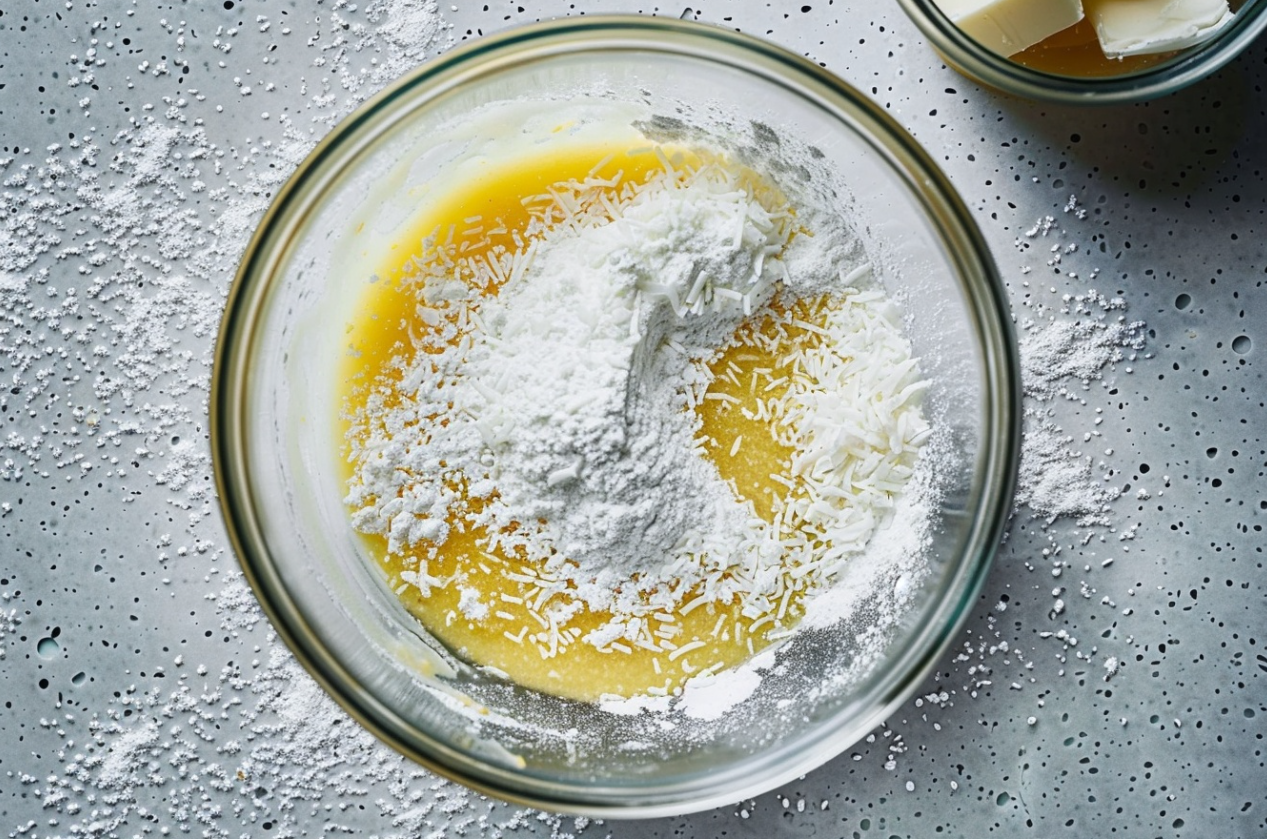
Combine the wet ingredients with the dry ingredients and stir until well mixed. Add in the melted butter and coconut, then pour the mixture into the greased pan.
Step 4
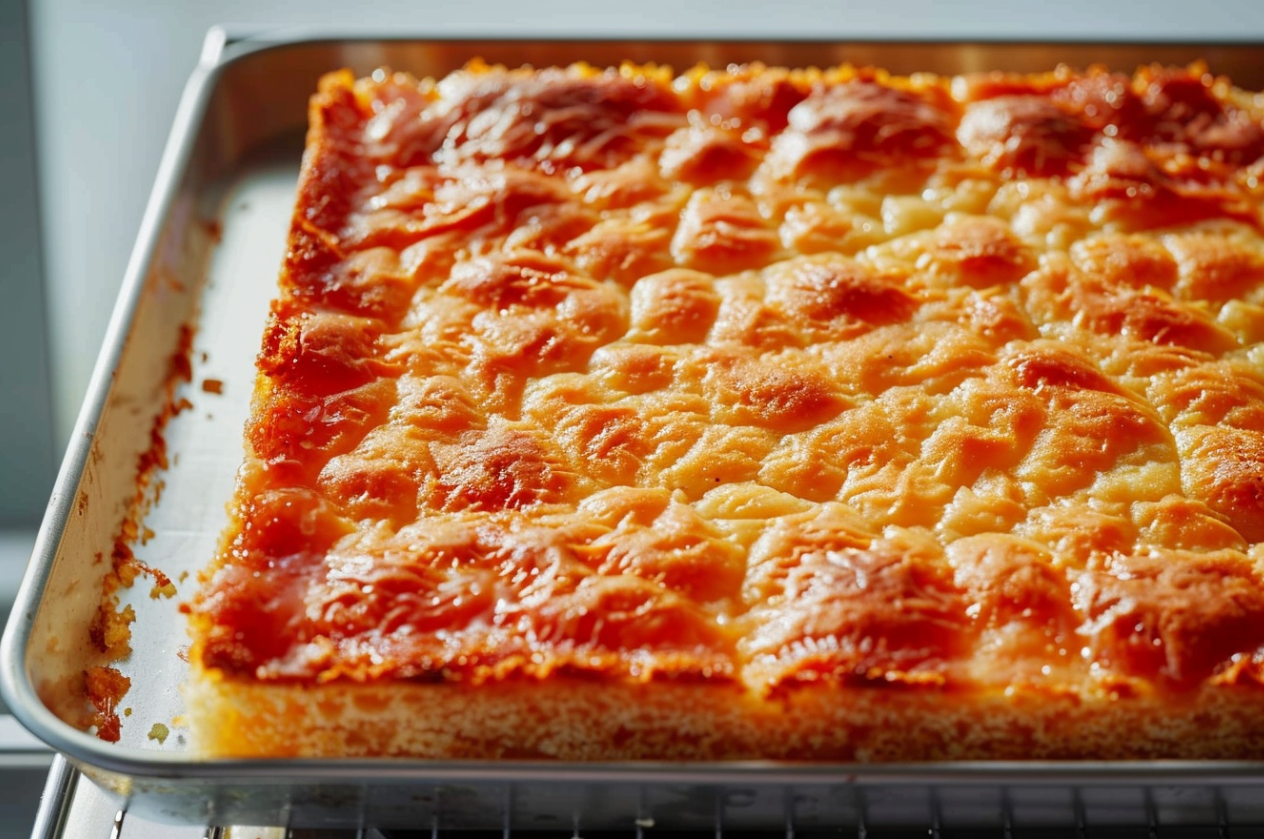
Bake in the preheated oven for 1 hour. Allow it to cool completely before cutting into squares for serving.
Advanced Techniques for Butter Mochi Recipe
Enhancing Texture and Flavor
Experimenting with the texture and flavor of butter mochi can transform this simple dessert into a gourmet experience. Here are some advanced tips to elevate your butter mochi:
- Ingredient Ratios: Adjusting the ratio of mochiko to liquid can alter the chewiness. For a firmer texture, increase the flour slightly; for a softer texture, increase the liquid.
- Flavor Additions: Introduce new flavors such as matcha powder, pureed mango, or even coffee to infuse a distinct twist to the traditional recipe.
Creative Presentation Ideas
How you present butter mochi can make it even more appealing:
- Cut into Unique Shapes: Use cookie cutters to shape the mochi into flowers, stars, or other fun designs after baking.
- Colorful Toppings: Sprinkle the top with colored sesame seeds, shredded coconut, or cocoa powder before baking to add visual appeal and texture.
Maintaining Ideal Consistency
Achieving the perfect consistency requires precise baking and cooling:
- Baking Time: Monitor the oven during the final minutes of baking. The surface of butter mochi should exhibit a golden hue yet maintain a gentle wobble at the core.
- Cooling: Allow the mochi to cool completely in the pan before slicing to ensure it sets properly and maintains its texture.
By applying these advanced techniques, you can customize your butter mochi to suit any occasion or personal preference, making it not just a dessert, but a conversation starter at your next gathering. For more advanced recipes, visit cookingwhite.
Guidelines for Maintaining Your Butter Mochi Recipe
Preserving Freshness
Adequate storage is crucial for sustaining the flavor and consistency of butter mochi. Follow these guidelines to ensure your mochi stays delicious for days:
- Airtight Containers: Always store butter mochi in an airtight container to prevent it from drying out.
- Room Temperature: Keep it at room temperature for 1-2 days for optimal softness, or refrigerate if keeping longer.
Reheating for Best Texture
Reviving butter mochi to its original softness can be done effectively with the right approach:
- Microwave Briefly: If refrigerated, microwave slices on a low setting for 10-15 seconds. This will restore the soft, chewy texture without making it too gooey.
Avoiding Common Mistakes
Certain pitfalls can affect the quality of your butter mochi; here are tips to avoid them:
- Overmixing the Batter: Mix just until the ingredients are combined to keep the texture light.
- Overbaking: Remove from the oven once the edges are set but the center is slightly soft to touch. Overbaking can lead to dry, hard mochi.
Following these maintenance tips will keep your butter mochi as delightful as when it was freshly baked. Whether you’re serving it the next day or enjoying leftovers, these simple steps will keep your mochi in perfect condition.
Dietary Adaptations for Butter Mochi Recipe
Gluten-Free Options
Creating a gluten-free version of butter mochi is straightforward due to the naturally gluten-free nature of mochiko (sweet rice flour). However, ensuring other ingredients meet gluten-free standards is crucial:
- Check Labels: Verify that all added ingredients, such as baking powder and vanilla extract, are certified gluten-free.
Vegan Variations
Adapting butter mochi for a vegan diet involves substituting a few key ingredients without compromising the traditional texture and flavor:
- Milk and Butter: Use coconut oil instead of butter and almond or soy milk in place of regular milk.
- Egg Substitute: Incorporate a flaxseed meal mixture or commercial egg replacer suitable for baking. Vegan Baking Substitutes
Reducing Sugar
While sugar is essential for the texture and taste of butter mochi, reducing its quantity can be beneficial for those watching their sugar intake:
- Sugar Alternatives: Experiment with lower glycemic index sugars like coconut sugar, or use sugar substitutes that can withstand high temperatures.
- Adjust to Taste: Gradually reduce the sugar amount and taste the batter to ensure the sweetness level remains enjoyable.
These adaptations not only make butter mochi more accessible to those with dietary restrictions but also open up the delightful experience of making and enjoying this dessert to a broader audience. By modifying the ingredients thoughtfully, you can cater to various health preferences while still indulging in the unique, chewy texture of butter mochi.
