Introduction to Wendy’s Chili
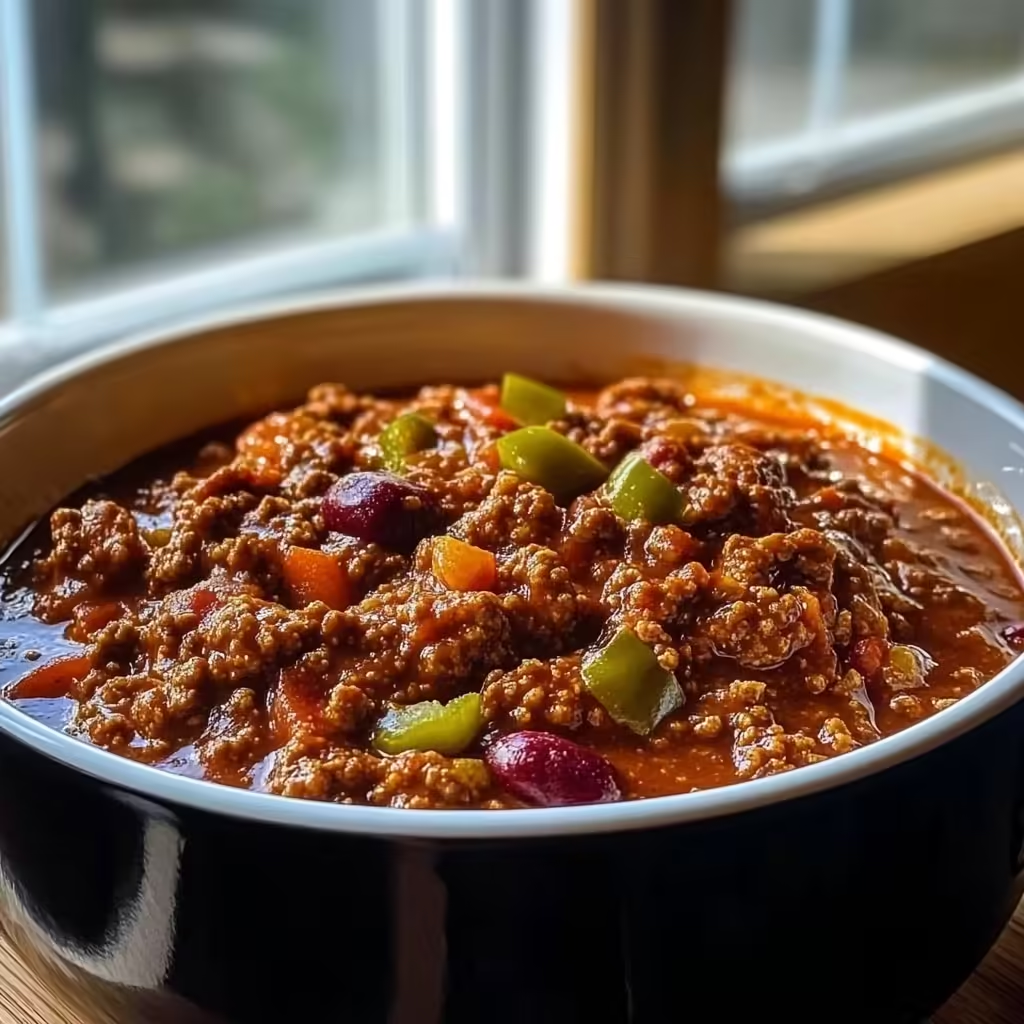
Wendy’s Chili is an iconic dish loved by many for its hearty texture, rich flavors, and satisfying warmth. It’s the perfect combination of ground beef, beans, vegetables, and spices, simmered to perfection to create a robust and comforting chili. This copycat recipe captures the essence of Wendy’s original chili, allowing you to enjoy it at home. Whether you’re cooking for a crowd, meal prepping for the week, or simply craving a bowl of warm, savory chili, this recipe delivers all the flavor and satisfaction you expect. Plus, it’s easy to make and can be prepared on the stovetop or in a slow cooker for added convenience.
Basic Recipe for Wendy’s Chili
Ingredients:
- 2 pounds fresh ground beef
- 1 quart tomato juice
- 1 (29-ounce) can tomato purée
- 1 (15-ounce) can red kidney beans, drained
- 1 (15-ounce) can pinto beans, drained
- 1 medium-large onion, chopped (about 1 1/2 cups)
- 1/2 cup diced celery
- 1/4 cup diced green bell pepper
- 1/4 cup chili powder (adjust for desired heat)
- 1 teaspoon ground cumin (add more for stronger flavor)
- 1 1/2 teaspoons garlic powder
- 1 teaspoon salt
- 1/2 teaspoon ground black pepper
- 1/2 teaspoon dried oregano
- 1/2 teaspoon sugar
- 1/8 teaspoon cayenne pepper (optional for heat)
Instructions:
1. Brown the Ground Beef:
- In a large skillet, cook the ground beef over medium heat until browned, breaking it apart as it cooks to create small crumbles.
- Drain the excess fat and set the cooked beef aside.
2. Combine Ingredients in a Pot:
- In a large 6-quart pot, add the browned ground beef, tomato juice, tomato purée, red kidney beans, pinto beans, chopped onion, diced celery, and green bell pepper.
- Stir to combine the ingredients thoroughly.
3. Add Spices:
- Add the chili powder, ground cumin, garlic powder, salt, black pepper, dried oregano, sugar, and cayenne pepper (if using).
- Stir well to ensure the spices are evenly distributed throughout the chili.
4. Simmer the Chili:
- Cover the pot and bring the chili to a simmer over medium-low heat. Let it simmer for 1 to 1 1/2 hours, stirring every 15 minutes to prevent sticking and to allow the flavors to meld together.
- For a slow cooker version, transfer the mixture to a slow cooker and cook on low for 3 to 4 hours.
5. Taste and Adjust:
- After the chili has simmered and thickened, taste it and adjust the seasoning if needed. You can add more salt, cumin, or cayenne pepper based on your preference.
6. Serve and Enjoy:
- Serve the chili hot, garnished with toppings like shredded cheese, sour cream, chopped onions, or crackers if desired. Pair with cornbread or a side salad for a complete meal.
Cooking Times:
- Prep Time: 10-15 minutes
- Cook Time: 1 to 1 1/2 hours (or 3-4 hours in a slow cooker)
- Total Time: 1 1/2 to 2 hours
- Servings: 8-10
- Calories: Approximately 320 kcal per serving
Advanced Techniques for Making Wendy’s Chili
1. Browning the Beef:
- Browning the ground beef properly is key to building the foundation of flavor in this chili. Make sure to cook the beef over medium heat, allowing it to develop a rich, brown crust. Avoid overcrowding the pan, as this can cause the beef to steam rather than brown.
- For added depth, you can brown the beef in batches to ensure each piece gets a good sear. Once browned, drain any excess fat to prevent the chili from becoming too greasy.
2. Using Fresh Spices:
- To get the most flavor out of your chili, use fresh, high-quality spices. Chili powder, cumin, and oregano are essential to achieving that signature Wendy’s flavor. If possible, toast the cumin and chili powder in a dry skillet for 1-2 minutes before adding them to the pot to bring out their aromatic oils and intensify their flavors.
3. Building Layers of Flavor:
- This chili benefits from slow, gentle cooking. Allowing the ingredients to simmer together for at least an hour helps the flavors develop and blend beautifully. The longer you simmer, the richer the taste. Be patient and stir occasionally to avoid sticking.
4. Adjusting the Heat:
- The heat level in this recipe can be customized easily. If you prefer a milder chili, reduce the amount of chili powder and omit the cayenne pepper. For those who like a spicy kick, add more cayenne or even diced jalapeños. The heat from the spices will intensify as the chili simmers, so start with less and add more as needed.
5. Using a Slow Cooker:
- If you prefer to use a slow cooker, simply transfer all the ingredients into the slow cooker after browning the beef and let it cook on low for 3-4 hours. This method allows you to set it and forget it while still achieving a rich and flavorful chili.
Maintenance Tips for Storing and Reheating
1. Storing Leftovers:
- Wendy’s Chili stores wonderfully, making it ideal for meal prep or enjoying later. Once the chili has cooled completely, store leftovers in an airtight container in the refrigerator for up to 4-5 days. The flavors will continue to develop, making the chili even tastier after a day or two.
2. Freezing Chili:
- Chili also freezes well for up to 3 months. To freeze, divide the chili into freezer-safe containers or zip-top bags, leaving some space for expansion. Label with the date and freeze.
- To reheat frozen chili, thaw it in the refrigerator overnight and then reheat on the stovetop over medium heat until hot, stirring occasionally. You may need to add a splash of water or broth to loosen it up if it has thickened during storage.
3. Reheating Tips:
- When reheating, always do so over low to medium heat to avoid burning the bottom of the pot. Stir frequently to ensure even heating.
- If reheating in the microwave, use a microwave-safe bowl and heat in short intervals, stirring in between, until the chili is warmed through.
4. Maintaining Flavor and Texture:
- As chili sits, it can thicken. If you find the chili too thick after refrigerating or freezing, simply add a bit of water or beef broth when reheating to achieve your desired consistency.
- For optimal flavor, taste the chili after reheating and adjust the seasoning if necessary. You might need to add a pinch of salt or a bit more chili powder to refresh the flavors.
Dietary Adaptations for Wendy’s Chili
1. Gluten-Free Adaptation:
- Wendy’s Chili is naturally gluten-free, but it’s always a good idea to check the labels of all ingredients (such as the chili powder and tomato products) to ensure they don’t contain hidden gluten. Most canned tomato products and ground spices are gluten-free, but always confirm to be safe.
2. Vegetarian Version:
- To make a vegetarian version of this chili, simply omit the ground beef and replace it with plant-based meat alternatives like soy crumbles or lentils. You can also add extra beans, such as black beans or chickpeas, to increase the protein and bulk of the chili.
- Use vegetable broth instead of beef broth to keep the flavors rich while maintaining the vegetarian profile.
3. Low-Carb Adaptation:
- For a low-carb version, reduce the amount of beans or omit them entirely. You can add extra vegetables like zucchini, mushrooms, or bell peppers to keep the chili hearty without the additional carbs. You can also substitute the beans with diced cauliflower for a lower-carb option.
4. Dairy-Free Version:
- This chili recipe is naturally dairy-free, but if you plan to add toppings like cheese or sour cream, make sure to use dairy-free alternatives. Many vegan cheeses and sour creams work well with this dish without compromising flavor.
5. Keto-Friendly Version:
- For a keto-friendly adaptation, omit the beans and add more ground beef or a combination of beef and pork. You can also incorporate more vegetables such as cauliflower or bell peppers to bulk up the chili while keeping the carb count low.
Frequently Asked Questions (FAQs)
Q: Can I use other types of beans in this recipe?
- Yes! While the recipe calls for red kidney beans and pinto beans, you can use any beans you prefer, such as black beans, cannellini beans, or even navy beans. Feel free to mix and match based on your preferences or what you have on hand.
Q: Can I make this chili spicier?
- Absolutely! If you enjoy extra heat, add more cayenne pepper, diced jalapeños, or even a splash of hot sauce to the chili. You can also use hot chili powder instead of regular chili powder to turn up the heat.
Q: How do I thicken my chili if it’s too watery?
- If your chili is too thin, you can let it simmer uncovered for an additional 10-15 minutes to allow some of the liquid to evaporate. Alternatively, you can add a cornstarch slurry (1 tablespoon of cornstarch mixed with 2 tablespoons of water) to thicken the chili quickly without affecting the flavor.
Q: Can I make this chili ahead of time?
- Yes, this chili is perfect for making ahead of time. In fact, chili often tastes better the next day as the flavors have more time to meld together. Simply store it in the refrigerator or freezer, and reheat when you’re ready to serve.
Q: What toppings go well with Wendy’s Chili?
- Toppings are a great way to customize your chili! Popular choices include shredded cheese, sour cream, diced onions, green onions, avocado slices, crushed tortilla chips, and even a drizzle of hot sauce for extra spice.
Q: Can I use ground turkey instead of beef?
- Yes, you can easily substitute ground turkey for ground beef in this recipe. Ground turkey is leaner and offers a lighter version of the chili while still providing plenty of flavor. Just be sure to season the turkey well as it has a milder taste compared to beef.
Conclusion
Wendy’s Chili is a comforting, hearty dish that’s perfect for feeding a crowd or enjoying a simple weeknight dinner. With its rich blend of ground beef, beans, tomatoes, and spices, this homemade version replicates the iconic flavor of the original. Whether you’re making it on the stovetop or in a slow cooker, this chili is easy to prepare and adaptable to various dietary needs. With options to adjust the heat level, incorporate different beans or proteins, and customize with your favorite toppings, this chili is sure to become a staple in your kitchen. Enjoy it on its own or with a side of cornbread for the ultimate comfort food experience!