White Chocolate Halloween Oreo Bark: A Spooktacularly Simple Sweet Treat
If you’re searching for a fast, fun, and festive treat that perfectly captures the spirit of Halloween, this White Chocolate Halloween Oreo Bark might just become your new seasonal obsession. It’s creamy, crunchy, and filled with pops of color and texture — everything you want in a no-bake holiday dessert. The best part? It only takes about 10 minutes to make and uses just four ingredients.
I’ve been making variations of chocolate bark for years, especially around the holidays, but there’s something about the Halloween version that always feels extra special. Maybe it’s the contrast of snowy white chocolate against dark Oreo crumbs, or the playful sparkle of orange, purple, and green sprinkles that make every piece look like it came straight out of a witch’s candy cauldron. Whatever the reason, this bark is an absolute showstopper for parties, gifts, or cozy movie nights with a bowl of popcorn and your favorite spooky flicks.
What I especially love about this recipe is its simplicity. There’s no baking, no complicated tempering, and no stress. Just melt, mix, and chill — that’s it! And since it hardens quickly, it’s the kind of treat you can whip up even last-minute before guests arrive. Pair it with a batch of Cauldron Cookie Cups or Monster Brownie Bites for a dessert table that’s sure to impress.
If you love creative Halloween desserts, you might also enjoy browsing fun bark variations like Halloween Candy Bark or Spooky White Chocolate Pretzel Bark. But trust me — this Oreo version might just become your favorite!
Recipe Card
Print
Easy White Chocolate Halloween Oreo Bark Recipe
Description
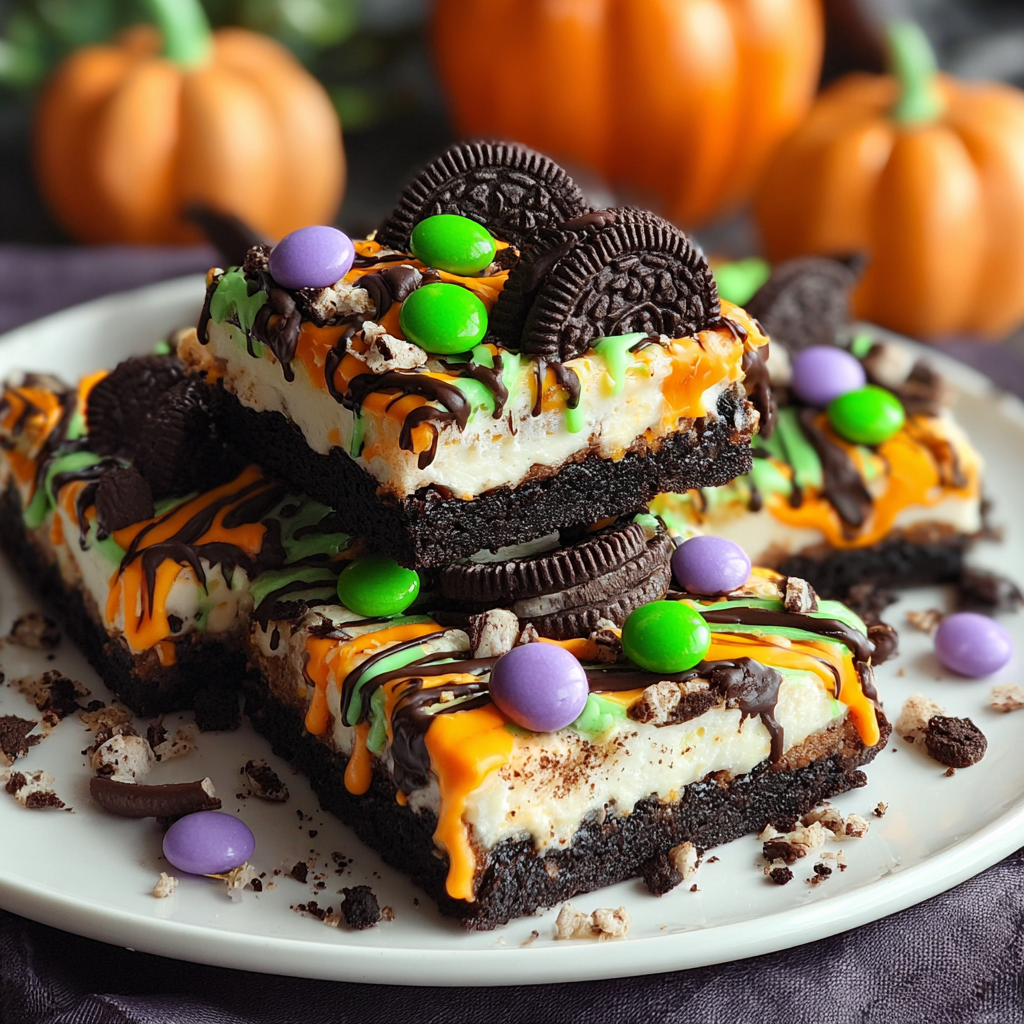
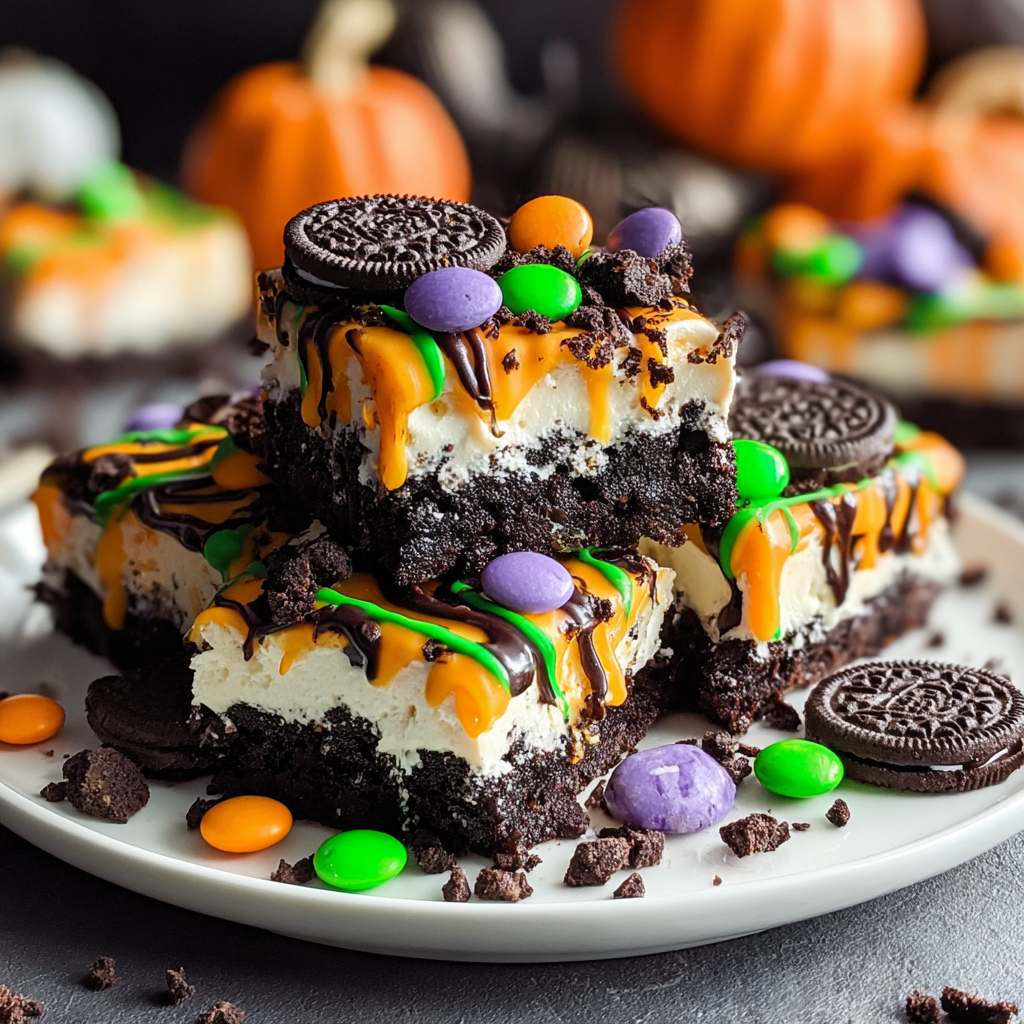
This White Chocolate Halloween Oreo Bark combines creamy white chocolate with crunchy Oreos, melted butter, and festive Halloween sprinkles for a decadent, no-bake dessert that’s as easy as it is eye-catching. Perfect for parties, treat bags, or an effortless holiday snack!
Ingredients
- 2 cups white chocolate chips
- 1 cup Oreo cookies, crushed
- ¼ cup butter
- ¼ cup colorful Halloween sprinkles
Instructions
- Prepare Your Pan:
Line a baking sheet with parchment paper or a silicone mat. This will make it easier to remove the bark once it’s set. - Melt the White Chocolate:
In a microwave-safe bowl, combine white chocolate chips and butter. Microwave in 20-second intervals, stirring between each, until smooth and fully melted. (Alternatively, melt over a double boiler on low heat, stirring constantly.) - Add the Oreos:
Stir the crushed Oreo cookies into the melted chocolate mixture. Mix just until evenly coated — you still want visible bits of cookie for that signature crunch. - Spread the Mixture:
Pour the mixture onto your prepared pan. Use a spatula to spread it into an even layer about ¼ inch thick. - Add the Sprinkles:
Quickly scatter the Halloween sprinkles across the surface before the chocolate begins to harden. Press lightly so they stick. - Chill and Break:
Refrigerate the pan for 20–30 minutes, or until the bark is firm. Break into irregular pieces and serve. - Enjoy and Store:
Enjoy immediately or store in an airtight container for later snacking.
Notes
Active time: 10 minutes
Cooling time: 30 minutes
Total time: 40 minutes
If you want a thicker bark, simply pour it into a smaller pan or double the recipe for a crowd.
Advanced Techniques
Getting the Perfect Silky Melt Without Burning
White chocolate can be finicky — it scorches easily because of its milk solids. The trick is low and slow heat. I always melt my white chocolate with butter in the microwave at 50% power in short bursts, stirring constantly. The added fat from the butter stabilizes the chocolate, giving you that perfectly smooth consistency without any graininess.
Creating Swirls for a Marbled Look
For an extra touch of magic, melt a few tablespoons of dark or orange candy melts separately. Once your white chocolate is spread out, drizzle the colored chocolate over the top and drag a toothpick or skewer through it to create a marbled swirl pattern. It looks stunning and makes every piece feel unique.
Adding Extra Crunch with Mix-Ins
Want more texture? Add crushed pretzels, chopped peanuts, or candy corn for added crunch. I love adding mini marshmallows for a “ghostly” pop of chewiness — it’s both whimsical and delicious!
Layering for Double Flavor
You can also create a two-tone bark by pouring half white chocolate and half milk or dark chocolate in layers. Let the bottom layer cool slightly before spreading the next one. The result is a striking contrast that looks professional but is effortless to make.
Decorating with Precision for Maximum Impact
Instead of randomly tossing sprinkles, try placing larger candy pieces strategically. For example, line candy eyeballs in clusters to make “monster zones,” or sprinkle orange sugar crystals in one section and purple jimmies in another. It creates a patchwork of colors that looks intentional and Insta-worthy!
Storage, Shelf Life, and Maintenance Tips
Keeping Your Bark Crisp and Fresh
Once the bark has hardened and been broken into pieces, store it in an airtight container at room temperature for up to one week. Keep it away from direct sunlight or heat sources — white chocolate is sensitive and can develop “bloom” (a pale film) if exposed to temperature changes.
Refrigeration Tips
If your home is warm or humid, refrigeration is perfectly fine. Just make sure to separate layers with parchment paper so the pieces don’t stick together. Bring to room temperature before serving for the best flavor and texture.
Freezing for Long-Term Storage
Yes, you can freeze White Chocolate Halloween Oreo Bark! Wrap pieces individually or in small batches with plastic wrap, then store in a freezer-safe bag for up to two months. Thaw in the fridge overnight and avoid condensation by keeping the bag sealed until the bark reaches room temp.
Avoiding Softness or Stickiness
Humidity is the enemy of chocolate bark. If your kitchen tends to get steamy, use a dehumidifier or store the bark with a silica gel packet (not touching the food, of course) to absorb excess moisture and preserve crispness.
How to Transport Without Melting
If you’re taking this treat to a party, layer the bark in a shallow tin with parchment paper between each layer. Chill it before travel, and keep it in a cooler bag if the day is warm. The butter helps prevent melting, but a little extra care ensures picture-perfect presentation.

Dietary Adaptations and Substitutions
Making It Gluten-Free
To make gluten-free White Chocolate Halloween Oreo Bark, swap the regular Oreos for a certified gluten-free version. The flavor and texture are nearly identical, so your guests won’t even notice the difference.
Creating a Vegan Version
Vegan white chocolate chips are widely available now, made with cocoa butter and non-dairy milk powders. Use them in place of traditional white chocolate, and substitute plant-based butter. Be sure to choose vegan-friendly sprinkles too.
Reducing Sugar While Keeping Flavor
If you’d like a less sweet treat, use sugar-free white chocolate chips (brands like Lily’s make great ones). You can also reduce the amount of butter slightly for a firmer, less rich bark that still tastes indulgent.
Adding a Nut-Free Twist
This recipe is naturally nut-free, but if you want to add crunch without nuts, crushed graham crackers or crispy rice cereal make great mix-ins. They give the bark that satisfying snap without allergens.
Dairy-Free Adaptations
Use dairy-free white chocolate and a plant-based butter alternative such as Earth Balance or coconut oil. Coconut oil will add a light tropical note that pairs surprisingly well with Oreos.
FAQs About White Chocolate Halloween Oreo Bark
Why Is My White Chocolate Lumpy or Seized?
White chocolate can seize if overheated or if any moisture gets in. Always melt it slowly and make sure your utensils are completely dry. Adding a teaspoon of neutral oil can help smooth things out if it thickens slightly.
Can I Use Candy Melts Instead of White Chocolate Chips?
Yes! Candy melts are easier to handle and come in fun colors, though they’re slightly less creamy. They’re great for themed parties where you want bold orange, purple, or black hues in your bark.
How Do I Crush the Oreos Without Making a Mess?
Place them in a zip-top bag and crush with a rolling pin. You can make them as chunky or fine as you like. I prefer a mix of big and small pieces for varied texture.
Can Kids Help Make This Recipe?
Absolutely! This is one of the best kid-friendly Halloween desserts because there’s no baking or stove work required (as long as an adult handles the melting). Kids will love sprinkling and decorating the bark before it sets.
What’s the Best Way to Gift Halloween Oreo Bark?
Package pieces in small cellophane bags tied with orange or black ribbon. Add a cute tag that says “Witch’s Candy Bark” for a personal touch. It’s a charming homemade gift that looks like it came from a fancy candy shop.
Conclusion & Final Thoughts
There’s something undeniably delightful about White Chocolate Halloween Oreo Bark. It’s the perfect blend of spooky charm and effortless simplicity — a treat that looks impressive but comes together in minutes. Whether you’re prepping for a Halloween party, classroom snack, or cozy family night in, this bark adds a magical, colorful touch to any celebration.
What I adore most is its flexibility. You can make it gluten-free, vegan, or even color-customized for any holiday — just change the sprinkles and you’ve got a festive bark for Christmas, Valentine’s Day, or Easter. It’s a recipe that grows with the seasons, ready to be reinvented again and again.
Beyond that, it’s a joy to make. There’s something therapeutic about melting chocolate, crushing cookies, and watching the colors swirl together into something beautiful and delicious. It’s the kind of recipe that invites creativity — no two batches ever look exactly alike, and that’s part of the fun.
So this Halloween, skip the complicated desserts and whip up a pan of White Chocolate Halloween Oreo Bark. It’s quick, no-fuss, and absolutely irresistible — a little bite of spooky sweetness that’ll disappear before you can say “boo!”