Introduction to the Recipe
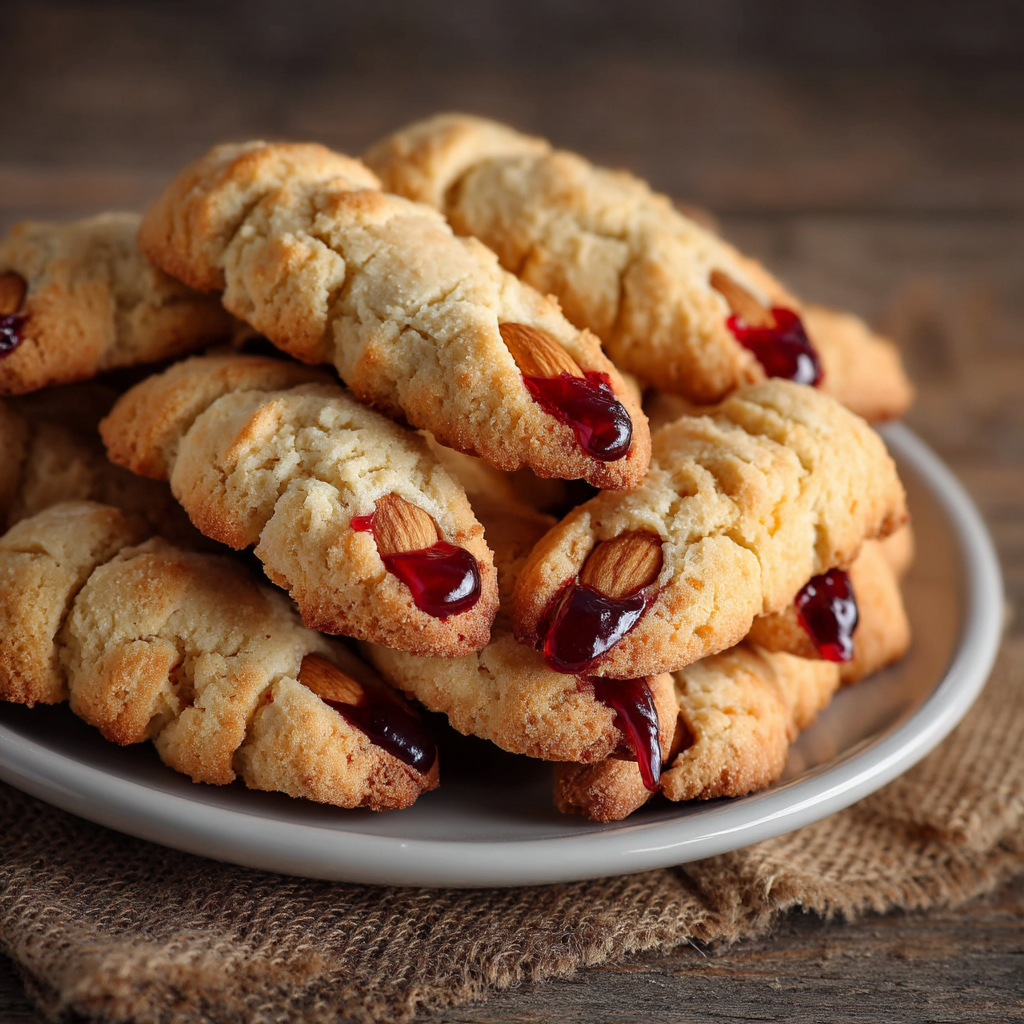
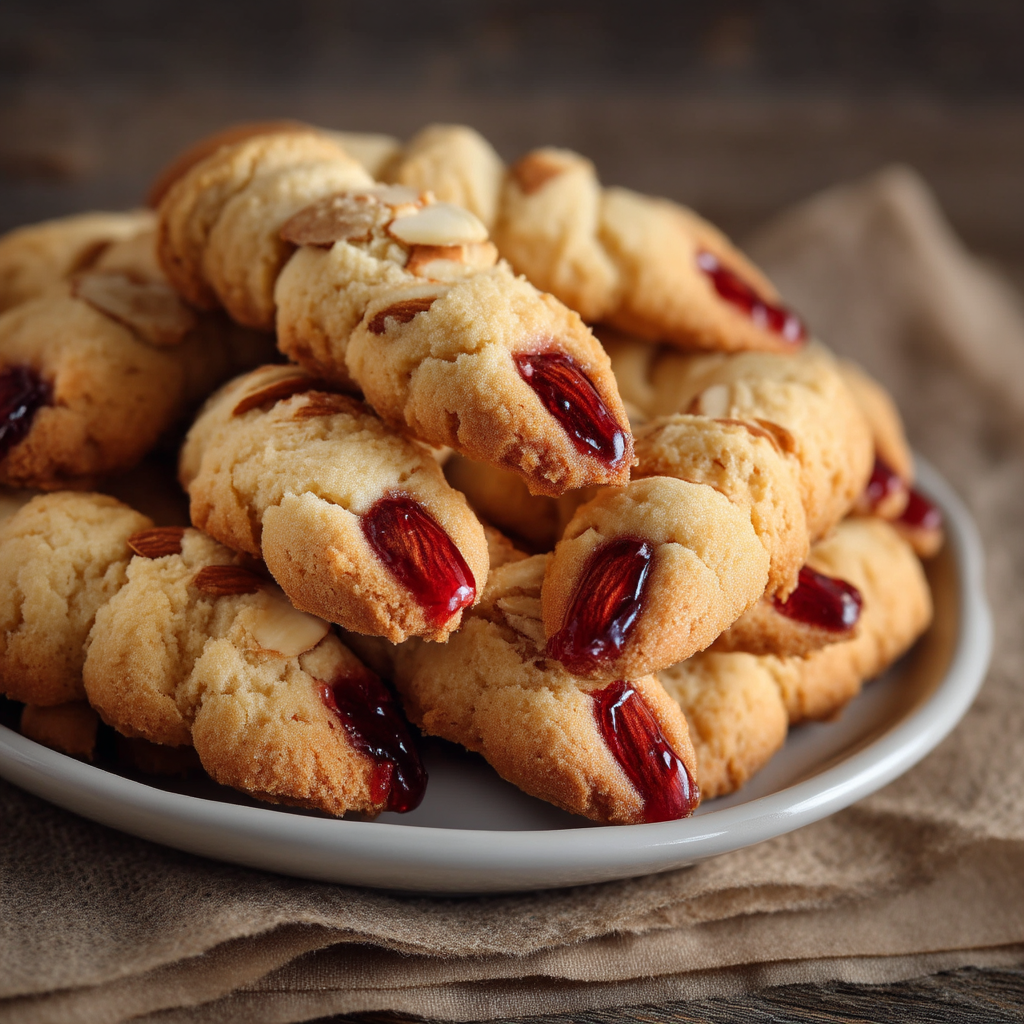
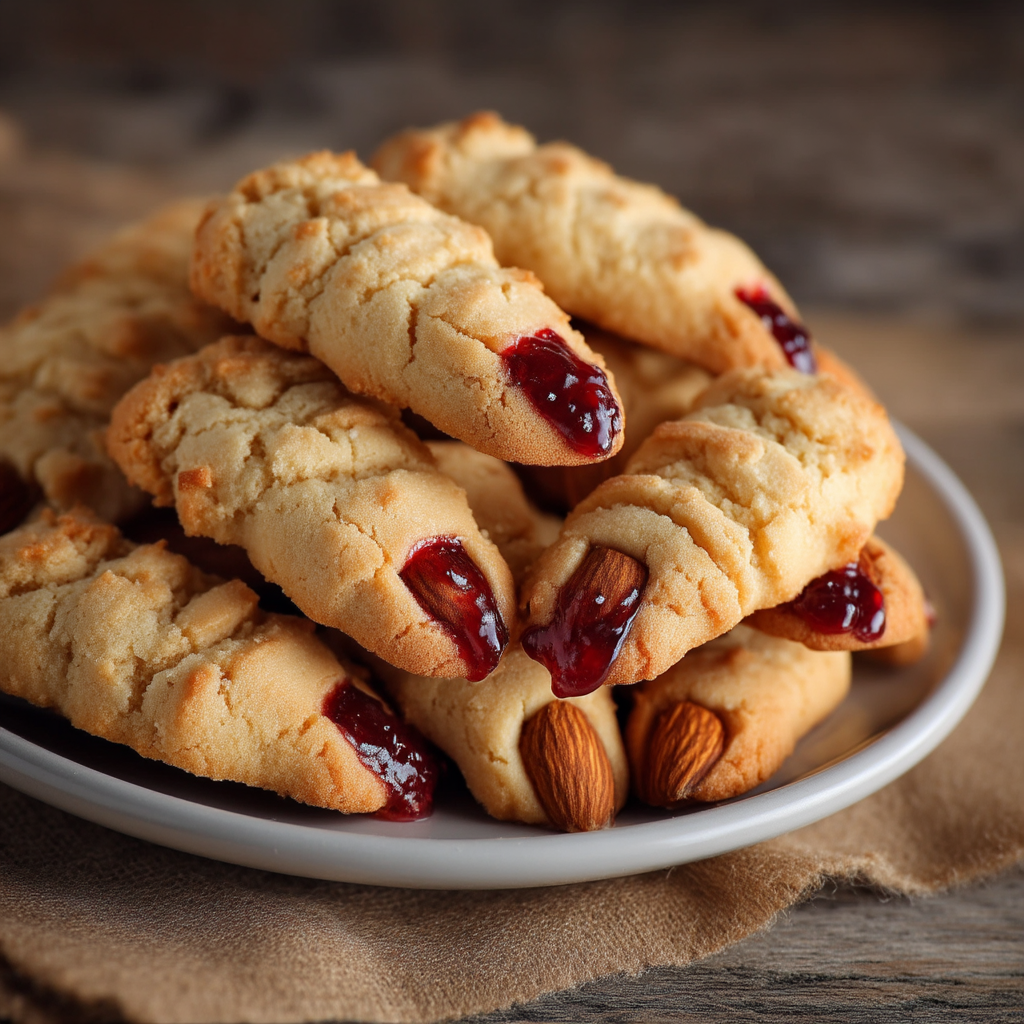
If you’re looking to add a little eerie fun to your Halloween table, Witch Finger Breadsticks are the perfect creepy yet delicious appetizer or snack. These breadsticks are cleverly shaped like witch fingers—complete with knuckle indentations and almond “fingernails”—bringing a playful and spooky twist to classic breadsticks. With a golden, crispy crust brushed with garlic, oregano, and sesame seeds, these breadsticks offer both flavor and festive flair that will enchant guests of all ages.
The dough uses simple bread ingredients like flour, yeast, sugar, and butter, making it easy to whip up at home with pantry staples. The warm water activates the yeast gently, ensuring a soft but chewy texture. For a savory topping, a garlic and herb egg wash adds extra aroma and a delightful golden sheen. To complete the look, blanched almonds are placed on the tips to resemble sharp witch nails, and the breadsticks can be served with marinara sauce or ketchup for a “bloody” effect.
This recipe is perfect for Halloween parties, family gatherings, or any occasion where you want to add a little spooky charm to your menu. If you want to expand your spooky baking repertoire, check out this Halloween appetizer guide or learn how to make perfect homemade breadsticks. The Witch Finger Breadsticks combine creativity, simplicity, and taste, making them an irresistible addition to your Halloween festivities.
Basic Recipe: Ingredients and Instructions
Print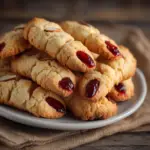
Witch Finger Breadsticks Recipe
Description
Creepy and delicious Witch Finger Breadsticks with garlic, herbs, and almond nails—perfect spooky snack for Halloween parties.
Ingredients
-
¼ cup warm tap water (NOT boiling or super hot, up to 130°F / 55°C)
-
1 tablespoon granulated sugar
-
1 teaspoon dry yeast
-
2 ¼ cups bread flour
-
1 teaspoon salt
-
1 tablespoon unsalted butter, melted
For the topping:
-
1 egg (for egg wash)
-
½ teaspoon garlic granules
-
½ teaspoon dried oregano
-
1 teaspoon sesame seeds (black and white)
For decoration:
-
16 blanched almonds
-
2 tablespoons marinara or tomato sauce or ketchup
Instructions
-
Activate the yeast
In a small bowl, combine the warm water (up to 130°F/55°C), sugar, and yeast. Stir gently and let sit for 5–10 minutes until foamy. -
Make the dough
In a large bowl, whisk together the bread flour and salt. Add the yeast mixture and melted butter. Mix until a rough dough forms. -
Knead the dough
Turn the dough onto a lightly floured surface and knead for 8–10 minutes until smooth and elastic. Alternatively, use a stand mixer with a dough hook for 6–7 minutes. -
First rise
Place the dough in a greased bowl, cover with a damp towel or plastic wrap, and let it rise in a warm place for 1 hour or until doubled in size. -
Shape the fingers
Preheat the oven to 375°F (190°C). Punch down the dough and divide it into 16 equal pieces. Roll each piece into a finger shape about 5–6 inches long and slightly tapered at the ends. -
Add knuckle details
Press three shallow indentations into each “finger” using the back of a knife or your fingers to simulate knuckles. -
Attach almond nails
Place one blanched almond at the tapered end of each finger to resemble a fingernail, pressing it gently into the dough. -
Apply egg wash and seasoning
Beat the egg and stir in garlic granules and dried oregano. Brush this mixture over each breadstick. Sprinkle with sesame seeds. -
Bake
Arrange breadsticks on a parchment-lined baking sheet, spaced slightly apart. Bake for 18–22 minutes or until golden brown. -
Serve with sauce
Let the breadsticks cool slightly. Serve with marinara sauce, ketchup, or your preferred dipping sauce for a “bloody” effect.
Notes
Use warm water, not hot, to activate yeast without killing it.
For extra crunch, toast the almonds lightly before pressing them on.
You can make the dough a day ahead and refrigerate it, letting it rise slowly overnight for more flavor.
Keywords: Witch Finger Breadsticks
Advanced Techniques
Perfect Yeast Activation for Fluffy Breadsticks
Yeast activation is critical to achieving soft and airy breadsticks. Use water heated to about 110°F (43°C) for best results, but don’t exceed 130°F (55°C). Too hot will kill the yeast, too cold will delay rising. Add a pinch of sugar to feed the yeast, which speeds up fermentation. Test your yeast’s freshness with this simple method before starting your dough.
Shaping Realistic Witch Fingers
To make the breadsticks resemble creepy witch fingers, create knuckle indentations by pressing gently with the back of a butter knife or your fingertip. Vary the depth slightly for a natural, imperfect look. Slightly taper one end to attach the almond “nail” securely. Experiment with twisting the dough gently before baking for a gnarled effect.
Flavorful Herb and Garlic Egg Wash
The egg wash gives the breadsticks a beautiful golden color while the garlic and oregano infuse savory notes. For an extra punch, add finely chopped fresh rosemary or thyme to the egg wash. Brush on before baking to ensure the seasonings toast nicely, enhancing aroma and taste.
Adding Texture with Sesame Seeds
Use a mix of black and white sesame seeds to add both texture and visual contrast. The seeds toast during baking, providing a nutty flavor and a slight crunch that complements the soft breadsticks. If you want to boost nutrition, sprinkle chia or flax seeds alongside the sesame seeds.
Creating a “Bloody” Dipping Sauce
To enhance the Halloween vibe, serve the breadsticks with a vibrant red sauce. Mix marinara or ketchup with a few drops of hot sauce or smoked paprika for added flavor depth and spookiness. For a creamy alternative, try mixing sour cream with a bit of beet juice or food coloring to simulate “witchy” slime.
See more advanced recipes at cookingwhite.com

Storage, Shelf Life, and Maintenance Tips
Store Breadsticks in an Airtight Container
Keep leftover breadsticks fresh by storing them in an airtight container at room temperature for up to 2 days. Avoid plastic bags as they may trap moisture and make the breadsticks soggy. If you plan to keep them longer, freezing is a better option.
Freeze for Longer Storage
Wrap cooled breadsticks tightly in plastic wrap and place them in a freezer-safe bag. Freeze for up to 3 months. When ready to eat, thaw at room temperature and warm in the oven for 5–7 minutes at 350°F (175°C) to restore crispiness.
Reheat Properly to Maintain Texture
Avoid microwaving to prevent soft or chewy breadsticks. Instead, reheat in a preheated oven or toaster oven at 325°F (165°C) for 5–10 minutes. This keeps the crust crisp and warms the inside evenly.
Avoid Drying Out
If breadsticks seem dry after storage, wrap them in a damp paper towel before reheating in the oven. The moisture will help soften the crumb without making them soggy.
Make Ahead and Refrigerate Dough
For convenience, prepare the dough up to the first rise stage, then refrigerate overnight. This slows fermentation, enhancing flavor complexity. Bring dough to room temperature before shaping and baking.
Dietary Adaptations and Substitutions
Make Vegan Breadsticks
Replace butter with a plant-based alternative like margarine or coconut oil. Swap the egg wash with a mixture of almond milk and maple syrup for browning and shine. Ensure the bread flour and other ingredients are vegan-friendly.
Gluten-Free Version
Use a gluten-free all-purpose flour blend designed for yeast baking. Add xanthan gum or guar gum as instructed by your blend to provide structure. Allow extra rising time, as gluten-free doughs behave differently.
Lower Sodium Option
Reduce the salt by half and compensate with extra herbs and garlic to maintain flavor. Use unsalted butter to control sodium content.
Allergy-Friendly Almond Alternatives
For those allergic to nuts, substitute blanched almonds with pumpkin seeds, sunflower seeds, or even pieces of thin carrot sticks shaped into nails. These alternatives maintain the spooky look without allergens.
Whole Wheat or Multigrain
For a healthier twist, substitute half or all of the bread flour with whole wheat or multigrain flour. This will add fiber and a nutty flavor. You may need to adjust the water slightly to compensate for the flour’s absorbency.
FAQs About the Recipe
Can I Use Instant Yeast Instead of Active Dry Yeast?
Yes! If using instant yeast, you can mix it directly into the flour without proofing in warm water. Reduce rising time slightly, but watch for dough doubling before proceeding.
How Do I Prevent the Almond “Nails” From Falling Off?
Press the almonds firmly into the tapered end of the dough fingers before the final rise. Applying a bit of water to the almond base can help them stick better. Baking while slightly dampened ensures they adhere as the dough expands.
Can I Make These Ahead and Freeze Them Before Baking?
Absolutely. Shape the breadsticks and place them on a baking sheet to freeze individually. Once frozen, transfer to a bag. Bake from frozen, adding extra 5–7 minutes to the baking time.
What If I Don’t Have Bread Flour?
All-purpose flour can be used but may produce a less chewy texture. Adding a tablespoon of vital wheat gluten per cup of all-purpose flour can improve elasticity and structure.
How Can I Make the Breadsticks More Crispy?
Bake the breadsticks a few minutes longer at the end or increase oven temperature slightly. Spritzing lightly with water before baking creates steam, helping a crisp crust form.
Conclusion & Final Thoughts
The Witch Finger Breadsticks are a delightful mix of creativity and culinary skill, perfect for any Halloween gathering. They combine the rustic charm of homemade breadsticks with spooky decorative touches that make them unforgettable. Whether you’re serving them as a fun appetizer or a party snack, their soft, flavorful dough and savory seasoning will win over guests both young and old.
This recipe is approachable for bakers of all levels, with room for customization in flavors, textures, and dietary needs. From vegan swaps to gluten-free flours and creative garnishes, these breadsticks can be tailored to your preferences while maintaining their eerie appeal.
Most importantly, these breadsticks bring a bit of magic to the table—turning ordinary bread into whimsical “witch fingers” that spark conversation and add festive spirit. So don your witch’s hat, roll up your sleeves, and get ready to bake a batch of these hauntingly good breadsticks that will disappear fast, just like magic.