Introduction to the Recipe
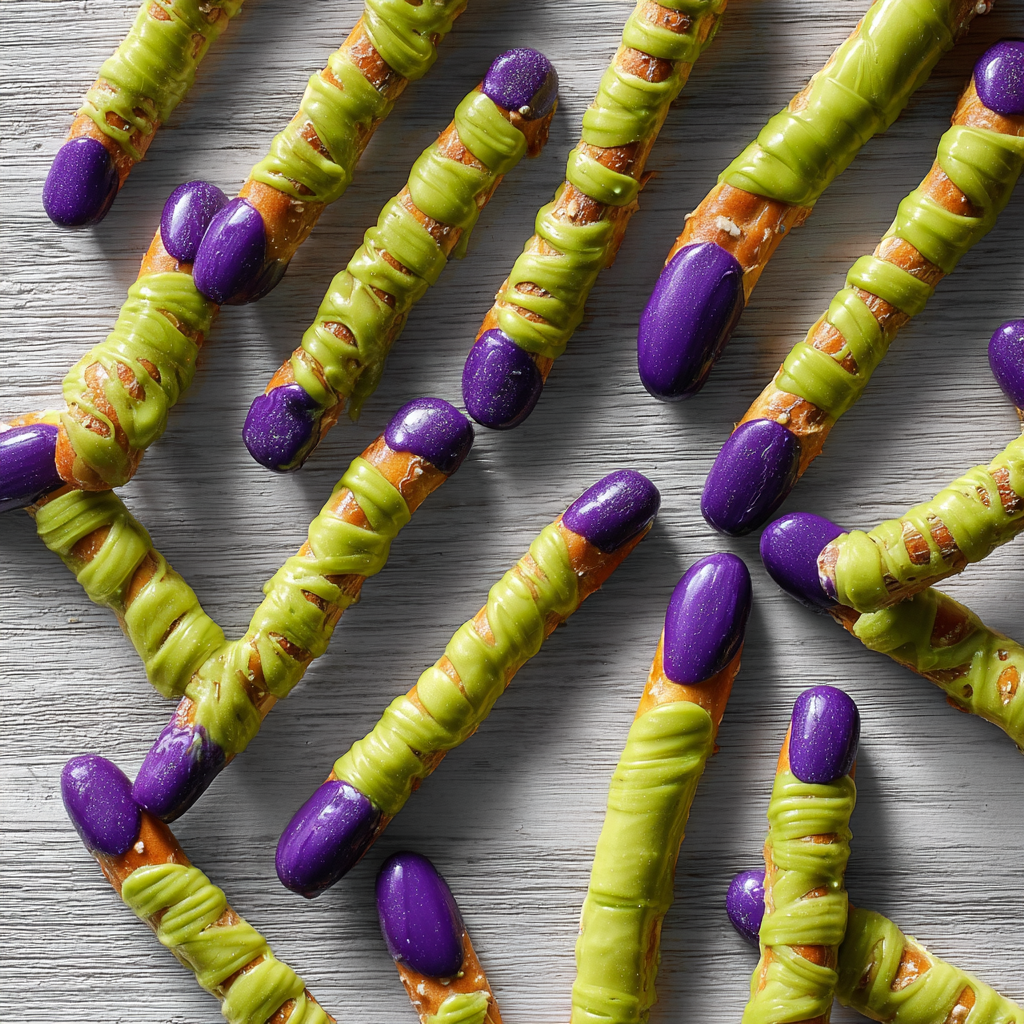
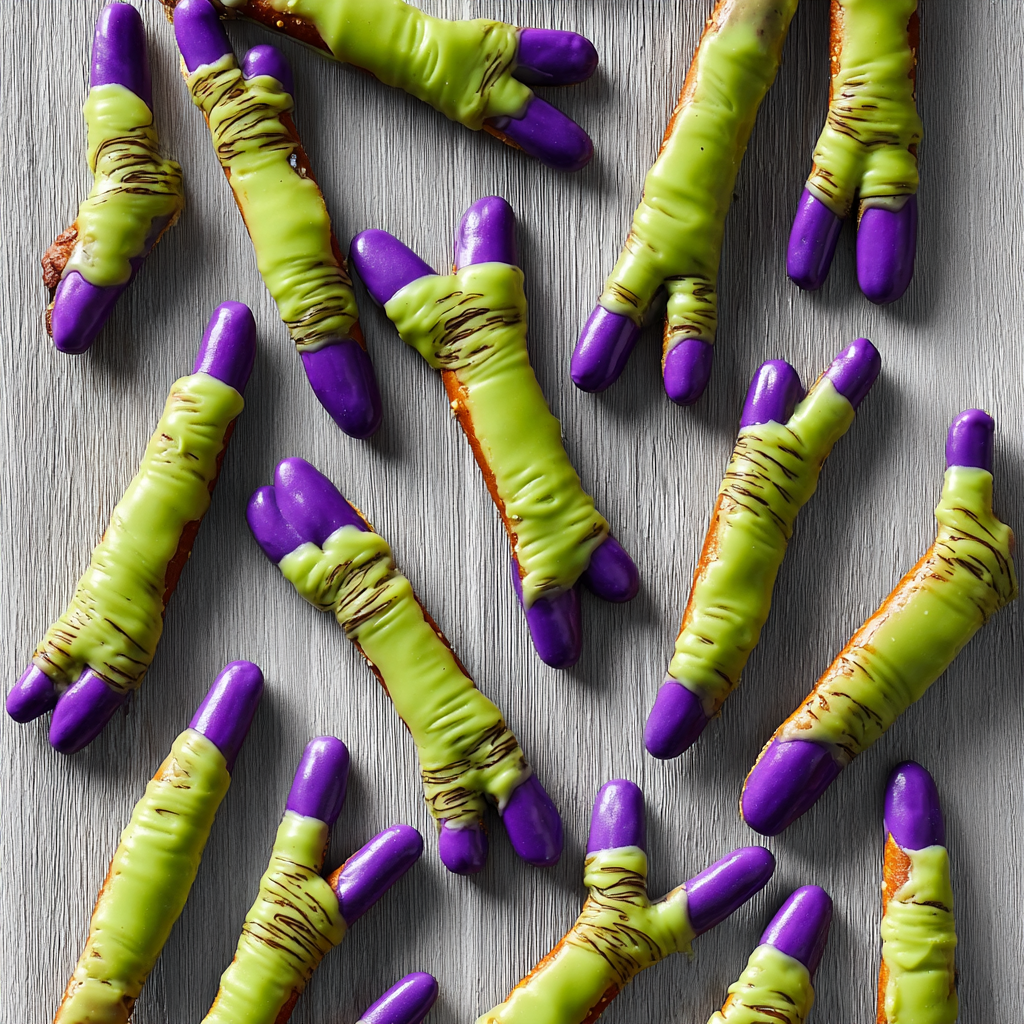
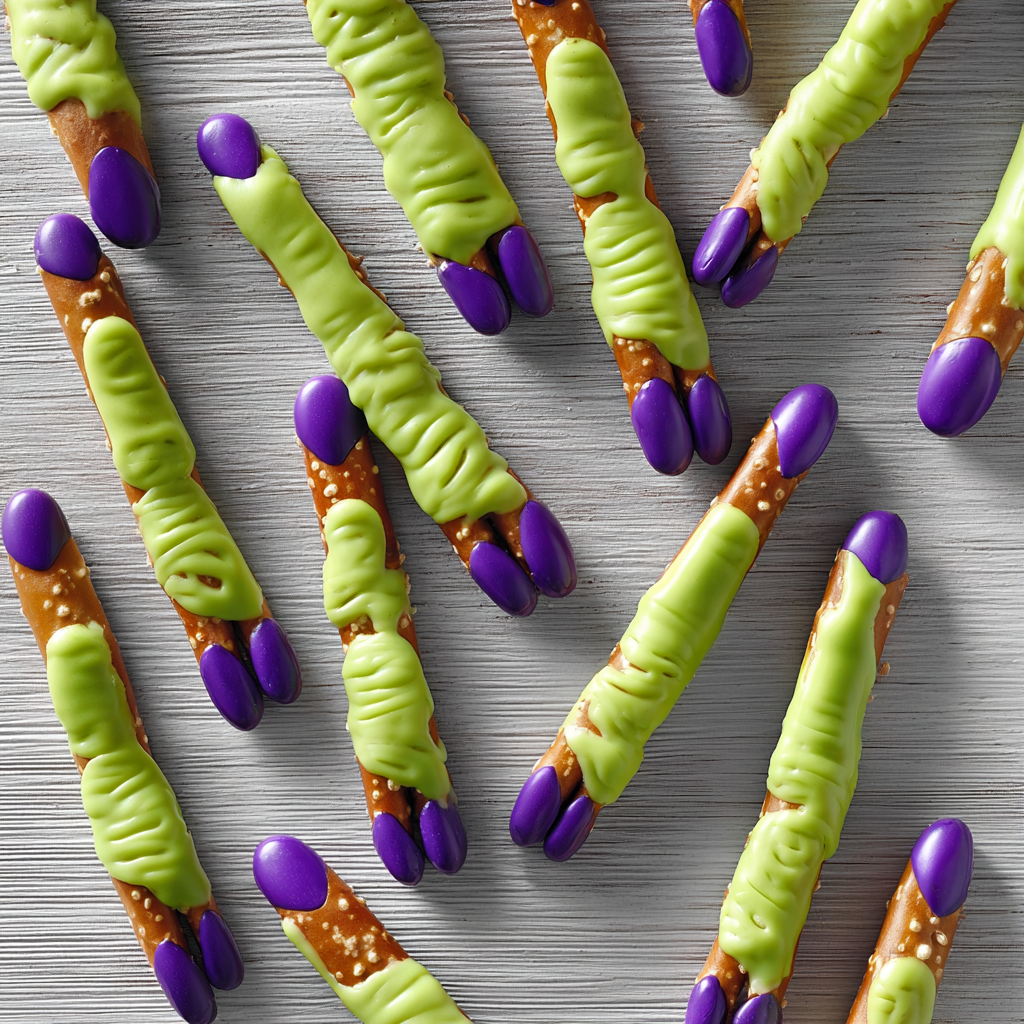
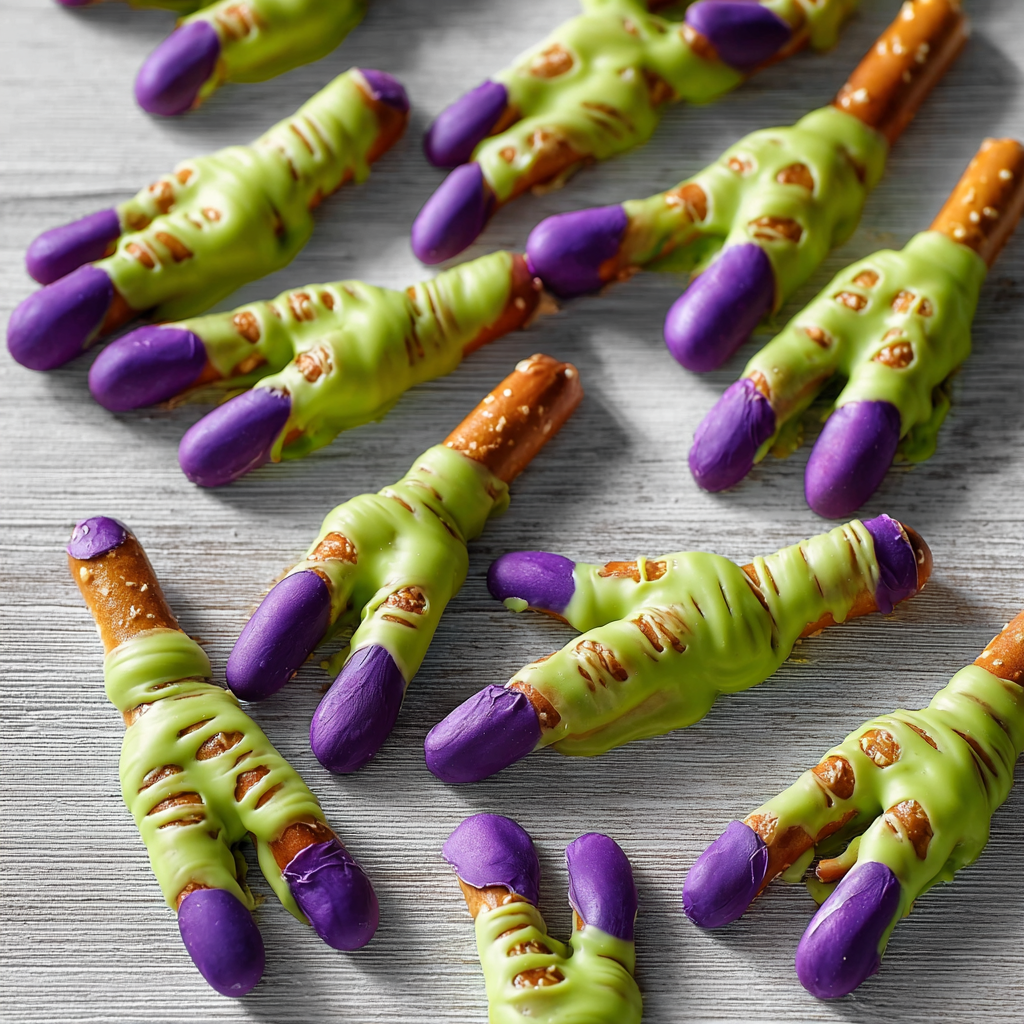
When it comes to Halloween treats, creepy often means delicious—and Witches’ Fingers are a prime example. These eerie green snacks are the perfect mix of spooky, salty, and sweet. Made with crunchy pretzel rods dipped in vibrant green candy coating and topped with jelly bean “fingernails,” they look just like a witch’s gnarly fingers—if her fingers were totally snackable.
This recipe is quick, fun to make with kids, and requires just three ingredients. The green candy melts give you that unmistakable monster-hue, while the jelly bean nails add a chewy texture and ghoulish touch. These are great for school parties, Halloween movie nights, or to hand out as edible party favors. They’re creepy enough to get a reaction and tasty enough to disappear fast.
You don’t need baking skills or fancy tools—just a microwave, some wax paper, and a little creativity. Want to step it up? You can add knuckle details with a toothpick or edible markers to really sell the look.
Looking for more no-bake Halloween fun? Try these Easy Halloween Bark Recipes or learn how to Build a Candy Table That Wows.
With just a few steps and almost no cleanup, Witches’ Fingers are a go-to last-minute treat that delivers maximum Halloween impact. They’re gross, goofy, and great for all ages.
Basic Recipe: Ingredients and Instructions
Print
Witches’ Fingers Recipe with Green Candy Coating
Description
Easy Witches’ Fingers recipe using pretzel rods, green candy coating, and jelly bean nails. A spooky, sweet Halloween treat!
Ingredients
- 1–1/2 cups vibrant green candy coating disks
- 6 pretzel rods, broken in half (to make 12 fingers)
- 6 jelly beans, cut in half lengthwise (for 12 fingernails)
Instructions
- Line a baking sheet with wax paper or parchment paper.
- Melt the candy coating disks in a microwave-safe bowl, stirring every 30 seconds until smooth.
- Dip each pretzel half into the green candy coating, leaving one end bare for easier handling or full coverage if preferred.
- Place the dipped pretzels on the lined tray and immediately press a halved jelly bean onto the tip to mimic a fingernail.
- Let them set at room temperature or chill in the fridge for 10–15 minutes until the coating is firm.
- Optional: Use a toothpick to etch knuckles into the candy before it sets or decorate with food coloring pens for added detail.
Notes
Work quickly once dipping to ensure the candy coating doesn’t harden before the jelly bean is placed.
Use a variety of jelly bean colors for fun nail “polish” options.
Store in a cool place to avoid melting or stickiness.
Advanced Techniques
Add Edible Knuckle Wrinkles
Before the candy coating sets, lightly score lines across the dipped pretzel using a toothpick to simulate knuckles. You can do two small indentations for a realistic finger joint look. Once dry, add depth with a tiny brush and edible gel or dust.
Create Long Nails with Almond Slivers
For a witchier, more sinister aesthetic, use almond slivers instead of jelly beans. Their sharp shape makes for creepy, realistic claws and adds a slight nutty crunch that complements the candy and pretzel combo.
Use Flavored Candy Melts for a Twist
Green isn’t just a color—it can be a flavor too. Use green apple or mint-flavored candy coating for a taste that surprises as much as the look does. Just make sure the flavor complements the jelly beans or almond nails.
Add a Second Color for Detail
Once the green coating sets, use dark chocolate or purple candy melts to pipe veins or outline fingernails. This elevates the visual impact and makes the fingers look more detailed and realistic.
Turn Them into Edible Place Cards or Favors
Attach each Witches’ Finger to a small name tag using ribbon or string and display at each place setting for a spooky dinner party. Or wrap them in cellophane bags with a label and hand them out as party favors.
Storage, Shelf Life, and Maintenance Tips
Store in a Cool, Dry Place
Keep your Witches’ Fingers in an airtight container at room temperature, away from heat and sunlight. Candy coating can melt if exposed to warm temperatures.
Refrigerate Only if Needed
If your kitchen is too warm, store the pretzels in the fridge. However, condensation may form when bringing them back to room temperature, so layer wax paper between them.
Separate Layers with Wax Paper
When storing multiples in a container, use wax or parchment paper between layers to prevent sticking or smudging.
Make Them Ahead, Up to a Week in Advance
These hold up well over several days. Make them early in the week before your party and store in an airtight container. The pretzels stay crisp and the candy coating remains solid.
Avoid Freezing
Freezing can cause the candy coating to crack or discolor. Stick to fridge or room temp storage for the best results.
Dietary Adaptations and Substitutions
Use Gluten-Free Pretzels
There are plenty of gluten-free pretzel rods available. Swap them in with no major changes to the recipe to make your Witches’ Fingers celiac-safe.
Make It Dairy-Free
Some candy melts contain dairy. Look for vegan or dairy-free candy coating options if you need to avoid milk-based ingredients. Use a dairy-free jelly bean brand as well.
Low-Sugar Variation
Use sugar-free candy melts and low-sugar jelly beans for a lower-sugar option. These substitutions are perfect if you’re making snacks for guests monitoring their sugar intake.
Nut-Free and Allergy-Sensitive
Stick with jelly beans instead of almond slivers if serving to anyone with nut allergies. Always double-check candy melt labels to ensure they’re made in nut-free facilities.
Vegan-Friendly Version
Ensure the candy melts and jelly beans are certified vegan. Some colored candies use animal-based dyes or gelatin, so check labels carefully.
FAQs About the Recipe
Can I use white chocolate instead of candy melts?
Yes, but white chocolate is more sensitive to heat and humidity. Be sure to melt it slowly and add oil-based food coloring—not water-based—to avoid seizing.
How do I keep the jelly bean fingernails from falling off?
Press them in while the coating is still soft. You can also dip the jelly bean base in a little melted candy before attaching it to act as glue.
Can kids help make these?
Absolutely! This is a great hands-on recipe for kids. Just handle the candy melting step for them and let them dip and decorate.
What can I use if I don’t have candy melts?
You can substitute green-colored white chocolate or almond bark. Just make sure to add candy coloring if needed.
How long do they stay fresh?
Stored properly, Witches’ Fingers stay fresh for up to a week. Pretzels remain crunchy, and the candy holds its shape well.
Conclusion & Final Thoughts
Witches’ Fingers are a Halloween favorite for a reason—they’re equal parts creepy and cute, easy to make, and always a hit with guests of all ages. With only three main ingredients and lots of room for creativity, this recipe is the definition of low-effort, high-impact. The combo of salty pretzel crunch and sweet candy coating, finished with a jelly bean or almond nail, makes for a treat that’s as fun to eat as it is to make.
These are perfect for classroom parties, haunted house snack tables, or Halloween movie nights. Plus, you can prep them days in advance with no loss of flavor or texture.
From simple dippers to decked-out delights, Witches’ Fingers are endlessly customizable. Make them spooky, stylish, or downright scary. However you style them, one thing’s certain: they won’t last long on the snack table.
So grab your pretzels and get your cauldron (or microwave) ready—it’s time to whip up a batch of these ghoulishly good Witches’ Fingers.