1. Introduction to the Recipe
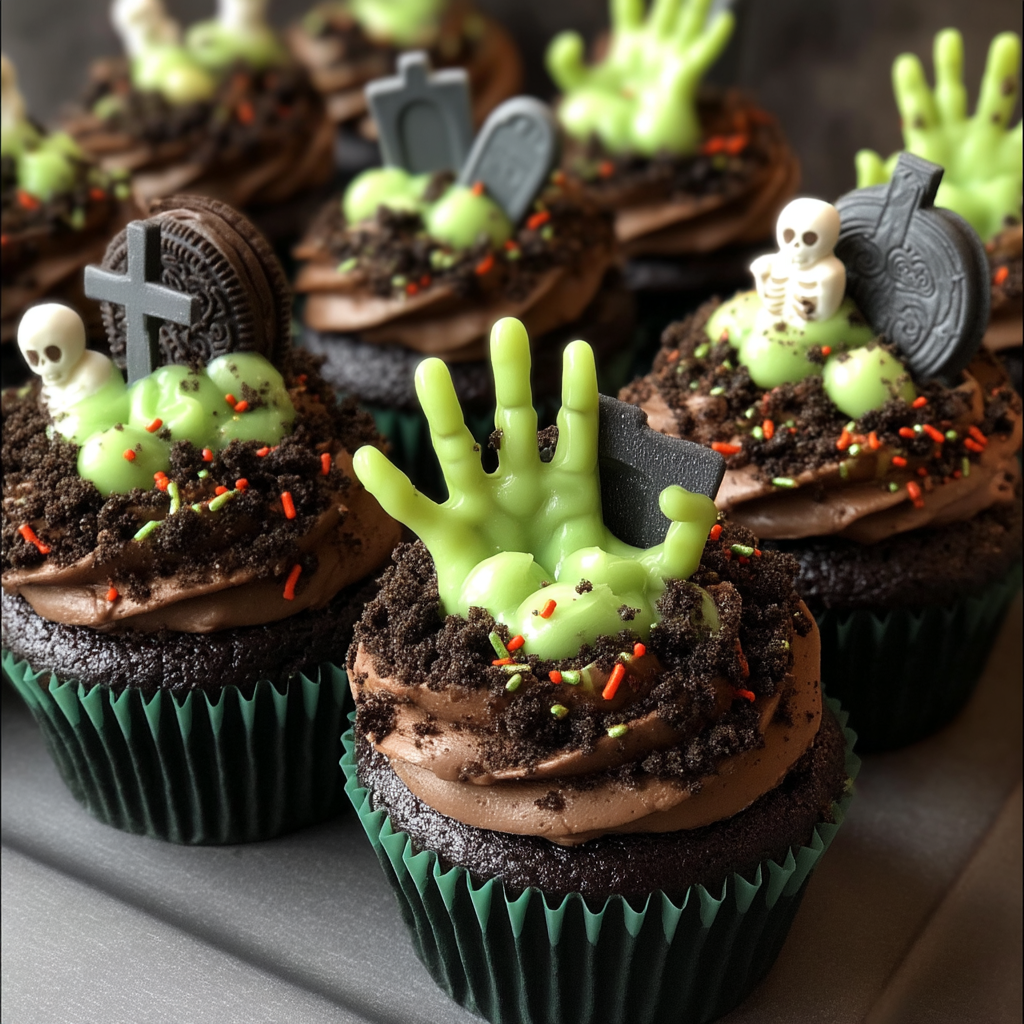
Looking to bake up something delightfully creepy this Halloween? These Zombie Grave Halloween Cupcakes are the perfect combination of spooky and sweet. Designed to look like zombies clawing their way out of the grave, these cupcakes feature moist chocolate cake, buttercream “grass,” crushed Oreo dirt, and creepy toppers that are sure to thrill kids and adults alike.
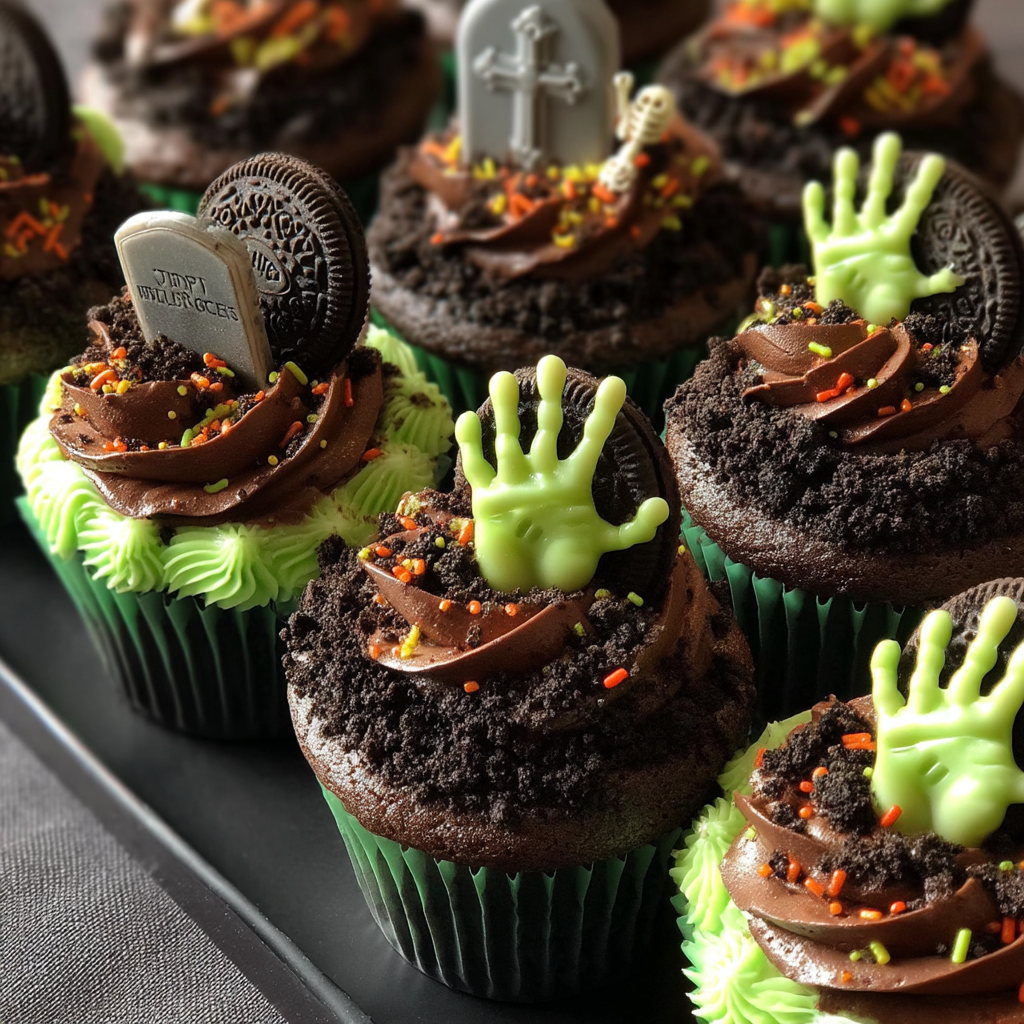
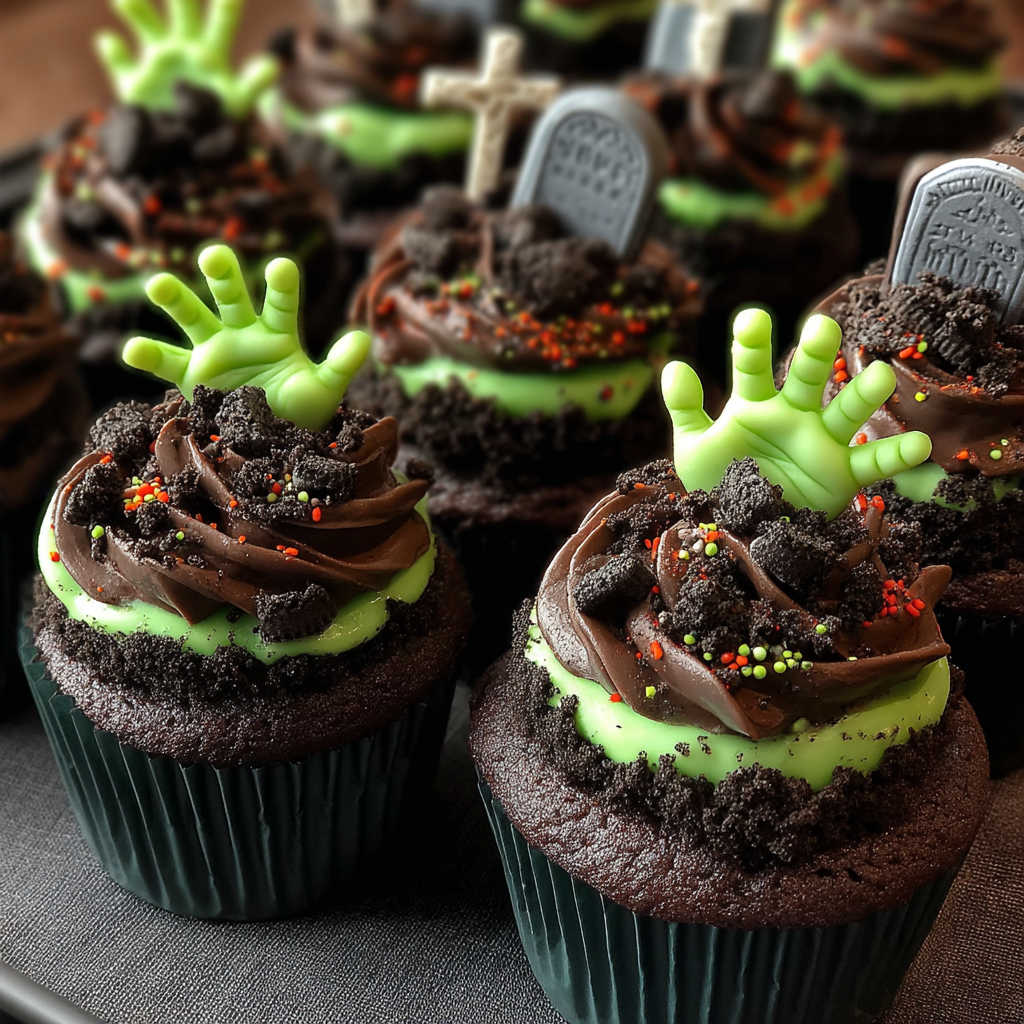
Even better? They’re incredibly easy to make. This recipe uses your favorite chocolate cake mix and store-bought frosting to keep things simple. No complicated baking skills required—just a bit of creativity and some Halloween flair. With green-tinted frosting piped to look like grass and crushed Oreo “soil,” these cupcakes create a scene straight out of a zombie movie. Add monster hand picks or zombie figurines to complete the eerie cemetery vibe.
Need a fun, fast treat for a Halloween party or classroom event? These cupcakes can be prepped ahead and assembled just before guests arrive. They also pair perfectly with other themed snacks like Witch’s Cauldron Beef Stew or Halloween Pumpkin Spice Cookies to round out your spooky spread.
Plus, you can easily customize the colors and toppings depending on your Halloween theme—think gummy worms for extra gross-out points or edible bones poking through the frosting.
Whether you’re hosting a ghoulish get-together or simply baking with your kids on a chilly fall afternoon, these Zombie Grave Halloween Cupcakes are festive, fun, and frightfully delicious.
2. Basic Recipe: Ingredients and Instructions
Print
Zombie Grave Halloween Cupcakes
Description
These Zombie Grave Halloween Cupcakes are spooky, simple, and topped with monster hands bursting from crushed Oreo “dirt!”
Ingredients
- 24 green paper cupcake liners
- 1 box chocolate cake mix (plus required eggs, oil, and water per package instructions)
- 1–2 tubs of store-bought buttercream frosting (e.g., Duncan Hines Buttercream Home-Style)
- AmeriColor Electric Gel Paste Food Coloring (Electric Lime for frosting)
- 8 Oreo cookies, crushed into crumbs
- Red sugar sprinkles
- 24 Halloween monster hand cupcake picks
- Optional: zombie army action figures for decoration
- Wilton piping bag or Dessert Decorator
- Wilton No. 4B star tip
- Hand mixer
Instructions
- Bake the Cupcakes
Preheat oven according to cake mix instructions. Line a cupcake pan with green paper liners. Prepare chocolate cake mix as directed and divide evenly among liners. Bake and cool completely. - Color the Frosting
Scoop frosting into a bowl and use a hand mixer to whip it for a fluffier texture. Add a few drops of Electric Lime gel food coloring and mix until evenly tinted bright green. - Pipe the Grass
Fit your piping bag or Dessert Decorator with the Wilton 4B star tip. Pipe short “grass” tufts all over each cooled cupcake. Use upward motions for spiky, grassy texture. - Add the Grave Dirt
Sprinkle crushed Oreo cookies over the frosting to resemble soil. You can press lightly so they stick but leave plenty of green peeking through for contrast. - Decorate with Zombie Hands
Insert one monster hand pick into each cupcake to simulate zombies rising from the grave. Add red sugar sprinkles near the base of each hand to mimic blood for added creep factor. - Accent with Figurines (Optional)
Place zombie army figures or other Halloween miniatures around your cupcake display for full undead ambiance.
Notes
If you don’t have piping tools, simply frost and use a fork to texture the grass.
You can also use chocolate sprinkles if Oreos aren’t available.
Cupcakes can be made a day ahead and stored unfrosted. Assemble the day of the event for best freshness and appearance.
Keywords: Zombie Grave Halloween Cupcakes
3. Advanced Techniques
Mastering Piped Grass Texture
To create realistic grass, use a firm buttercream consistency and always work with a chilled piping bag. The Wilton 4B tip creates star-like spikes, and short, quick upward motions will make the grass look 3D and natural. Practice on parchment paper first if needed.
How to Keep Oreo “Dirt” from Falling Off
After piping the frosting, let it firm up for 10–15 minutes in the fridge. Then gently press the Oreo crumbs into the surface so they stick. You can also add a touch of frosting under the crumbs if they need extra hold.
Creating Zombie-Themed Color Gradients
For a next-level look, tint portions of frosting in different green shades (e.g., lime, moss, olive) and stripe them inside the piping bag. This creates color variation in the “grass,” making each cupcake unique and more visually realistic.
DIY Edible Zombie Toppers
Can’t find monster hand picks? Mold zombie hands from green fondant or use broken pretzel sticks dipped in green candy melts. Add red piping gel or jam at the base for gore. They look homemade—and even better than store-bought.
Building a Graveyard Cupcake Display
Use a black serving tray, layer cupcakes on moss-like placemats, and scatter bone sprinkles and gummy worms. Add “tombstone” labels for each cupcake and dim lighting or dry ice for full spooky effect.
See more advanced recipes at cookingwhite.com

4. Storage, Shelf Life, and Maintenance Tips
Short-Term Storage at Room Temperature
Unfrosted cupcakes can be stored in an airtight container at room temperature for up to 2 days. Frosted cupcakes are best eaten within 24 hours for optimal freshness and texture.
Refrigerating Decorated Cupcakes
Once decorated, cupcakes can be refrigerated for up to 3 days. Place them in a cupcake holder or container and cover loosely with plastic wrap to avoid damaging the piped grass. Allow them to come to room temperature before serving.
Freezing the Cupcakes (Unfrosted)
You can bake and freeze cupcakes for up to 2 months. Freeze them unfrosted in a single layer, then transfer to a sealed bag. Thaw overnight in the fridge before decorating.
Prepping Ahead for Parties
Bake cupcakes a day or two in advance. Color your frosting and store it in the fridge. On party day, assemble and decorate for maximum visual impact. Toppers can be inserted just before serving.
Transporting Decorated Cupcakes Safely
Use a cupcake carrier or place each cupcake in its own compartment. If stacking is required, insert a toothpick in the center of each one and tent with plastic wrap to avoid smudging the grass frosting or breaking off decorations.
5. Dietary Adaptations and Substitutions
Gluten-Free Adaptation
Use a gluten-free chocolate cake mix and check that your frosting and Oreo-style cookies are gluten-free (such as Glutino or Kinnikinnick brands). Green food coloring and sprinkles are typically gluten-free but always double-check.
Dairy-Free Option
Choose a dairy-free cake mix and use a vegan-friendly frosting like Earth Balance or Simple Mills. Substitute Oreos with dairy-free alternatives and use plant-based food coloring if necessary.
Vegan-Friendly Version
Use a vegan chocolate cake mix (or your own recipe), dairy-free frosting, and ensure your decorations are vegan (some sprinkles and food colorings use animal-based ingredients). Check that Oreo cookies meet your vegan standards—most are, but some flavors may differ.
Nut-Free Adaptation
This recipe is naturally nut-free, but always check all packaging to confirm no shared equipment with nuts. Choose certified nut-free baking brands when baking for allergy-sensitive groups.
Low-Sugar or No-Sugar Modifications
Use a low-sugar cake mix and frosting (like a monk fruit sweetened version). Skip the red sugar sprinkles and use unsweetened cocoa powder in place of Oreos. The appearance will still be spooky, and the result diabetic-friendly.
6. FAQs About the Recipe
Can I Use Homemade Cake or Frosting Instead of Store-Bought?
Absolutely! A homemade chocolate cupcake recipe will work beautifully. Just make sure it’s moist and sturdy enough to hold decorations. You can also whip up your own buttercream—just keep it thick enough to hold the grass shape when piped.
How Do I Keep the Grass Frosting from Wilting?
Use cold frosting and a metal tip. If your frosting softens while piping, refrigerate the bag for 10 minutes before continuing. You can also add a tablespoon of powdered sugar to stiffen the texture.
Where Can I Find the Monster Hand Picks?
Many party or craft stores carry Halloween cupcake toppers in the fall. You can also find monster hand picks online at retailers like Amazon, Etsy, or Wilton.com. Or, use mini zombie figurines in their place!
Can I Make These Without Food Coloring?
Yes! While the grass effect benefits from bright green coloring, you can still make spooky cupcakes without it. Use white or chocolate frosting and rely on the Oreo dirt and red sprinkles to convey the graveyard theme.
What’s the Best Way to Crush the Oreos?
Place Oreos in a zip-top bag and gently crush with a rolling pin or the bottom of a heavy glass until you have fine crumbs. Be careful not to crush them too much into powder; you want a crumbly dirt texture that holds some shape on top of the frosting.
7. Conclusion & Final Thoughts
These Zombie Grave Halloween Cupcakes offer a fun, visually striking way to bring Halloween magic to your baking. They’re perfect for all ages, from kids’ parties to adult gatherings, combining the classic flavor of rich chocolate cupcakes with spooky, creative decorations that set the scene for a graveyard invasion.
The use of store-bought cake mix and frosting makes this recipe approachable even for novice bakers, while the decorating techniques allow for plenty of room to show off your artistic flair. Whether you stick to the basics or try advanced piping and DIY toppers, the result is sure to be a crowd-pleaser.
The versatility of the recipe means it can easily be adapted to dietary needs and preferences without sacrificing taste or style. From gluten-free to vegan versions, you can customize your cupcakes to make sure everyone can join in the Halloween fun.
Plus, the presentation is a total showstopper—these cupcakes don’t just taste delicious; they create a spooky atmosphere that complements your Halloween décor beautifully. The crushed Oreo “dirt,” the eerie green grass, and the creepy zombie hands popping out make for an unforgettable dessert centerpiece.
Whether you’re aiming for a quick treat or a Halloween baking project, these cupcakes are a fantastic choice. With their combination of simplicity, creativity, and festiveness, they’re bound to become a staple in your Halloween celebration for years to come.
Get your piping bags ready, gather your undead army, and start baking these spooky treats to bring the Halloween spirit to life in your kitchen!